Description
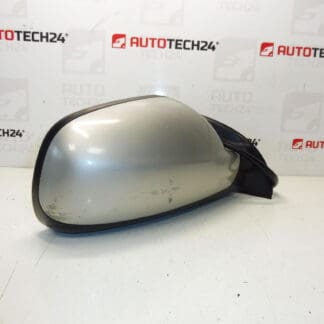
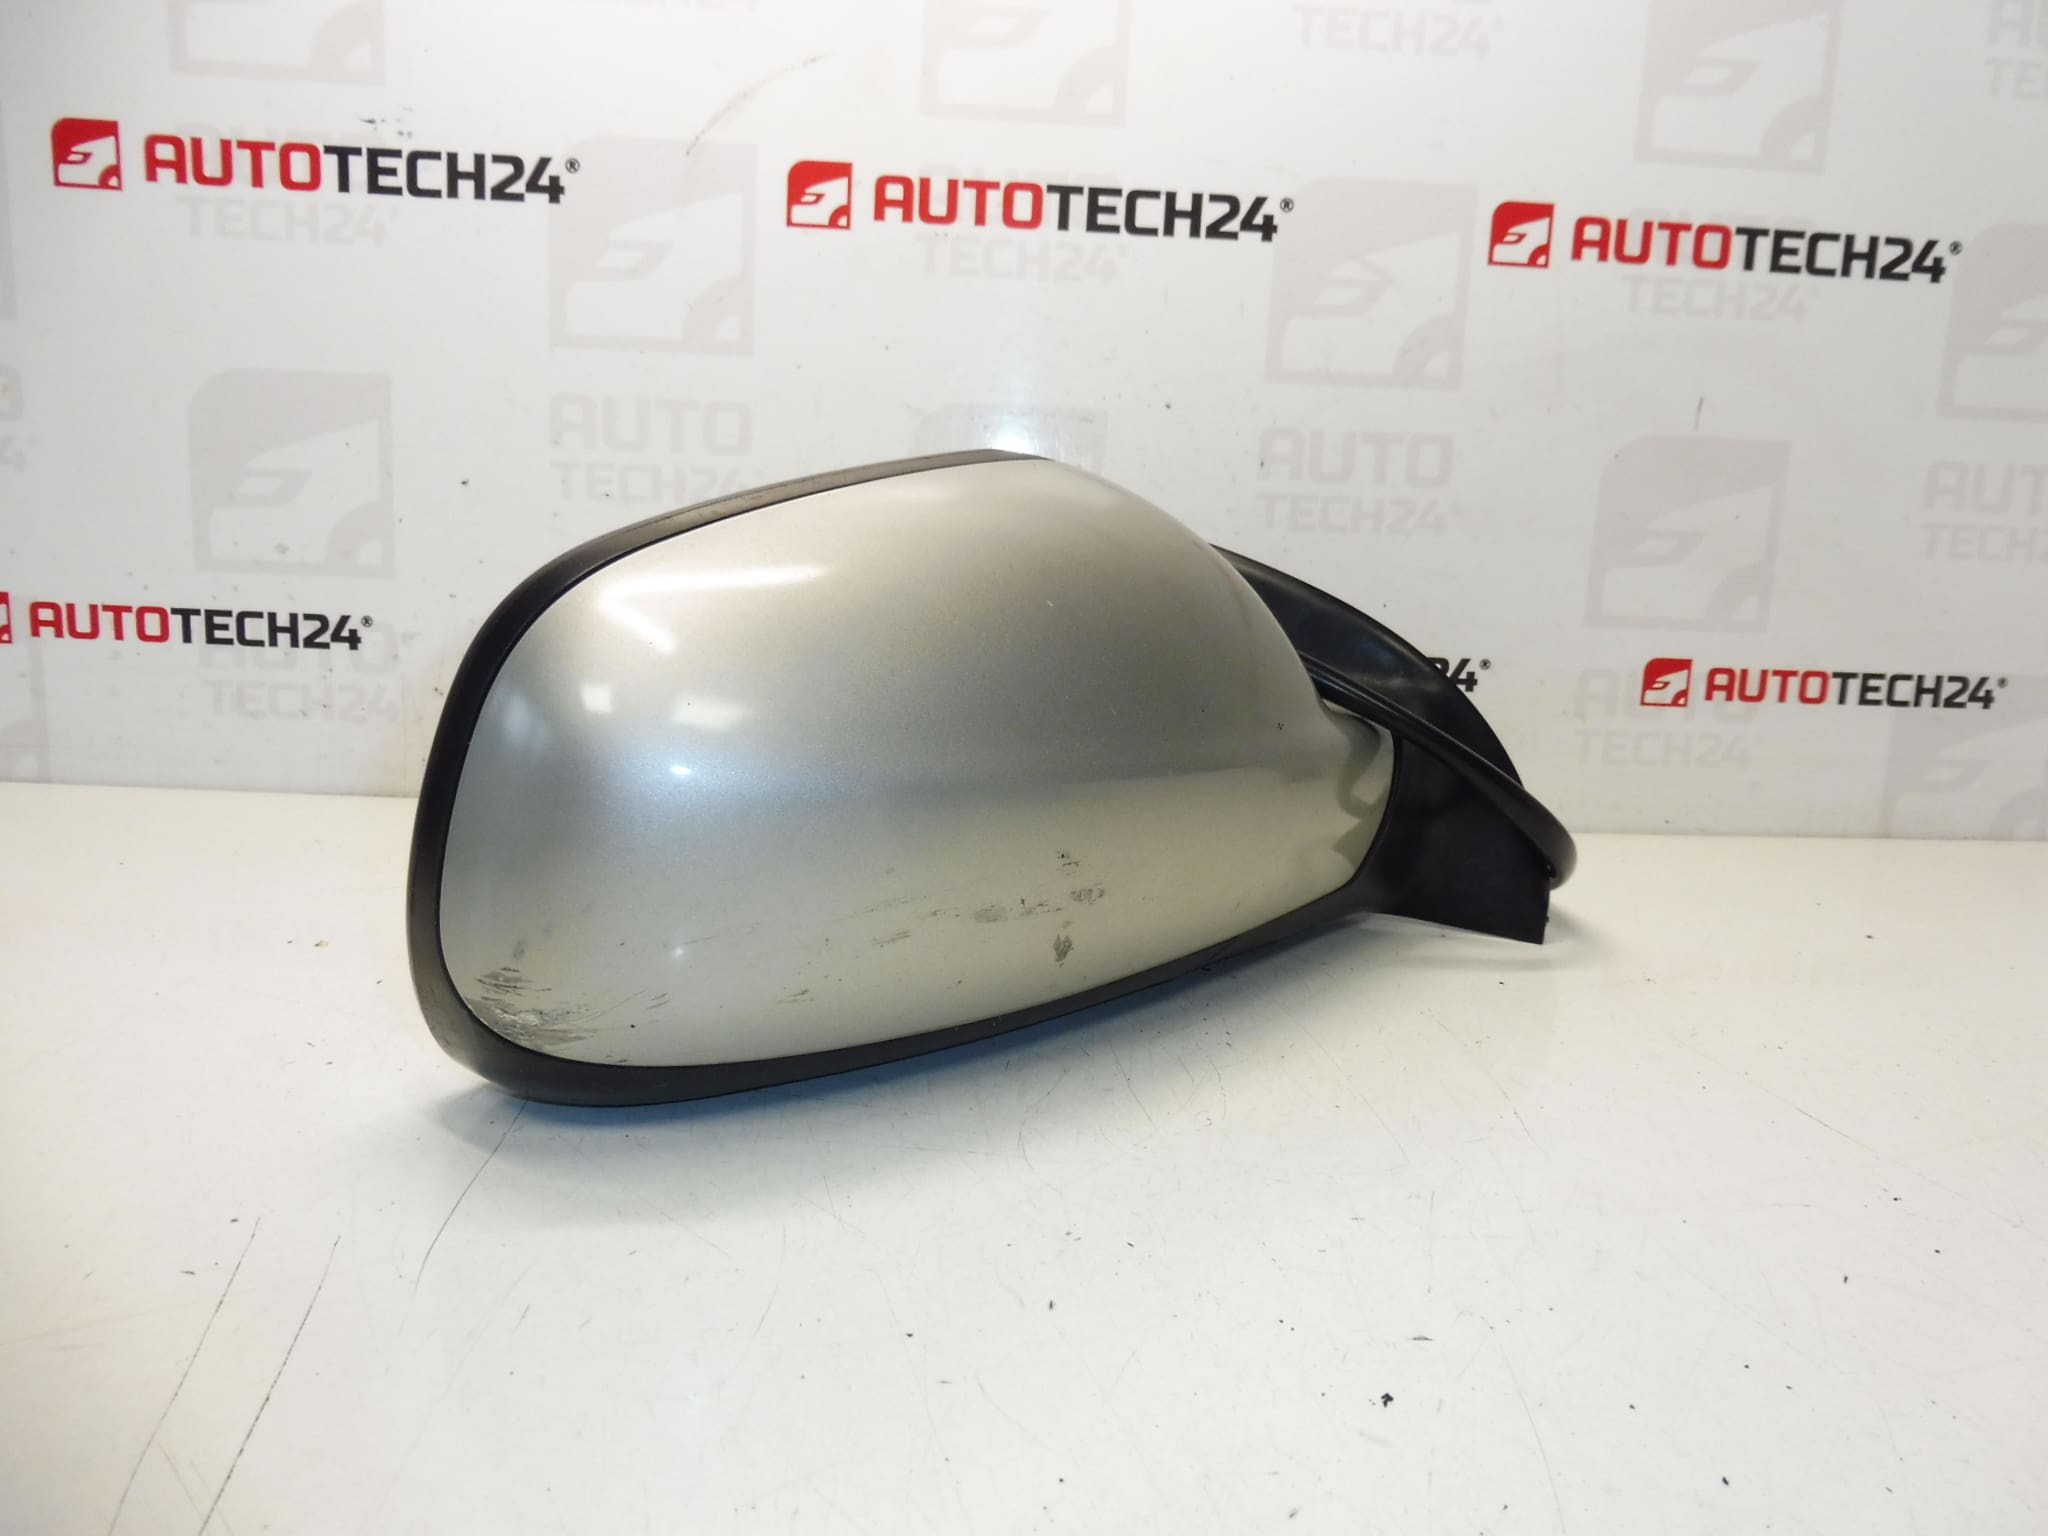
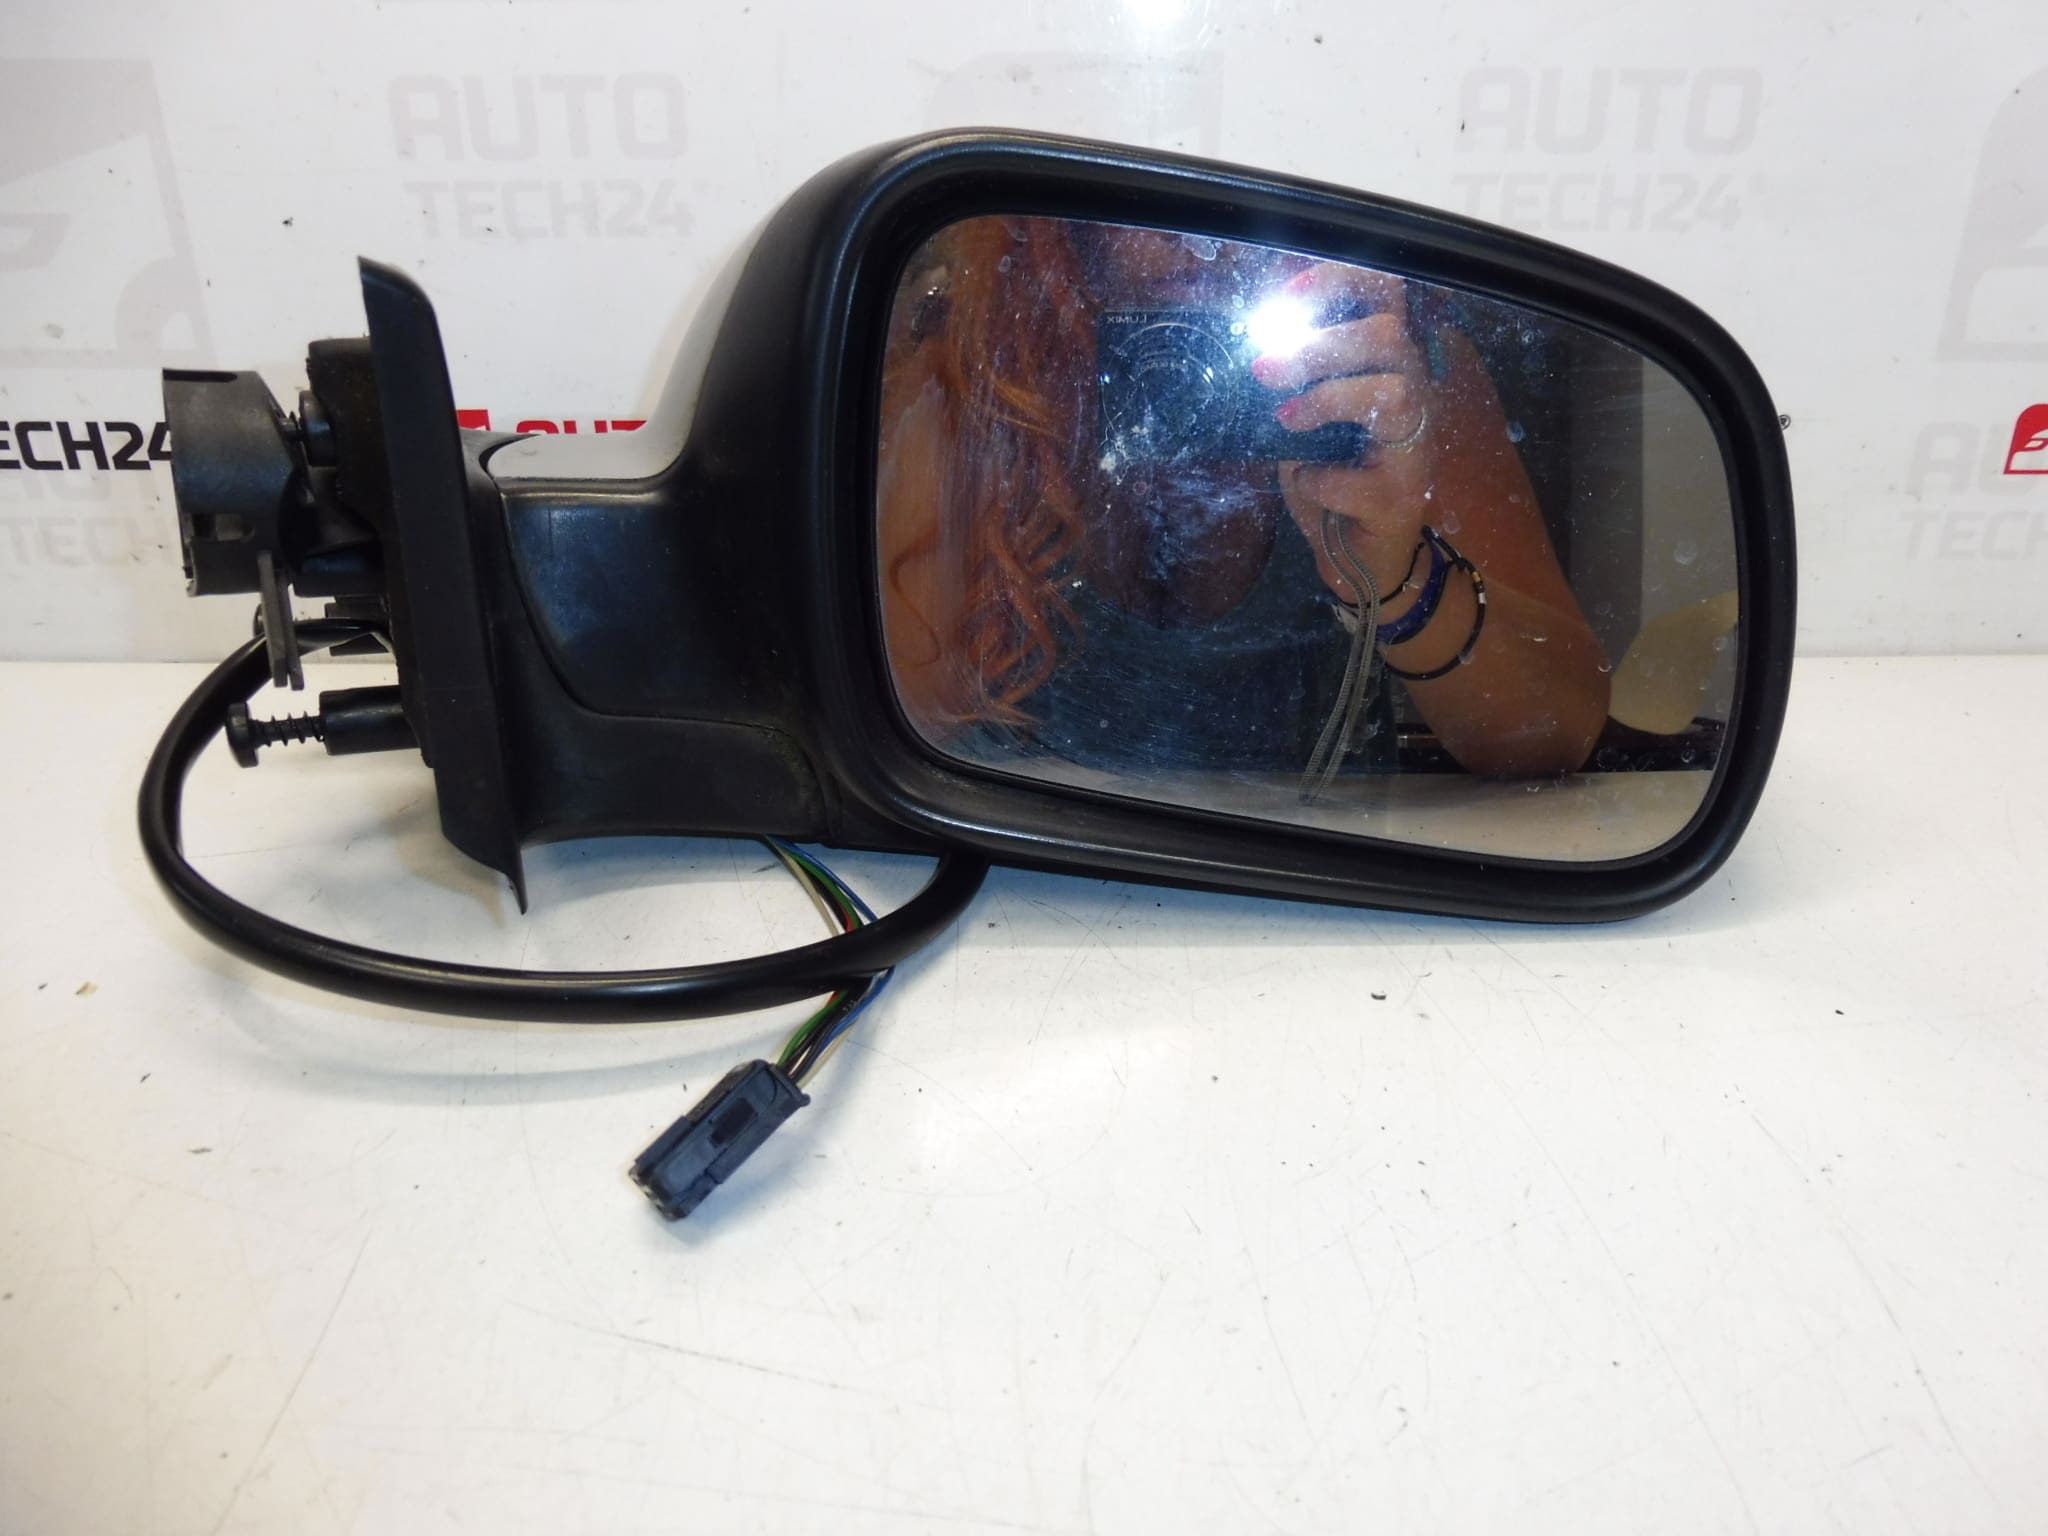
Right exterior mirror for PEUGEOT 307 vehicles. May have minor paint scratches, not cracked, fully functional. Color ETS – Cendre Gray paint. Electrically adjustable, temperature sensor – 6-pin. Passenger door.
Upgrade or replace your damaged right side mirror with a direct-fit unit designed for Peugeot 307 models. This electrically adjustable mirror includes an integrated temperature sensor with a 6-pin connector and comes finished in ETS Cendre Gray paint. Ideal for professional mechanics and DIY enthusiasts, the unit restores full mirror adjustment and sensor functionality without the need for additional parts. Minor paint blemishes may be present, but the mirror is structurally intact and fully operational.
Technical Information
Manufacturer: Stellantis / Peugeot
Model: Peugeot 307 (307 I) — Passenger Door Right
Product Codes: 8149A, 8149AX, 8149AX ETSC
Other Numbers: ETSC
Key Features
- Electrically adjustable mirror motor for precise positioning.
- Integrated temperature sensor (6-pin connector) for climate and mirror-heating functions.
- Painted Finish: ETS Cendre Gray — ready to fit without additional painting for matching interiors/exteriors.
- Direct fit for Passenger Door (Right Side) on Peugeot 307 models.
Installation Recommendation
Disconnect the vehicle battery before starting work to prevent electrical shorts. Typical replacement steps:
- Remove the interior mirror trim or triangular door cover to access mounting fasteners.
- Unscrew the mirror mounting bolts while supporting the mirror from the outside.
- Carefully unplug the 6-pin electrical connector for the motor and temperature sensor.
- Fit the new mirror, connect the 6-pin connector, and loosely install mounting bolts.
- Reconnect the battery, test mirror adjustment, heating and sensor signals, then tighten mounting bolts to manufacturer torque and reassemble the trim.
Why This Part Fails Most Often
- Impact Damage: Collisions or knocks from curbs and doors are the most common causes of physical failure.
- Water Ingress and Corrosion: Moisture can corrode connectors or motor terminals, causing intermittent or permanent electrical failure.
- Motor Wear: Repeated use and age can wear the adjustment motor, reducing responsiveness or causing failure.
- Sensor Faults: Temperature sensors or wiring can fail due to corrosion or wiring fatigue.
Practical Notes
This mirror is suitable for mechanics and experienced DIYers who are comfortable removing door trim and working with electrical connectors. Verify connector type and mirror mounting pattern visually before installation. After installation, always confirm full functionality of electric adjustment and sensor outputs prior to final reassembly.
Order this right exterior mirror for Peugeot 307 to restore safe visibility and full mirror functionality — a cost-effective replacement that gets your vehicle back on the road quickly.