Description
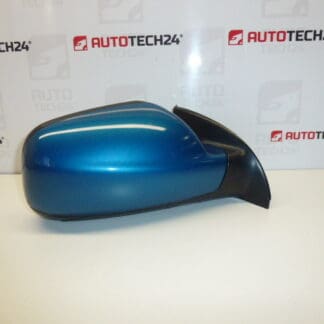
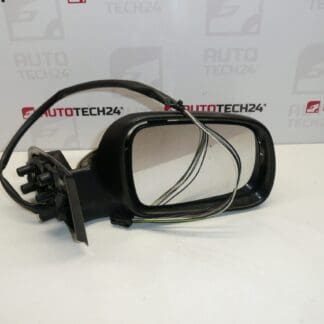
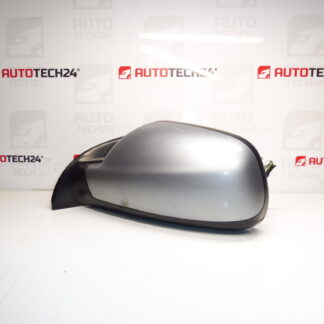
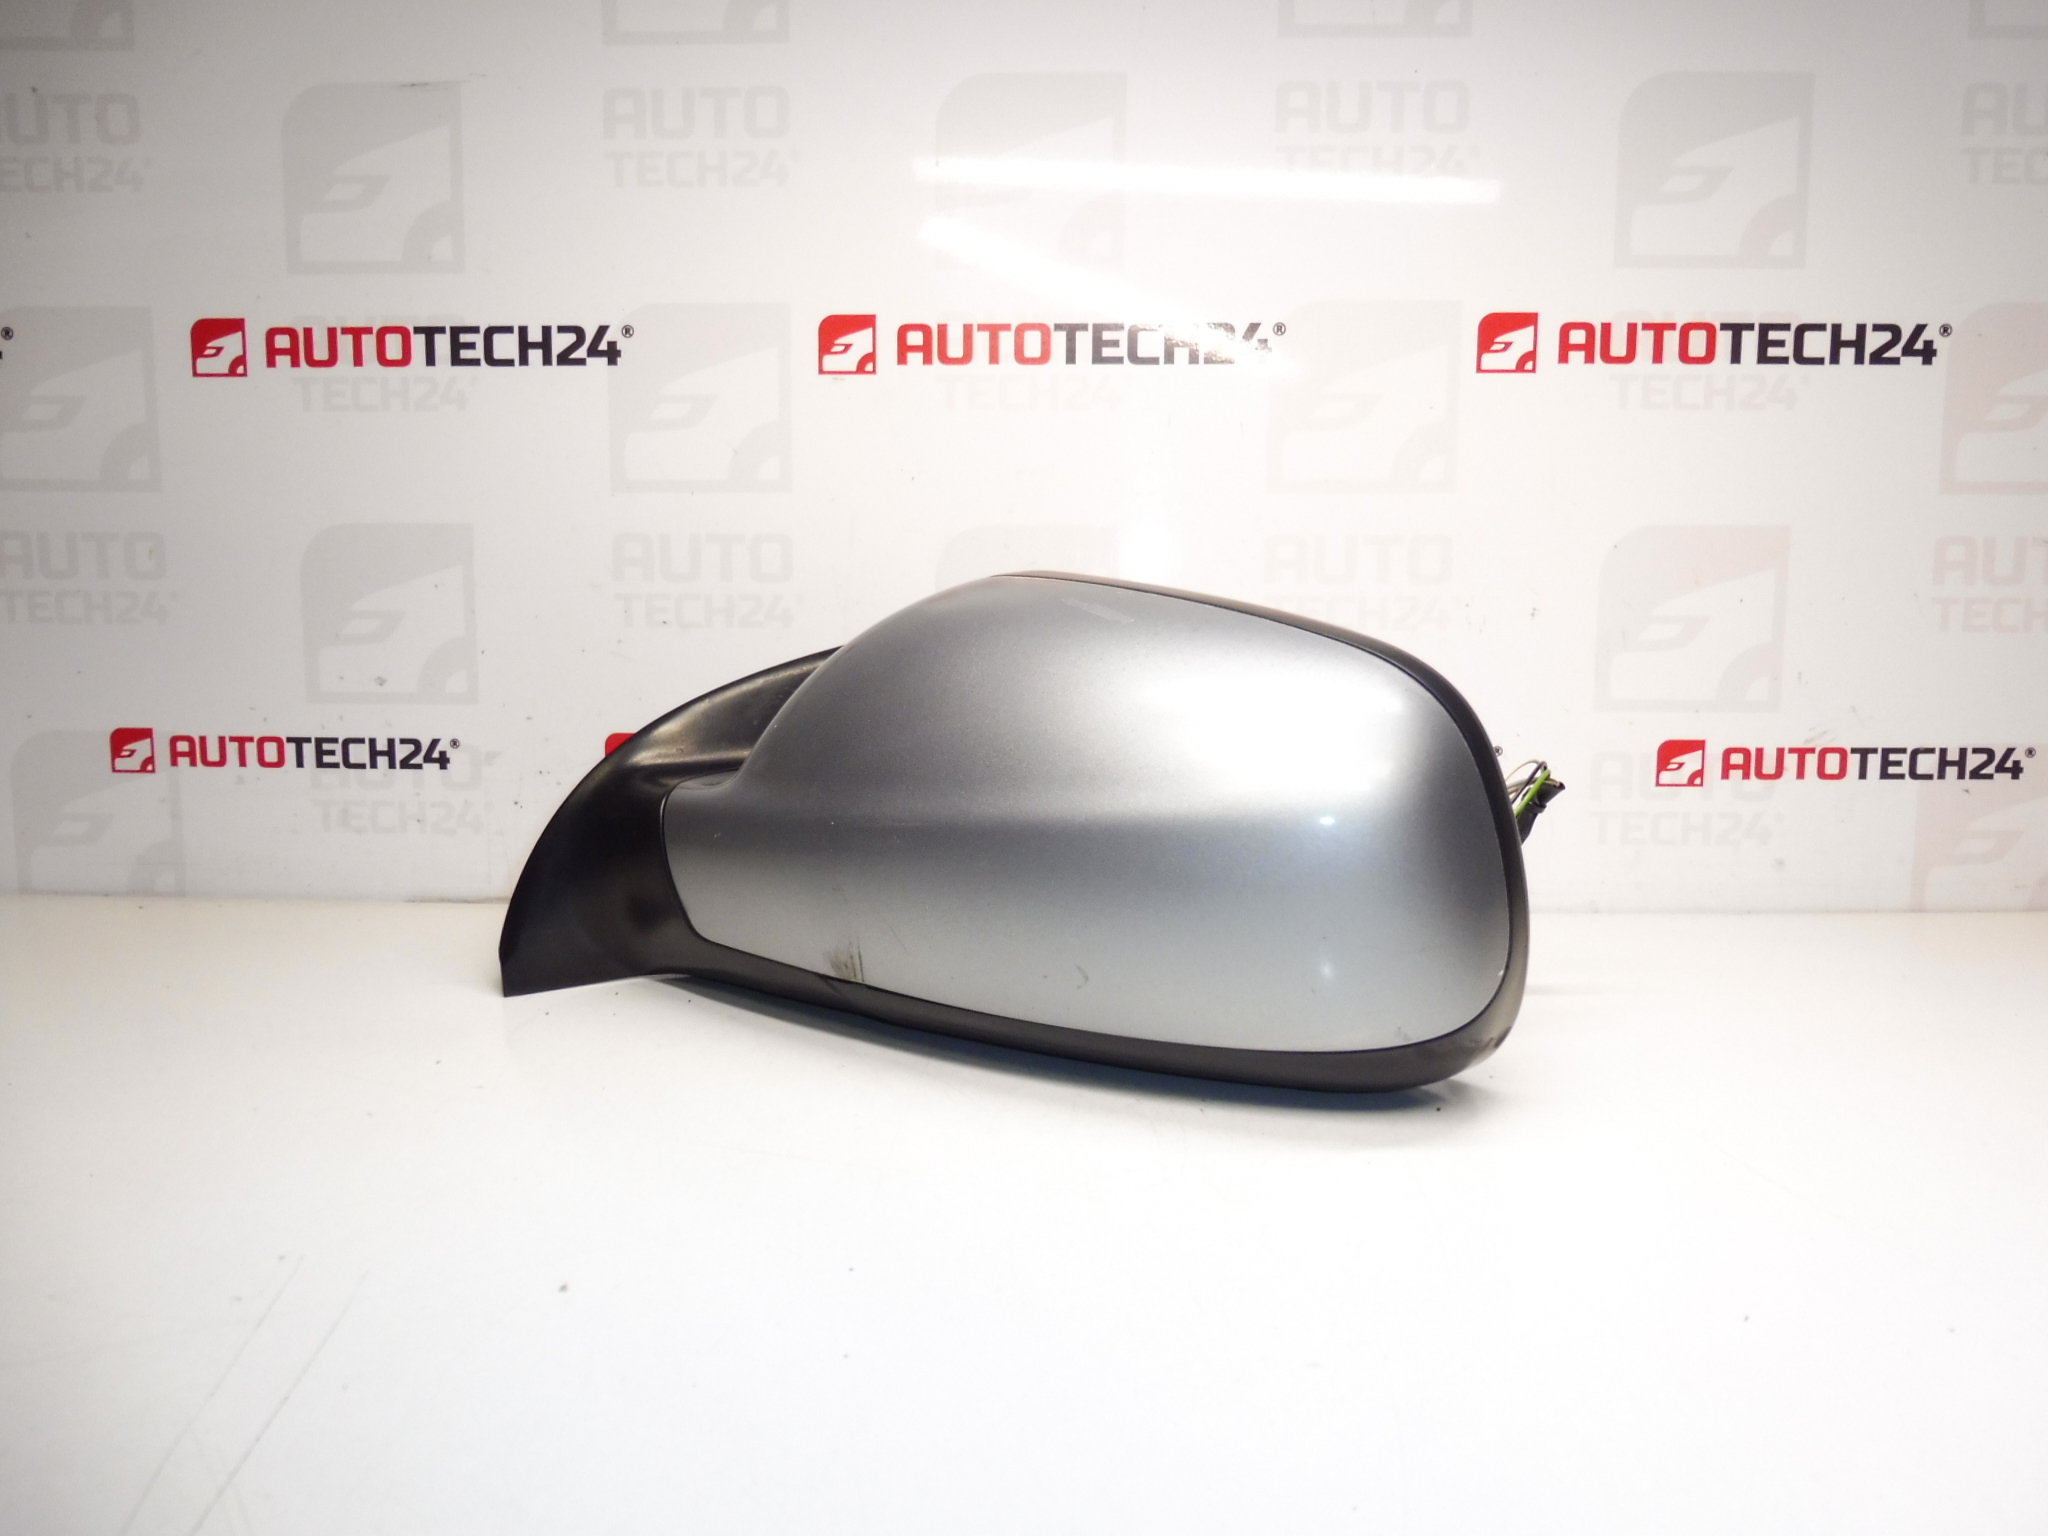
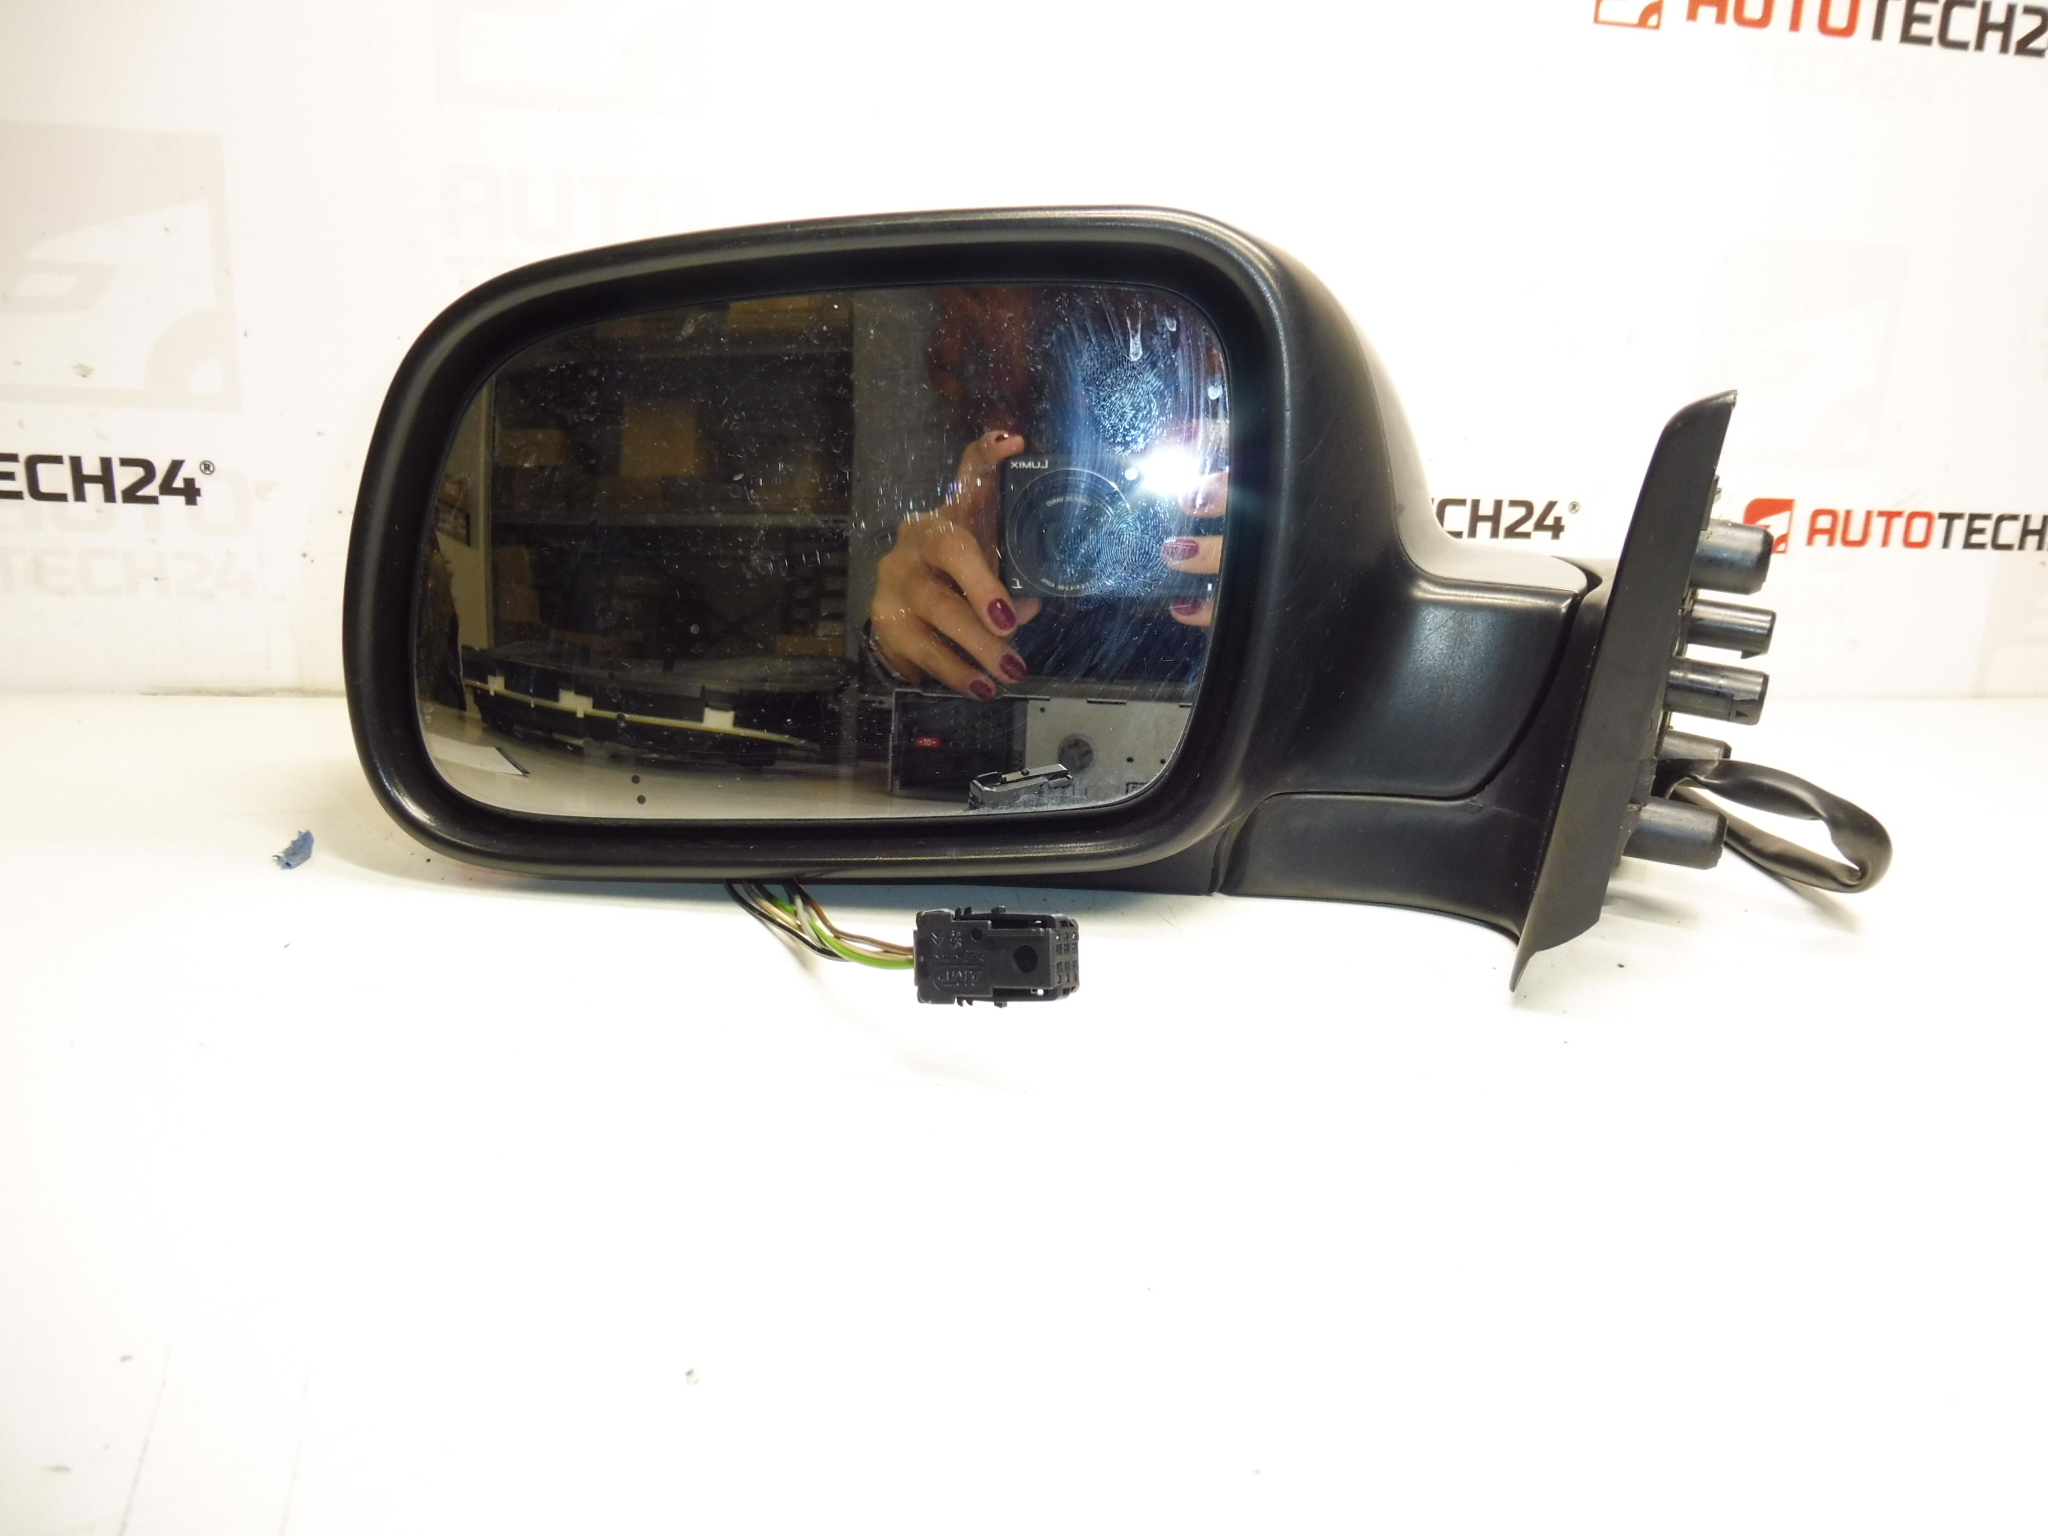
Left exterior mirror for Peugeot 307. Electrically adjustable – 5 PIN. Color EZAC – painted Grey Sidobre. Driver Side.
This left (driver side) exterior mirror is designed for the Peugeot 307 and is commonly searched under the part code 8149AW and color code EZAC. Ideal for professional workshops and competent DIYers, the unit offers direct replacement with an electrical 5-pin connector for mirror adjustment. The neutral grey finish (EZAC) ensures a factory-look match on vehicles finished in the same paint code.
Features And Benefits
Plug-and-play replacement for a precise fit and correct function on compatible Peugeot 307 models. Electrically adjustable mechanism allows quick calibration from the driver’s seat. Robust housing and OE-style mounting points simplify installation and reduce alignment work. Frequently sought after under part number 8149AW, making it easy to find the correct unit when ordering.
Technical Information
- Manufacturer: Stellantis (Citroën/Peugeot)
- Model: Peugeot 307
- Product Codes: 8149AW
- Additional Numbers: EZAC (Color Code)
Installation Recommendations
Remove the interior triangular trim or small door panel cover to access the mirror mounting nuts. Disconnect the 5-pin electrical connector before removing the mounting bolts. Install the new mirror, connect the electrical plug, lightly tighten mounting nuts, then test all mirror functions (adjustment, folding if applicable) before fully torquing the fasteners. Use non-marring trim tools to avoid damaging interior panels and ensure the door seals are correctly positioned after reassembly. Verify mirror alignment and operation on both low and high settings, and check for any wind noise after installation.
Common Causes Of Failure
Exterior mirrors most often fail due to direct impact or collision damage (parking knocks, side swipes). Electrical faults such as connector corrosion or wiring damage can prevent the adjustment motor from operating. Internal motor or gear wear over many years may cause sluggish or no movement. Freezing and subsequent forced manual adjustment can also damage the mechanism or housing.
Practical Notes
There is no fixed replacement interval; longevity depends on usage and exposure. For correct compatibility, ensure the vehicle uses a 5-pin electrical mirror and that the color code EZAC (Grey Sidobre) matches your vehicle’s finish if cosmetic match is important. Searching by part number 8149AW will speed up locating the exact replacement unit.