Description
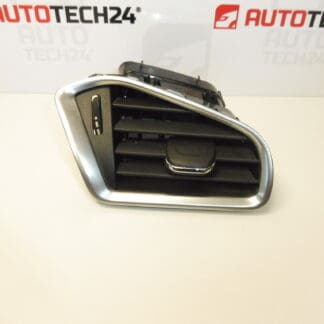
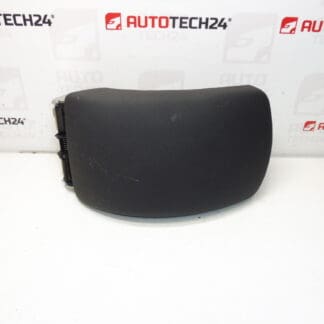
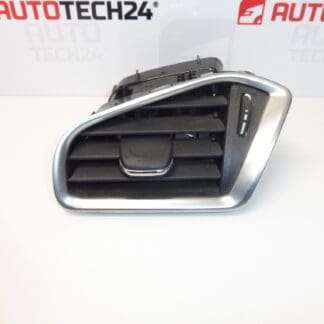
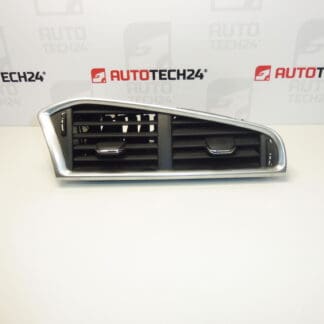
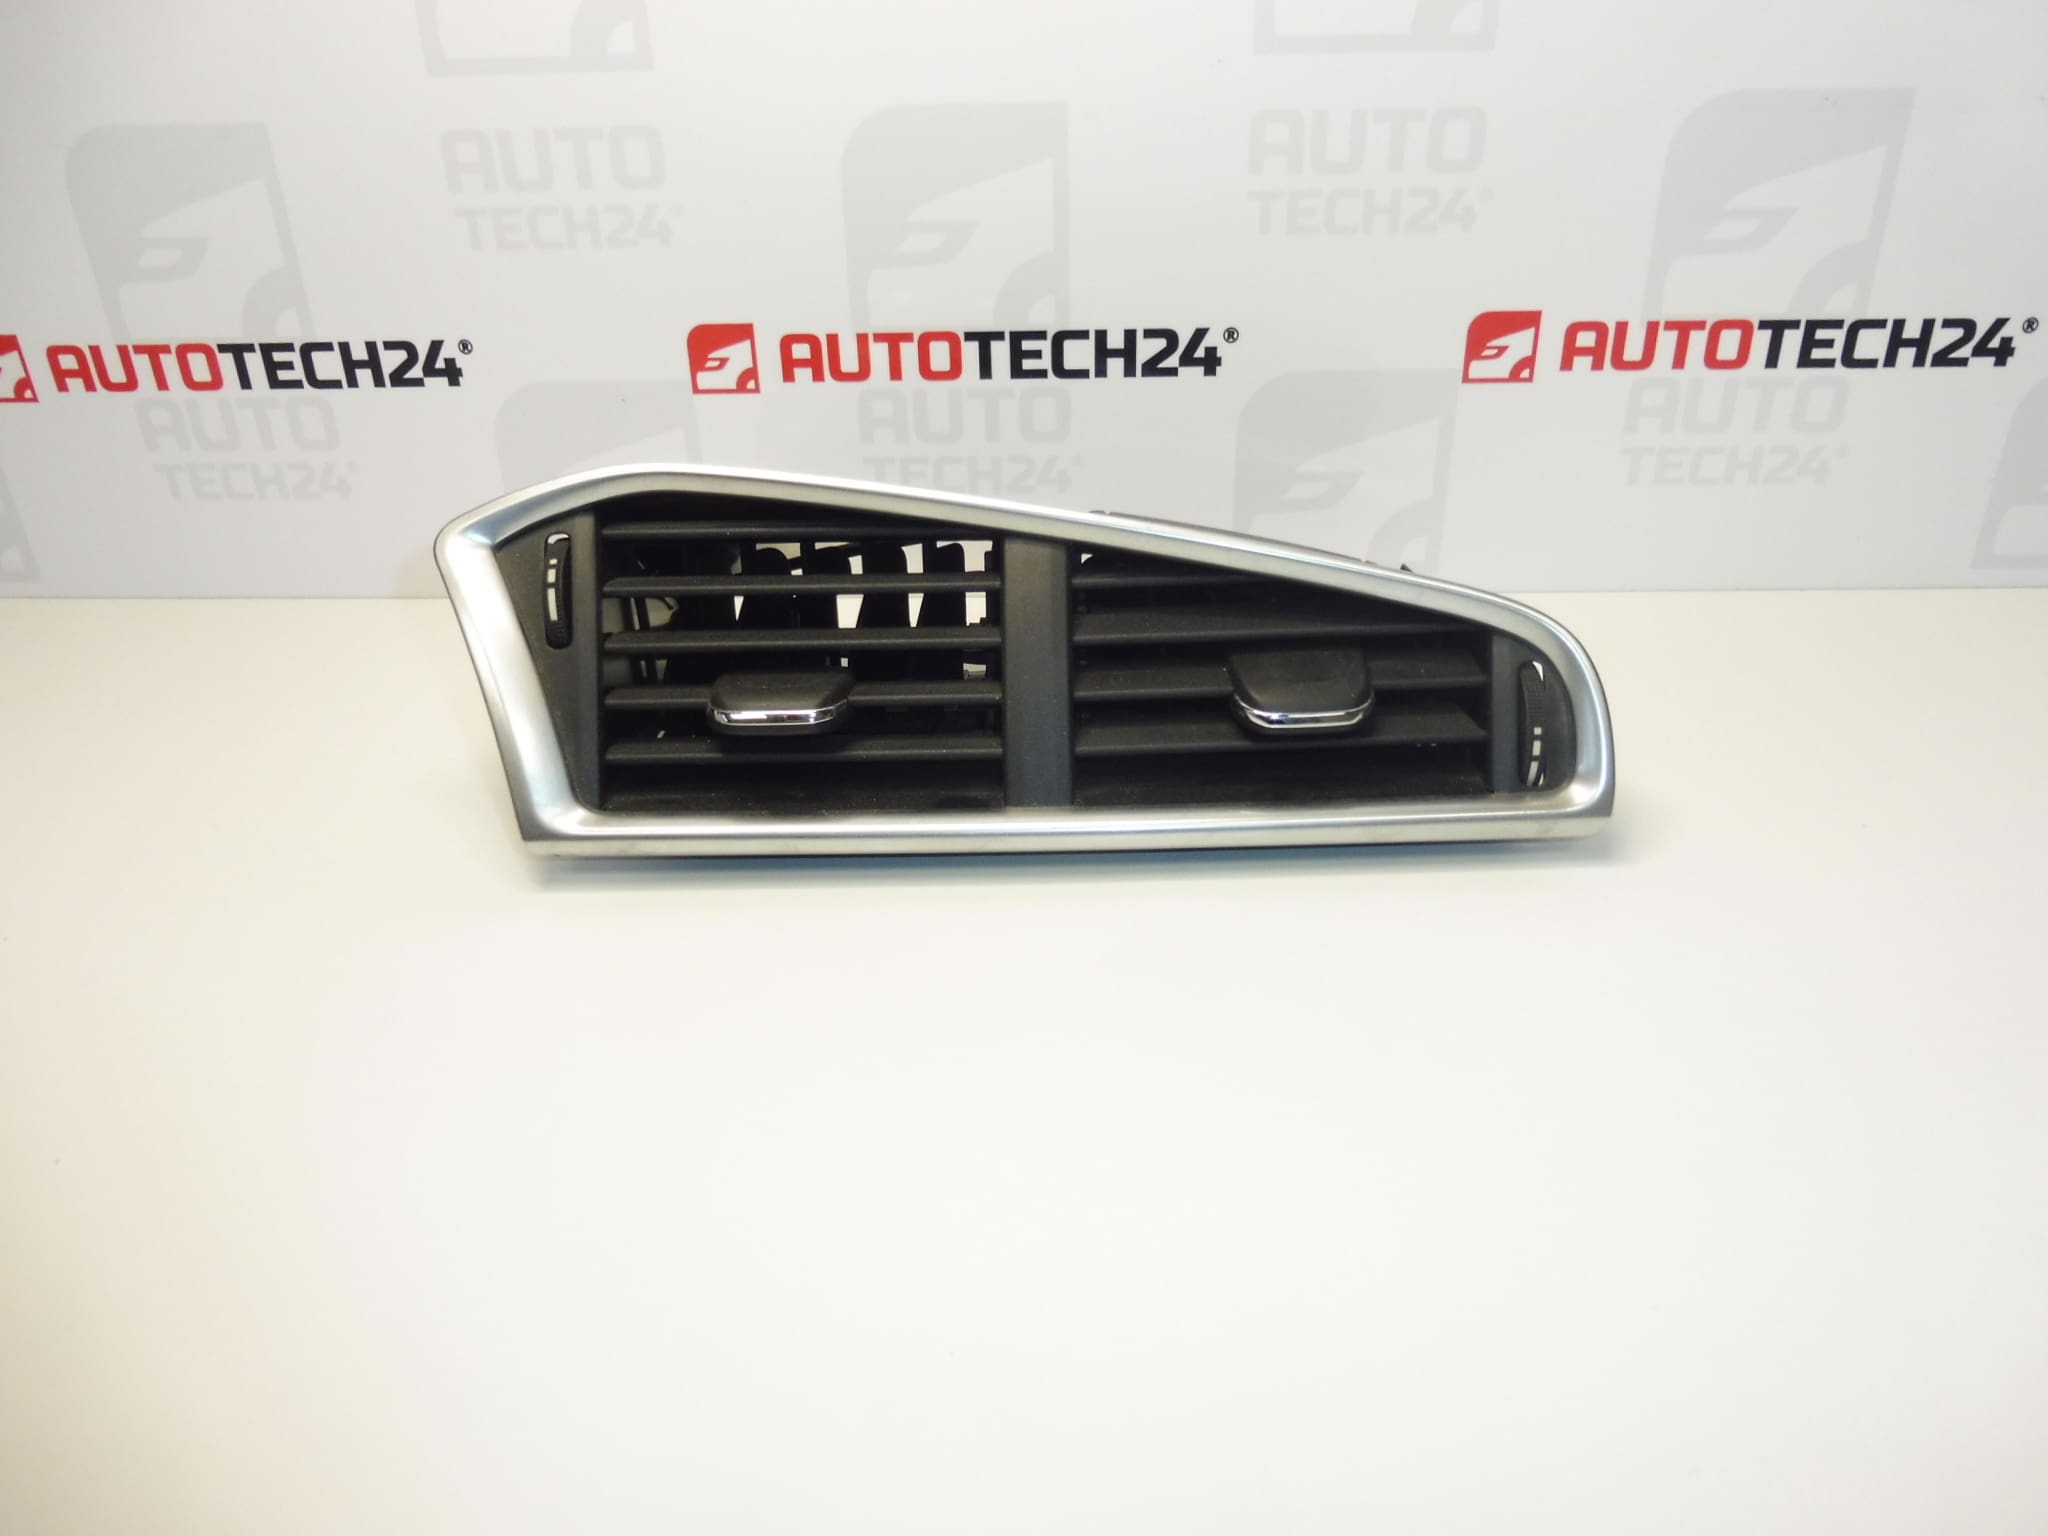
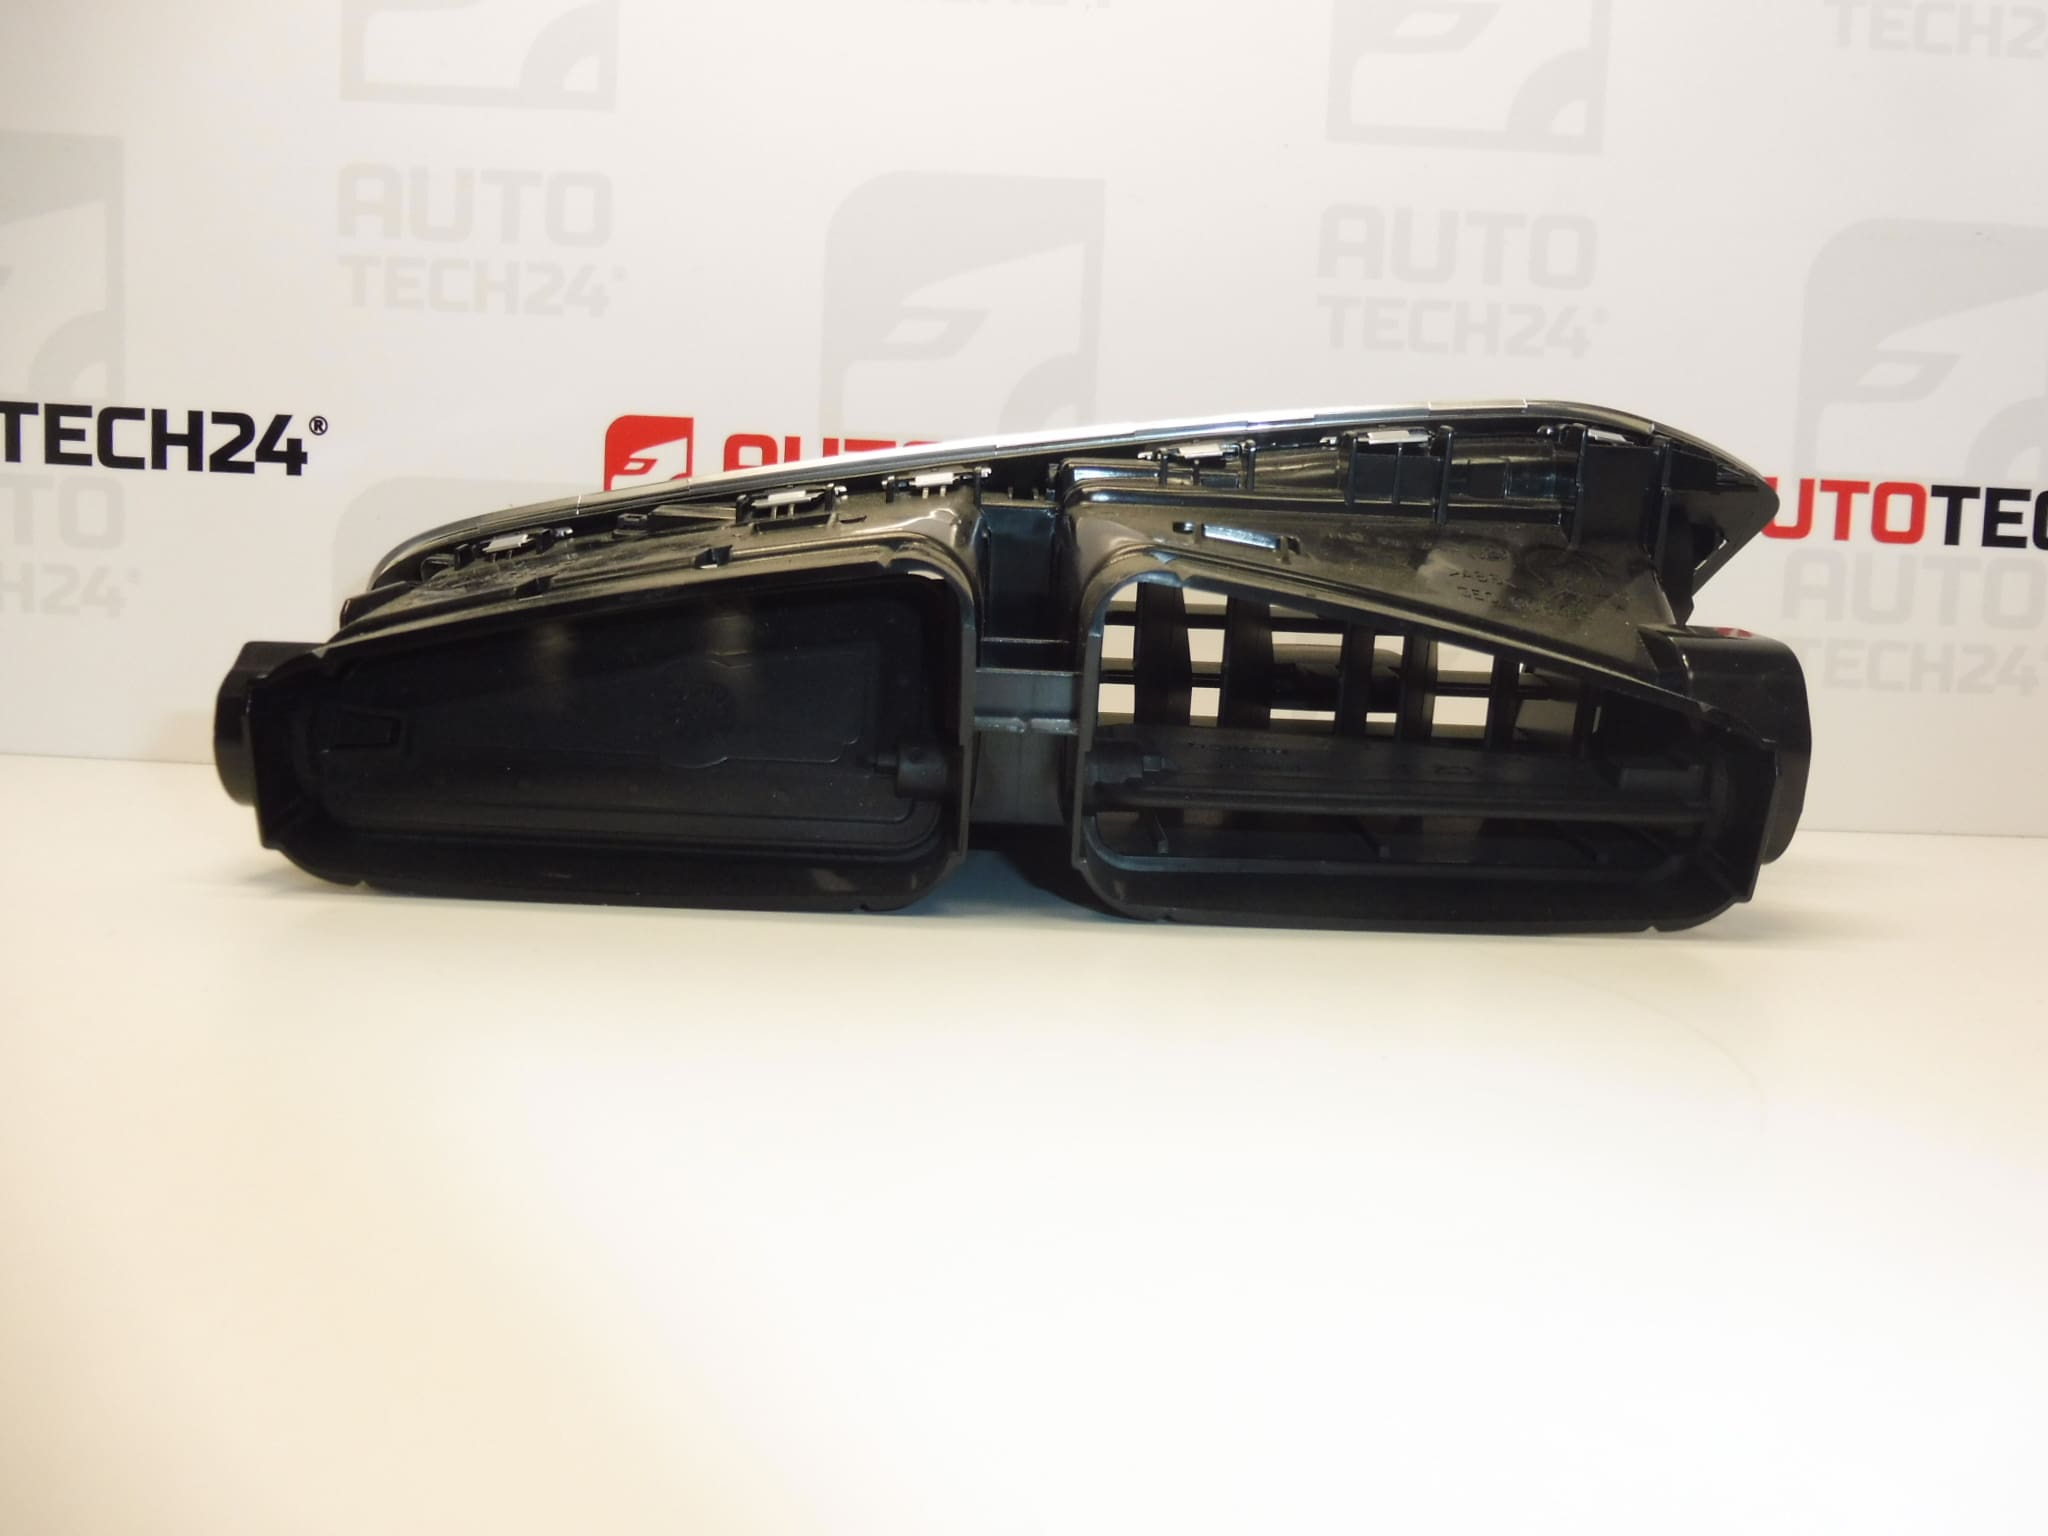
Central ventilation outlet for Citroen C4 II B7 and DS4 cars
Color HZD- – BLACK MISTRAL
Part description
The used central ventilation grill for Citroen C4 II B7 and DS4 is part of the interior and serves to guide air from the ventilation to the cabin. It is a suitable choice when replacing a damaged ventilation outlet, for example with cracked slats or non-functioning air flow direction control.
The markings 9676609977 and 8247EC are essential for finding the part and comparing it with the original piece. The HZD – BLACK MISTRAL color design will help you choose the appropriate dashboard look. Before buying, also compare the shape of the grid, the design of the control and the attachment with the existing part.
Technical information
- Manufacturer: not specified
- Model: Citroen C4 II; DS4
- Model designation from documents: Citroen C4 II B7 and DS4
- Type of part: central ventilation outlet / ventilation grill
- Category: interior – dashboards and their parts
- Color: HZD – BLACK MISTRAL
- Condition: used part
- Other numbers: not specified
Product codes
- Product codes: 9676609977, 8247EC
When choosing, compare the given codes with the designation of the original part. Similarity in appearance alone does not guarantee identical fitting and execution.
Installation recommendations
In general, the following procedure applies to this type of interior part. The exact method of releasing the grille, the number of fixing points and the need to dismantle the surrounding covers depends on the specific model and version of the car. Follow the appropriate service procedure; do not force the grid to release.
1) Before assembly
- Compare the codes, outline, dimensions, color markings, air duct connections and fasteners with the old piece.
- Inspect the used part, especially the slats, their pins, control mechanism and handles. Look for cracks, deformations and loose parts.
- Gently test the movement of the control in its normal range. Do not force the stops.
- Work in a reasonably tempered interior, as cold plastic parts can be more fragile when handled.
2) Necessary tools and materials
- Plastic disassembly levers for interior trim.
- Common hand tools corresponding to the actual fasteners used.
- Flashlight, soft cloth and soft brush to remove dust.
- Protective covering of the surrounding visible surfaces and a container for the postponed connecting elements.
3) Step-by-step assembly procedure
- Stop the vehicle safely, turn off the ignition and ventilation.
- Cover the surrounding viewing surfaces to avoid scratching them while working.
- According to the service procedure, find out the method of fixing the grid and any continuity with the surrounding cladding.
- If access is obstructed by covers or frames, carefully release them in the prescribed manner. Note the position of the individual fasteners.
- Unfasten the original outlet. Use the plastic lever at the attachment points, not as a support against the slats.
- Carefully slide out the grille and separate it from the connected air duct. In the event of resistance, first check whether another attachment has been secured.
- Inspect the landing surfaces and mouth of the channel. Remove dust and any debris from the old part so that it does not fit inside.
- Attach the spare part without using force and verify the compatibility of the attachment and the connection to the air duct.
- Set the grid evenly and secure it in the original way. Do not press on the slats or their controls.
- Reassemble the dismantled surrounding parts and check for even joints and firm seating of the entire assembly.
-
4) Post-assembly checks and function verification
- Try the free movement of the slats and changing the direction of the air flow.
- Turn on the ventilation and gradually try its different levels. Watch for air flow from the outlet and for unwanted whistling or rattling.
- Check that the grill is secure and that the surrounding trim is not stretched or warped.
- Any vibrations can be checked during a short test drive. Do not make any additional adjustments until you have safely stopped.
5) The most common assembly mistakes and how to avoid them
- Prying the slats: can damage their pins. Transmit the force only through the appropriate parts of the body of the part according to the method of attachment.
- Incorrect air duct connection: check for even fit before final securing.
- Swapping a similar design: compare product codes, fit, controls and color.
- Using a metal tool on visible surfaces: prefer plastic levers and a protective cover.
- Plastic aging and temperature fluctuations which can gradually increase the fragility of slats and fasteners.
- Forcibly adjusting the slats or moving the control over its stops.
- Load from accessories attached to the grid, for example a heavier phone holder, which can stress the slats and their pins.
- Reckless disassembly of the lining, during which the handles may break off or damage the outlet body.
- Impacts when using or cleaning the interior and clogging the mechanism with dirt that can make it difficult to move.
Reasons why the part is damaged
Common causes of damage to ventilation grills of this type include: