Description
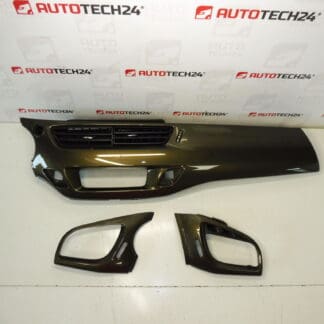
Decorative Instrument Cluster Trim For Citroën C3 II A51
Finish KDK – HICKORY
This high-quality decorative trim frame is designed for the instrument cluster of the Citroën C3 II (A51). Ideal for professional workshops and DIY mechanics, the bezel restores the original interior appearance and ensures a factory-fit finish. The part is often searched by its product codes, so use the numbers below when looking up compatibility or ordering replacement pieces.
Technical Information
- Manufacturer: Stellantis (Citroën)
- Model: Citroën C3 II (A51)
- Product Codes: 96842894ZD, 96842894K1
- Additional Numbers: Finish KDK – HICKORY
Function And Fitment
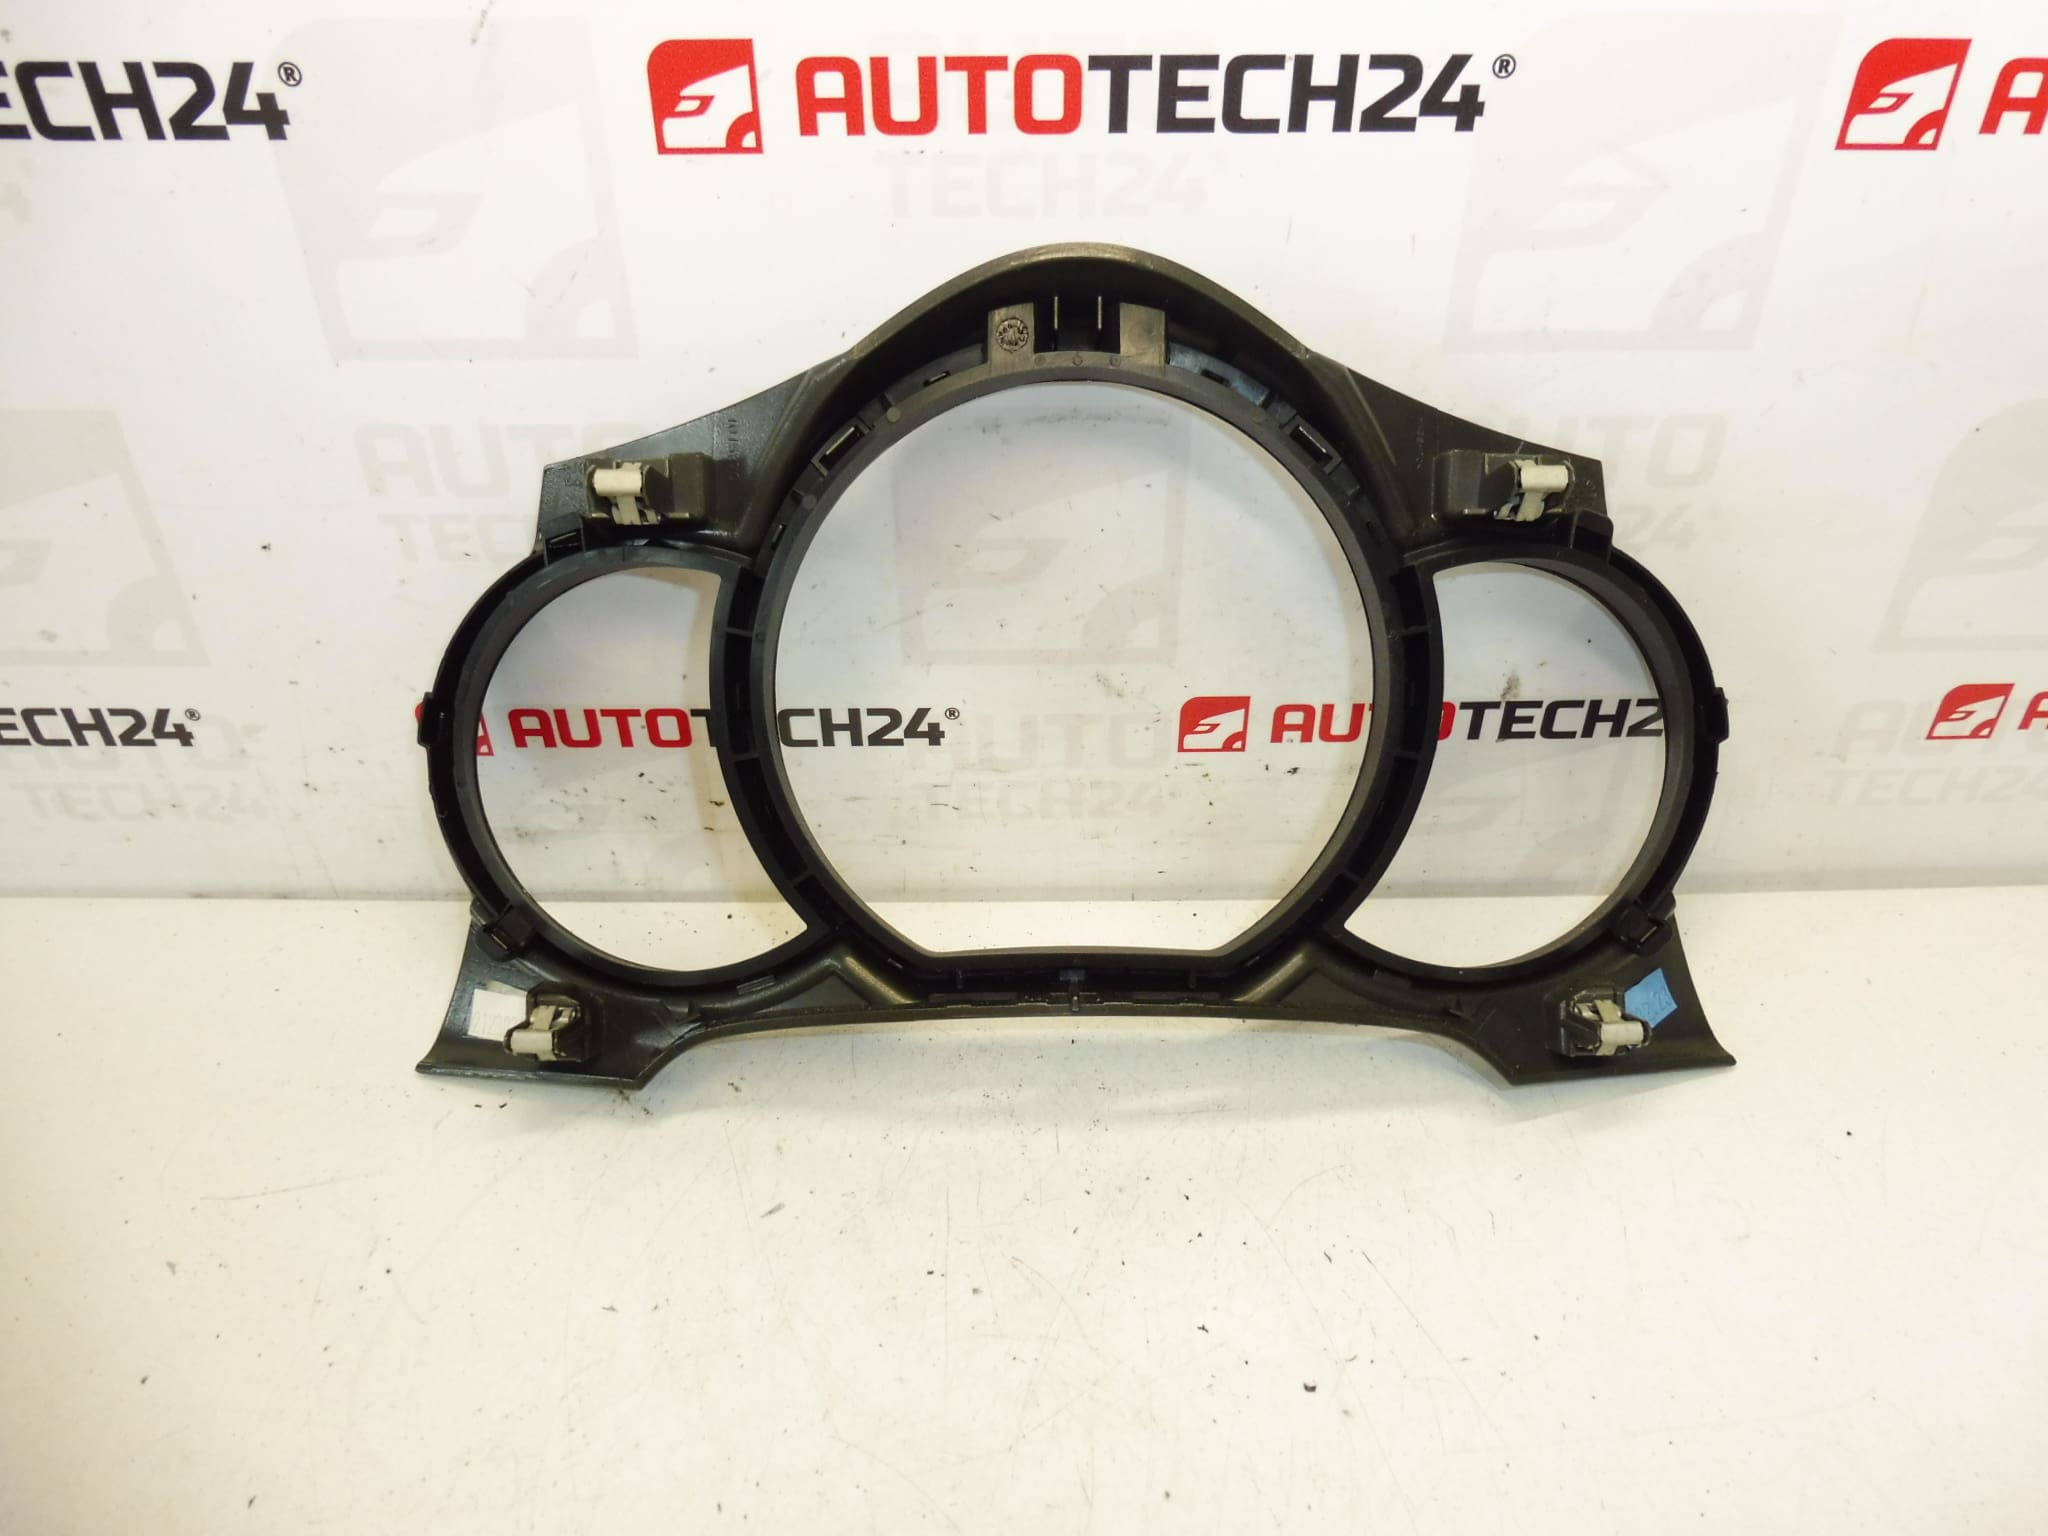
The trim frame is a cosmetic and protective bezel that surrounds the instrument cluster. It secures the cluster edges, conceals fastening points and wiring gaps, and completes the dashboard’s visual appearance. Designed to match the original interior finish, it is intended specifically for the Citroën C3 II (A51) instrument cluster layout.
Installation Recommendations
- Always work with clean hands and a protected workspace to avoid scratching surrounding surfaces.
- Use plastic trim removal tools to carefully unclip the old bezel. Start at the lowest edge and progress evenly around the frame to avoid stressing the clips.
- Inspect all retaining clips and tabs during removal. Replace any broken or deformed clips to ensure a secure refit.
- Align the new trim carefully and press evenly until all clips engage. Do not force or bend the frame.
- Disconnecting the battery is recommended when removing interior trim near airbags or electrical connectors to prevent accidental deployment or short circuits.
Why This Part Fails Most Often
The most common causes of damage are mechanical stress and aging: plastic clips and tabs break during rough removal, repeated disassembly, or impact. Prolonged exposure to sunlight and heat can cause fading, crazing or cracking of the finish. Cosmetic wear such as scratches and scuffs is typical in high-use vehicles.
Replacement Notes For Mechanics And DIYers
When replacing the instrument cluster trim, check surrounding trim pieces and fasteners for damage—broken clips are frequently the actual cause of a loose bezel. Keep the part numbers 96842894ZD and 96842894K1 to confirm fitment and to order matching finish if required. This trim is primarily cosmetic but contributes to a secure and factory-correct installation of the instrument cluster.
Practical Tips
- Keep spare trim clips on hand; they are inexpensive and often needed after removal.
- Work slowly and use the correct tools to preserve the dashboard finish.
- If the surrounding dashboard shows heat or UV damage, consider addressing those issues to prevent repeated failures of new trim.