Description
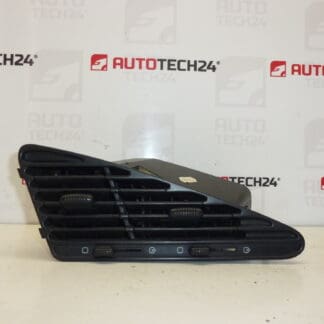
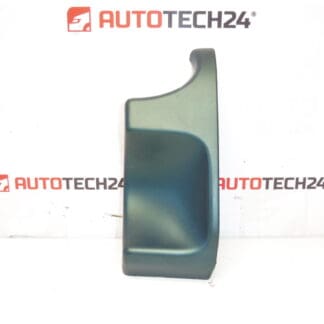
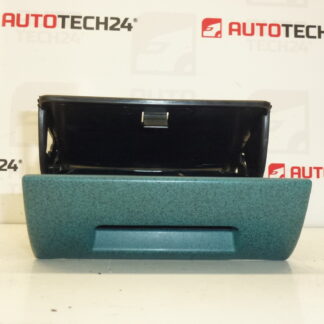
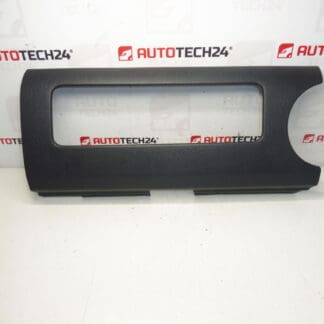
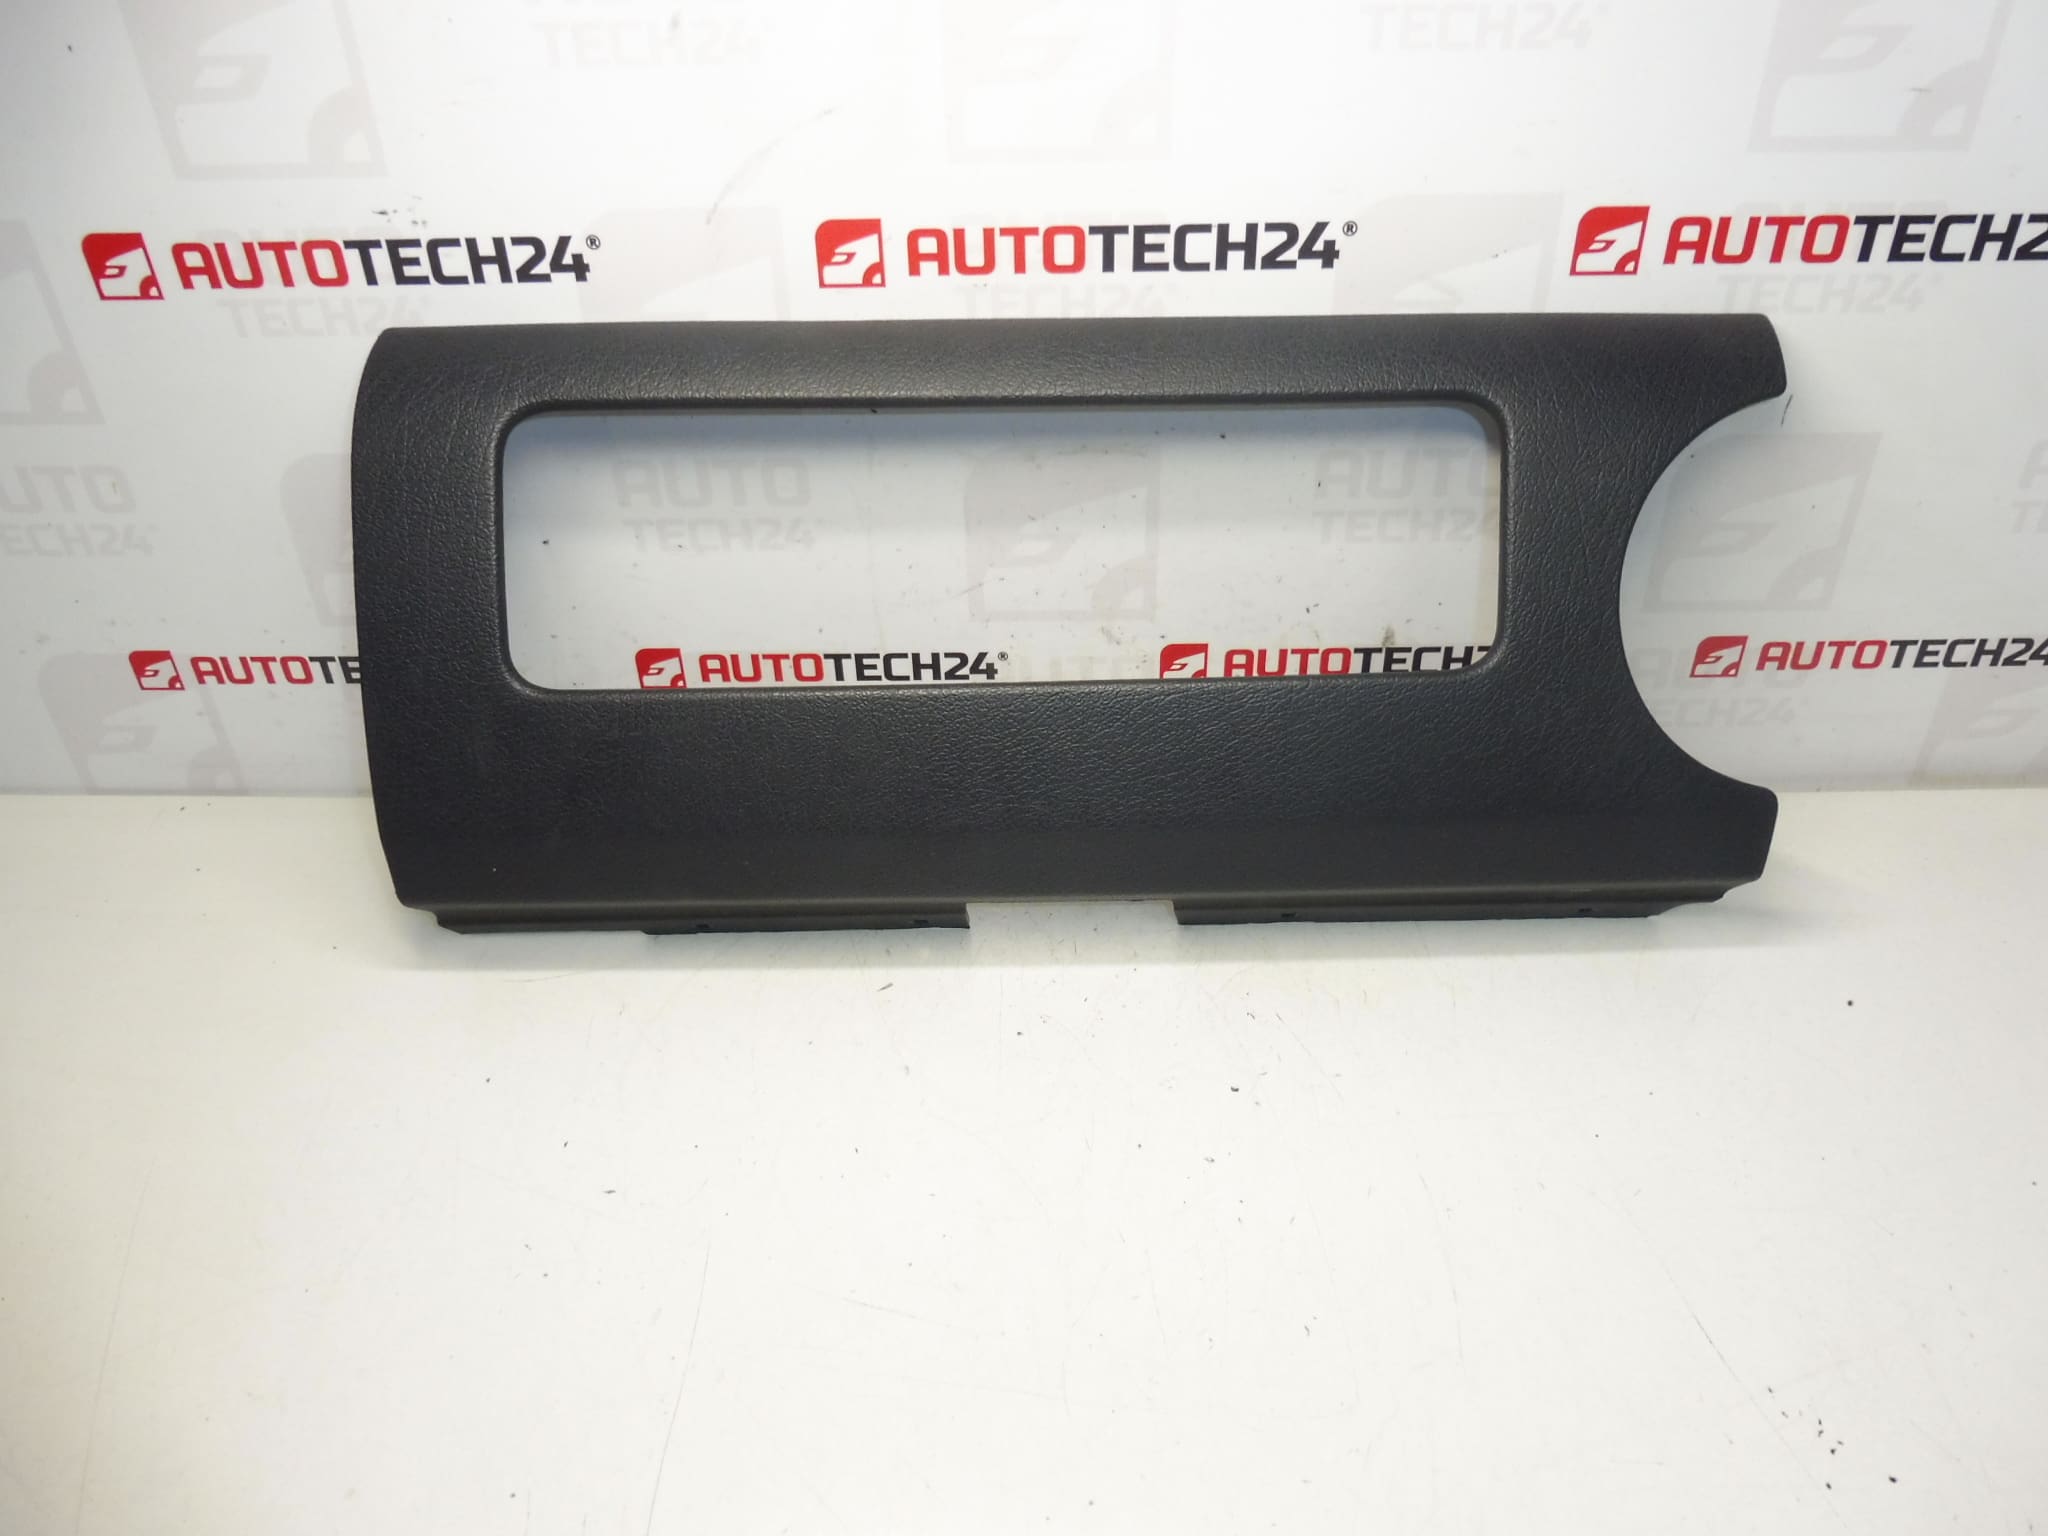
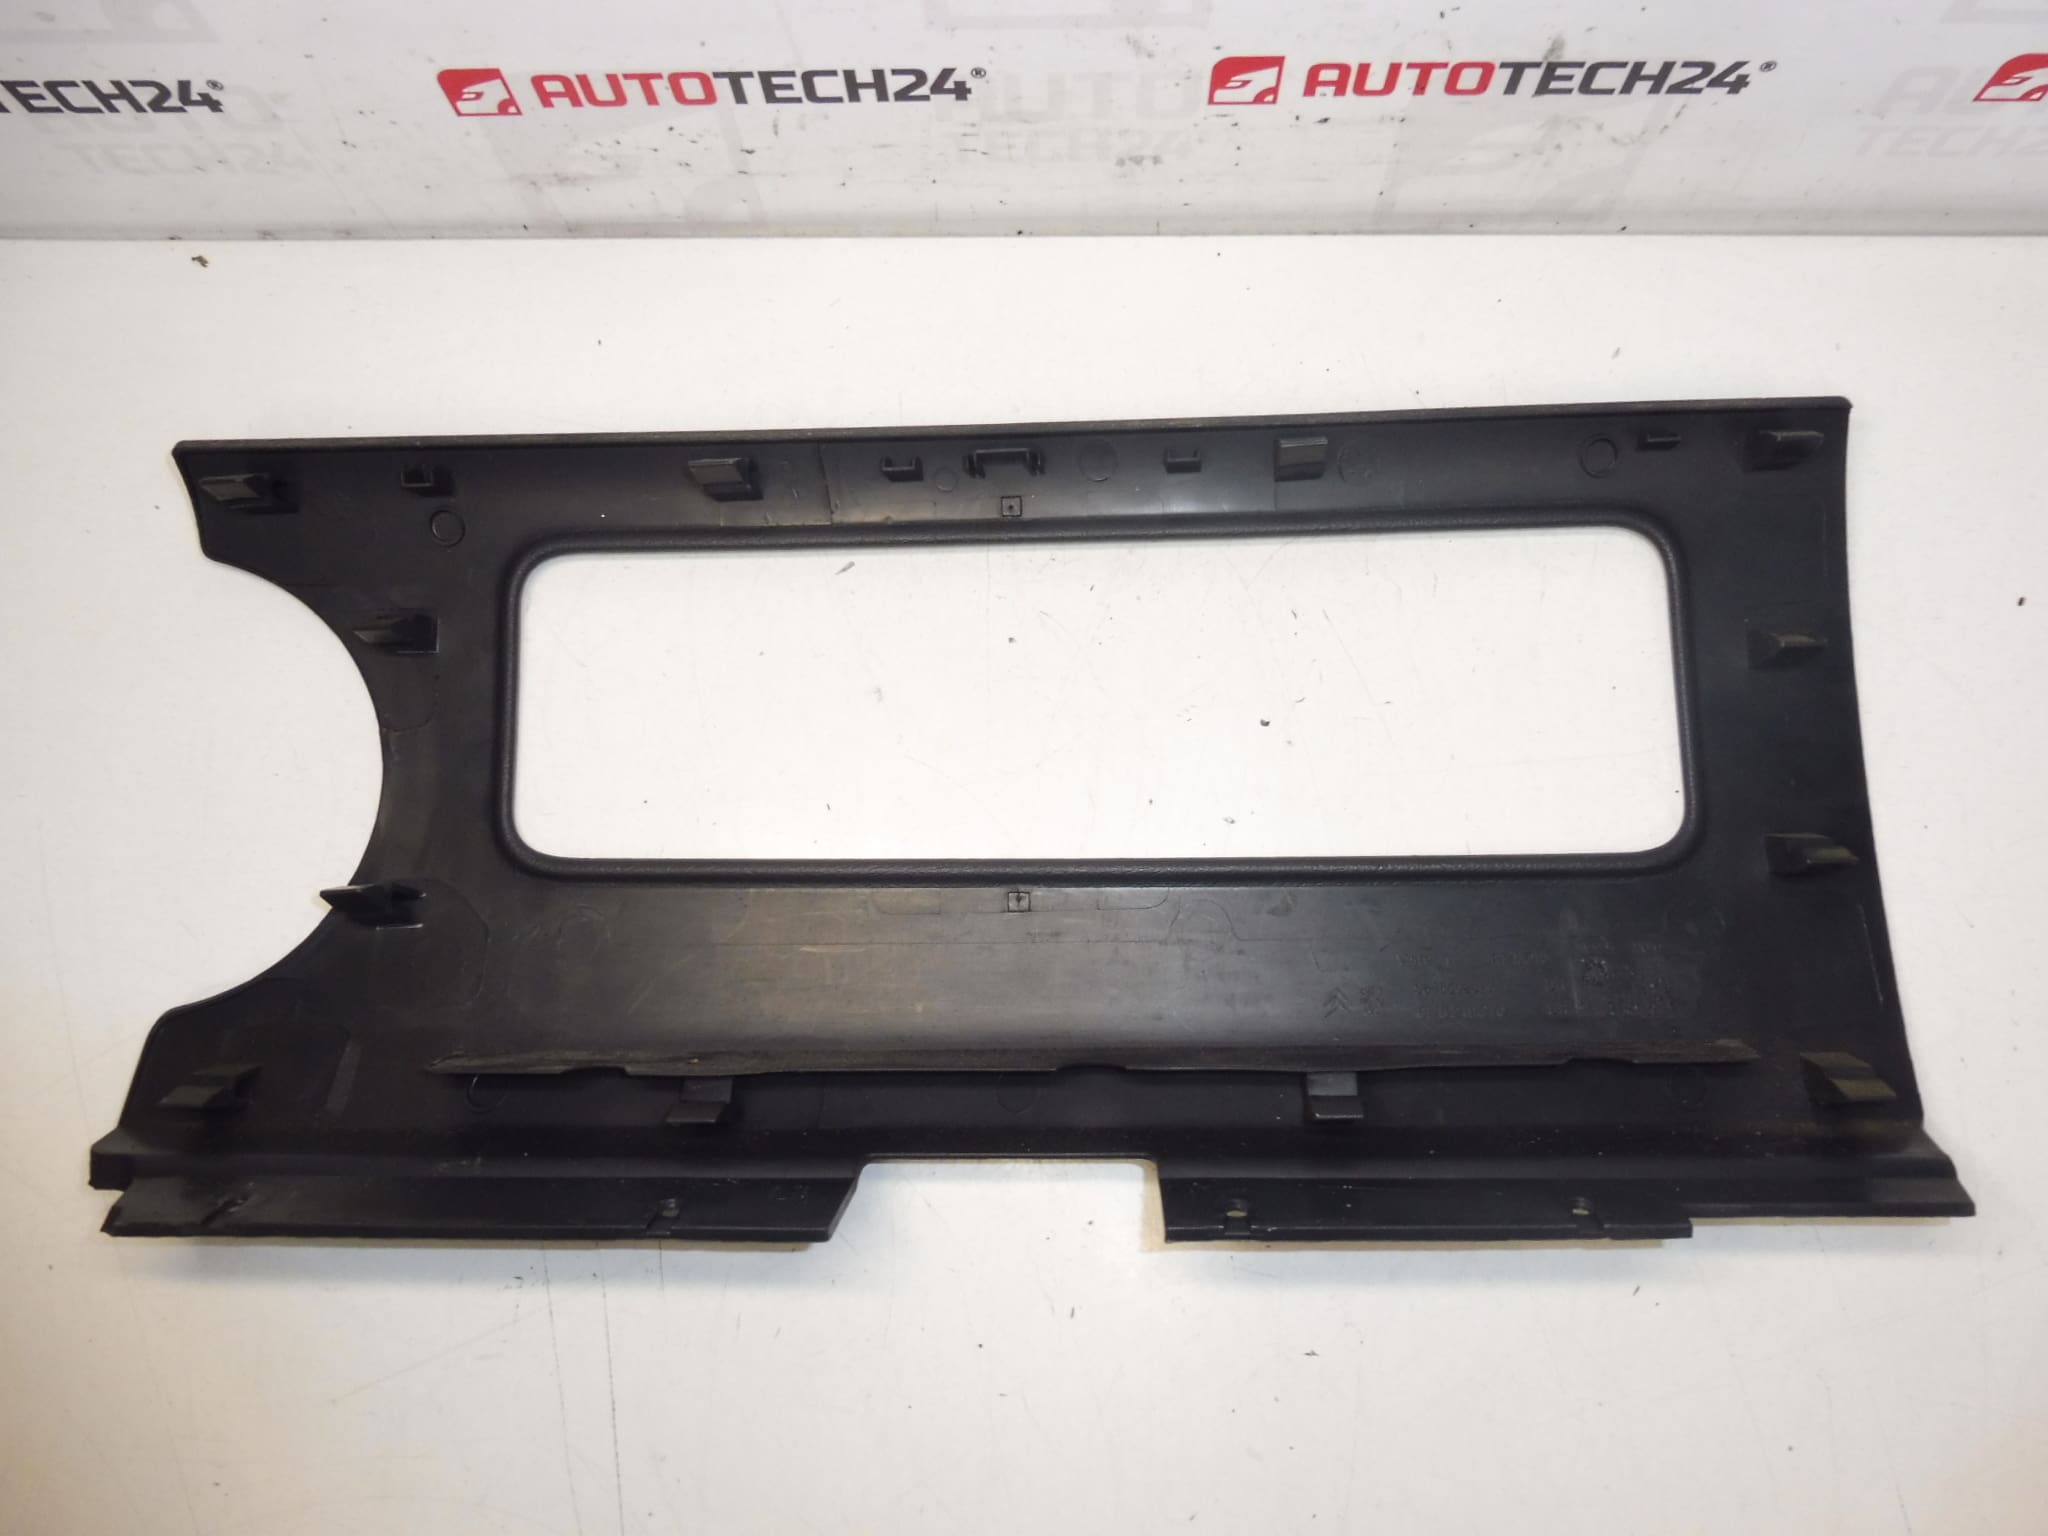
Dashboard panel for CITROEN BERLINGO II and PEUGEOT PARTNER II cars
Color HZE – TRAMONTANE
Part description
This dash panel is designed for Citroën Berlingo II and Peugeot Partner II cars. It is a used original part that is suitable as a replacement for a damaged, worn or visually impaired original interior panel.
Thanks to the original design, it better connects with other parts of the interior and makes it easier to maintain the original appearance of the car. The advantage is also the search according to the specific designation of the part, which will be appreciated by both car repair shops and car owners carrying out self-repairs.
- Original used PSA part
- Color: HZE – TRAMONTANE
- Suitable for repairs after mechanical damage or normal interior wear and tear
- A practical solution when replacing the original panel after cracking, abrasion or deformation
Technical information
- Manufacturer: Stellantis Citroën Peugeot
- Model: Citroën Berlingo II, Peugeot Partner II
- Other numbers: NFP, HZE – TRAMONTANE
Product codes
- Product codes: 9645502377, 822640
- Models from labels/backgrounds: Citroën Berlingo, Peugeot Partner
Installation recommendations
Generally/typically, the exact procedure for replacing the dashboard panel depends on the specific design of the car and the extent of disassembly of the surrounding interior parts. Below is a safe and practical general procedure for this type of part.
1) Before assembly
- Check that the new and original parts match in shape, articulation, color and attachment points.
- Check whether the used panel has cracks, broken handles, deformations or excessively worn contact surfaces.
- Compare all holes, plugs, passages and connecting edges with the old piece.
- If there are small components transferred on the original part, prepare them for relocation before the assembly itself.
2) Necessary tools and materials
- Set of common hand tools
- Plastic levers for panel removal
- Screwdrivers and common heads
- Clean cloth for cleaning the contact surfaces
- Box or organizer for fasteners
3) Step-by-step assembly procedure
- Park the vehicle in a safe place and prepare a work space in the interior.
- Remove the surrounding trim and parts that prevent access to the dashboard panel.
- Continuously store screws, clips and other fasteners so that they are not confused.
- Carefully release the original panel from its mounting without prying unnecessarily over edges that might crack.
- Check the condition of adjacent holders, guide elements and connected plastic parts.
- If necessary, transfer any small parts that are not part of the supplied part from the old panel to the new one.
- Clean the seating surfaces and remove dirt that could cause stress or incorrect seating.
- Sit the new panel first on a clean surface and verify proper alignment with adjacent interior parts.
- After checking the position, fasten the panel with original or matching fasteners.
- Tighten the fasteners evenly to avoid warping or stressing the plastic.
- Reinstall all the removed covers, moldings and related interior parts.
- Perform a final visual inspection of fit, clearances and overall appearance after assembly.
-
4) Post-assembly checks and function verification
- Check that the panel does not stick out anywhere and that it connects correctly to the surrounding parts.
- Verify that nothing rattles, rattles or comes loose during normal handling in the interior.
- Inspect all joints and edges for stress or misalignment.
- After a short ride, check again that the panel is firmly in place and there are no squeaks.
5) The most common assembly mistakes + how to avoid them
- Exchanging a part based on appearance: always compare product codes and attachment points as well.
- Damage to the handles during disassembly: use plastic levers and do not pry the part with force.
- Mounting on dirty seating surfaces: clean everything thoroughly before seating.
- Uneven tightening: fasten the panel gradually and with feeling.
- Overcoming hairline cracks: carefully inspect the used part from all sides before assembly.
Reasons why the part is damaged
- Normal interior wear during long-term use of the vehicle
- Mechanical damage during careless disassembly or assembly of subsequent parts
- Plastic cracking due to the age of the material and temperature changes
- Abrasions, scratches and visual damage caused by daily use
- Damage after impact or when transporting bulky objects in the cabin