Description
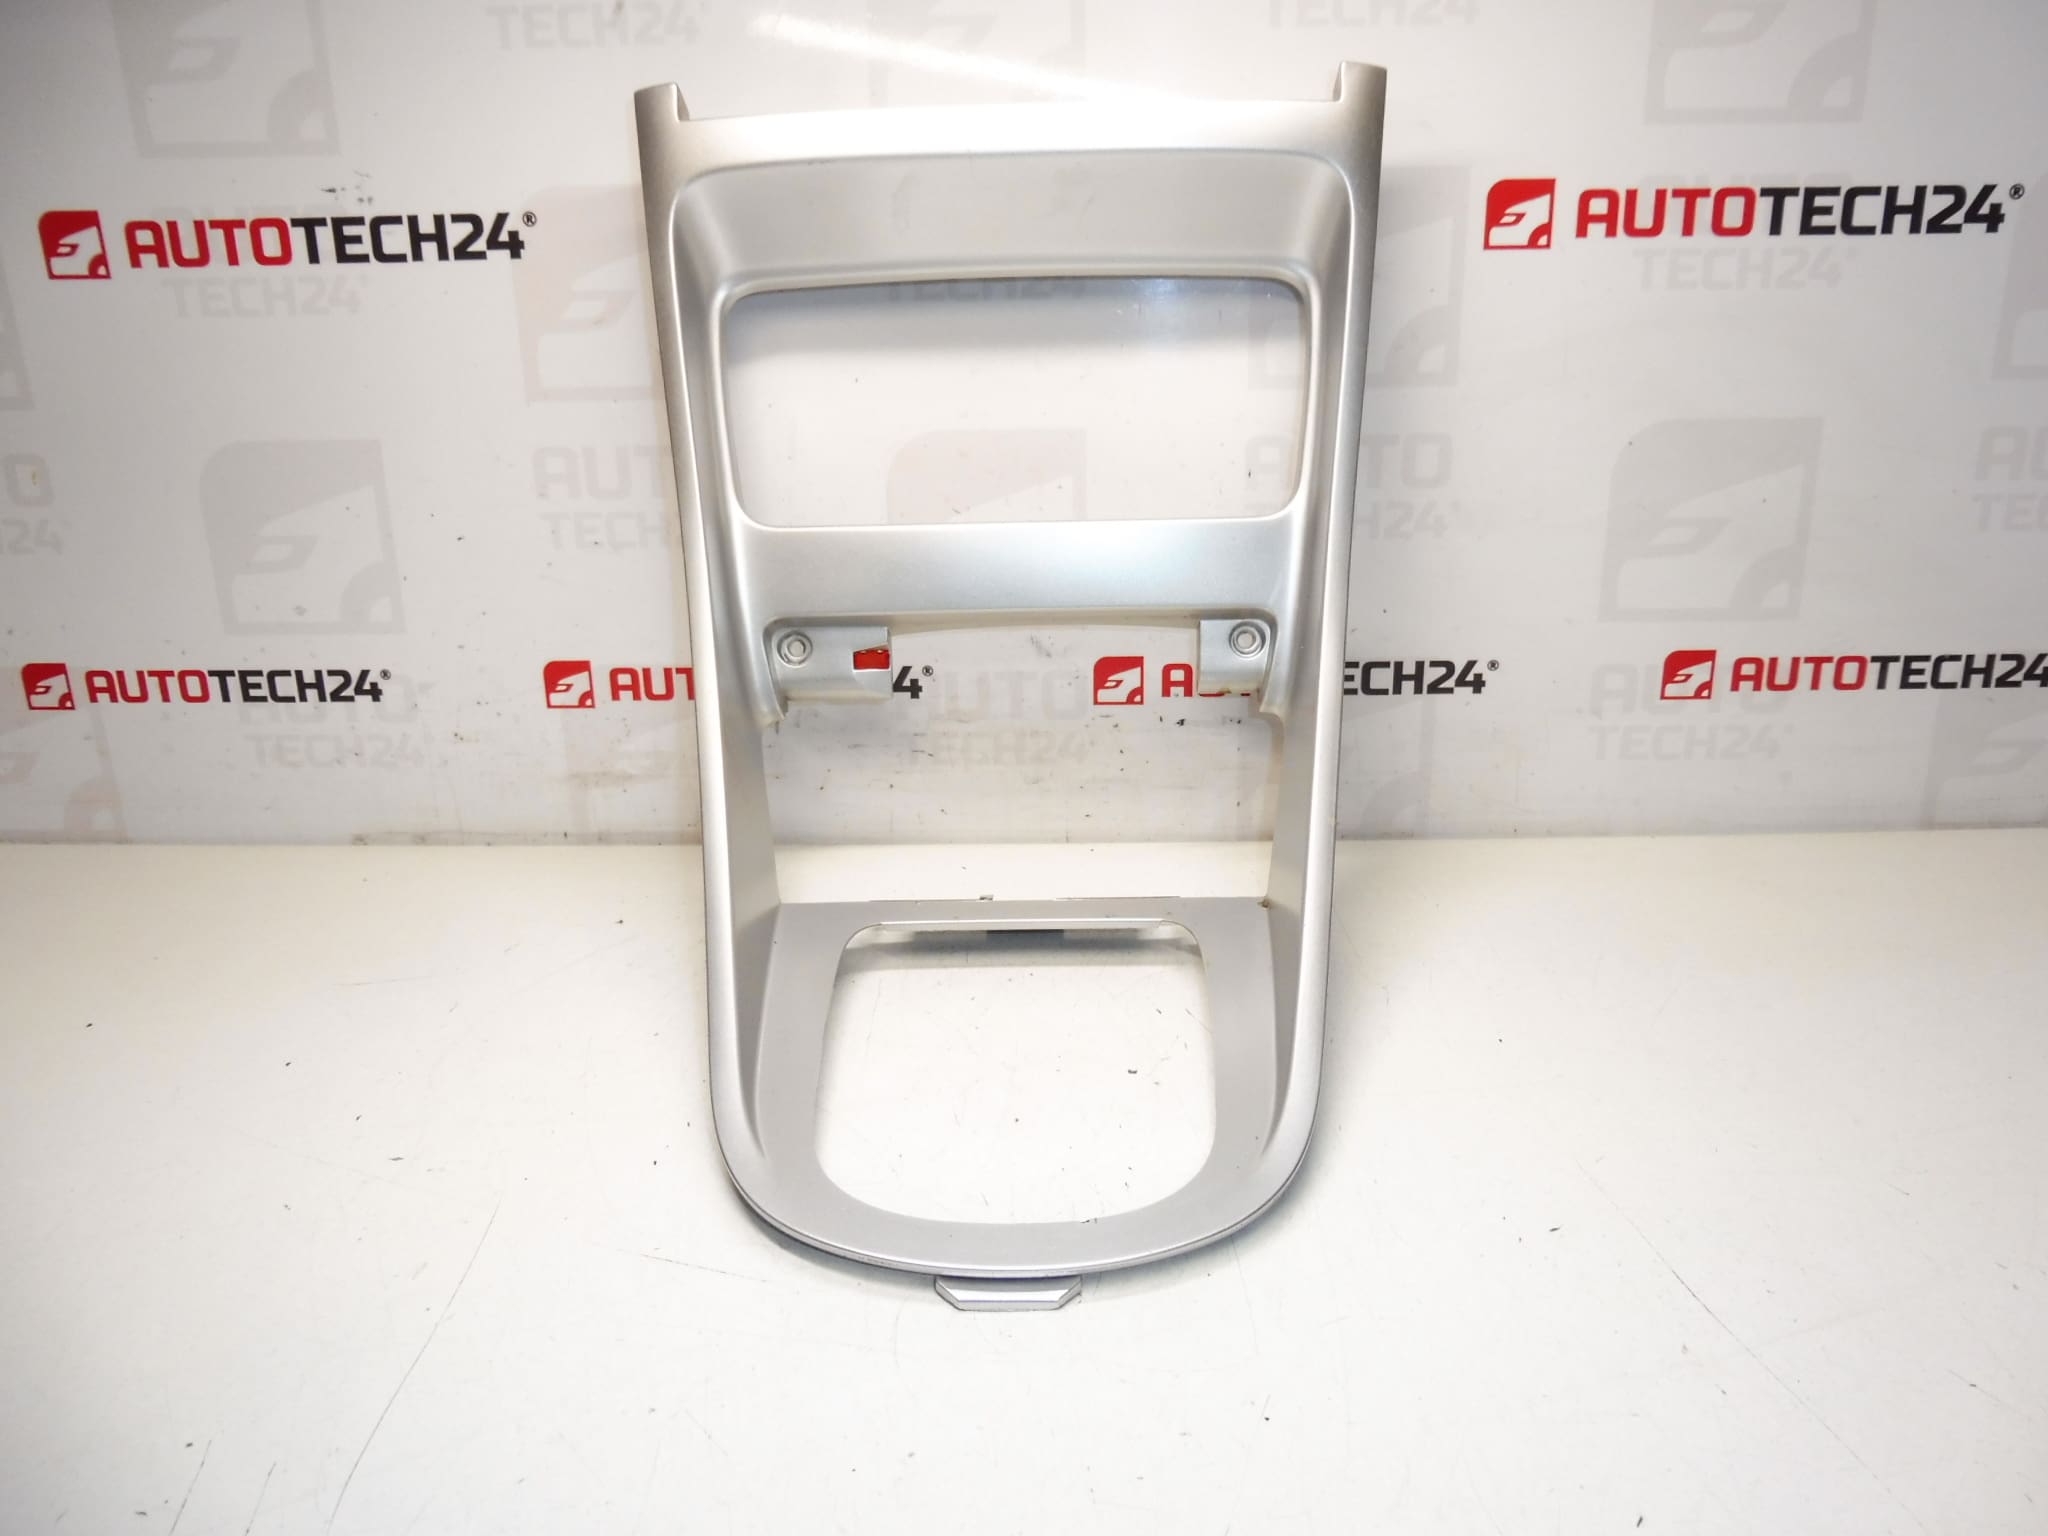
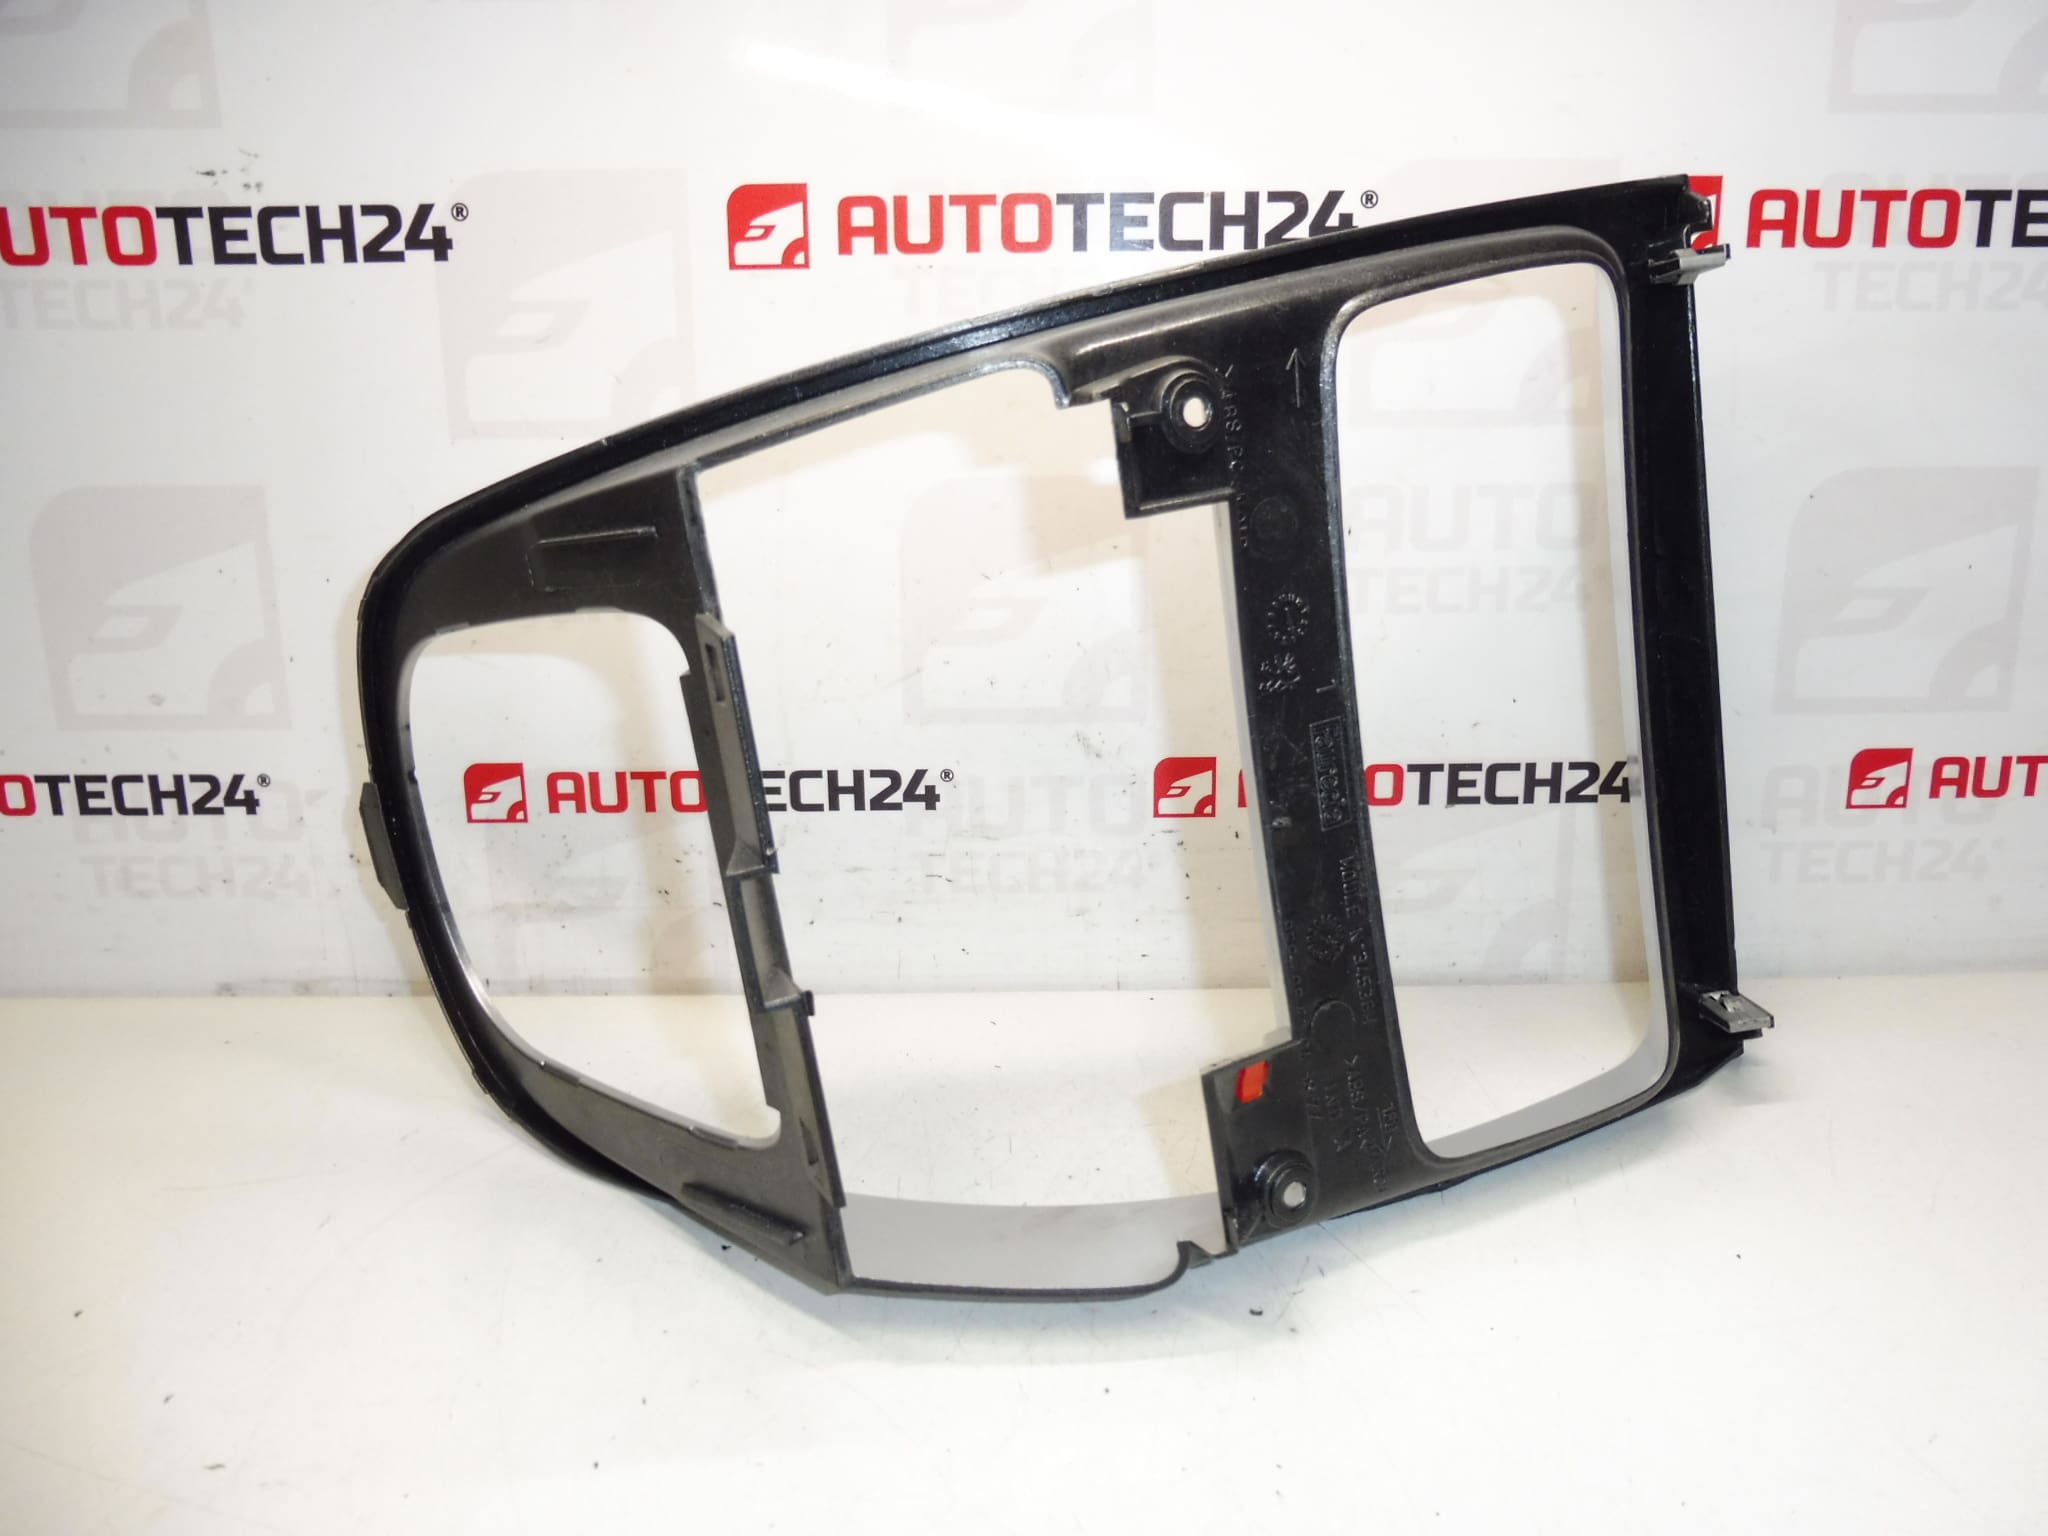
Dashboard panel around the gear lever for Peugeot 307. Finish HVV – Grey Lion Silver. Used part, may show light signs of wear.
Overview
This gear lever surround (center console trim) is designed for Peugeot 307 models and restores the interior appearance while retaining factory fitment and alignment. The panel provides a finished look around the gearshift, secures the gear gaiter, and may incorporate mounting points for small switches or accessories depending on vehicle specification. Commonly searched under part numbers 9651943877 and 8211HT.
Technical Information
- Manufacturer: Stellantis (Citroën/Peugeot)
- Model: Peugeot 307
- Product Codes: 9651943877, 8211HT
- Other Numbers: HVV, Grey Lion Silver, NFP
Function
The panel functions as an aesthetic and protective trim around the gear lever. It secures the gear gaiter, hides mechanical linkages, reduces cabin noise from the transmission tunnel, and provides mounting for switches or trim features. Although primarily cosmetic, it contributes to a correctly assembled center console and prevents dirt ingress into the shift mechanism area.
Common Failure Modes
These panels most commonly fail due to broken mounting tabs or clips caused by improper removal or impact. Cosmetic wear such as scratches, scuffs, fading from sunlight, and abrasion around the gear lever opening are frequent, especially on higher-mileage vehicles. In used parts, light signs of usage are normal; structural damage usually appears as cracked or missing retaining tabs that produce rattles or loose fitment.
Replacement Guide
Typical steps for replacement (for experienced mechanics or competent DIYers):
- Put the vehicle in a safe state: parking brake on and ignition off.
- Remove the gear shift knob and the gaiter/boot. Some knobs unscrew, others have retaining clips—inspect before forcing.
- Remove any visible screws securing the trim (check around ashtray, cup holder or lower console area).
- Use plastic trim removal tools to gently pry up the panel from the front and sides, releasing the retaining clips without damaging surrounding surfaces.
- If the panel contains switches or illumination, carefully disconnect electrical connectors before full removal.
- Fit the replacement panel by aligning the clips and pressing evenly until fully seated; reinstall screws, gaiter and shift knob.
- Check functionality of any switches and ensure the gear lever moves freely through all gates.
Estimated time: 20–40 minutes depending on vehicle configuration and presence of electrical components.
Installation Recommendations
- Use non-marring plastic trim tools to avoid scratching nearby surfaces.
- Inspect and, if necessary, replace broken or brittle retaining clips to ensure a secure fit and eliminate rattles.
- Clean mating surfaces and remove debris before installation to ensure flush alignment.
- If the part contains electrical connectors or illumination, disconnect the battery before working on the wiring and follow standard safety procedures.
- Test all functions (shift operation, switches, illumination) after installation.
Why This Part Usually Fails
Failure is most often cosmetic or due to mechanical damage to mounting points. Repeated removal without proper tools, impact from objects in the cabin, or degradation of plastic clips over time leads to loose fitment and rattling. Sun exposure and general wear around the shift opening also accelerate visual deterioration.