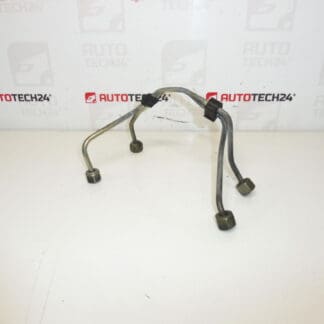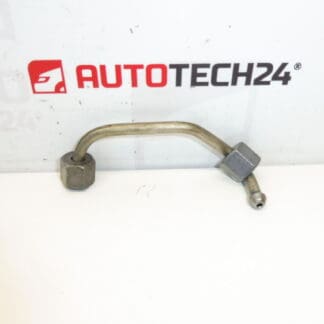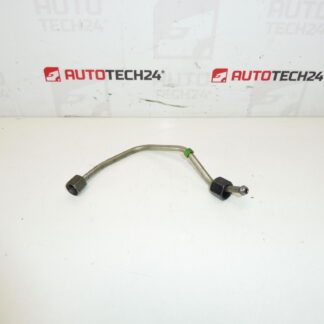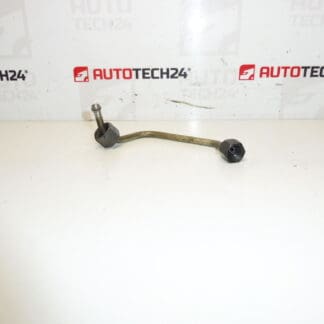
Description
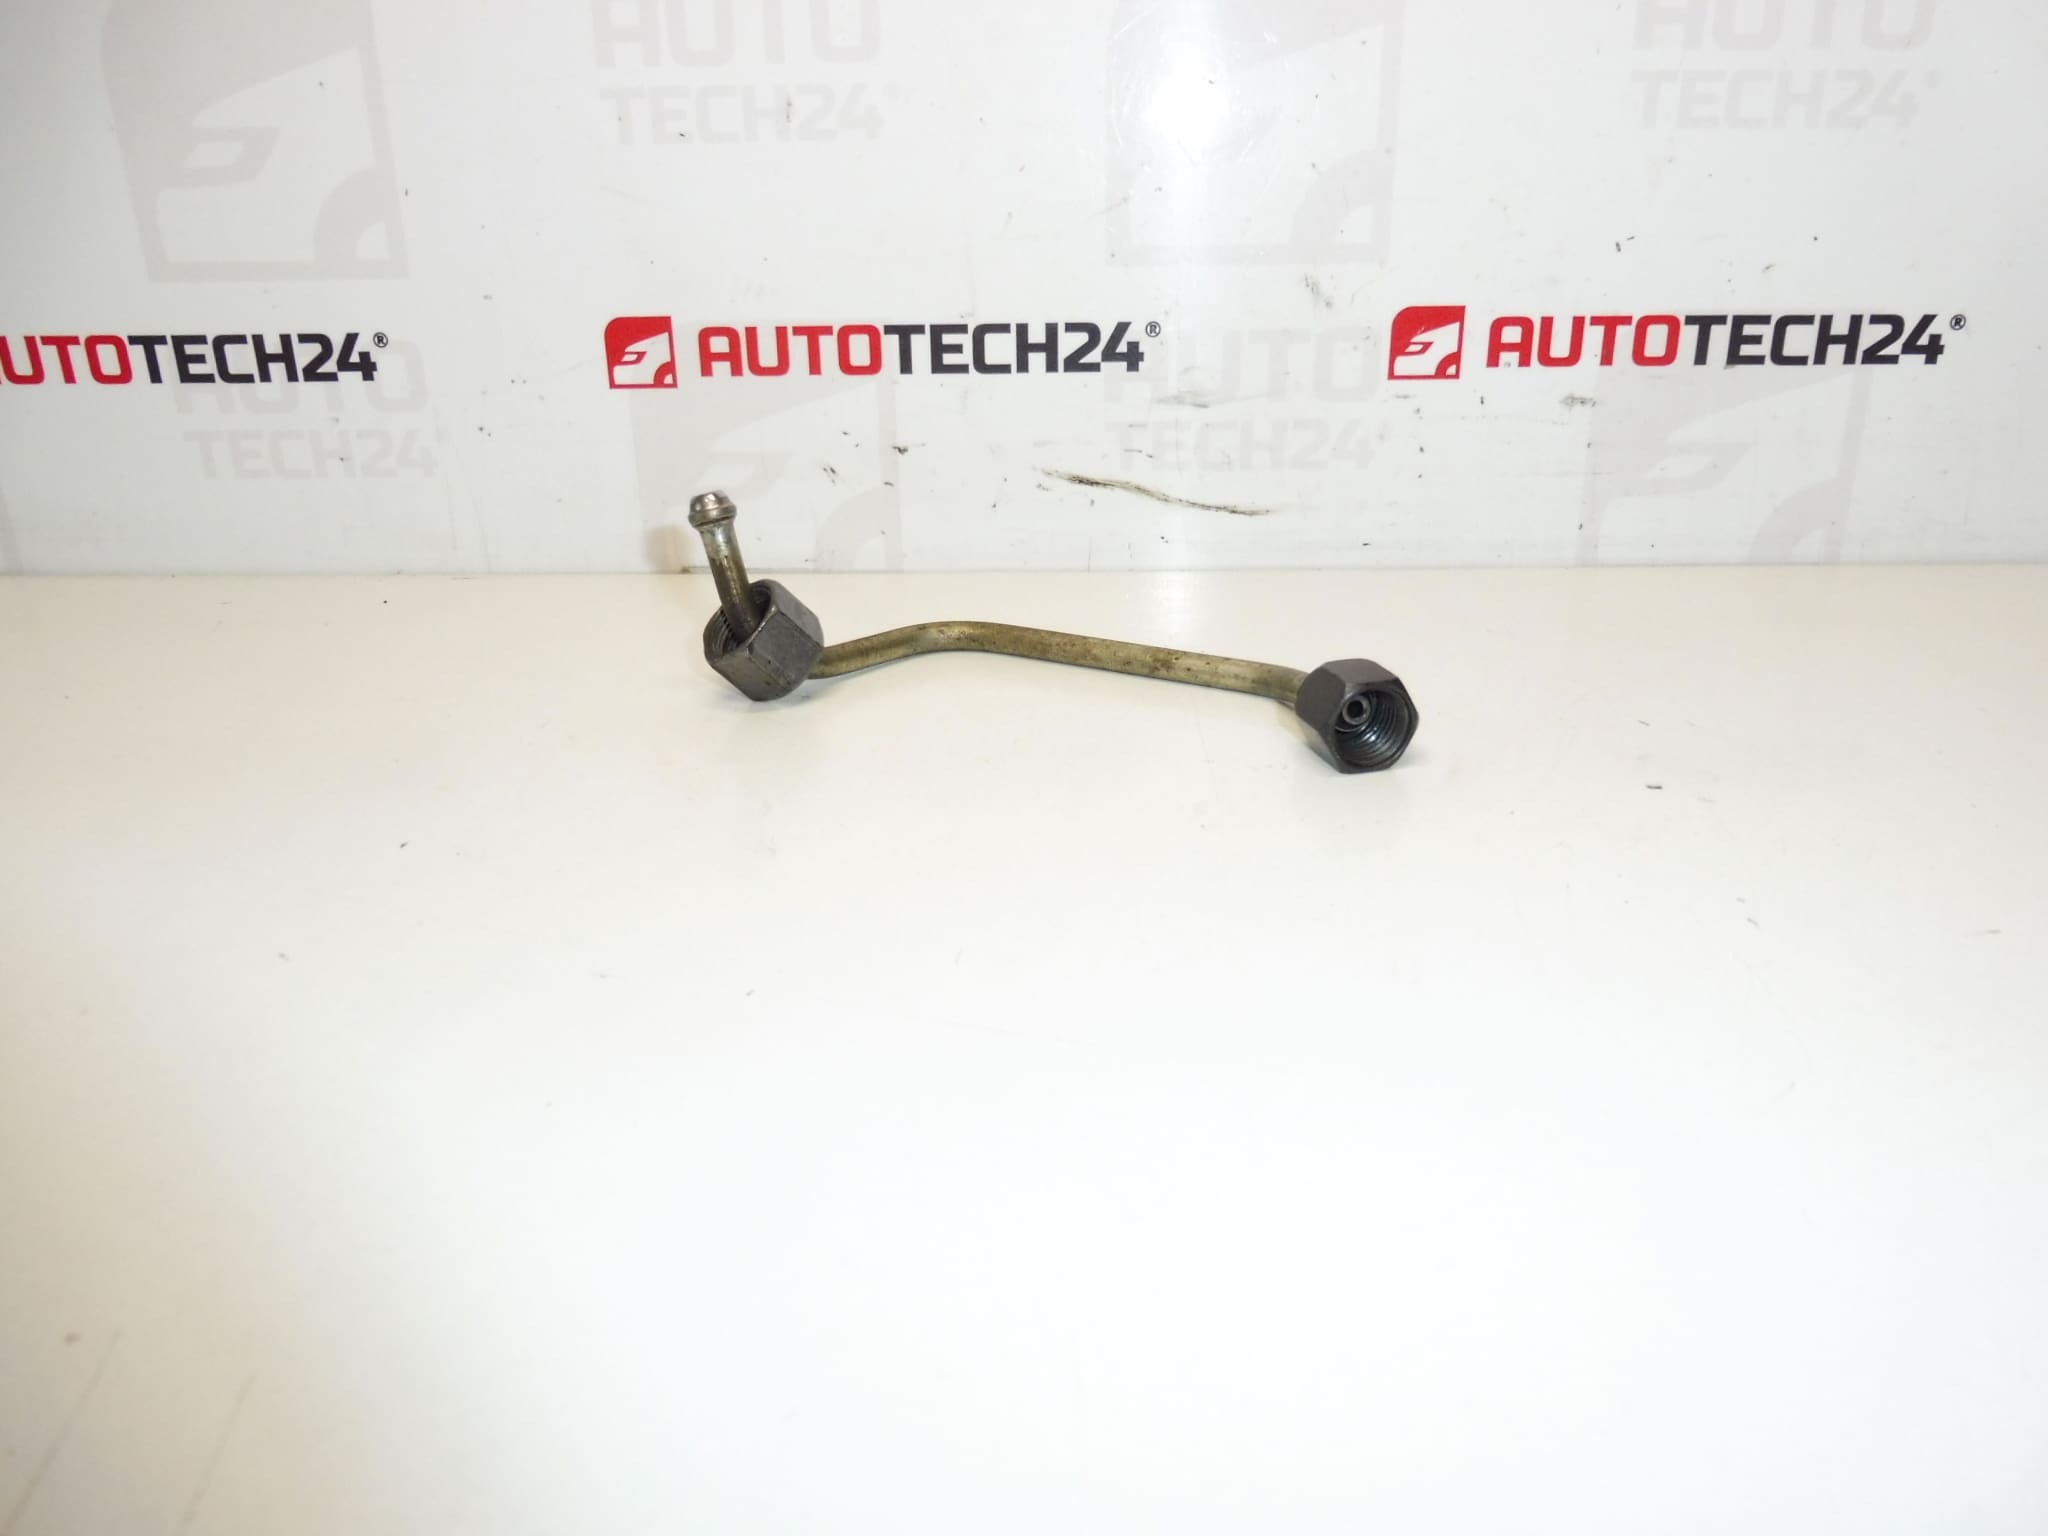
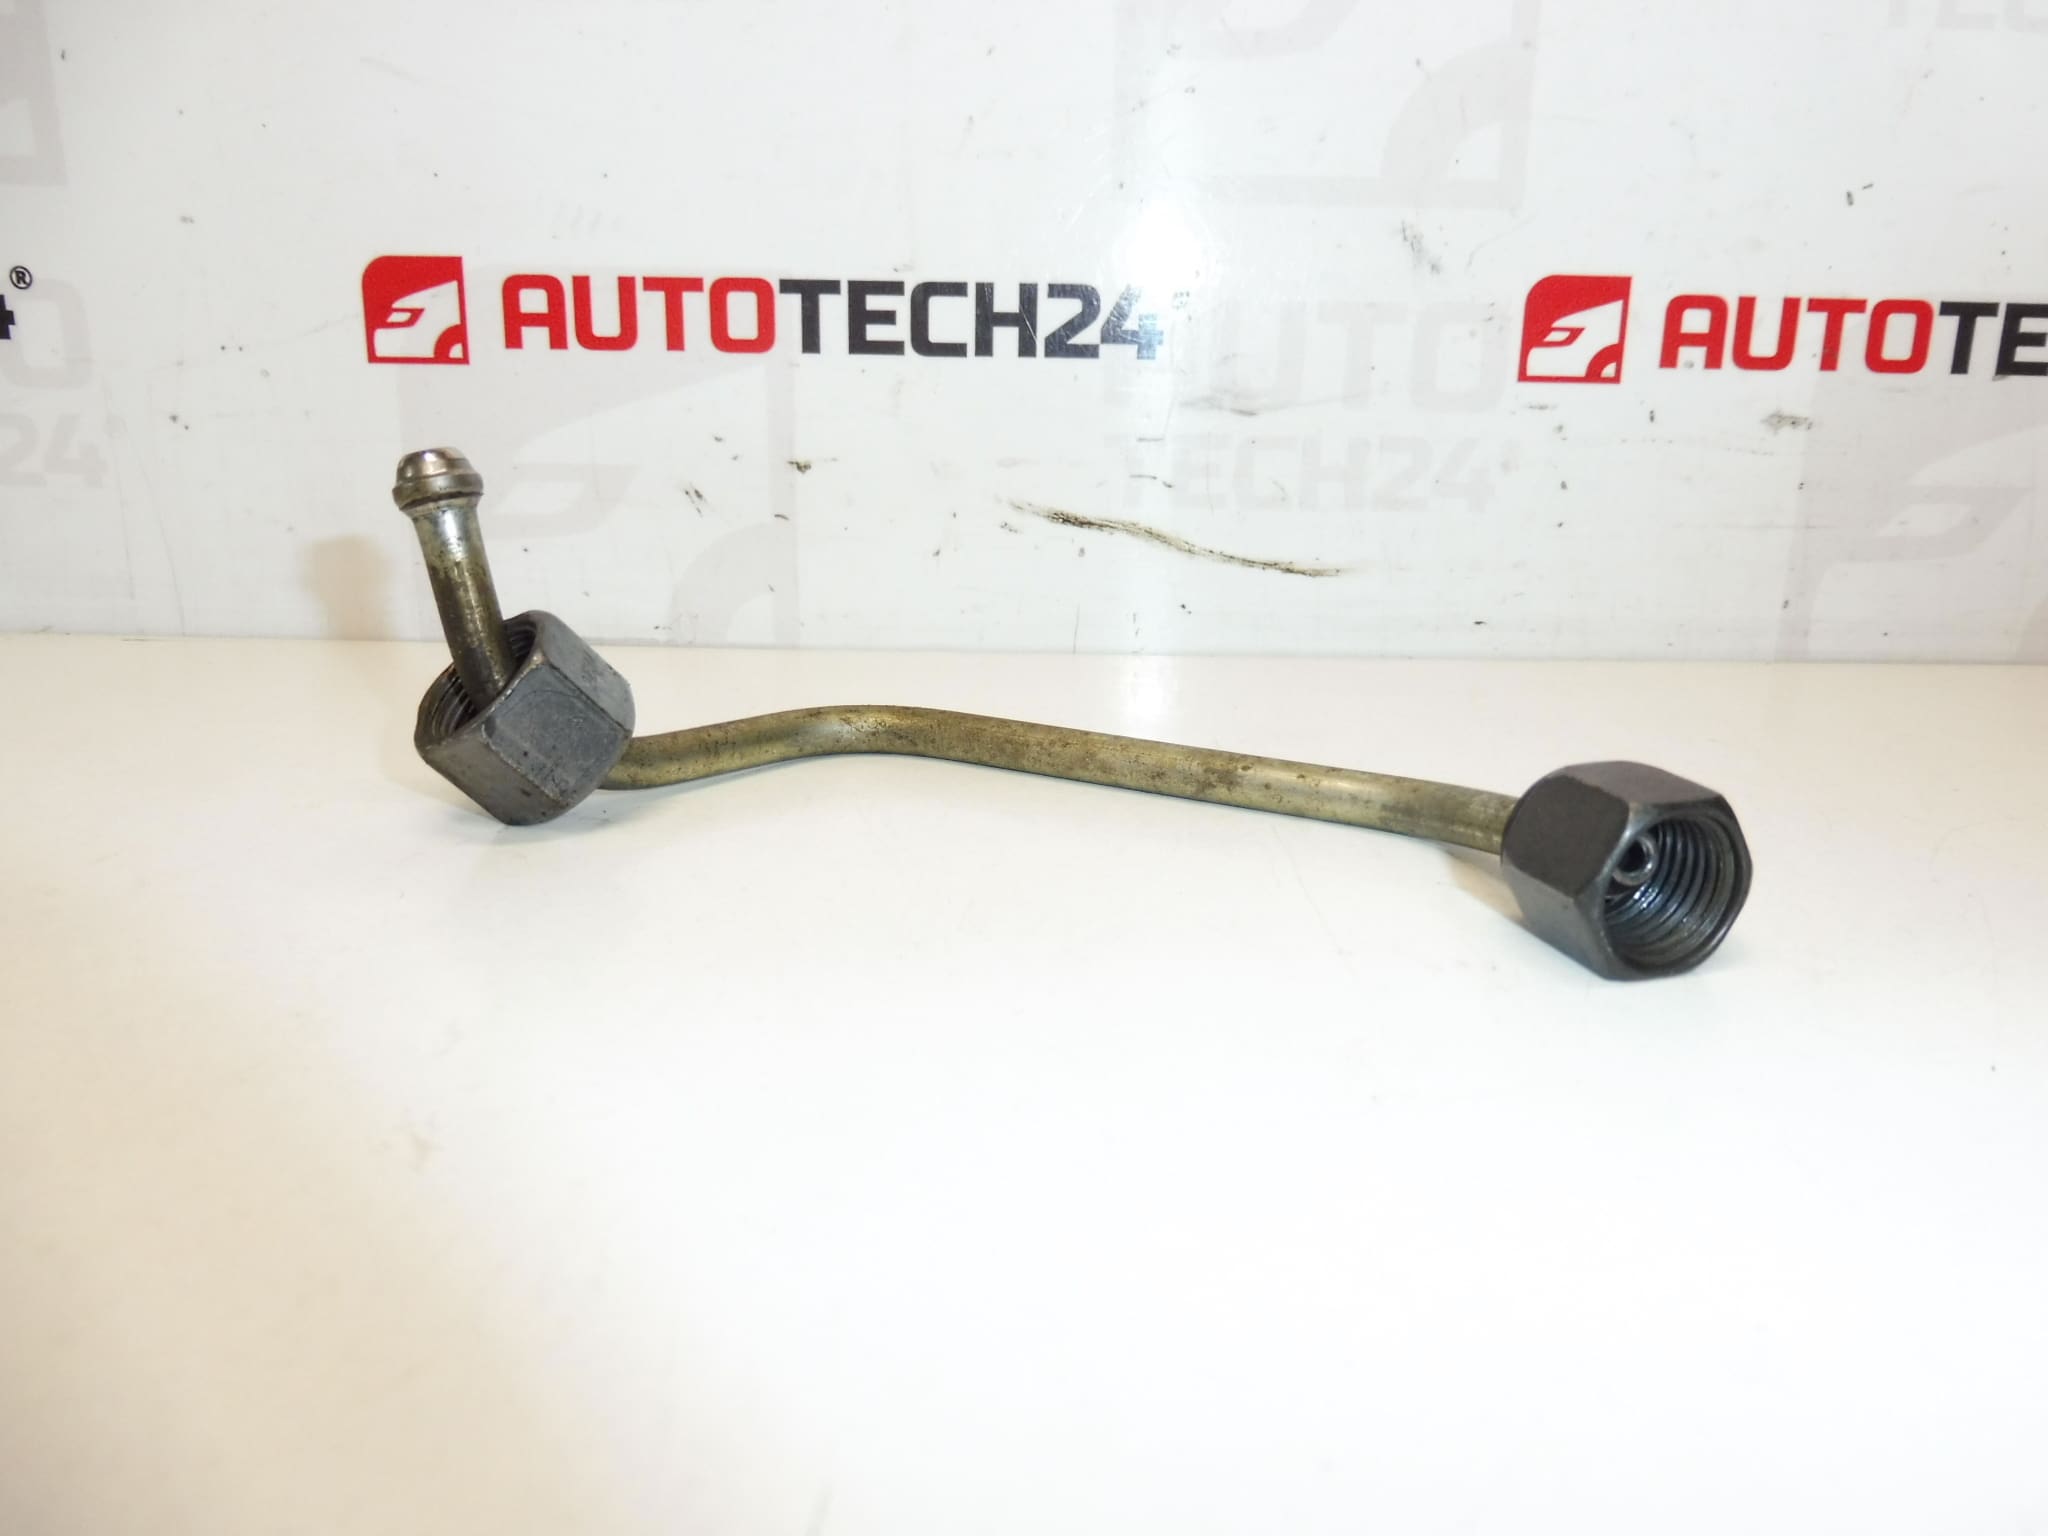
Outlet pipe for injection pump BOSCH engines 1.4 HDI and 1.6 HDI eHDI
Part description
Used RAIL outlet pipe from high pressure injection pump for Citroën and Peugeot cars. The documents indicate the use of 1.4 HDI and 1.6 HDI eHDI engines with a BOSCH injection pump. The pipe ensures the fuel line in the high-pressure part of the injection system, where the integrity of the line and the tightness of the joints are essential.
When choosing, follow the markings 9804226780 and 1570Q3 and compare them with the original part. The engine designation alone is not enough to determine suitability for a specific car design. This part represents the possibility of replacing the damaged line, if its condition and the rules of the vehicle manufacturer allow reassembly.
Technical information
- Manufacturer: not specified; BOSCH is listed in the documents as the manufacturer of the injection pump.
- Model: not specified; brands Citroën and Peugeot are listed.
- Engine according to documents: 1.4 HDI and 1.6 HDI eHDI.
- Type of part: pump outlet pipe, RAIL system accessory.
- Condition: used part.
- Other numbers: not specified.
Product codes
- Product codes: 9804226780, 1570Q3.
- Model names: not listed.
Compare the numbers with the designation of the original part and the relevant service documentation. Also check the shape of the line, the design of the terminals and the attachment.
Installation recommendations
In general, the following applies to this type of part: work on high-pressure fuel lines requires consistent cleanliness and safe depressurization. The exact procedure depends on the specific model and design of the car. We recommend professional installation. If the manufacturer prescribes the use of a new pipe after disassembly, do not reassemble the used part.
1) Before assembly
- Compare the product numbers, shape, length arrangement, end caps and possible attachment points with the old piece.
- Inspect the threads, mating surfaces and the entire line. Do not use a tube with cracks, dents, significant corrosion or damaged ends.
- Check the cleanliness of the interior. If you suspect fouling or metal particles, do not mount the part without a professional assessment.
- Find out the cause of the original defect so that it does not recur after the replacement.
2) Necessary tools and materials
In general, suitable wrenches for pipe joints, a torque wrench, protective glasses and gloves, means for cleaning the area around the joints, lint-free cloths, clean protective plugs and a container for catching residual fuel are needed. Look for the tightening regulations in the documentation of the specific vehicle.
3) Step-by-step assembly procedure
- Immobilize the vehicle, turn off the engine and let it cool down. Work in a ventilated area without sources of ignition.
- According to the manufacturer’s service procedure, safely depressurize the fuel system and secure the vehicle against unintentional starting. Do not release the pressure by loosening the joints.
- Access the wiring according to the car’s documentation and record its original route and attachment.
- Thoroughly clean the surroundings of all disconnected places so that dirt does not get into the injection system.
- Use a suitable tool to release the connections and any holders. Prevent force transfer to downstream components.
- Remove the original pipe without violence and immediately protect the open connections with clean plugs.
- Compare both parts again and check the mating surfaces of the counterparts. Resolve newly detected corruption before continuing.
- Sit the replacement tube in its natural position without tension. Do not bend it, put the threads on by hand first and do not use non-prescribed sealants.
- Tighten the joints and fasteners in the order and according to the values prescribed by the manufacturer. Return the disassembled surrounding components.
- Restore the operating state and carry out the prescribed procedure for filling or venting the system. Do not allow high-pressure connections for venting.
-
4) Post-assembly checks and function verification
Check fastening, strain-free routing and clearance from surrounding components. After start-up, check for leaks using a safe procedure according to the service documentation. Never look for leaks of high-pressure fuel by hand or touch. In the event of a leak, immediately switch off the engine and safely depressurize the system again before further work. Do a short test drive only after a successful inspection; then repeat the check.
5) The most common assembly errors and prevention
- Dirty in the connections: clean the surroundings before disconnecting and use plugs.
- Force seating or bowing: solve the shape mismatch by choosing the right part, not modifying it.
- Crossed thread or incorrect tightening: start by hand and follow the manufacturer’s instructions.
- Reusing an inadmissible pipe: respect the rules for replacing the high-pressure line for the specific car.
Reasons why the part is damaged
The following causes generally come into consideration for this type of management; it is not a description of the condition of the offered piece:
- Vibration and fatigue stress with missing or loose attachment.
- Assembly with tension, inappropriate bending or contact with surrounding components.
- Corrosion and mechanical damage during previous repairs.
- Damage to threads and sealing surfaces due to incorrect tightening or repeated handling.
- Impurities in the joints that can impair their tightness.