Description
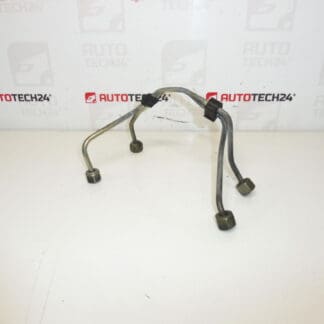
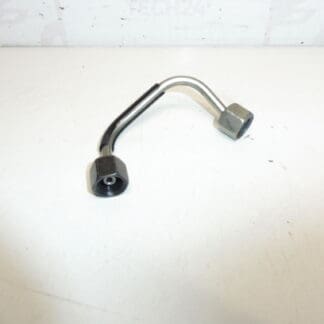
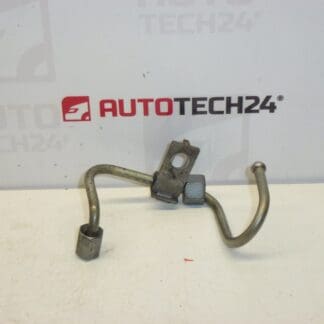
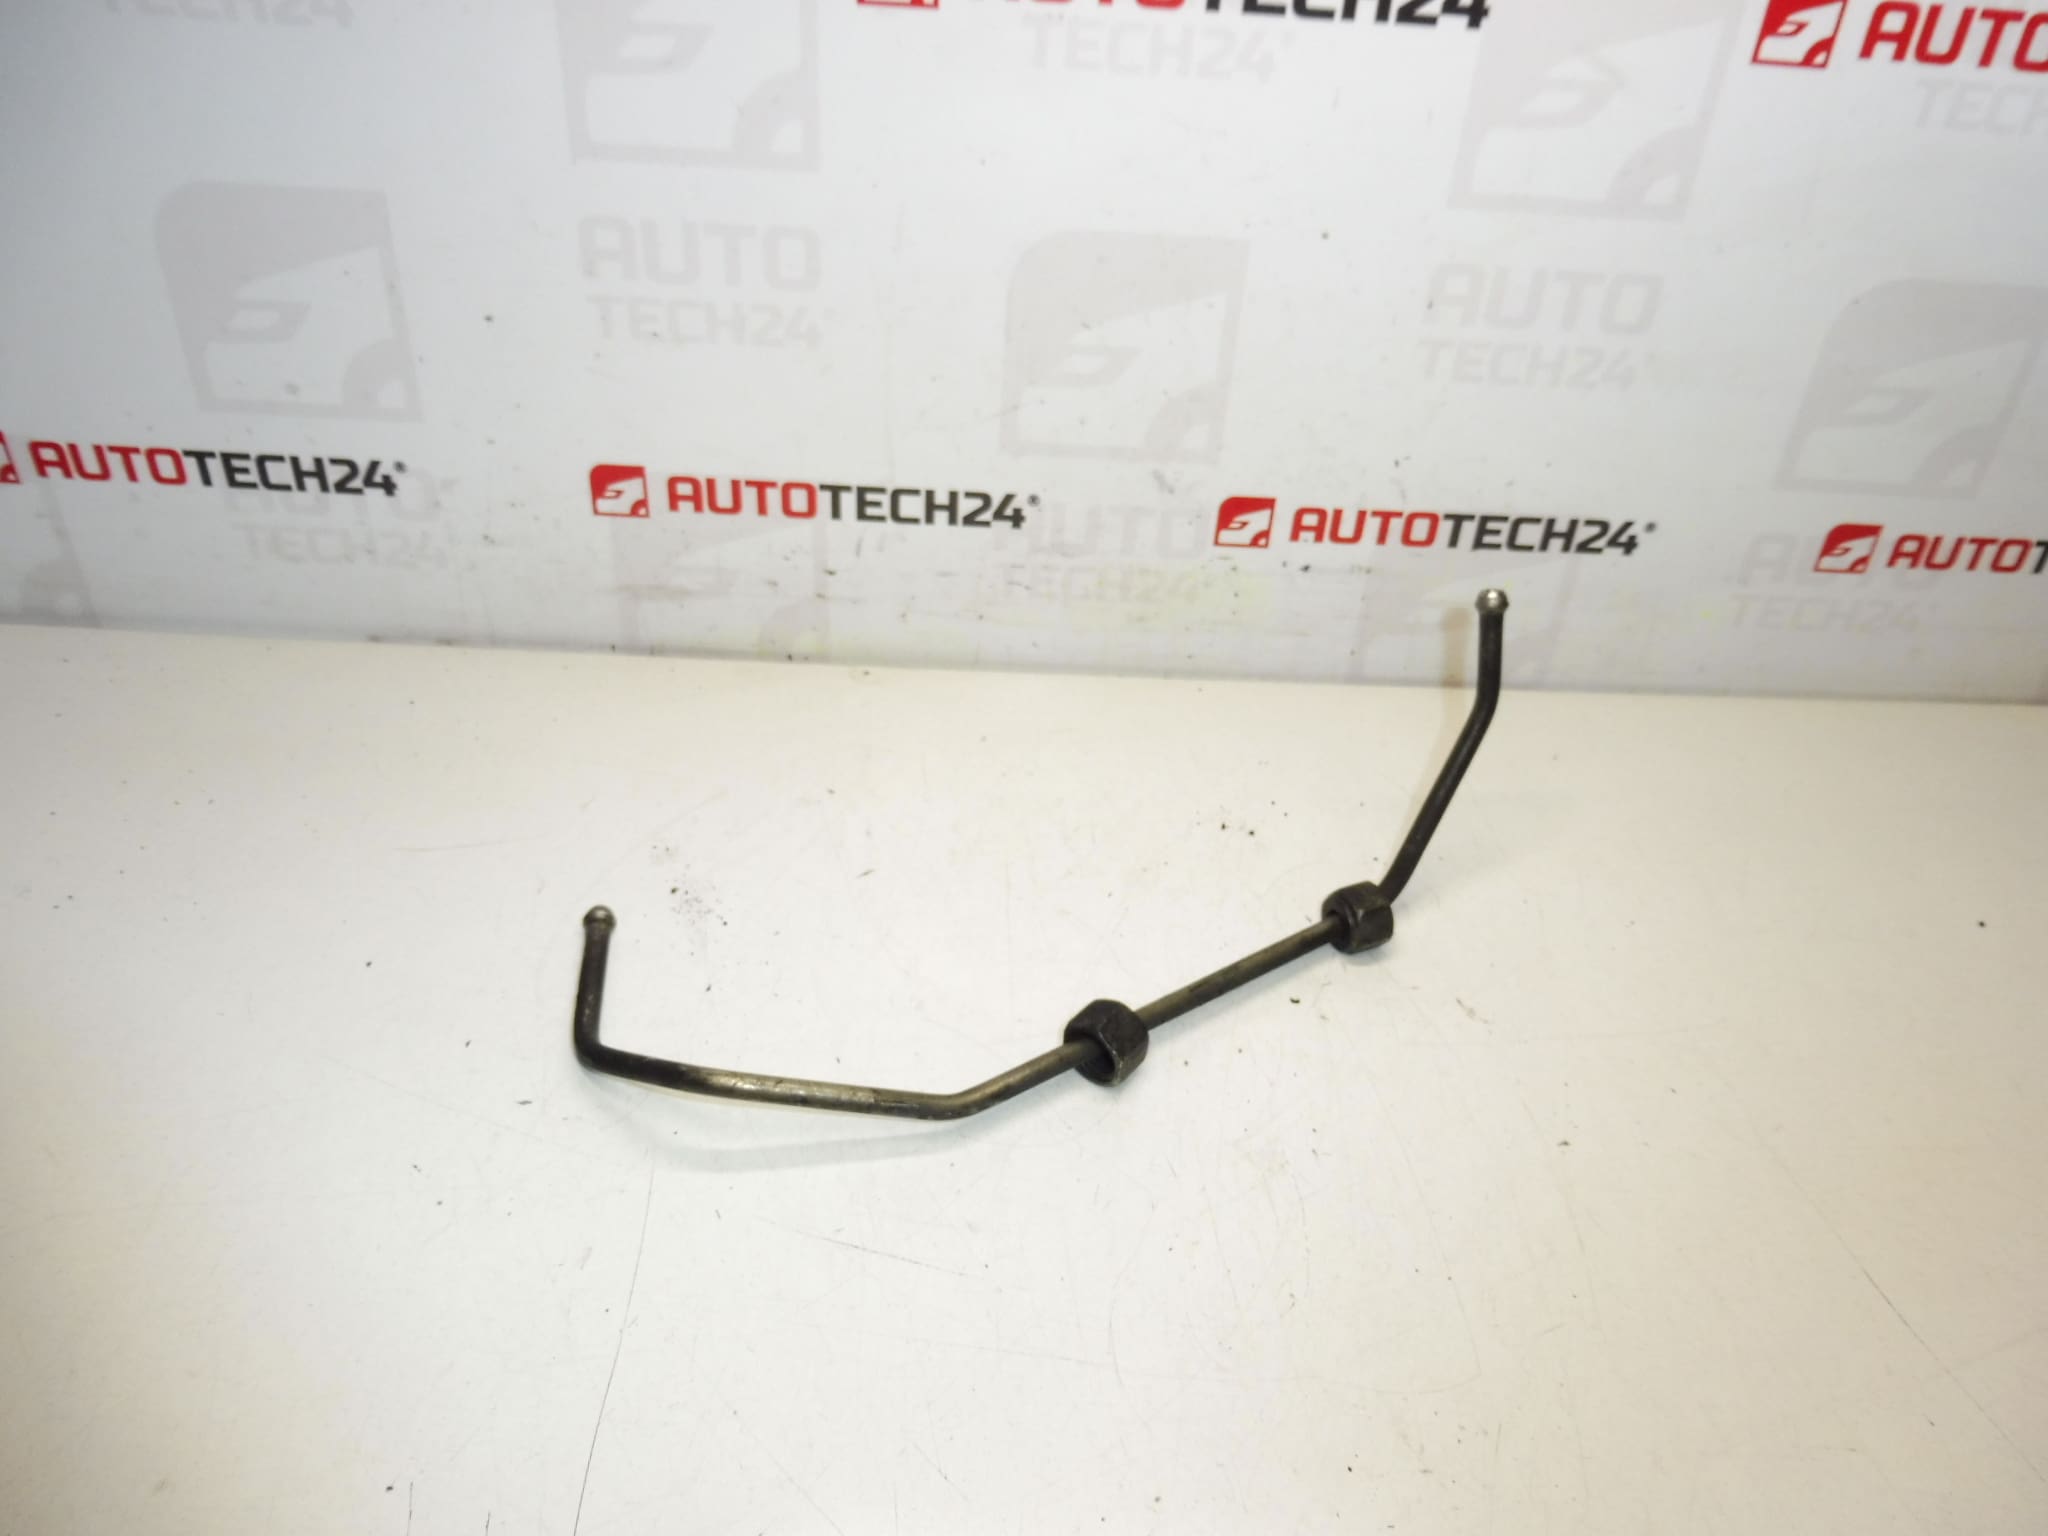
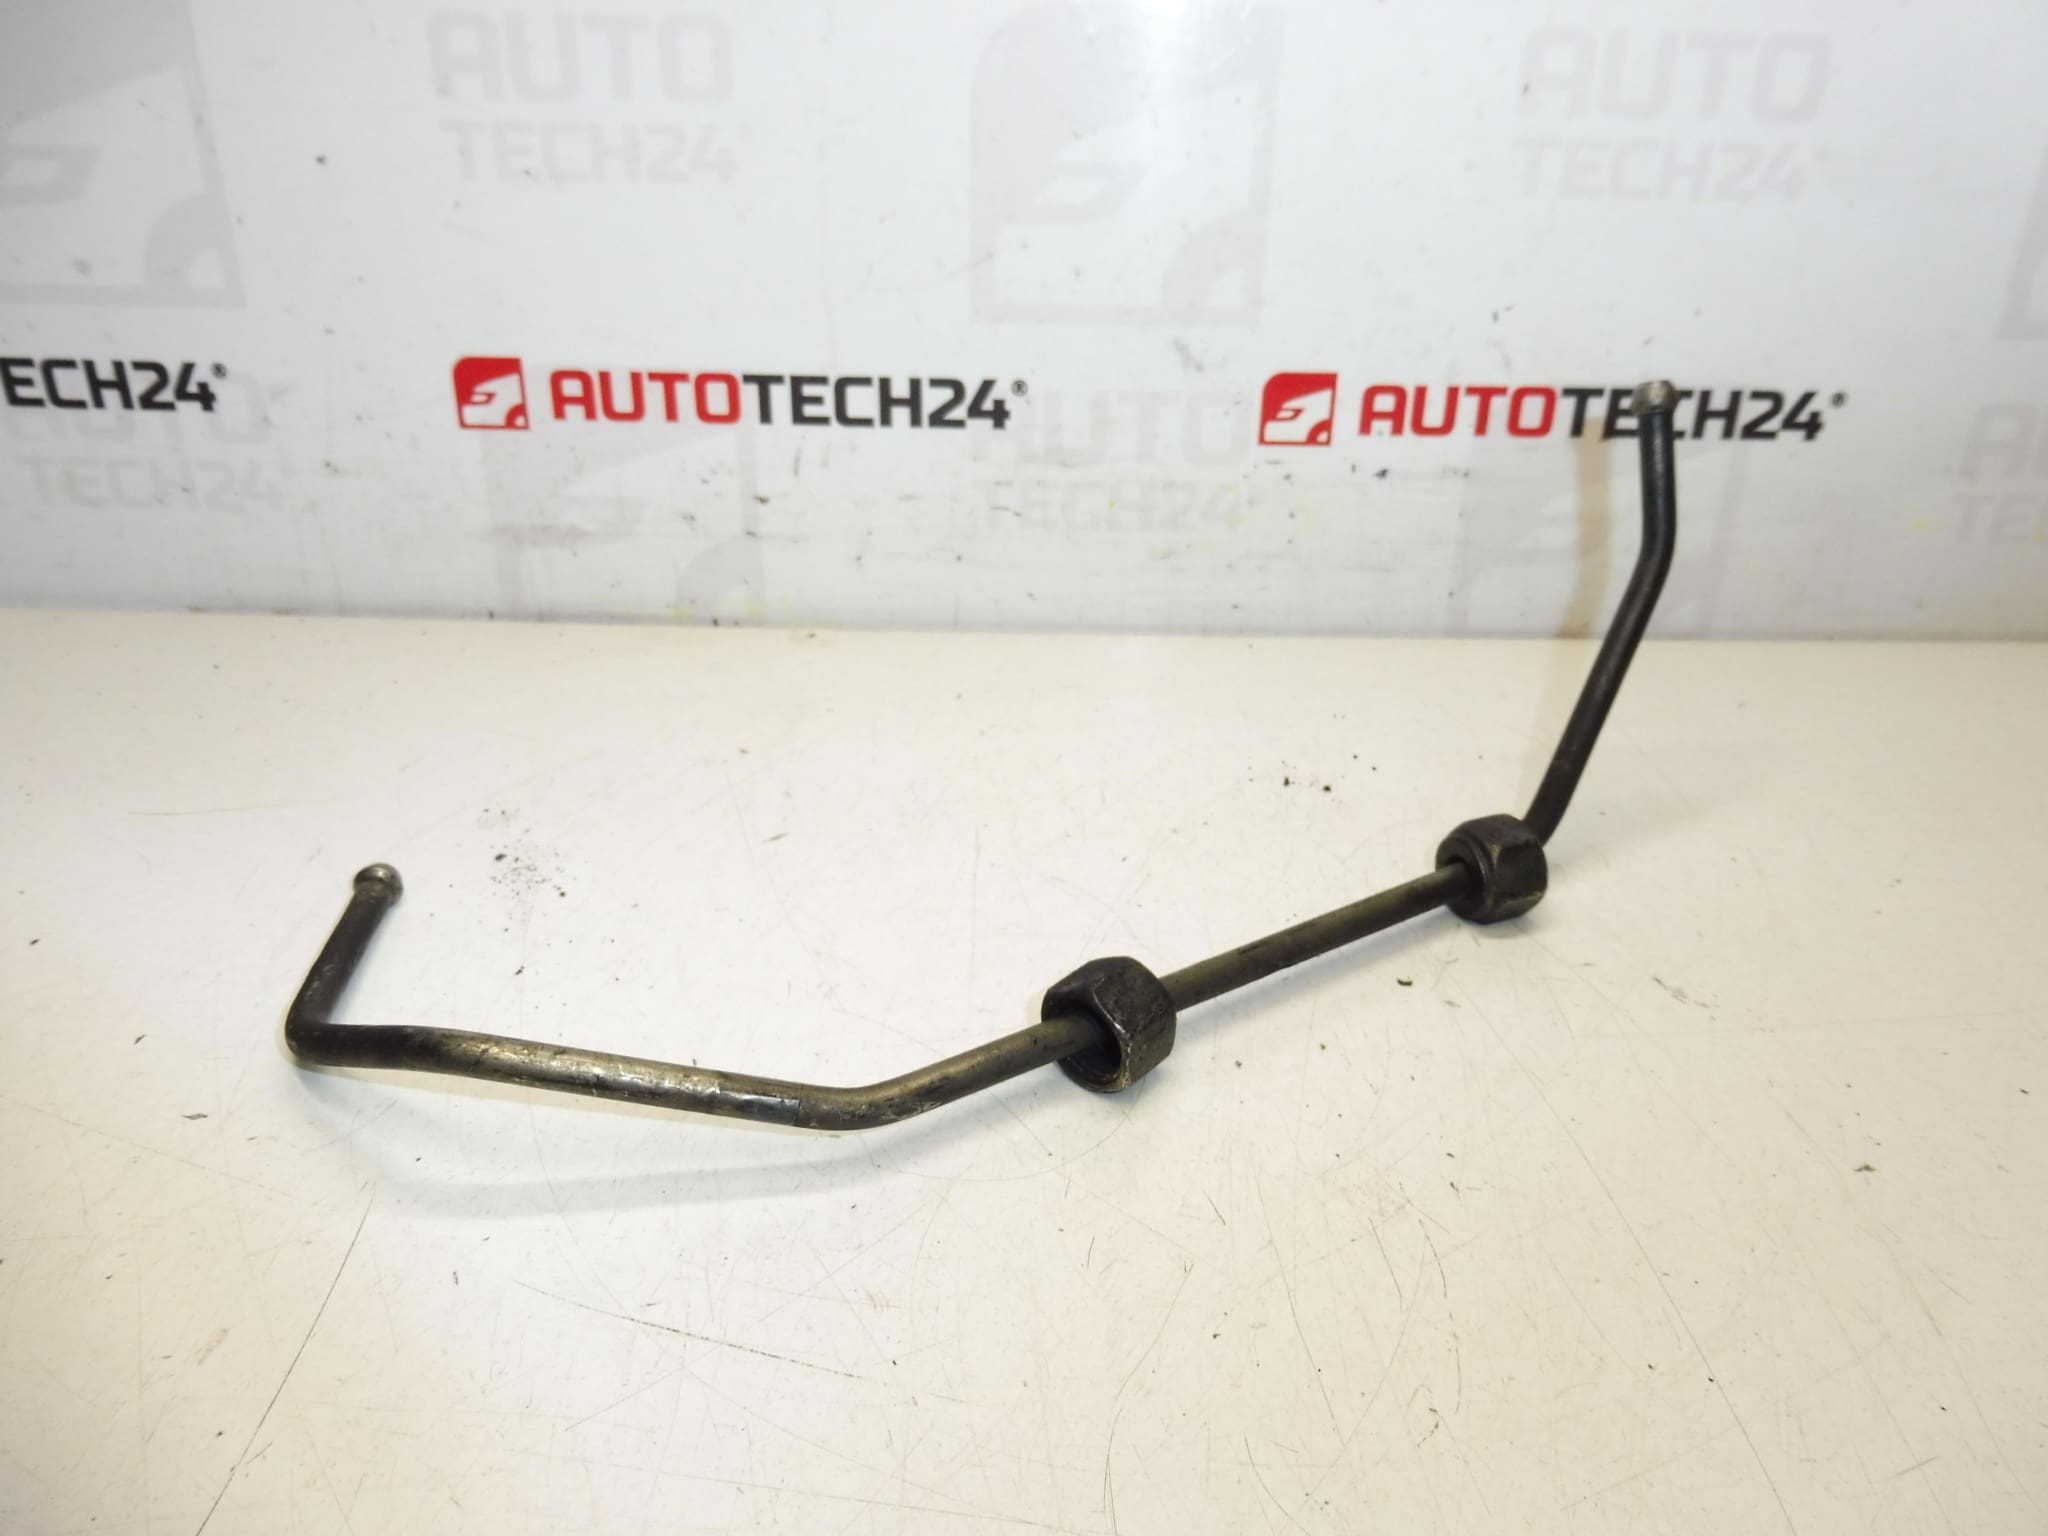
Injection pump outlet pipe 2.0 HDi RHR RHK SIEMENS system. Used, fully sealing.
This high-pressure outlet pipe is designed for 2.0 HDi diesel engines equipped with RHR / RHK injection pumps in the Siemens fuel system. The part is commonly searched under the code 1570J4 and is aimed at professional mechanics and experienced DIYers who maintain Citroën and Peugeot vehicles. As a direct-fit high-pressure fuel line, it provides a reliable connection from the injection pump to the fuel distribution system and is suitable where the original routing and fittings match the RHR/RHK pump geometry.
Technical Information
- Manufacturer: Stellantis (Citroën / Peugeot)
- Model: Citroën C4, Citroën C4 Picasso, Citroën C5, Citroën C8, Peugeot 3008 I, Peugeot 307, Peugeot 308, Peugeot 5008 I, Peugeot 807
- Product Codes: 1570J4
- Additional Numbers: Siemens System; Compatible With RHR And RHK Pump Types
Why Choose This Part
For garages and skilled DIYers, this outlet pipe offers a cost-effective solution when a direct replacement is needed for the high-pressure fuel circuit on 2.0 HDi engines. It is supplied used but confirmed fully sealing, which preserves fuel system integrity and prevents pressure loss or external leaks that can cause rough running or starting issues. Typical searches often use the part code 1570J4 — including that code in your search increases findability.
Installation Recommendations
- Work On A Cold Engine And Relieve Fuel System Pressure Before Removing Any High-Pressure Lines.
- Wear Appropriate Safety Gear; High-Pressure Diesel Fuel Can Be Dangerous. Use Eye Protection And Gloves.
- Replace Sealing Elements: Always Fit New Crush Washers Or O-Rings At Each Connection Point. Do Not Reuse Deformed Washers.
- Hand-Start Threads To Avoid Cross-Threading, Then Tighten To Manufacturer Torque Specifications Where Available. If Specific Torque Values Are Not At Hand, Use Controlled Even Tightening And Verify For Leaks During Initial Run.
- After Installation, Prime The Fuel System According To The Vehicle Procedure And Check For Leaks At Idle And Under Load.
- If The Pipe Shows Signs Of Corrosion, Bends, Or Damage To The Fitting Ends, Replace Rather Than Refit—Damaged high-pressure lines Can Fail Suddenly.
Common Failure Causes
The most frequent reasons for outlet pipe failure are corrosion of the metal tube or fittings, deterioration of sealing washers or O-rings, and mechanical fatigue from vibration or impact. Contaminants in the fuel (particles or water) can accelerate wear on sealing surfaces and connections. Over-tightening or improper installation can deform fittings and cause leaks. Additionally, abnormal pressure spikes from a failing pump may stress the line and connections, leading to cracks or leaks over time.
Notes For Professionals
Always inspect mating surfaces on the pump and rail/injector end for damage before fitting a replacement pipe. When replacing high-pressure components, follow the vehicle manufacturer’s bleeding and priming procedures to avoid air ingress and ensure correct system function. This part is intended for vehicles matching the models and pump types listed above; compatibility is typically searched by part code 1570J4.