Description
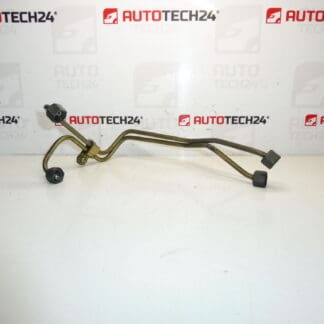
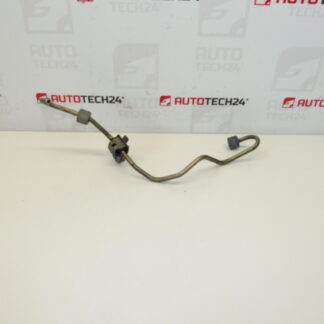
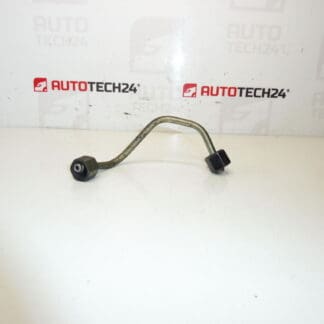
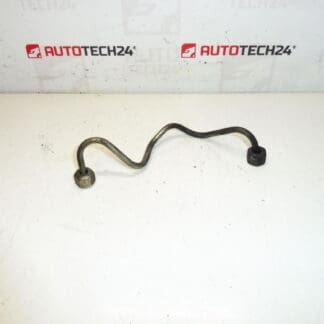
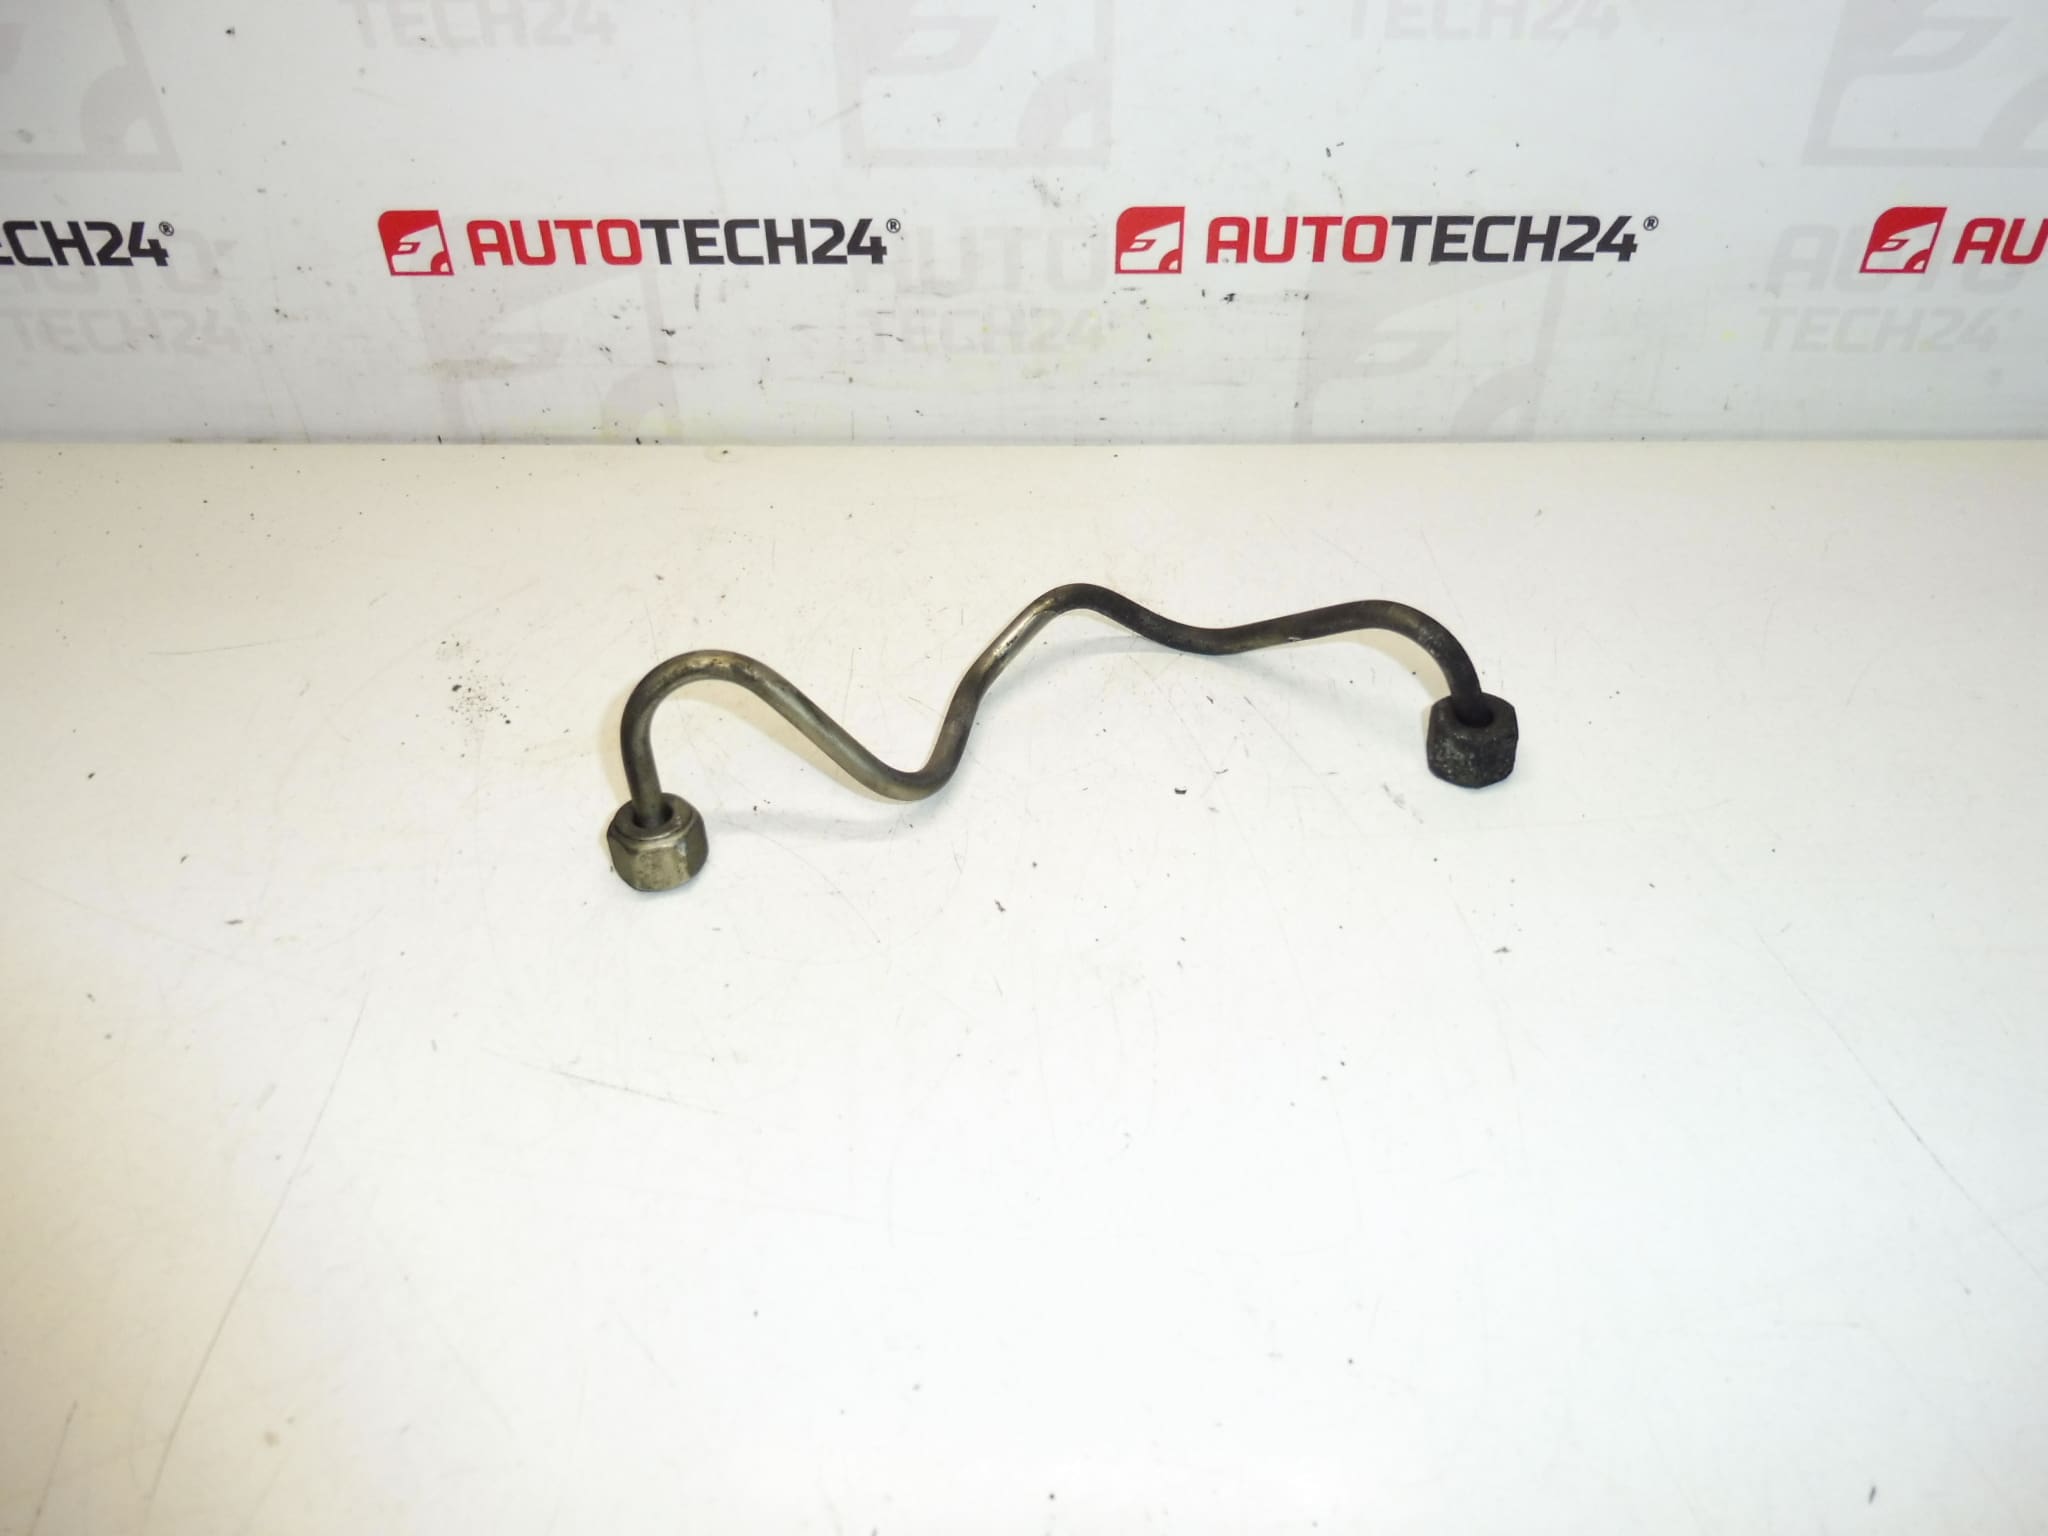
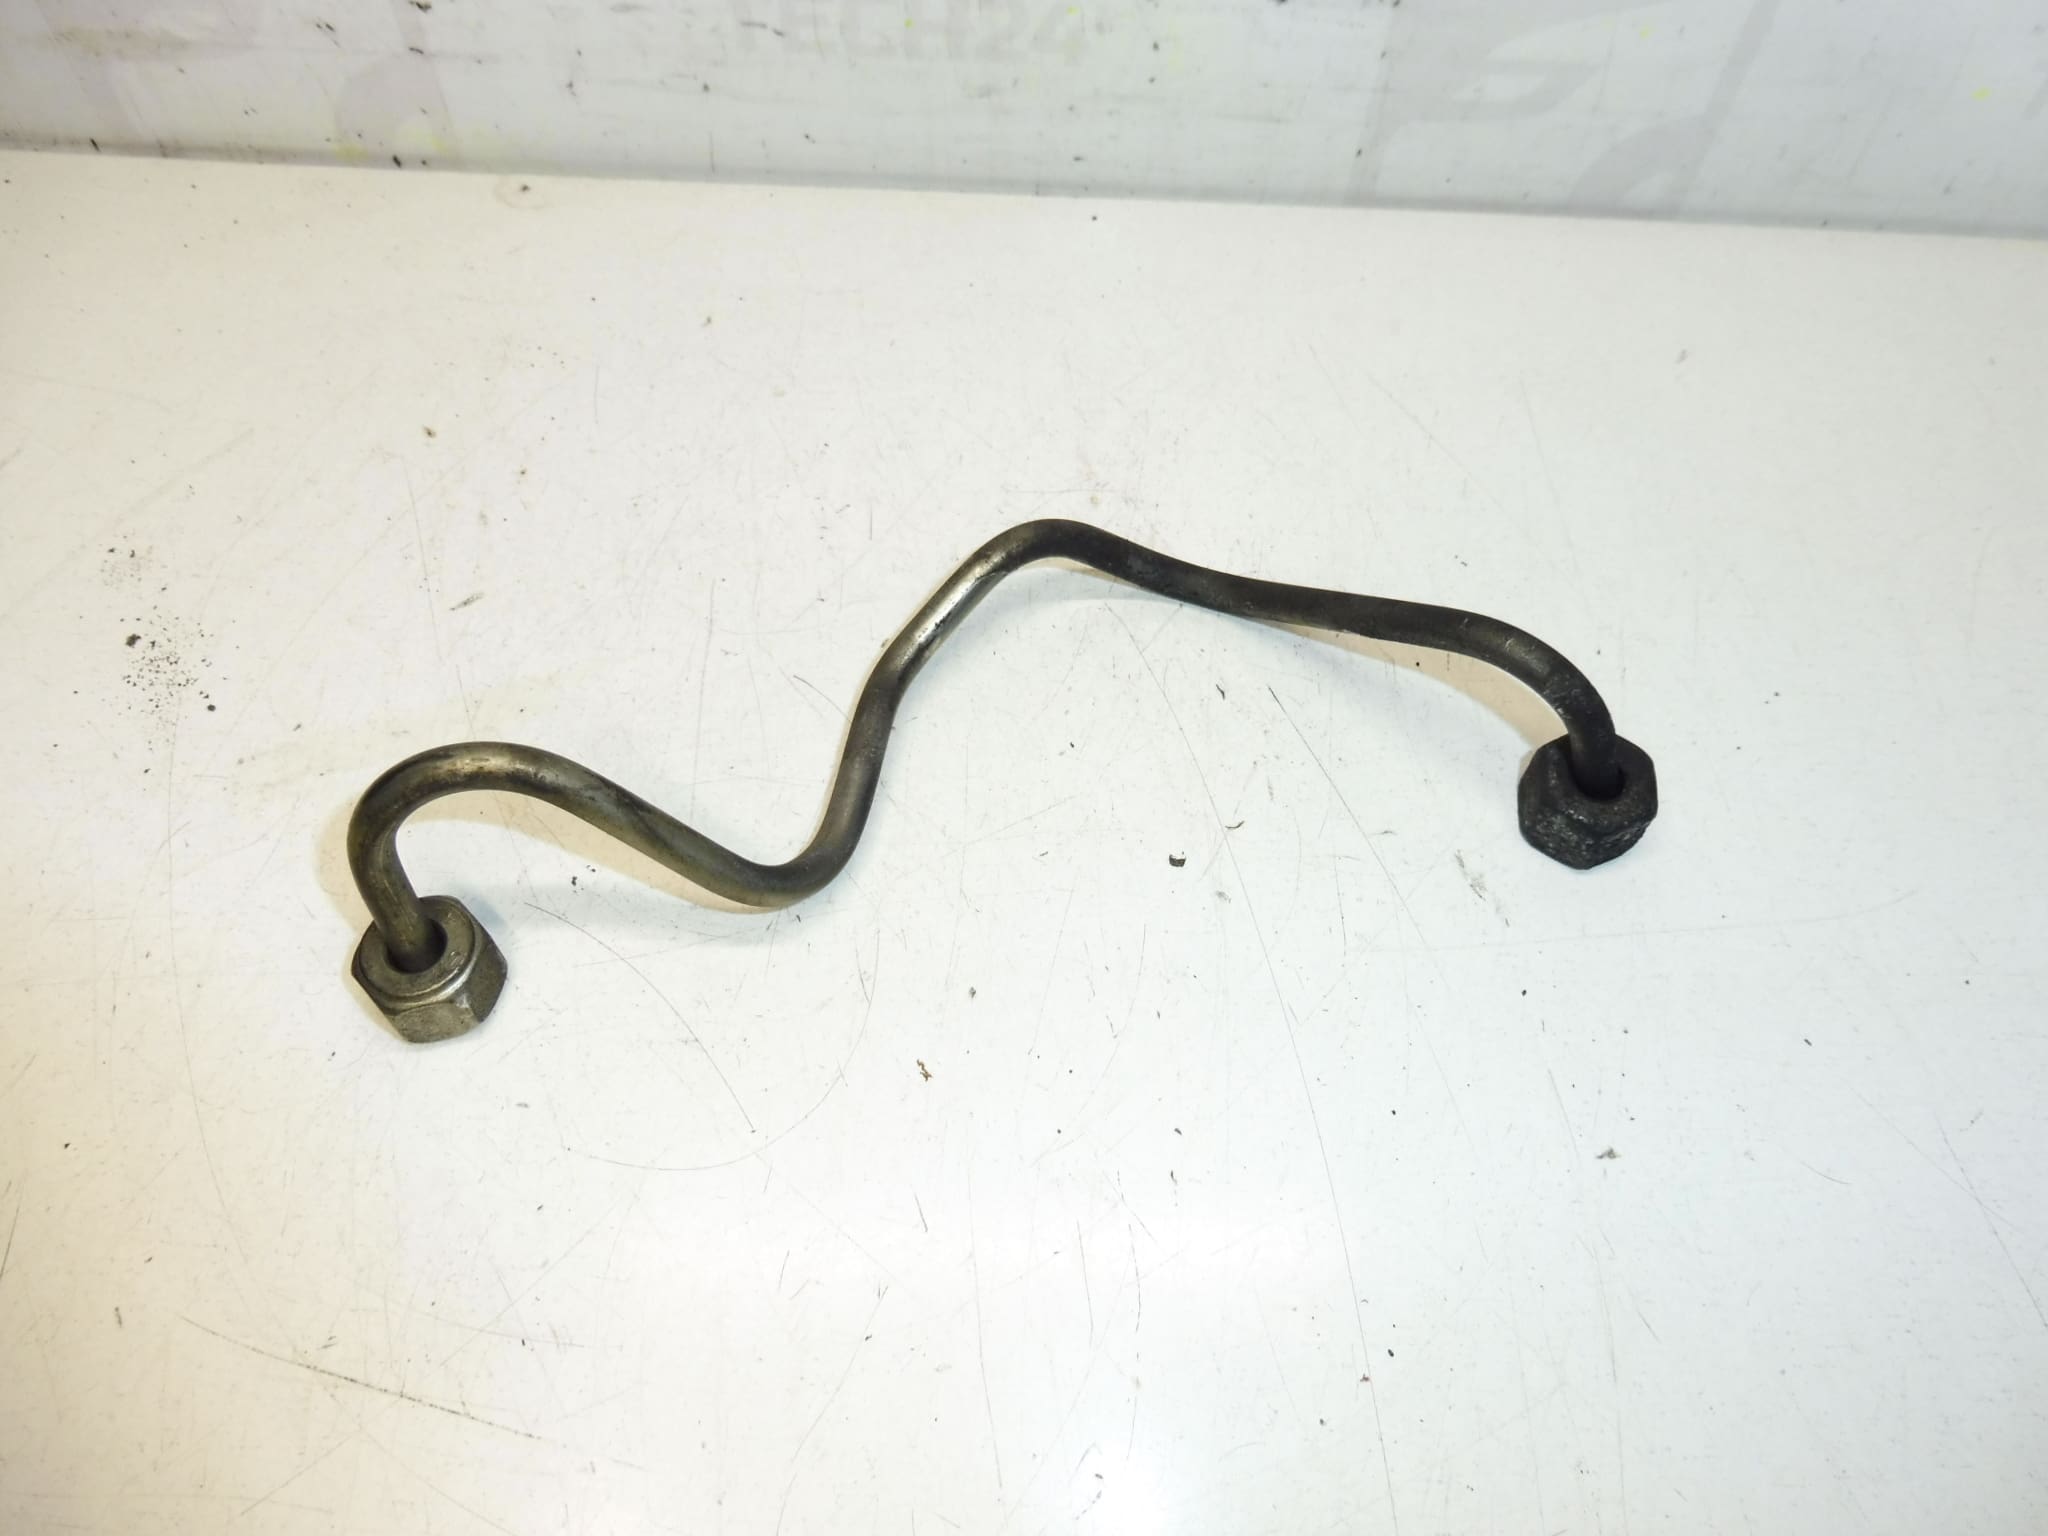
Outlet pipe to injector 2.0 HDi RHR RHK Siemens system. Used, fully sealing.
This high-pressure outlet pipe connects the common rail to the injector on 2.0 HDi engines (RHR / RHK) equipped with the Siemens injection system. Designed for direct replacement on affected Citroën and Peugeot models, the part is often searched by its product code 1570J6. The pipe is supplied used but has been inspected for sealing integrity, making it a cost-effective option for professional workshops and competent DIY mechanics who need a reliable repair quickly.
Technical Information
- Manufacturer: Stellantis (Citroën, Peugeot)
- Model: Citroën C4; Citroën C4 Picasso; Citroën C5; Citroën C8; Peugeot 3008 I; Peugeot 307; Peugeot 308; Peugeot 5008 I; Peugeot 807
- Product Codes: 1570J6
- Additional Numbers: Not Specified
Function And Application
The outlet pipe delivers high-pressure diesel from the common rail to the injector nozzle. It must withstand repeated pressure spikes, heat cycles, and vibration while maintaining a leak-free seal. A correctly functioning pipe is critical for proper injection timing and consistent fuel delivery, which affects engine performance, emissions, and fuel economy.
Installation Recommendations
- Depressurize The Fuel System Before Starting Work To Avoid High-Pressure Fuel Spray.
- Use The Correct High-Pressure Wrenches To Avoid Rounding Off Nuts And Fittings.
- Replace Sealing Washers Or O-Rings With New Items During Installation; Never Reuse Crushed Washers.
- Avoid Twisting Or Bending The Pipe Excessively—Align Fittings Carefully To Prevent Stress And Fatigue.
- Tighten Connections To Manufacturer Torque Specifications Where Available; If Unknown, Tighten Securely But Do Not Over-Torque.
- After Installation, Prime The Fuel System And Check For Leaks With The Engine Running At Idle Before Road Testing.
- Observe Safety Precautions When Working With Diesel Fuel And High-Pressure Components.
Why This Part Fails Most Often
- Seal Degradation: Sealing Washers And O-Rings Harden Or Crack Over Time, Causing Leaks.
- Corrosion And Contamination: Water Or Particulate Contamination Can Accelerate Corrosion And Wear.
- Vibration And Mechanical Stress: Repeated Engine Vibration Or Poor Mounting Can Cause Fatigue Cracks.
- Improper Installation: Cross-Threading, Over-Tightening, Or Reusing Old Seals Leads To Failures.
- Impact Damage: Road Debris Or Accident Damage Can Deform The Pipe And Compromise Sealing.
Suitable For Professional Mechanics And Experienced DIY Enthusiasts Searching By Part Number 1570J6. Replace Faulty Pipes Promptly To Prevent Fuel Leaks, Loss Of Performance, And Potential Safety Hazards.