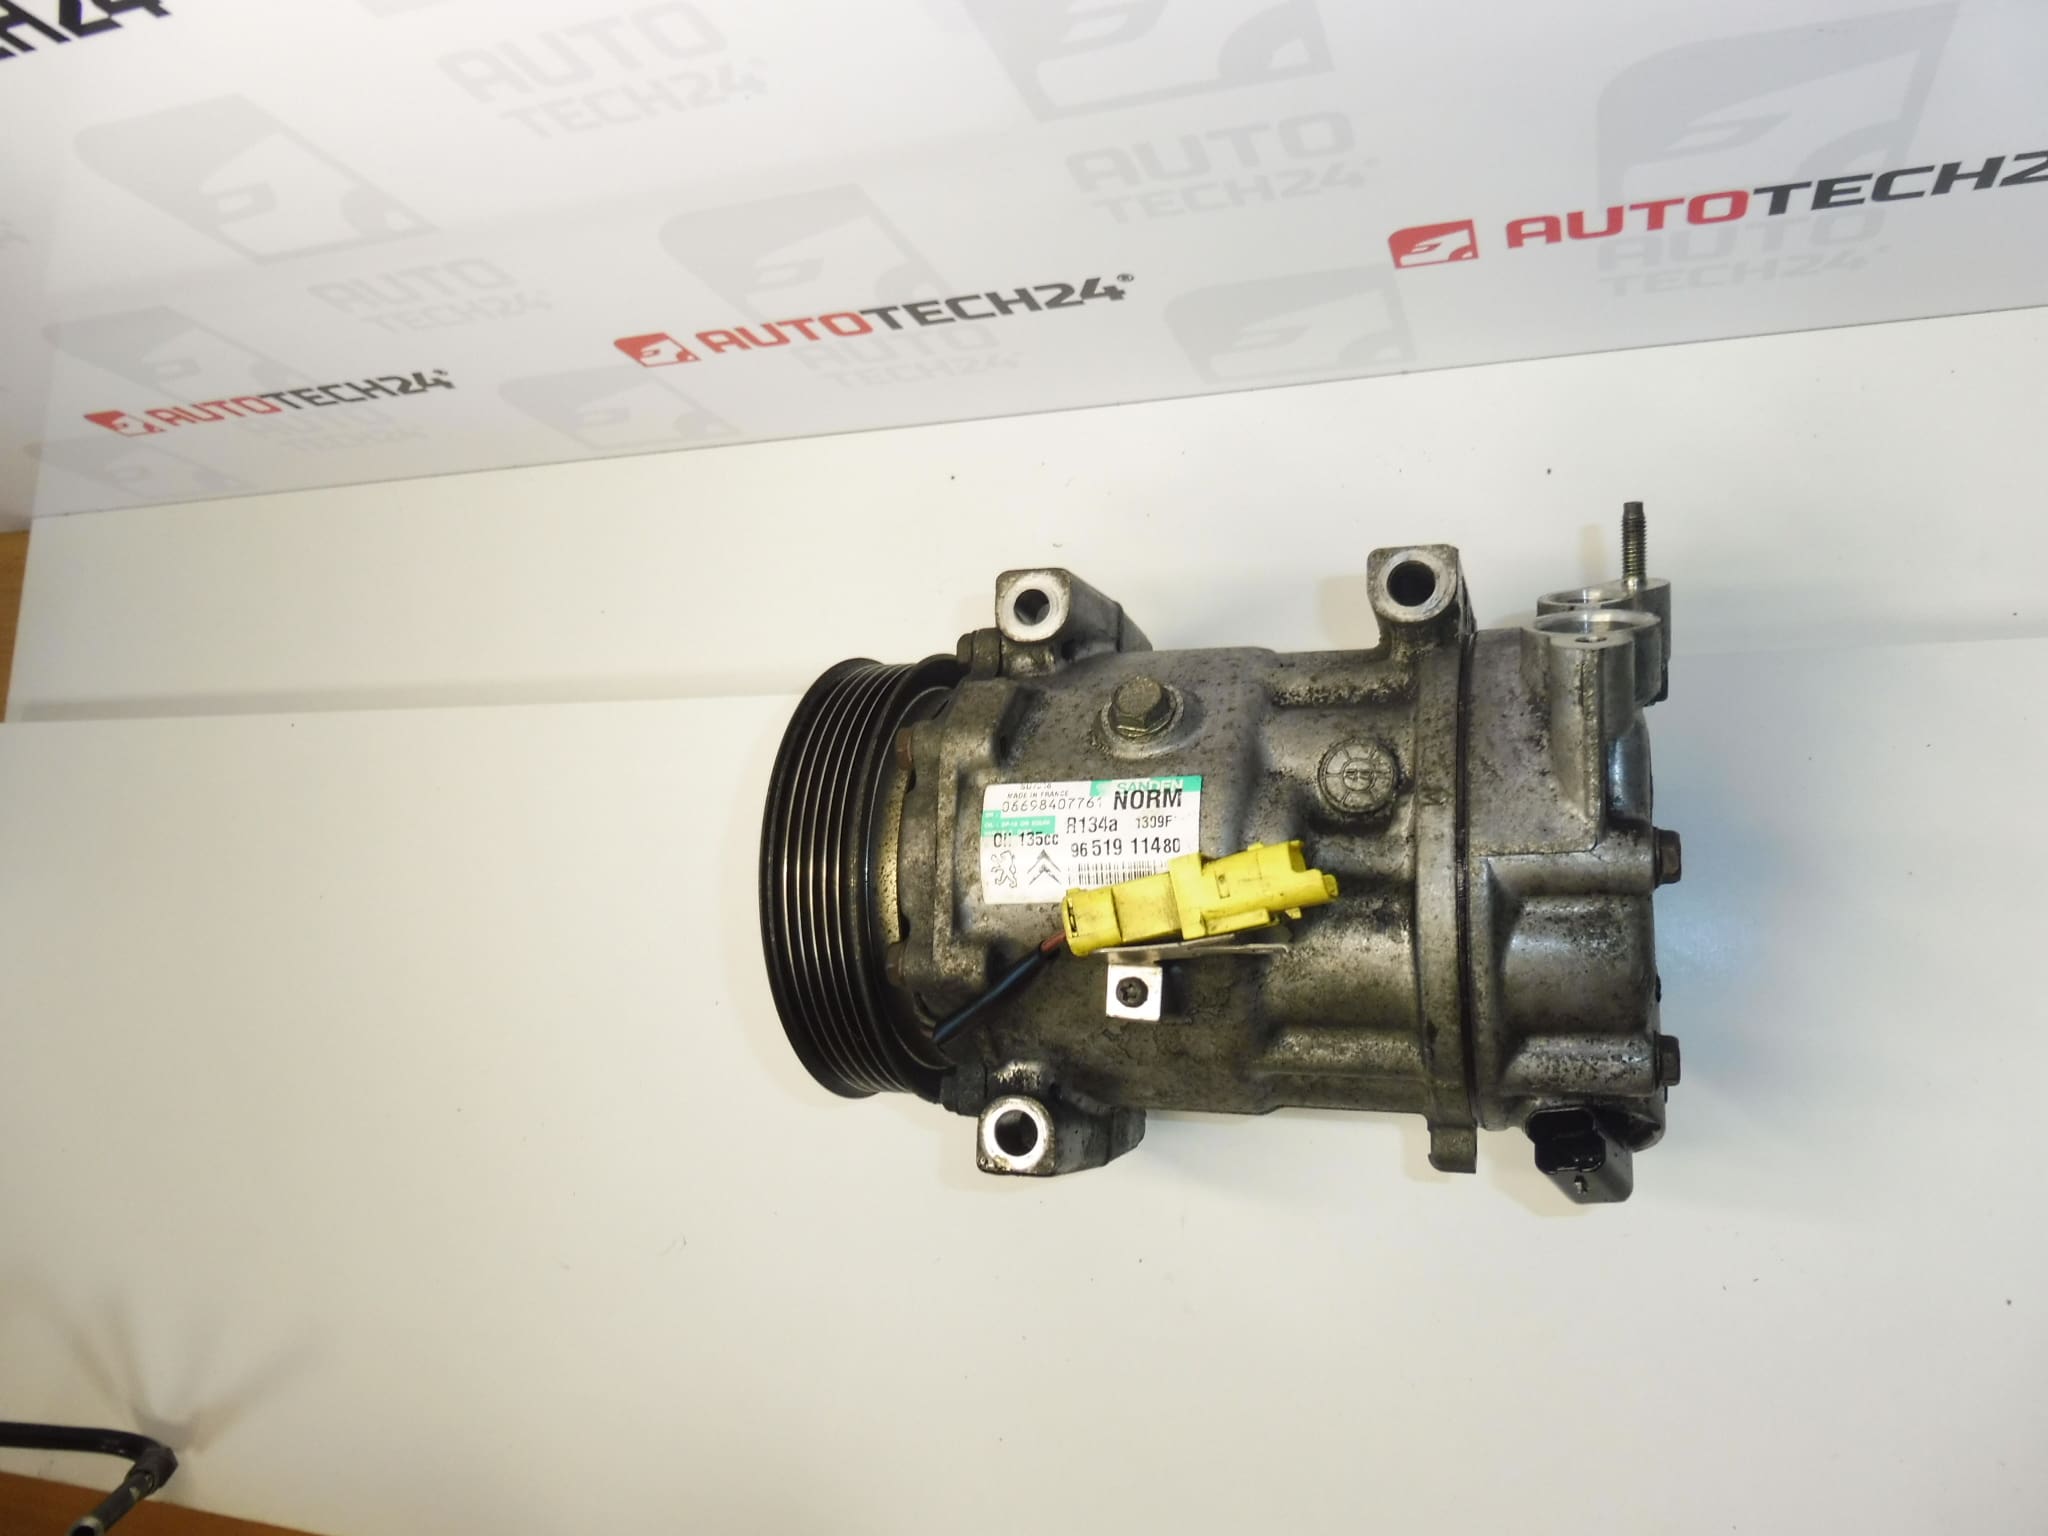
Description
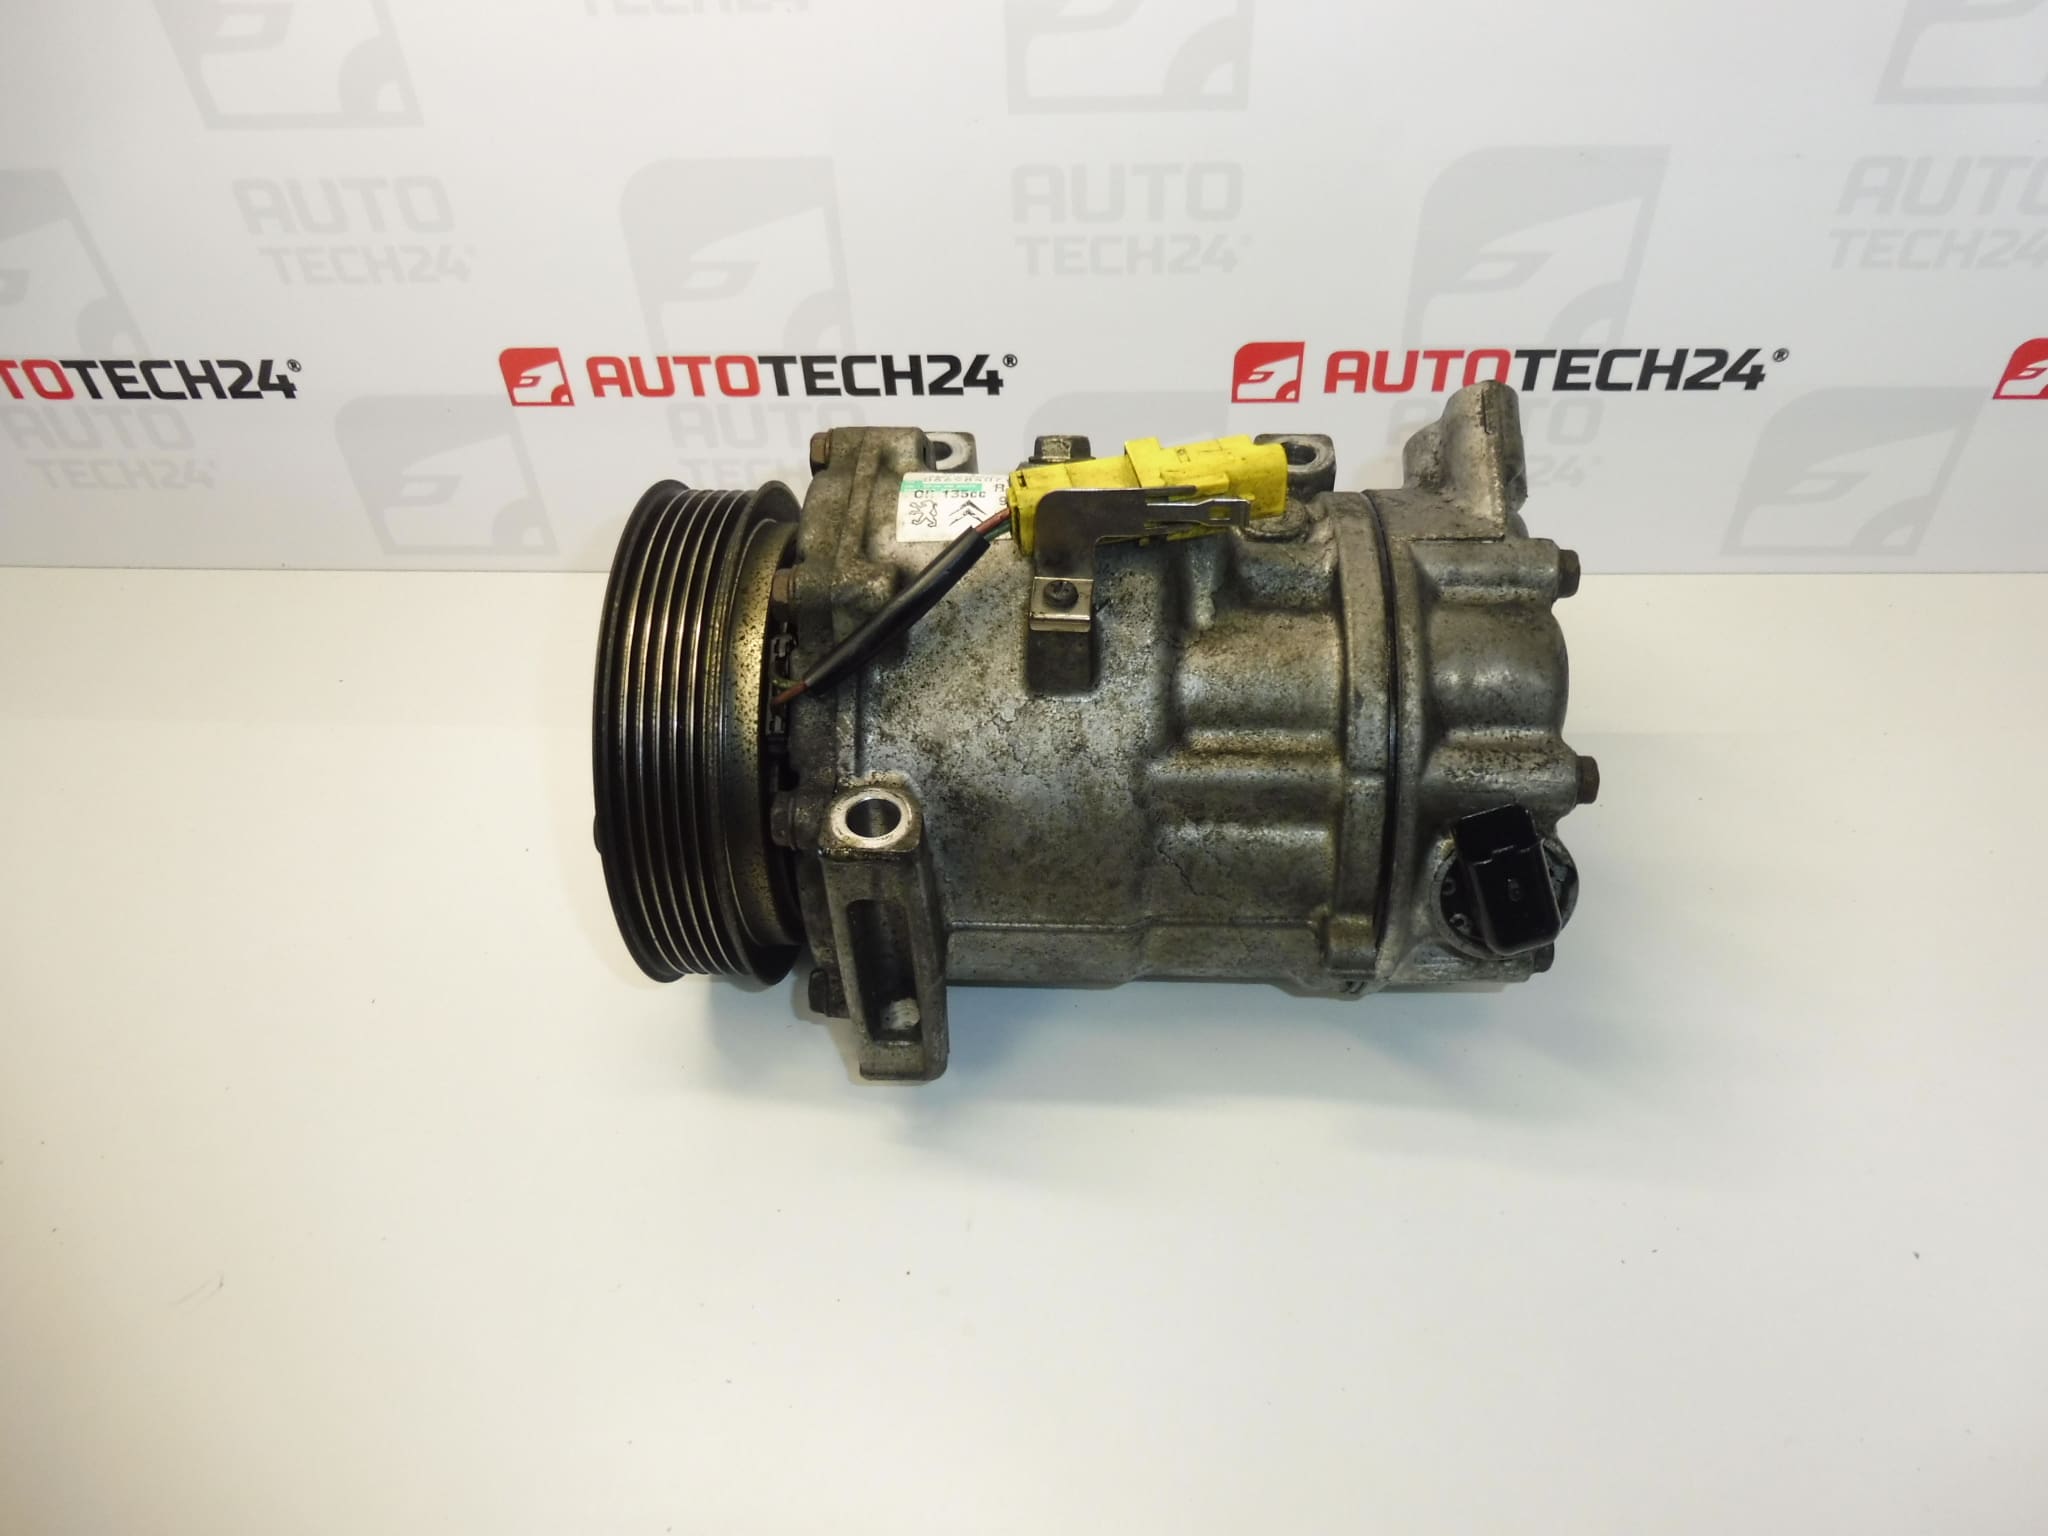
Air Conditioning Compressor For Citroën And Peugeot Vehicles Sanden 1309f
Pulley – 119 mm
Refrigerant: R134a
Overview
This Sanden SD7C16 (1309f) air conditioning compressor is a direct-fit solution for many Citroën and Peugeot models and is commonly searched by OE numbers such as 9651911480 and 9825868180 or internal codes 6453QL / 6453QN. The compressor is belt-driven and provides the compression stage required to circulate refrigerant (R134a) through the A/C system, enabling efficient cabin cooling. It is suitable for professional workshops and experienced DIY mechanics who maintain or repair PSA group air conditioning systems.
Key Benefits
- Direct replacement for multiple OE numbers to simplify parts lookup and fitment.
- Designed for compatibility with Sanden SD7C16 systems used on Citroën and Peugeot vehicles.
- Pulley diameter 119 mm for correct belt alignment and drive geometry.
- Works with R134a refrigerant systems.
Suitable Models (Examples)
Common applications include, but are not limited to:
Technical Information
- Manufacturer: Sanden
- Model: SD7C16 (1309f)
- Product Codes: 9651911480, 9825868180
- Additional Numbers: 6453QL, 6453QN
- Pulley Diameter: 119 mm
- Refrigerant: R134a
How To Replace (High-Level)
Replacement of the compressor should be undertaken by a qualified mechanic or an experienced DIYer with proper tools. Key steps include:
- Recover Refrigerant: Evacuate the system using certified recovery equipment (legal requirement in many regions).
- Disconnect Battery: For safety, disconnect the negative battery terminal before starting work.
- Remove Drive Belt And Access Components: Take off the accessory belt and any parts obstructing access to the compressor.
- Disconnect Electrical And Refrigerant Lines: Cap lines immediately to prevent moisture and contamination.
- Unbolt Compressor And Remove: Remove mounting bolts and extract the compressor from the bracket.
- Service System Components: Replace Receiver/Drier (or Accumulator) and O-Rings. If contamination is suspected, flush the system or replace other components per service manual.
- Install New Compressor: Fit new unit, replace O-rings with correctly sized parts, add manufacturer-specified lubricant (type and amount per service manual), and torque fasteners to OEM specifications.
- Evacuate, Leak Test And Recharge: Evacuate the system to remove moisture, perform a vacuum test, and recharge with the correct R134a charge. Verify correct operation and check for leaks.
Installation Recommendations
- Always Use Manufacturer Specifications: Follow the vehicle service manual for oil type, oil quantity, torque values, and refrigerant charge.
- Replace Associated Components: Replace Receiver/Drier (or Accumulator) and all O-Rings when replacing the compressor to avoid premature failure.
- Protect The System From Contamination: Cap openings immediately and avoid exposing internals to moisture or debris.
- Vacuum And Leak Test: Ensure a full vacuum and leak test before recharging to guarantee long-term reliability.
- Use Proper Equipment: Recovery, evacuation and charging should be done with certified A/C service equipment. If unsure, have the procedure performed by a professional.
Why This Part Most Commonly Fails
Typical failure causes for A/C compressors include system contamination (metal debris from a failed compressor), Loss Of Refrigerant Leading To Lubrication Starvation, Bearing Wear, Clutch Wear Or Electrical Faults. Small leaks that go unnoticed can allow lubricant and refrigerant to escape, accelerating internal wear. Overheating or blockages in the system can also cause premature compressor damage.
Symptoms Of A Failing Compressor
- Reduced Or No Cooling Output
- Unusual Noises From The Compressor (Grinding, Rattling, Squealing)
- Compressor Clutch Not Engaging
- Visible Oil Or Refrigerant Leaks Around Compressor Seals
Search And Fitment Tips
Customers often search by product numbers 9651911480, 9825868180 or internal codes 6453QL / 6453QN. Confirm match with the compressor model SD7C16 (1309f) and pulley size 119 mm when selecting the correct unit for your vehicle.