Description
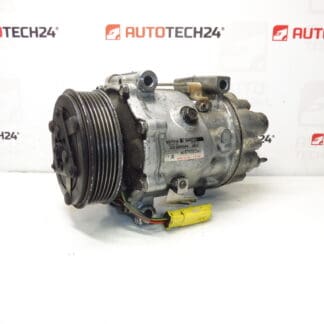
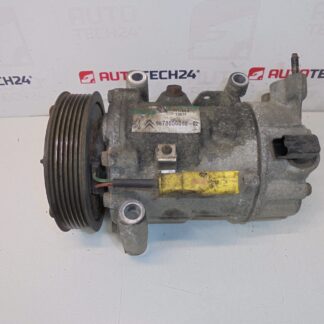
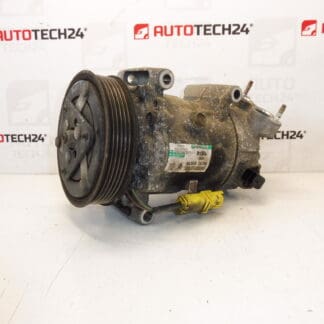
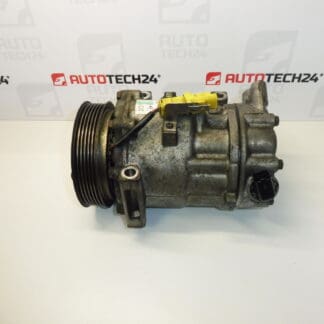
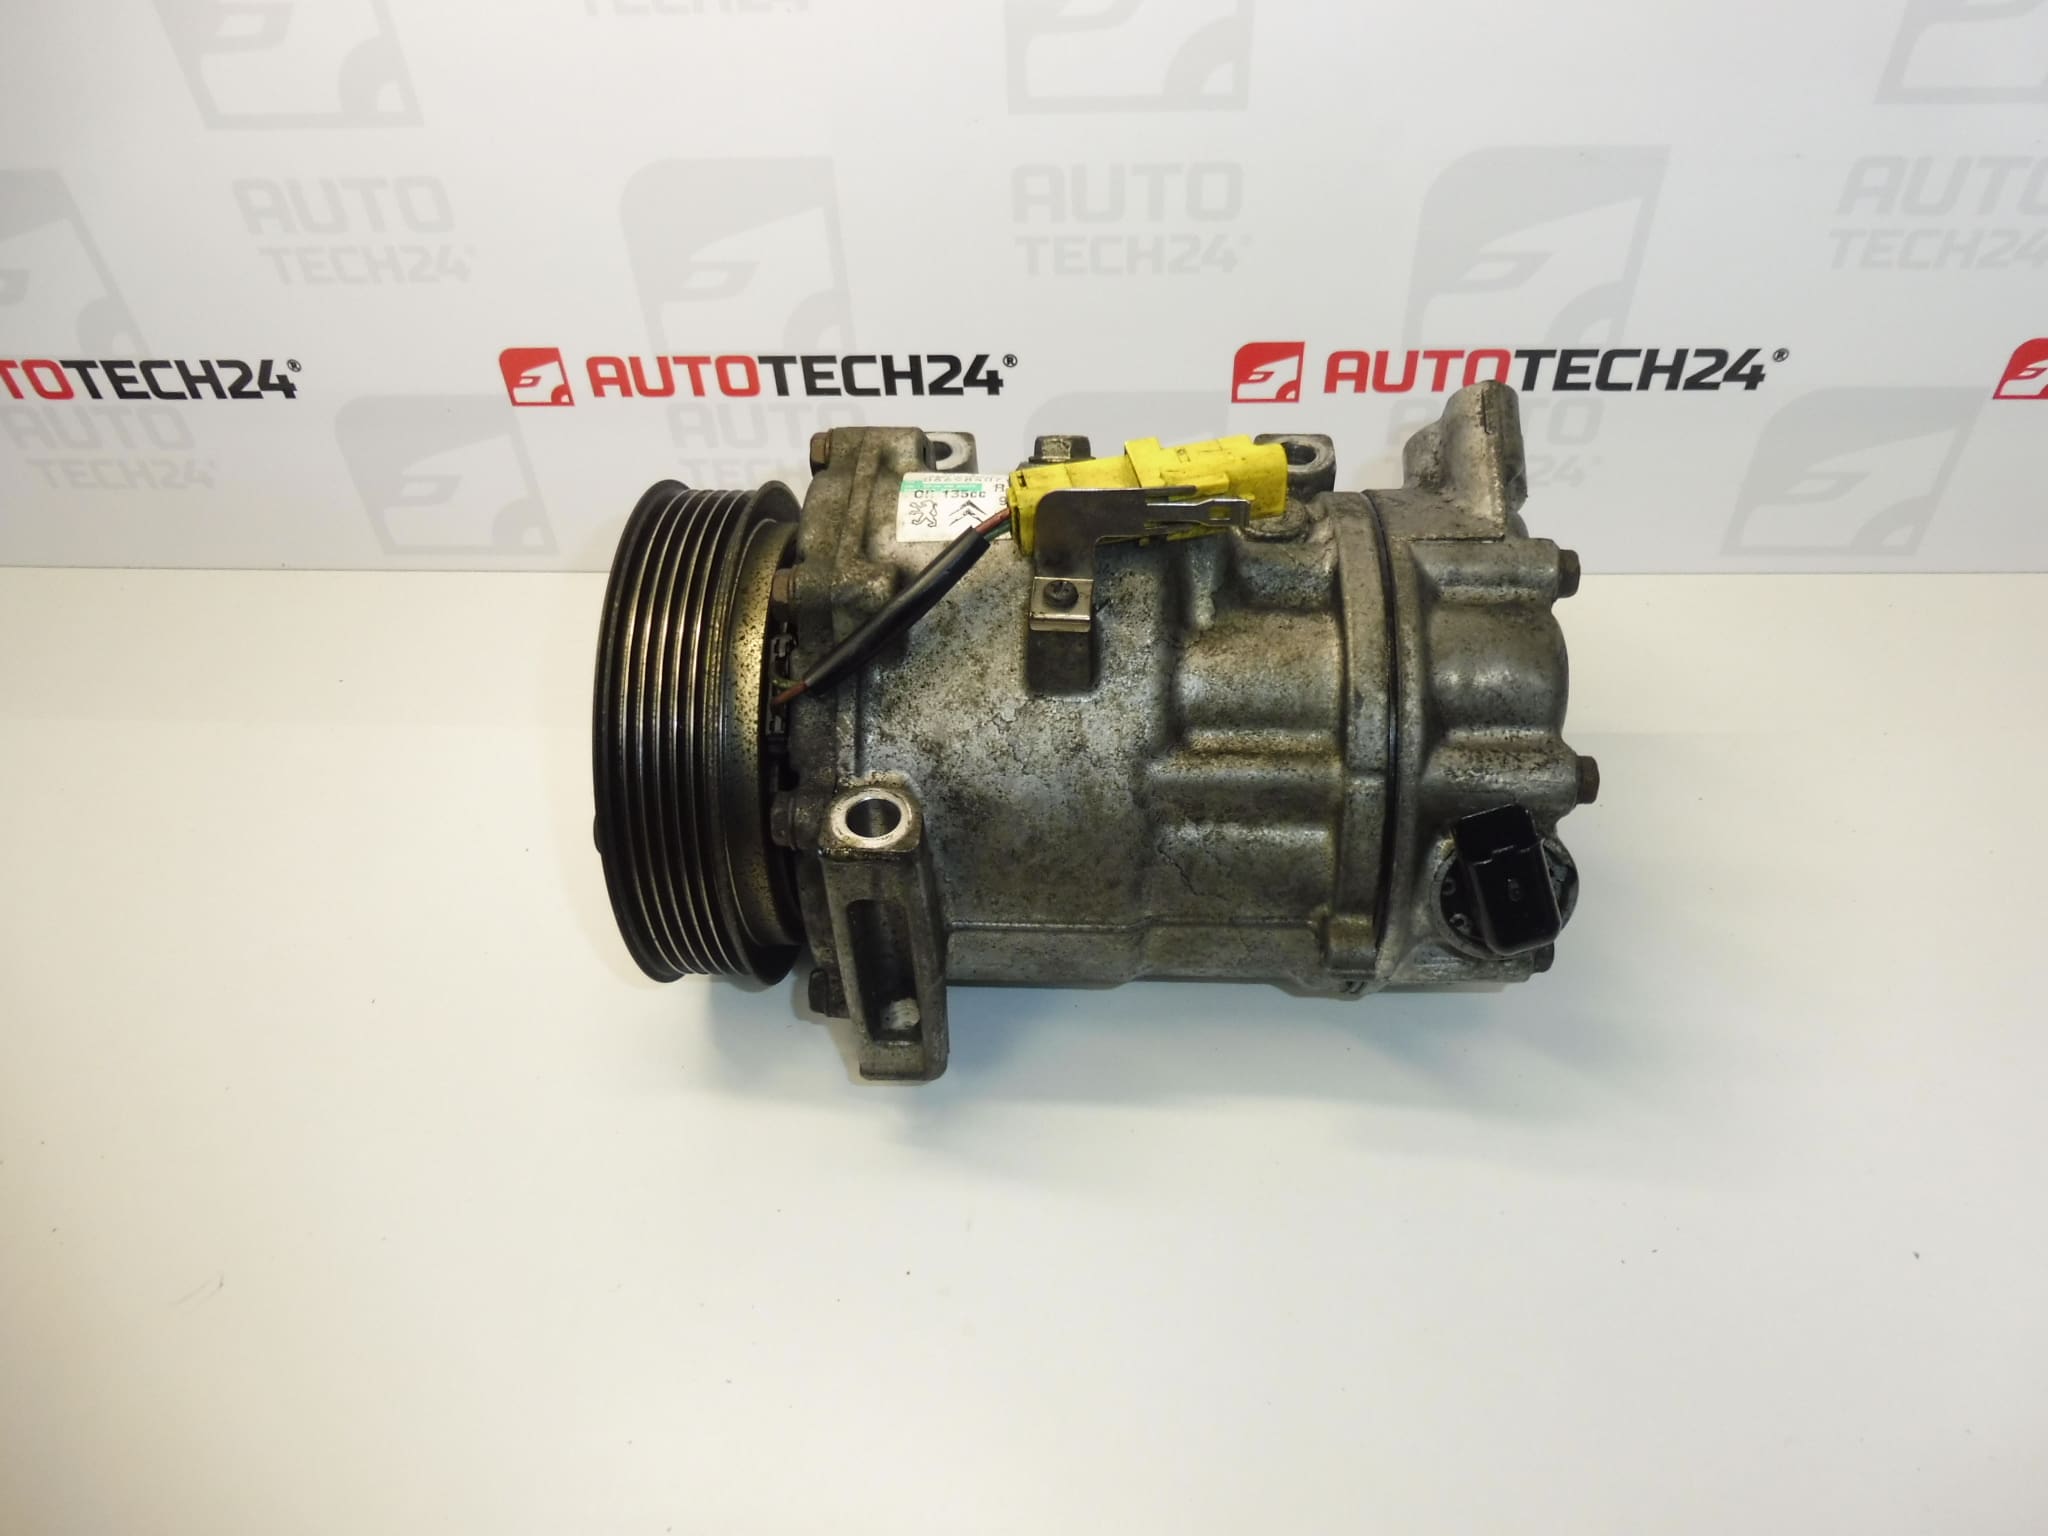
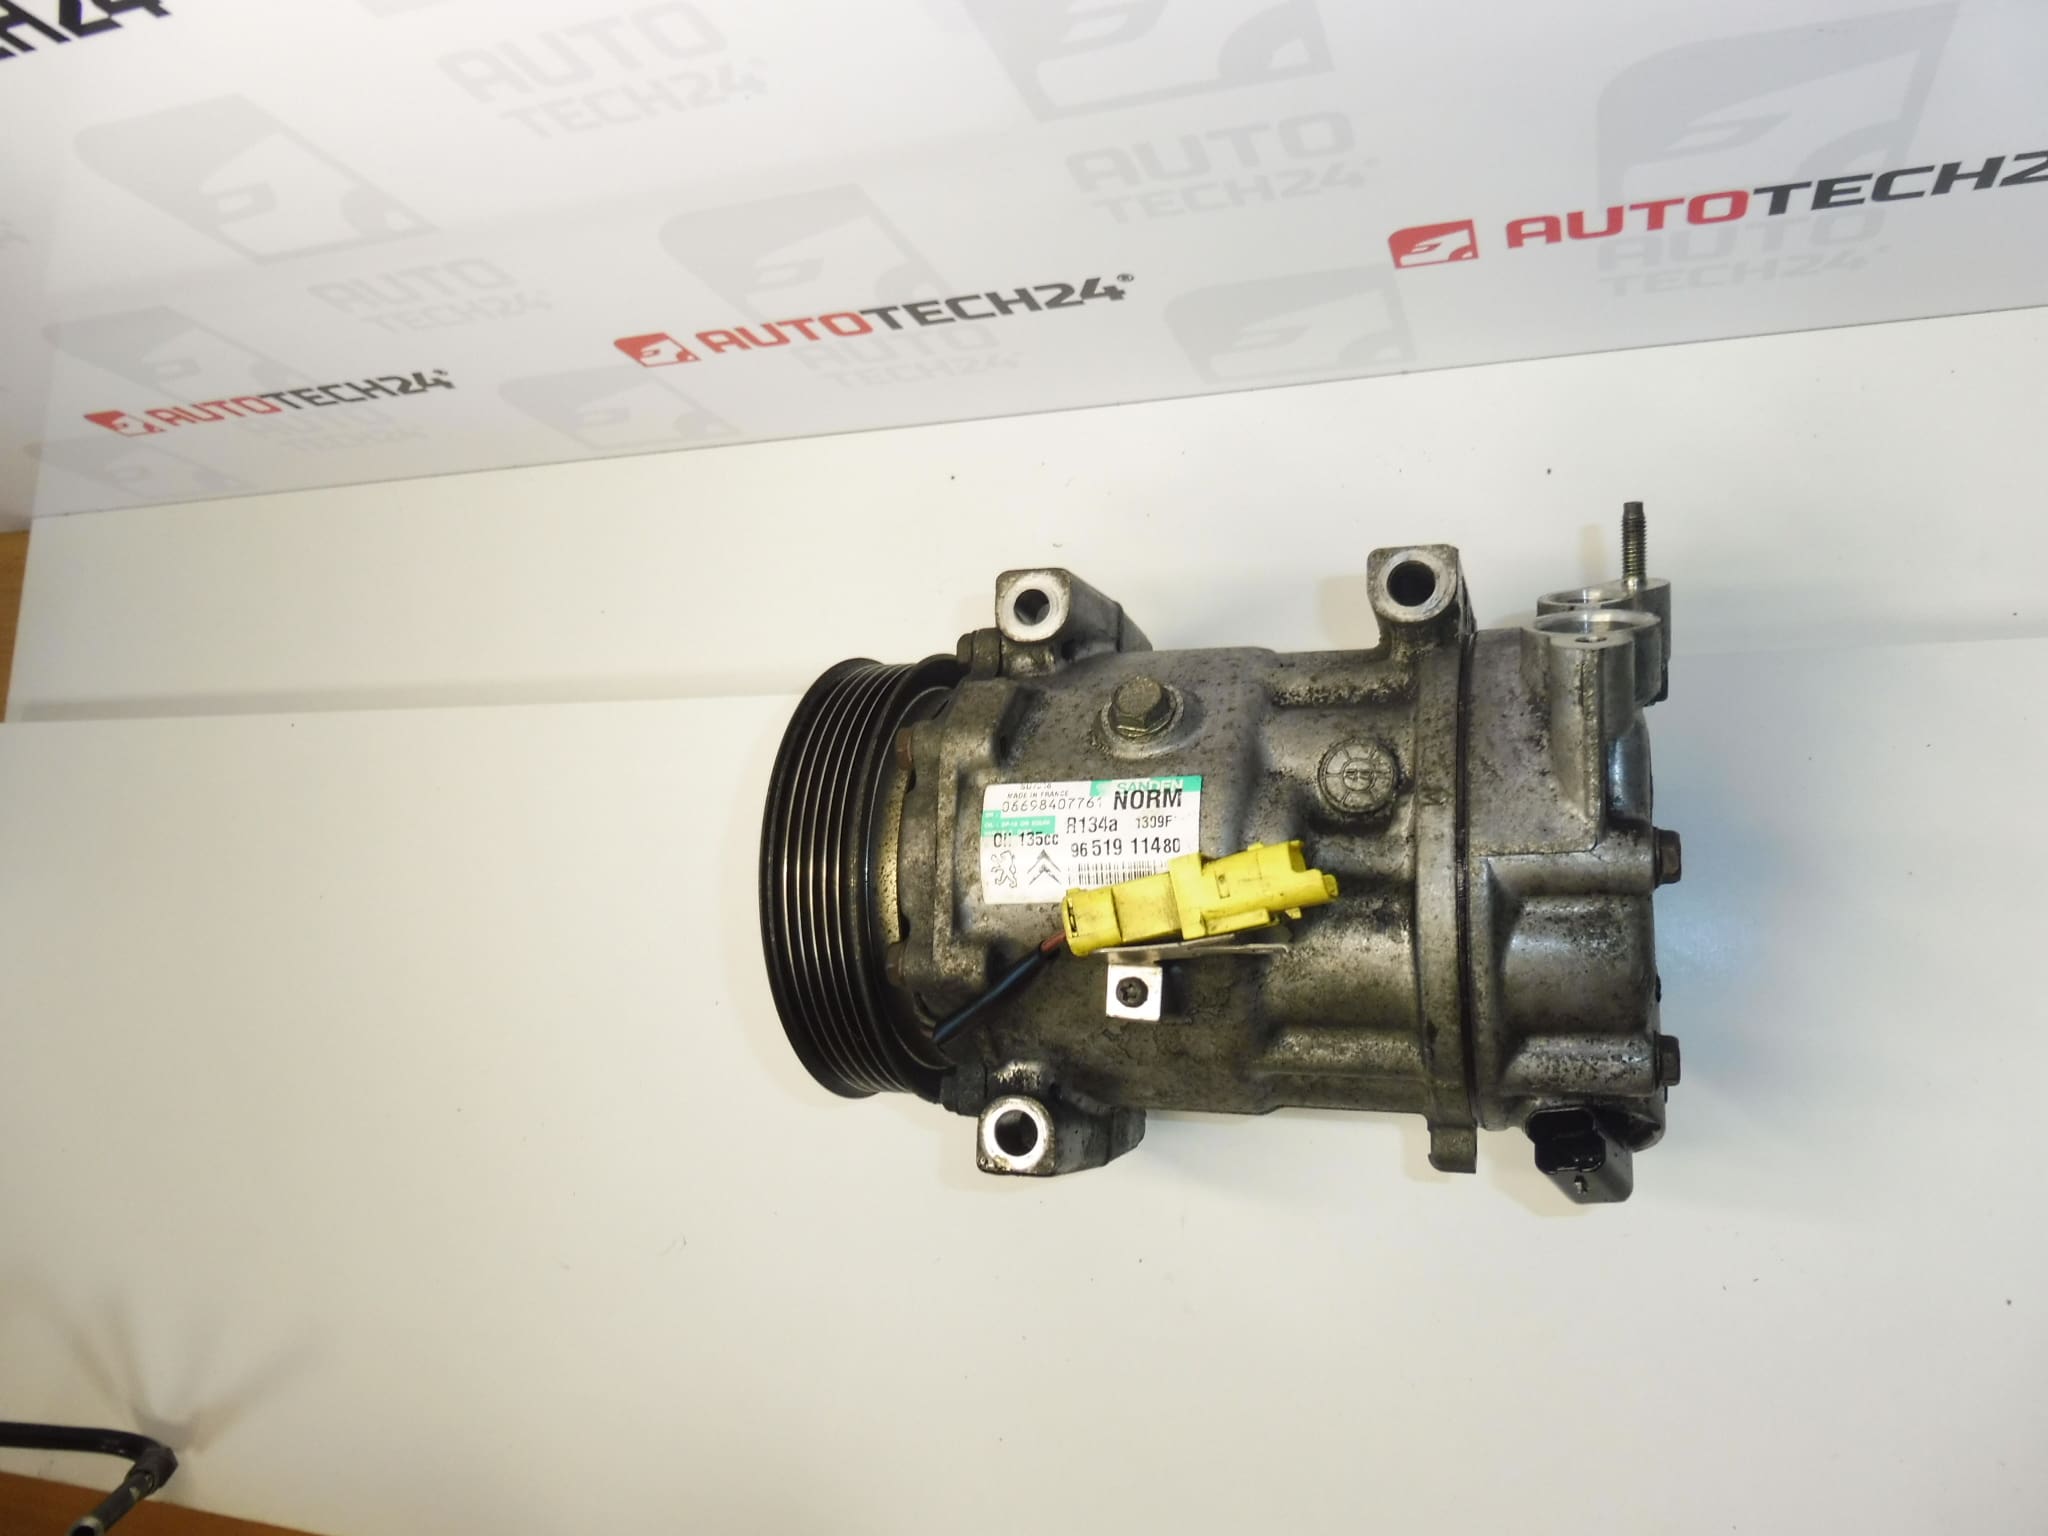
Air conditioning compressor for CITROEN and PEUGEOT SANDEN 1309f
Pulley – 119 [mm]
Refrigerant: R 134a
Part description
The used Sanden SD7C16 1309f air conditioning compressor for Citroën and Peugeot vehicles compresses and circulates refrigerant in the air conditioning circuit. Correct compressor operation is essential for effective cabin cooling. When replacing a faulty part, a used compressor is an affordable repair option that retains the appropriate design.
To find the correct replacement, the 9651911480 designation, compressor type, and compatibility of the connections and mounting with the original unit are particularly important. Matching the vehicle model alone is not sufficient, as the air conditioning configuration may vary.
Technical information
- Manufacturer: Sanden
- Model: 5008 I, Citroën C4, Citroen C4 II, Citroën C4 PICASSO, Peugeot 207, Peugeot 307, Peugeot 308
- Compressor type: SD7C16
- Configuration designation: 1309f
- Pulley diameter: 119 mm
- Refrigerant: R 134a
- Main product number: 9651911480
- Additional numbers: 9825868180, 6453QL, 6453QN
- Condition: used part
The listed models are based on the product information. Before installation, compare the compressor identification and design with the removed part.
Product codes
- Product codes: 9651911480, 9825868180, 6453QL, 6453QN
- Sanden type designation: SD7C16 1309f
Installation recommendations
General information for this type of part: replacing an air conditioning compressor requires professional handling of the refrigerant, checking that the circuit is clean, and correctly charging the system. The following procedure is general; the precise steps, access to the part, and service values depend on the specific model and vehicle configuration. Have the refrigerant recovered and recharged by a qualified service center with the appropriate equipment.
1) Before installation
- Compare the product numbers, type designation, mounting, refrigerant connections, electrical connection, and pulley configuration with the old compressor.
- Inspect the body of the used part, mounting points, connector, and pulley. The part must not have visible cracks, damaged connections, or signs of severe mechanical damage.
- Check that the openings are clean and the connections are protected from dirt and moisture. Dirt must not enter the circuit during installation.
- Determine the cause of the original fault. If the compressor has seized or metal particles are present, simply replacing the compressor is not sufficient; the system contamination must also be addressed according to the service procedure.
- Do not assume that the used compressor contains the correct amount of oil for your vehicle. The oil charge must be assessed in relation to the entire circuit.
2) Required tools and materials
- Standard mechanical tools, a torque wrench, and suitable tools for releasing the accessory drive.
- Service equipment for working with R 134a refrigerant, equipment for evacuation and leak testing.
- Clean plugs for open connections, lint-free cloths, and protective equipment.
- Suitable seals for disconnected joints and compressor oil specified by the manufacturer of the particular system.
- Service documentation for the specific vehicle configuration.
3) Step-by-step installation procedure
- Secure the vehicle to prevent movement, switch off the engine, and prepare safe access according to the service documentation.
- Have any remaining refrigerant professionally recovered using service equipment. Do not disconnect the circuit while it is pressurized or release refrigerant into the atmosphere.
- Before disconnecting electrical components, follow the vehicle manufacturer’s battery disconnection procedures.
- Remove only the components necessary for access. Note the belt routing and release the compressor drive according to the prescribed procedure.
- Disconnect the electrical connection, if present, without pulling on the wires or damaging the connector locks.
- Disconnect the refrigerant connections and immediately seal the open lines and ports with suitable clean plugs.
- Support the compressor, release its mounting, and remove it without putting strain on the surrounding lines.
- Assess the condition of the circuit and any contamination. If the original compressor suffered mechanical failure, carry out the prescribed cleaning and address affected components before installing the replacement part.
- Prepare the replacement compressor according to the service instructions, including verifying the correct oil charge. Check the mating surfaces and prepare the correct joint seals.
- Install the compressor without strain, connect the lines with the appropriate seals, and tighten the joints according to the manufacturer’s specifications. Then reconnect the electrical connection and belt drive.
- Check the belt routing, mounting, and clearance between the wiring and hoses and any moving parts. Reinstall the removed components and restore the power supply according to the manufacturer’s procedure.
- Evacuate the system, check for leaks, and charge the air conditioning system with the specified amount of refrigerant for the particular vehicle. Perform the initial startup according to the service instructions.
4) Post-installation checks and function verification
- Check the disconnected joints for leaks and verify that the air conditioning system is functioning correctly using service equipment.
- Monitor the belt and compressor operation. Unusual noises, vibrations, or erratic operation are reasons to stop the test immediately.
- Check that the air conditioning is cooling and that there are no signs of oil leakage around the connections.
- After a successful stationary check, verify operation during a short test drive, then recheck the joints and mounting.
5) Common installation mistakes and how to avoid them
- Replacing the part without addressing the original cause: check for leaks, circuit cleanliness, and drive condition before installation.
- Incorrect oil charge: follow the documentation for the specific system, rather than estimating or relying only on the amount found in the used part.
- Ingress of dirt and moisture: leave connections open only for as long as necessary and keep them plugged in the meantime.
- Damaged seals or reuse of unsuitable seals: use suitable seals and assemble clean joints without forcing them.
- Starting the system before completing circuit servicing: do not operate the compressor without the prescribed preparation and correct charge.
- Incorrect belt seating or overtightened joints: check the drive routing and follow the vehicle manufacturer’s tightening specifications.
Reasons why the part may be damaged
The following causes can generally contribute to air conditioning compressor damage. They do not describe any condition identified in this specific unit.
- Insufficient lubrication due to a refrigerant leak or an incorrect amount or type of oil.
- Dirt and metal particles in the circuit, for example after a previous mechanical compressor failure.
- Moisture in the system due to the circuit being left open for a long time or inadequate servicing.
- Excessive operating load caused by an incorrect charge or inadequate heat dissipation from the air conditioning system.
- Wear of the drive and pulley, incorrect belt routing, or vibration.
- Normal mechanical wear of internal components during long-term operation.