Description
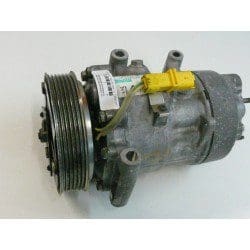
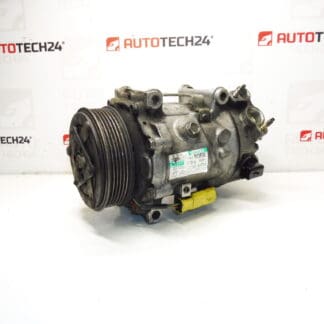
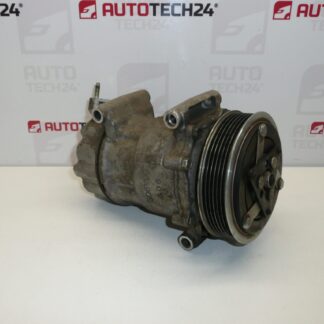
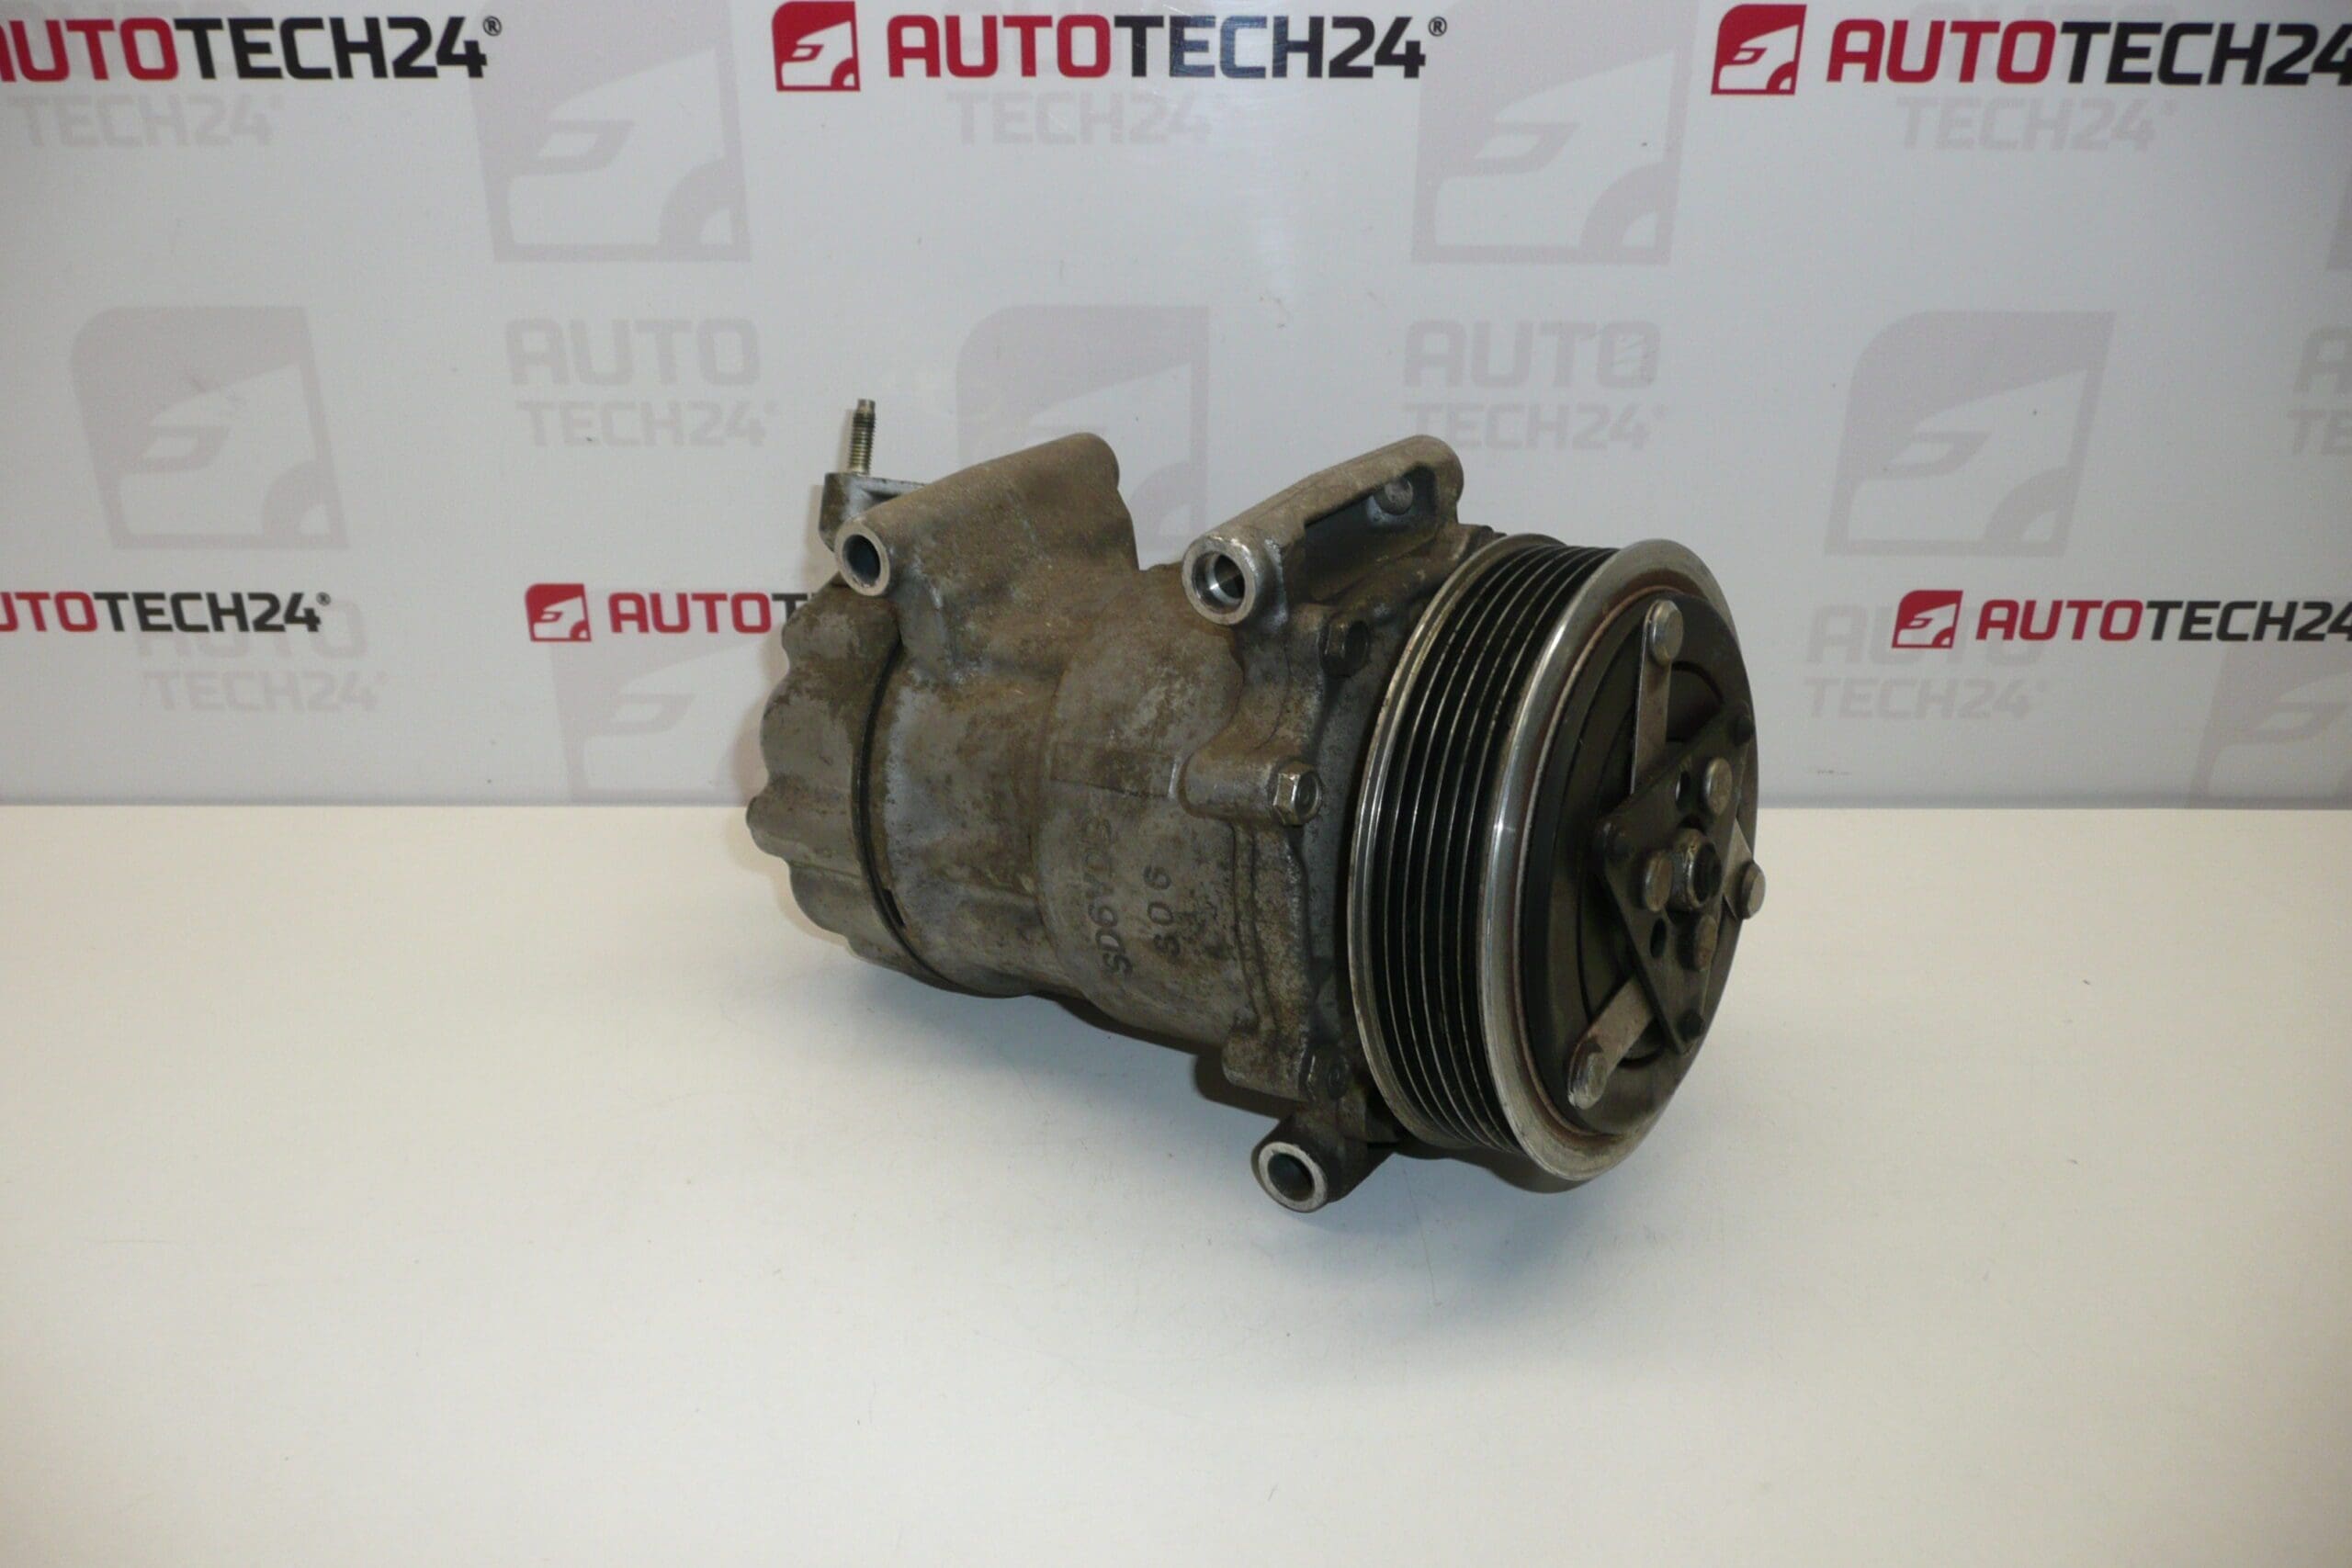
Air Conditioning Compressor SANDEN SD6V12 for Citroën Berlingo B9, C3 II, C3 Picasso, C4, C5 III, DS3 and Peugeot 207, 307, 308, 508, Partner III. Removed from Citroën Xsara Picasso 2009. From low-mileage vehicles.
This Sanden SD6V12 compressor is a direct-fit A/C unit commonly used across many Citroën and Peugeot petrol and diesel applications. Designed for reliable cabin cooling, the SD6V12 is known for compact dimensions, proven clutch design and compatibility with original equipment mounting points and refrigerant lines. Ideal for professional workshops and experienced DIY mechanics who need a serviceable replacement part with familiar PSA product codes. The listing includes multiple OE references and aftermarket identifiers frequently used when searching parts databases.
Technical Information
Manufacturer: Sanden
Model: Citroën Berlingo B9; C3 II; C3 Picasso; C4; C5 III; DS3; Peugeot 207; 307; 308; 508; Partner III
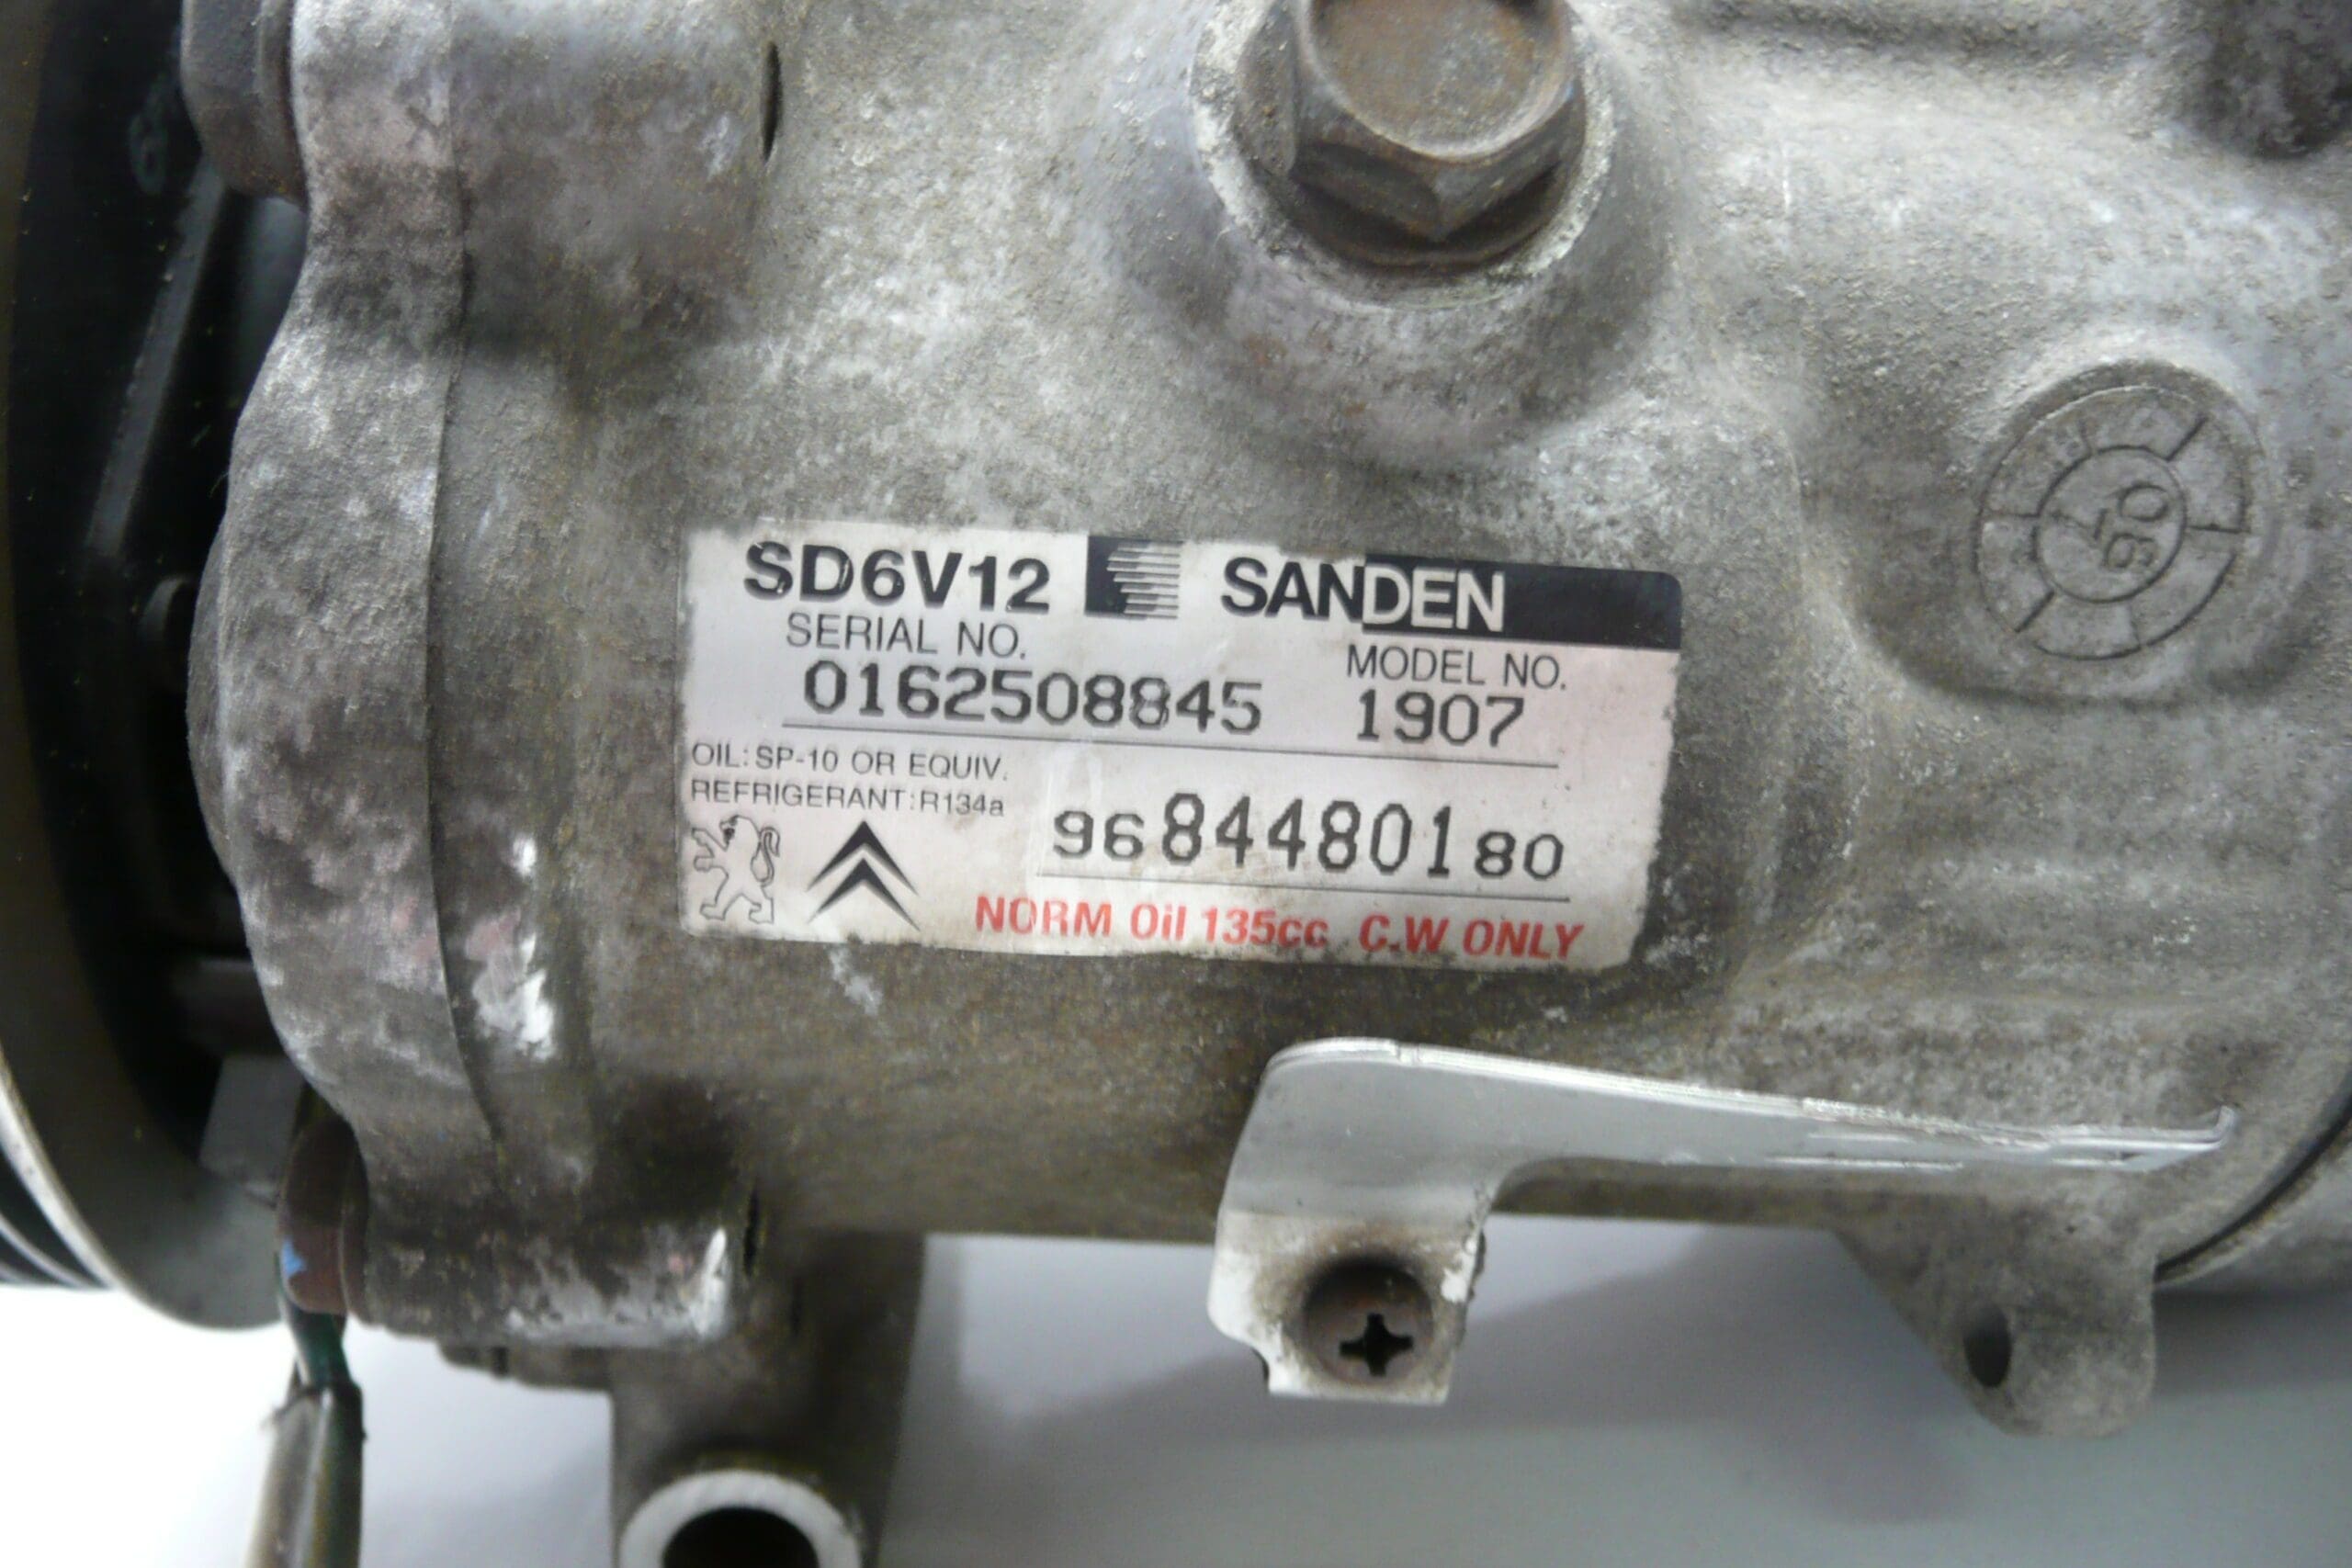
Product Codes: 9684480180, 9671456680, 9800821980, 9800822280
Other Numbers: 6453XP, 6453QG, 6453XJ, 648714, 648715, 648722
Function And Fitment
The compressor circulates refrigerant through the air conditioning system, compressing low-pressure vapor into a high-pressure gas so the condenser can reject heat. This SD6V12 unit is a six-vane Sanden design commonly fitted as original equipment on many PSA group models listed above. Ensure compatibility by matching mounting flange, pulley type and electrical connector to the vehicle application and the OE/product codes shown.
Installation Recommendations
- Recover Refrigerant Safely: Evacuate the refrigerant using appropriate recovery equipment before any work.
- Disconnect Battery: Isolate the vehicle electrical system prior to removal.
- Remove Drive Belt And Electrical Connections: Note belt routing and mark electrical connectors for reassembly.
- Disconnect Refrigerant Lines: Cap and label lines to avoid contamination; replace O-rings with the correct size and material.
- Drain And Measure Oil: When replacing the compressor, confirm oil type (PAG compatible with R134a systems) and quantity; top up to OEM specification.
- Flush System If Contaminated: If the original compressor failed catastrophically, flush the circuit to remove debris and replace the receiver/drier or accumulator.
- Vacuum, Leak Test And Recharge: After fitting, perform a vacuum hold test to check for leaks, then recharge to the manufacturer’s specified refrigerant mass.
- Final Checks: Verify clutch engagement, confirm correct belt tension and check for abnormal noises during operation.
Why This Part Fails Most Often
Common causes of compressor failure include bearing wear leading to noisy operation or seizure, clutch wear or electrical faults preventing engagement, shaft seal deterioration causing refrigerant and oil leaks, and contamination from system breakdown or moisture ingress. Failures are frequently triggered by lack of maintenance (e.g., neglected receiver/drier), presence of debris after a previous compressor failure, or prolonged system operation with low refrigerant/oil level.
Signs Of A Faulty Compressor
- Reduced or No Cooling At Vent Outlets
- Unusual Noises From The Compressor (Grinding, Rattling, Squealing)
- Compressor Clutch Not Engaging
- Visible Refrigerant Or Oil Leaks Around Compressor Seals
Typical service life depends on vehicle usage and maintenance history; compressors commonly remain in service for many years but may fail sooner if the system has not been maintained correctly. When replacing the compressor, fit new O-rings, renew the receiver/drier and ensure the system is clean and correctly charged to maximise longevity and restore full cooling performance.