Description
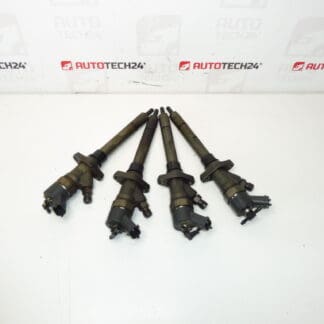
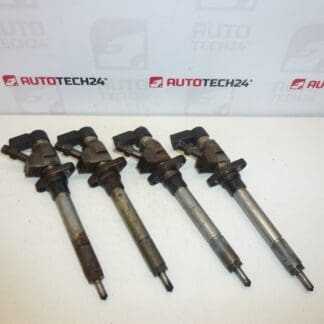
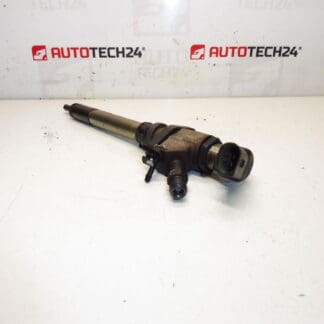
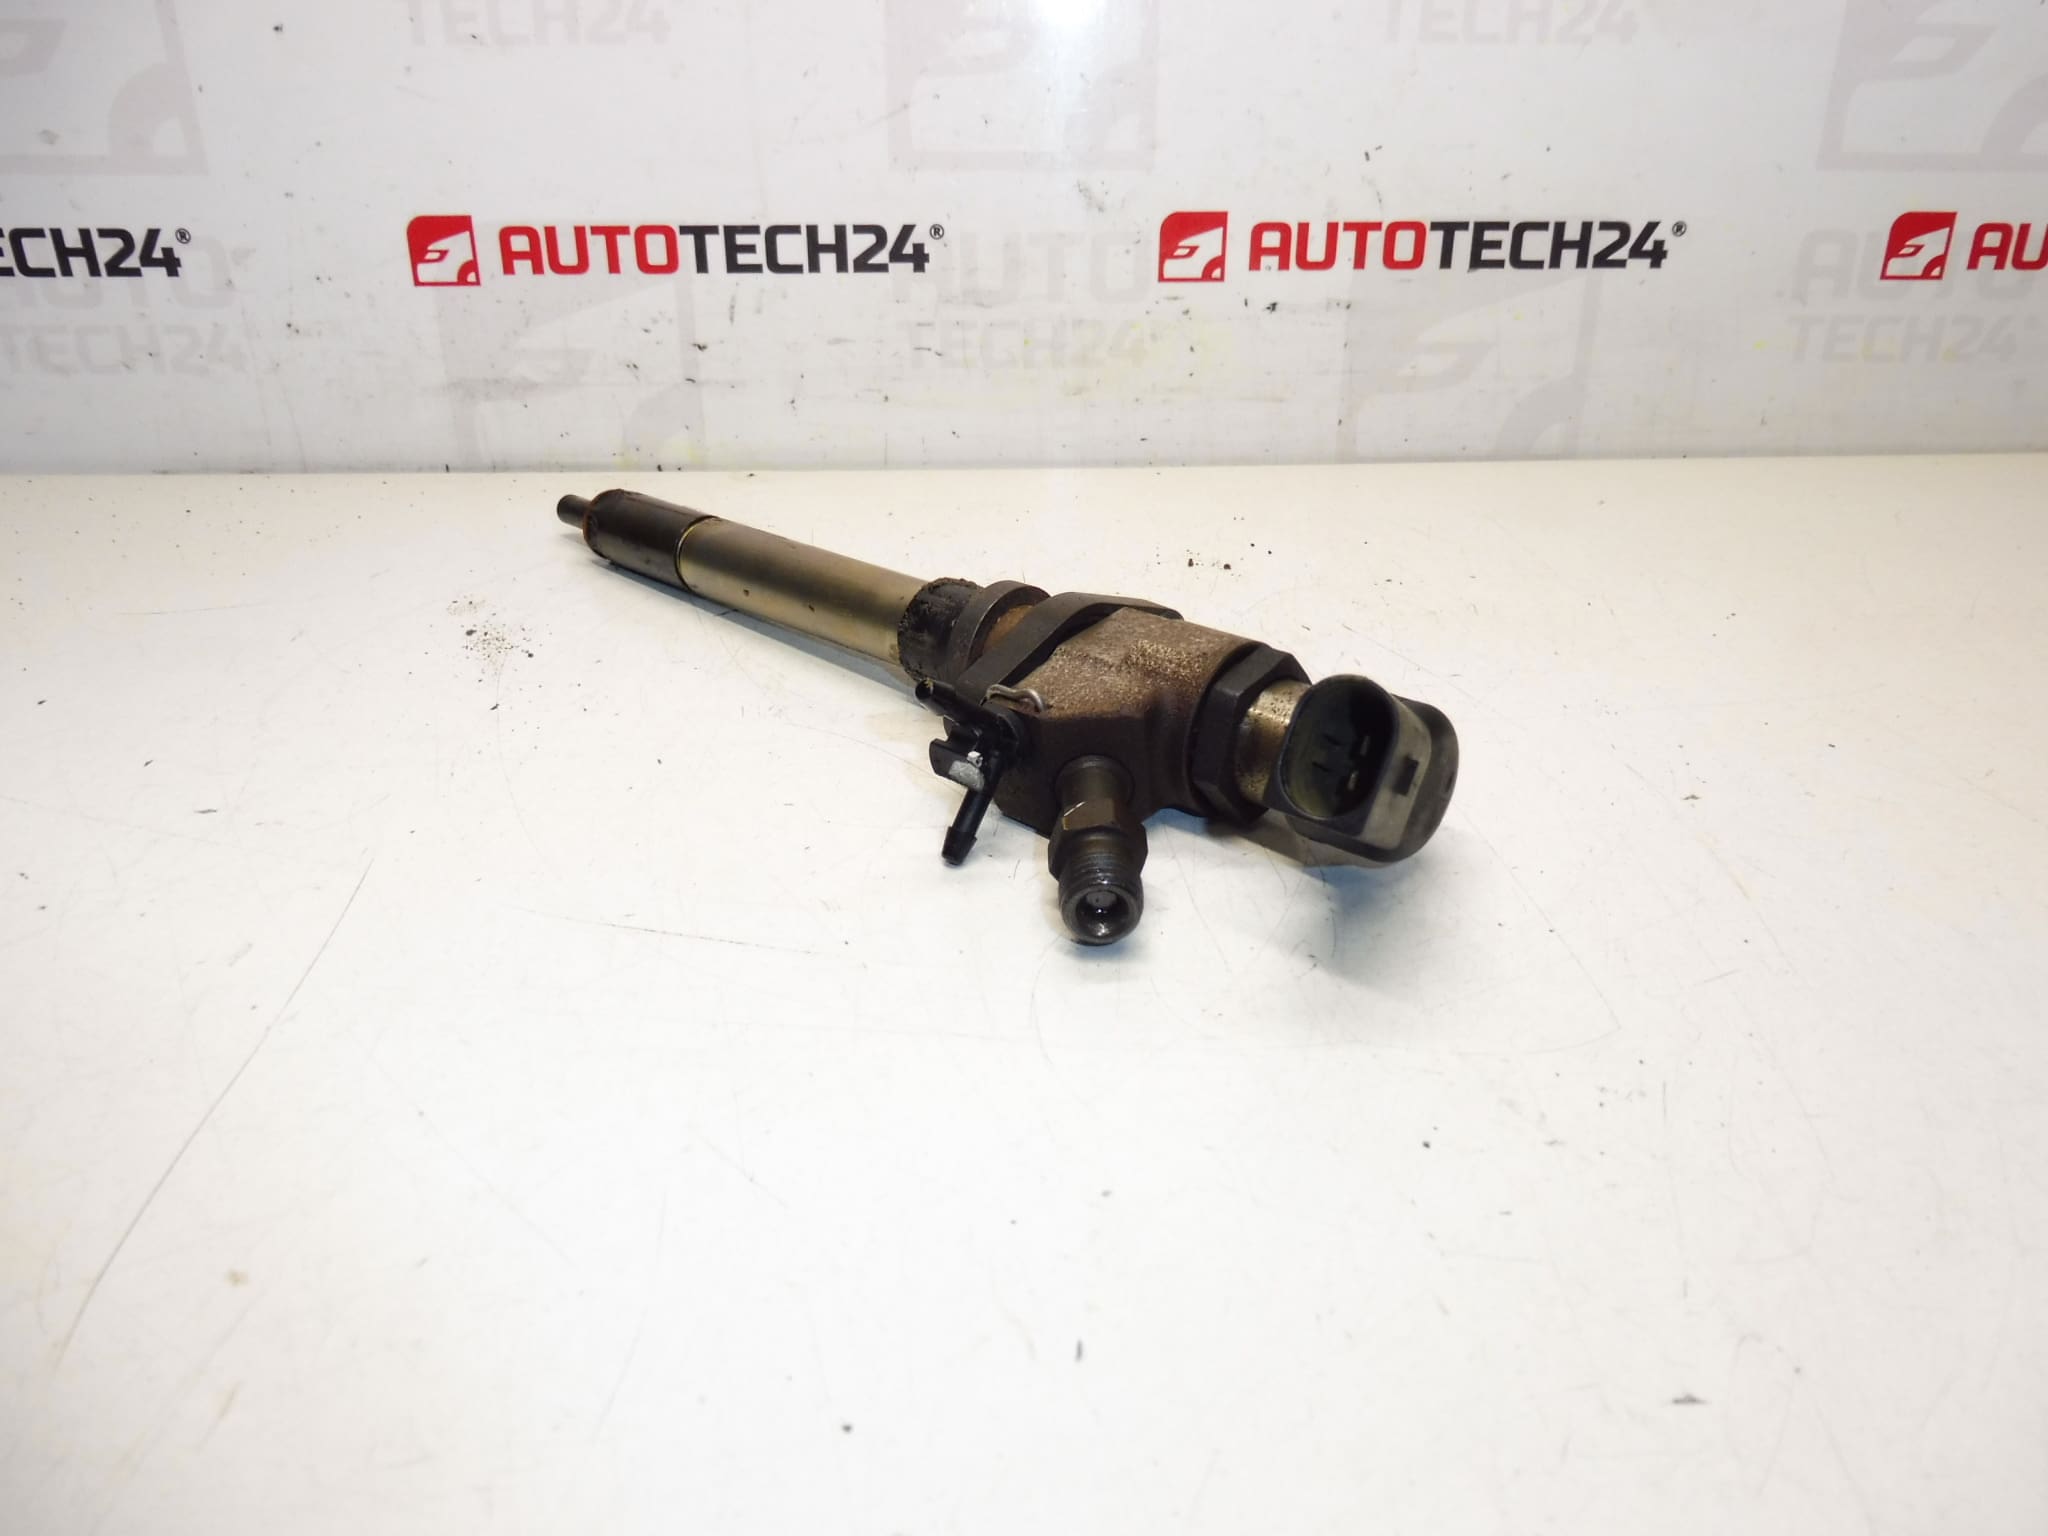
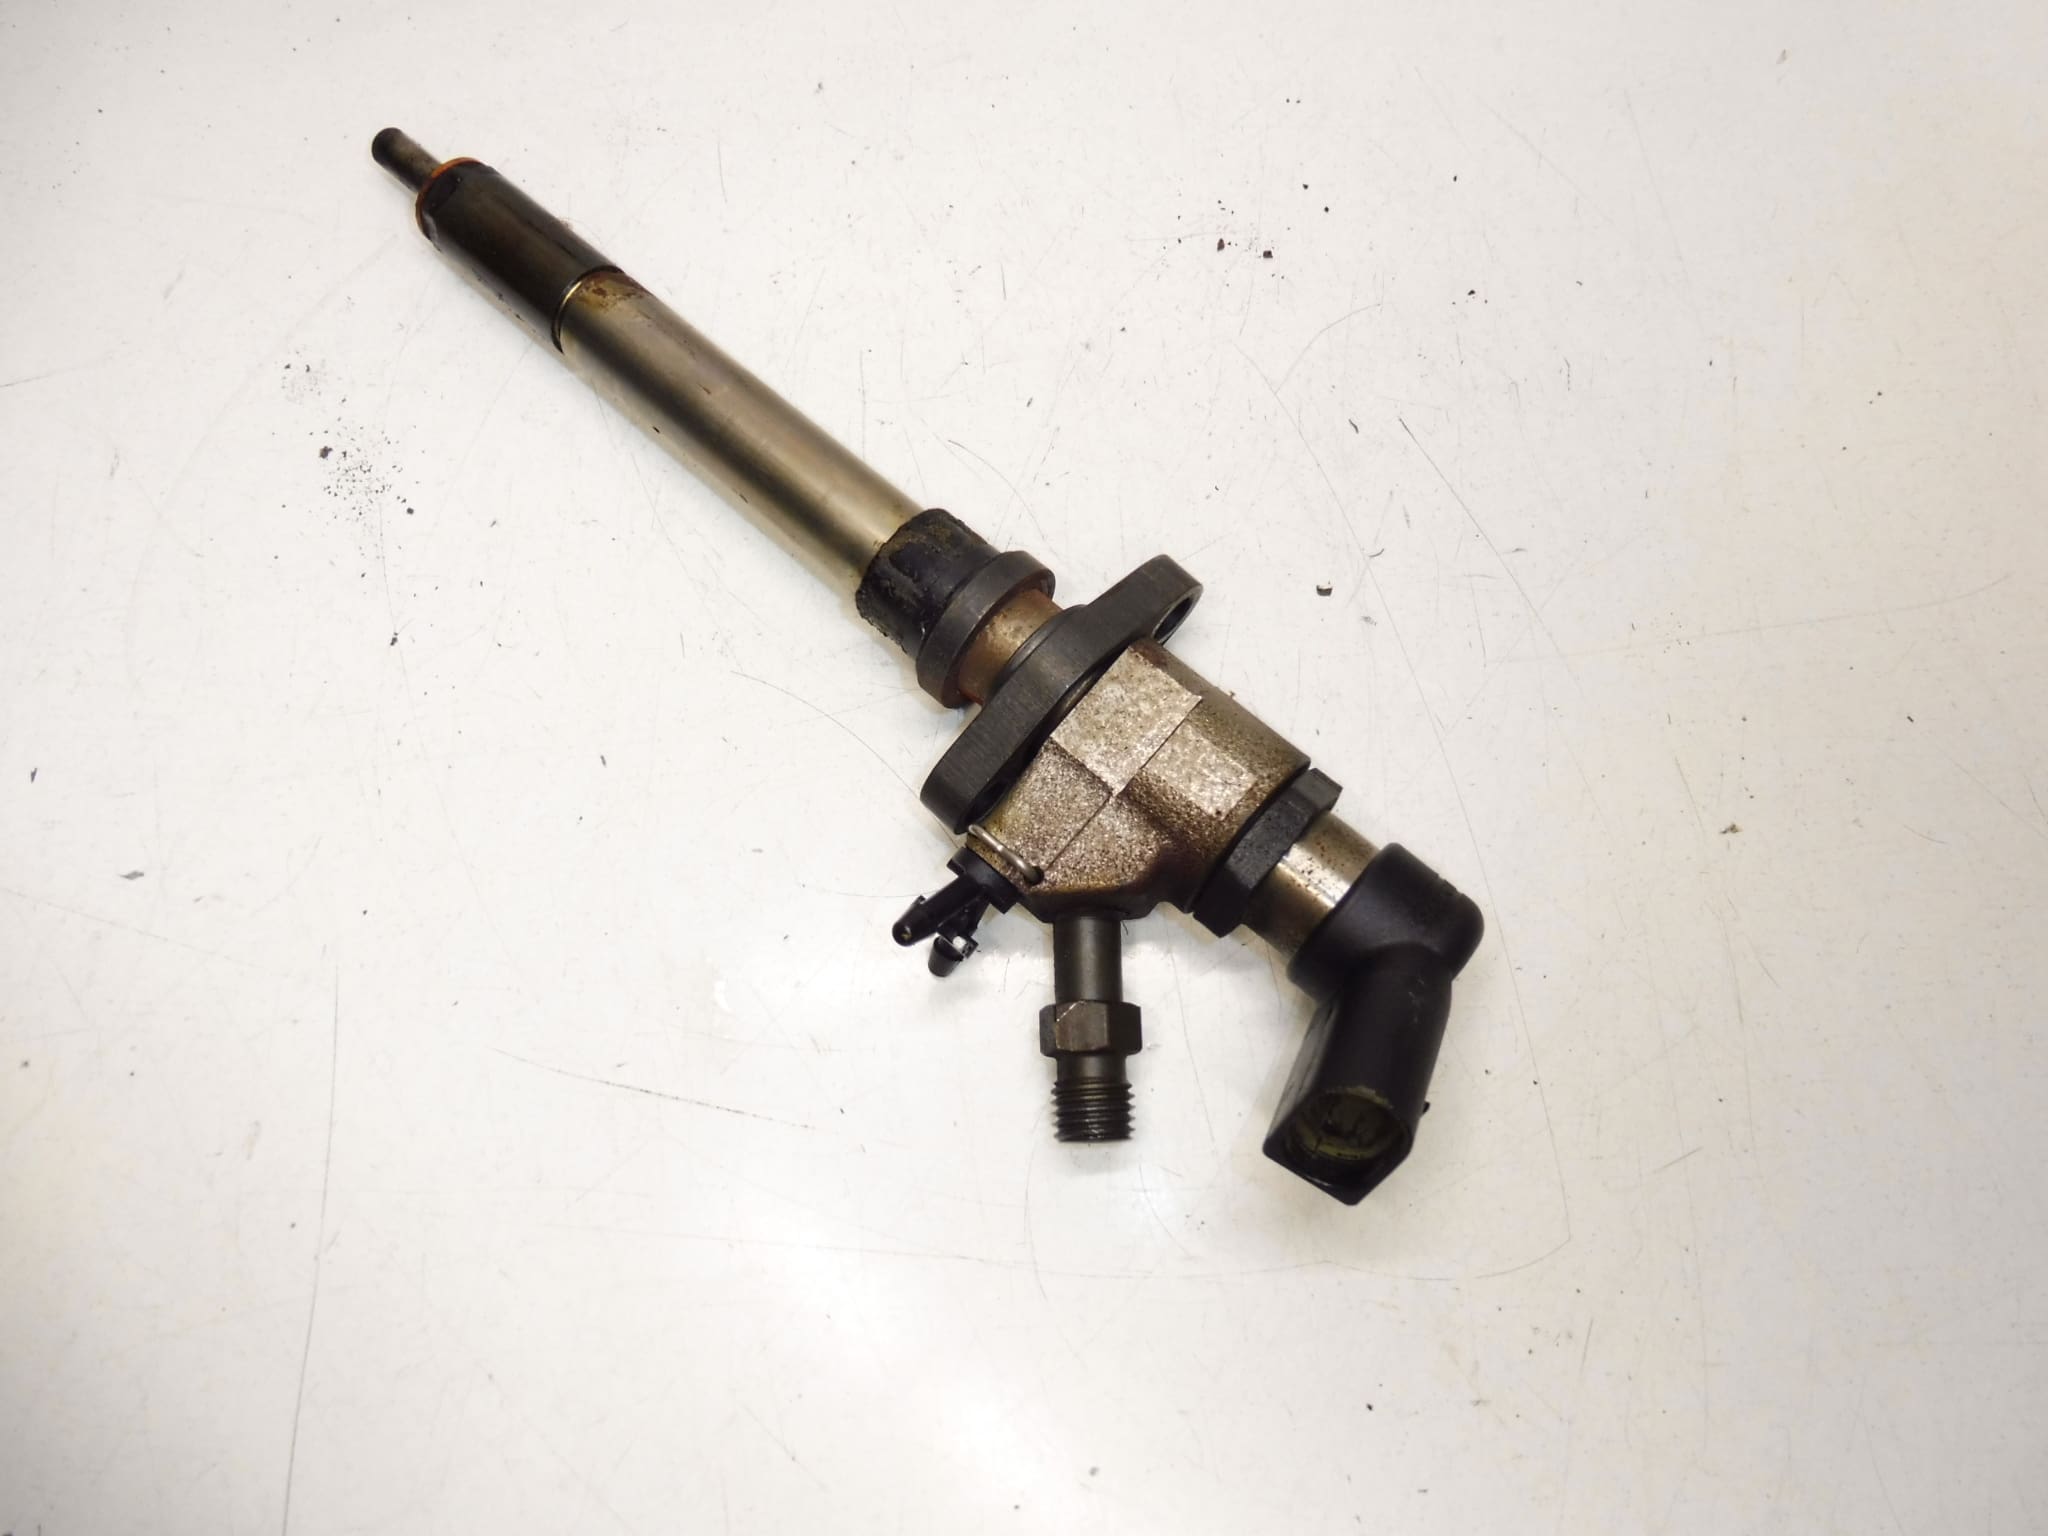
Injector SIEMENS 2.0 HDI 9657144580 9647247280 CL5
They fit CITROEN, FIAT, FORD, PEUGEOT, VOLVO cars
From a car with 185,000 km. The car had a perfect engine.
Injections with mileage over 100,000 km may not pass a possible test 100%
Part description
This Siemens injection for 2.0 HDI (CL5) is intended for the repair and replacement of injection on diesel engines. Thanks to the clearly indicated identification numbers (e.g. 9657144580 / 9647247280), it is particularly suitable for mechanics and home repairers who are looking for a part by code and need to quickly find the right variant.
The part is dismantled from a car with 185,000 km mileage, while the engine was perfectly running according to the disassembly information. At the same time, the common practice for used injections applies: pieces with a higher run-in may behave differently and may not pass the possible test 100% (stated in the documents).
Technical information
Specified labels/models (according to documents): Citroën C4, Citroën C4 PICASSO, Citroën C5, Citroen C5 X7, Citroën C8, Peugeot 307, Peugeot 407, Peugeot 807.
Product codes
- Product codes: 9657144580, 9647247280, 1980J5, 1980Z0
Installation recommendations
Generally/typically for common-rail injectors the exact procedure may vary by specific engine model and make, so always follow the manufacturer’s service procedure for that vehicle.
1) Before assembly
- Compare the new and original part: part numbers (9657144580 / 9647247280), body design, connector, mounting and orientation.
- Check the condition of the injection: undamaged connector, no cracks, no mechanical damage and traces of unprofessional disassembly.
- Check the cleanliness: the injection and the surrounding area of the assembly must be absolutely clean (in the case of injection, even minor dirt is decisive).
2) Necessary tools and materials (in general)
- Basic set of gola/wrenches, ratchet, suitable attachments
- Torque wrench (values according to the manufacturer’s manual)
- Technical parts cleaner, compressed air (carefully), clean lint-free cloths
- Suitable preparations for cleaning contact surfaces (typically)
- New seals/elements by design (typically changes, specific items and design by engine)
3) Step-by-step assembly procedure (typically)
- Disconnect the battery (recommended) and prepare a clean work environment.
- Dismantle the parts that prevent access to the injectors (according to the specific car).
- Thoroughly clean the area around the injector so that dirt does not fall into the engine/fuel system during disassembly.
- Disconnect the injector electrical connector.
- Carefully loosen and disconnect the fuel line (according to design), plug/cover the open ends against dirt.
- Unfasten the injector and remove it (if it is baked, proceed gently, without prying, which would damage the seat).
- Inspect and clean cylinder head mating surfaces (proper seating and tightness are typically key).
- Prepare the injection for assembly (cleanliness, correct installation of sealing elements according to the design).
- Insert the injector into the seat in the correct position and mount the mount.
- Connect the fuel line and tighten according to the manufacturer’s instructions.
- Connect the electrical connector and check that the connection is secure.
- Reinstall the removed covers/parts and perform a final visual inspection.
-
4) Post-assembly checks and test drive/function verification
- After the first start, check the fuel system for leaks and any leaks.
- Watch for erratic running, smoke and engine response; if you suspect a problem, check the assembly again.
- After a short test drive, visually check again that there are no leaks and that the connectors and wiring are firmly seated.
5) The most common assembly mistakes + how to avoid them
- Insufficient cleanliness when working → always clean the surroundings and protect the open fuel paths from dirt.
- Part code swap/mismatch → check numbers 9657144580 / 9647247280 and design before assembly.
- Damage to the seat or sealing surfaces during disassembly/assembly → proceed carefully, without prying forcefully.
- Leakage after assembly → careful check of seating and tightening according to the manual, subsequent check after start-up.
Reasons why the part is damaged
- Natural wear and tear – with used injectors, the risk of worse parameters increases with higher mileage (in the documents there is a warning about runs over 100,000 km).
- Fuel contamination (dirt, water) – typically leads to seizure and poor atomization.
- Long-term neglected maintenance of the fuel system – the injection load may increase.
- Overheating and unsuitable operating conditions – they deteriorate function and tightness in the long term.
- Improper disassembly/assembly – damage to connectors, injector body or seating surfaces can cause leaks and poor operation.