Description
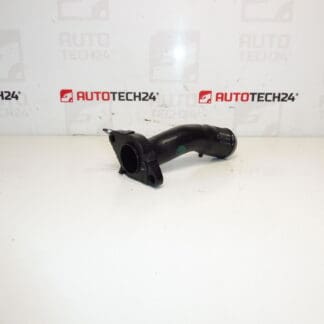
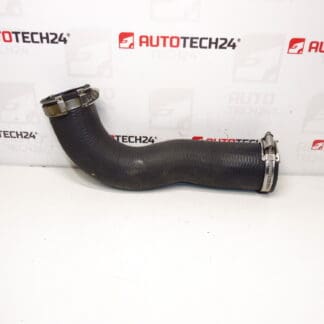
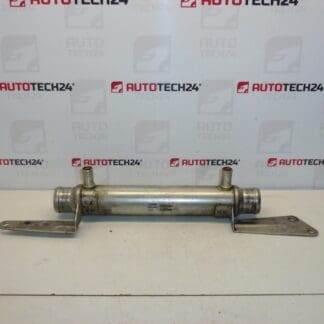
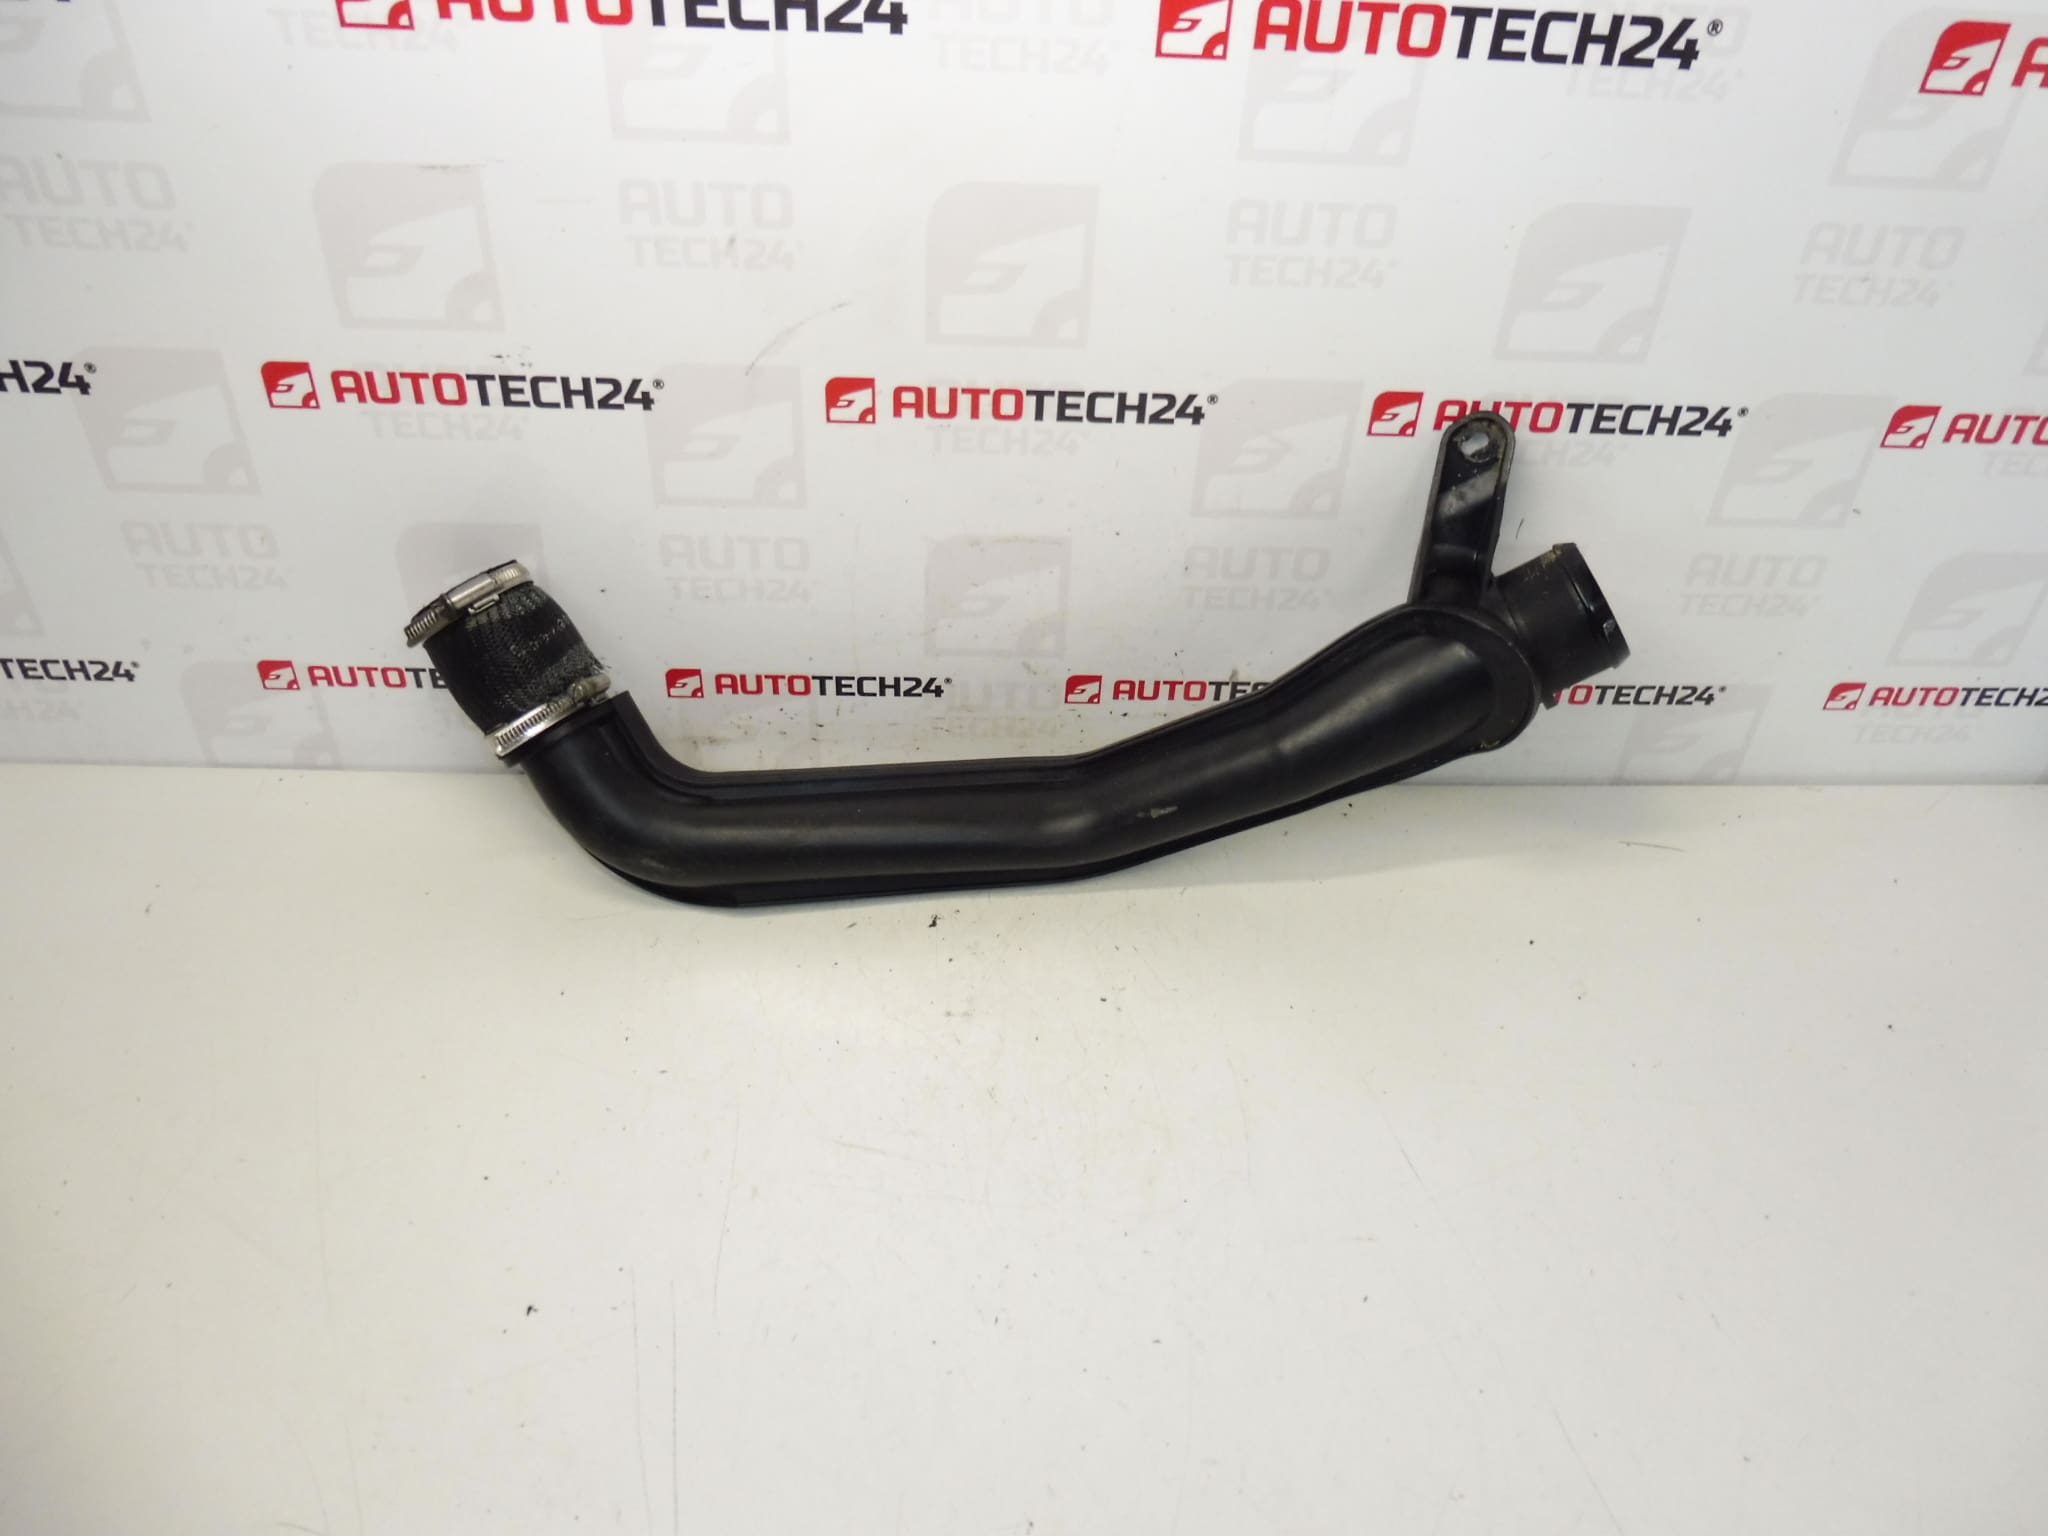
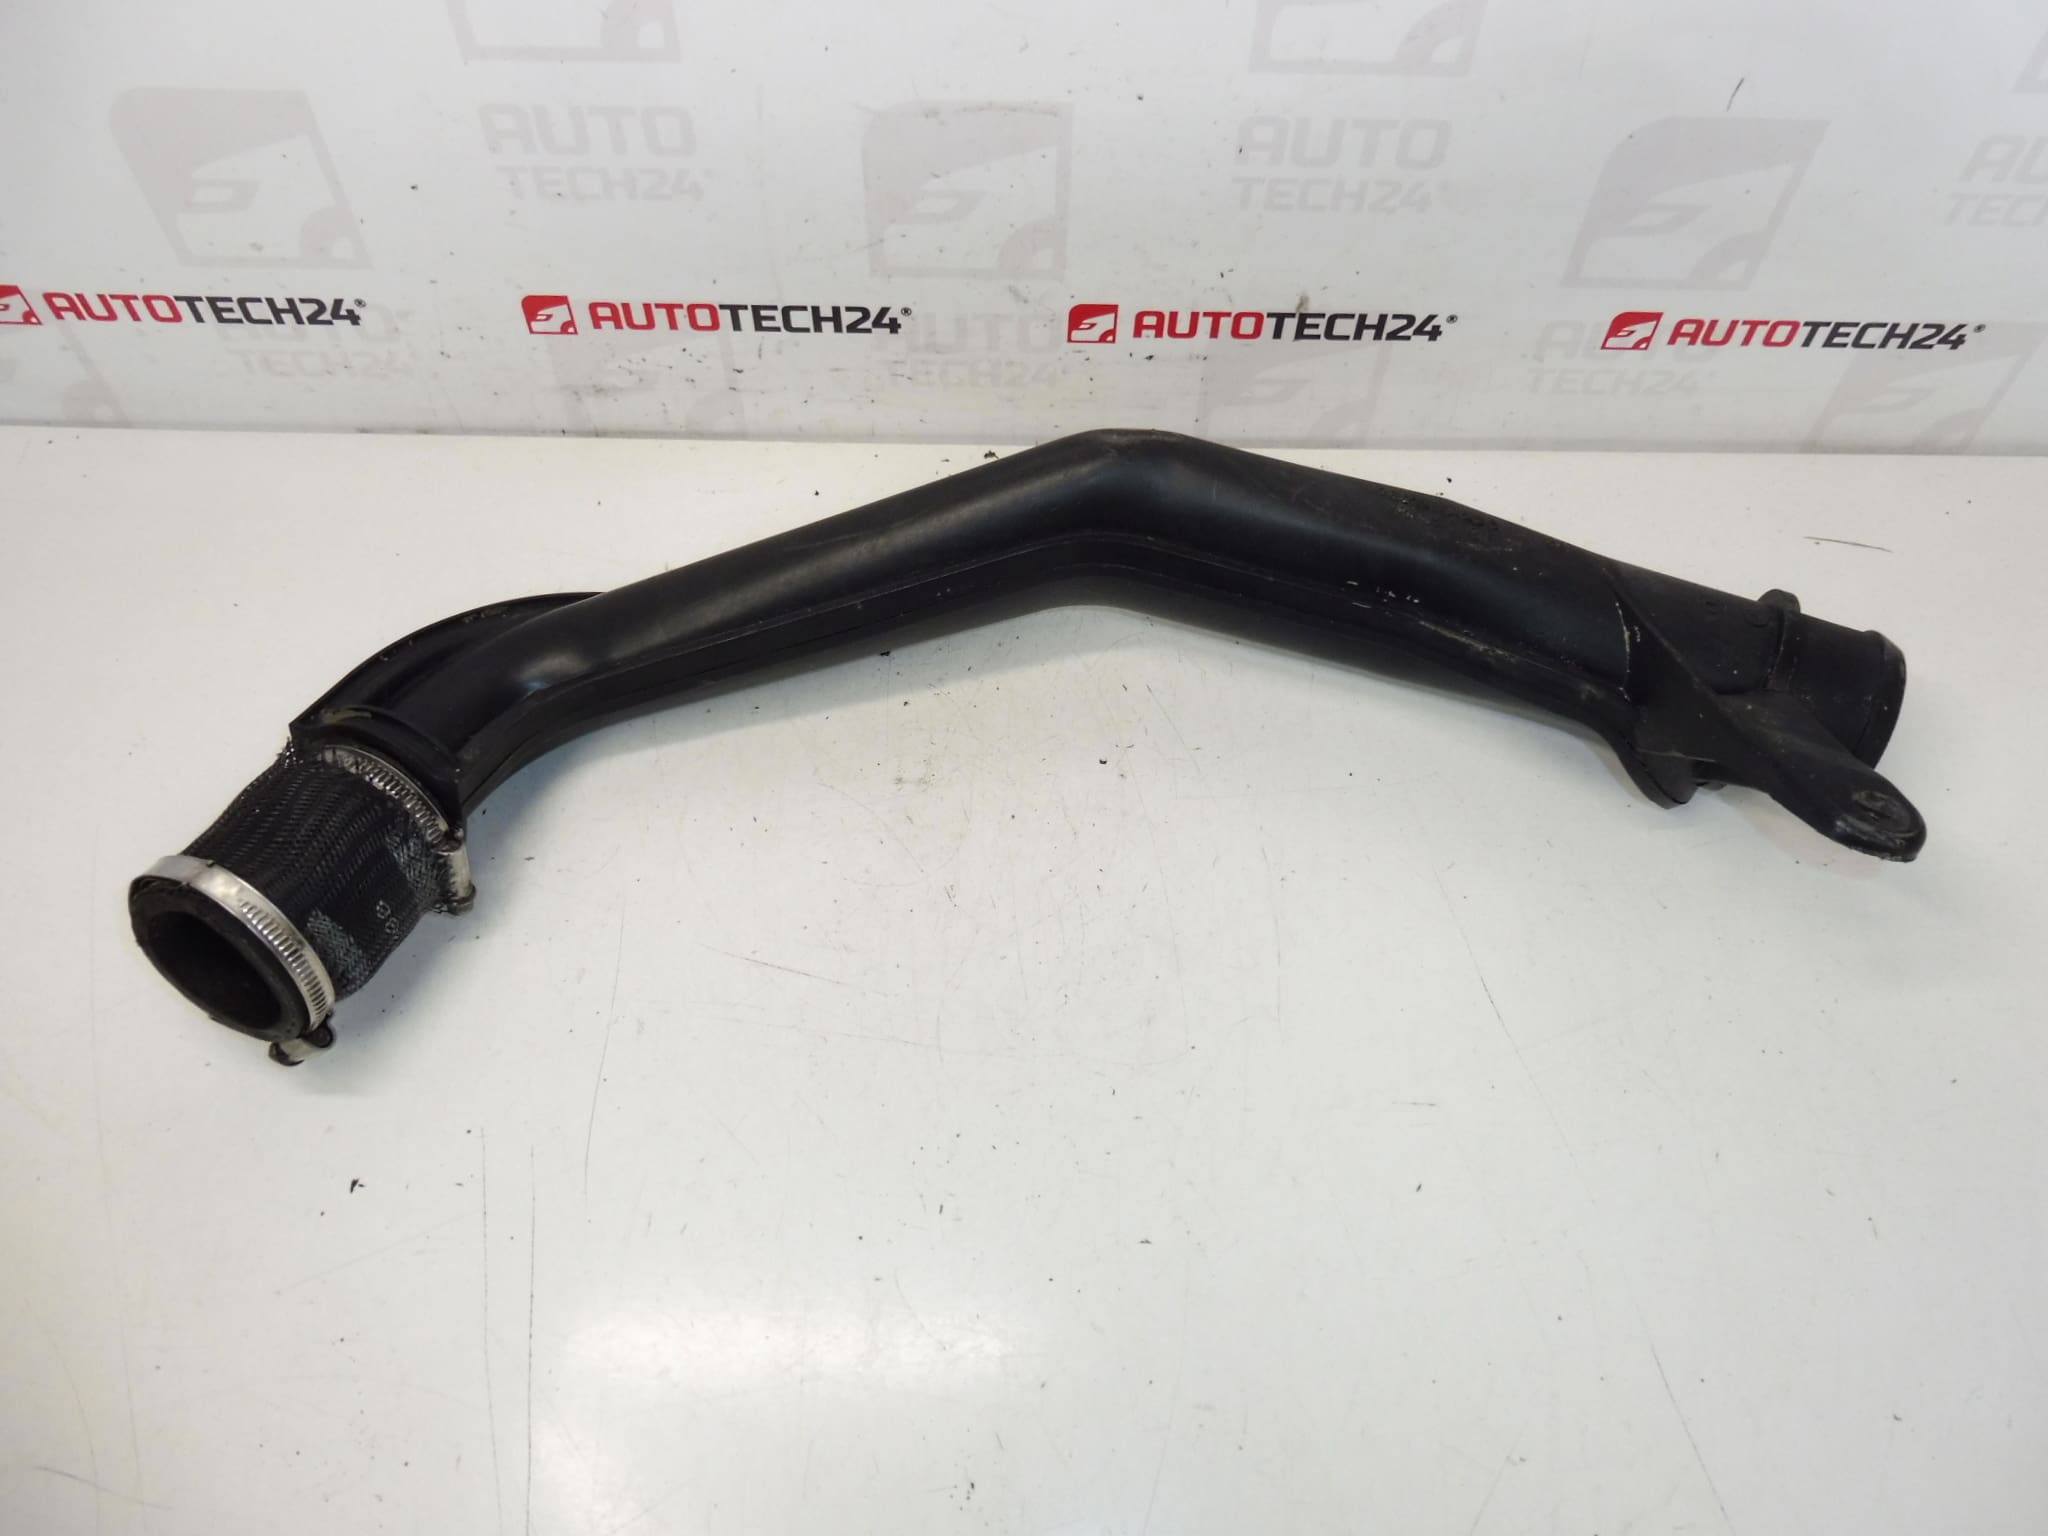
Air connection at the turbocharger for 2.0 HDI engines of CITROEN and PEUGEOT cars
Part description
This intake pipe / turbo air connection is intended for Citroën and Peugeot cars with a 2.0 HDI engine. It is an important part of the intake system, which helps to correctly guide the air to the turbocharger and participates in the stable operation of the engine.
A used original part is a suitable choice for car repair if you are looking for a replacement according to a specific designation. In particular, part number 1487510080 and 0382P7, by which this part can be easily traced, is decisive when choosing.
- original part for Citroën and Peugeot cars
- designed for the 2.0 HDI
- part of the intake system and air supply to the turbo
- suitable for replacing a damaged or leaking original piece
engine category
Technical information
Manufacturer: Stellantis Citroën Peugeot
Model: Citroën C8, Peugeot 807
Other numbers: 1487510080, 0382P7
Product codes
Product codes: 1487510080, 0382P7
Model names: Citroën C8, Peugeot 807
Installation recommendations
Generally and typically for this type of part, the exact replacement procedure may vary depending on the specific design of the car and the access in the engine compartment. Below is a practical general procedure for replacing the intake pipe or air connection on a turbocharger.
1) Before assembly
- Check whether the shape, connection diameter, length and location of the connection points match the old part.
- Compare part numbers 1487510080 and 0382P7 with the removed piece if they are legible on the original part.
- Check the condition of the end edges, contact surfaces and any securing parts.
- Make sure that there are no cracks, deformations, signs of significant abrasion or dirt inside the part.
- Check connecting hoses, clips and surrounding parts of the intake system to ensure that the newly installed piece is not leaking due to a defect elsewhere.
2) Necessary tools and materials
- regular set of hand tools
- screwdrivers or buckle release tools
- pliers
- clean rag
- cleaning agent suitable for removing dirt from contact surfaces
- work gloves and lighting
3) Step-by-step assembly procedure
- Shut off the engine and let the engine compartment cool down.
- Provide access to the removed intake section so that the connections can be safely released without damaging the surrounding parts.
- Carefully dismantle the old part and observe how it was guided and attached.
- Check the connection points on the connected parts and remove dirt, deposits or grease.
- Compare the old and new part side by side, especially the ends, bends and attachment points.
- Place the suction pipe in the correct position without force and without twisting.
- Connect both ends to the connecting parts of the intake system and check that they fit evenly all around.
- Install and tighten the clips or fasteners so that the joint is firm but does not deform the plastic or rubber part.
- Check that the part does not rub against the surrounding components anywhere and is not under tension.
- Check that all dismantled covers, holders and supply parts are returned correctly.
- After completing the assembly, visually check the entire suction circuit in the vicinity of the part being changed.
-
4) Post-assembly checks and test drive / function verification
- After starting, observe for signs of suction leaks.
- Observe for excessive air hissing or other unusual noises.
- Check that the part holds firmly in place even with engine vibrations.
- During a test drive, verify the smooth response of the engine without obvious fluctuations in operation.
- After driving, visually check the connections and mountings again.
5) The most common assembly mistakes + how to avoid them
- Incorrect fit of the joint – always check that the part fits straight and is not misaligned.
- Leaving dirt in connection points – clean the surface carefully before assembly.
- Fastening tightening – tighten with sensitivity to avoid damage to the part or connections.
- Assembly of the part in tension – the pipe must be guided naturally without forced bending.
- Overlooking a defect in connecting hoses or connections – check the entire surrounding section of the intake before final assembly.
Reasons why the part is damaged
- normal material aging and long-term thermal stress in the engine compartment
- cracking or deformation due to engine vibrations
- leaks caused by wear and tear of joints and fasteners
- mechanical damage during previous disassembly or improper assembly
- contact with oil impurities and deposits that can accelerate the degradation of the material