Description
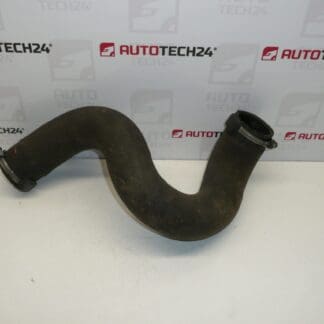
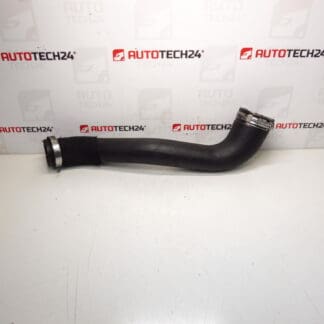
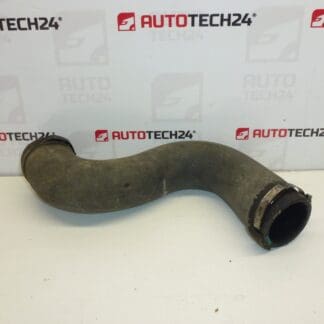
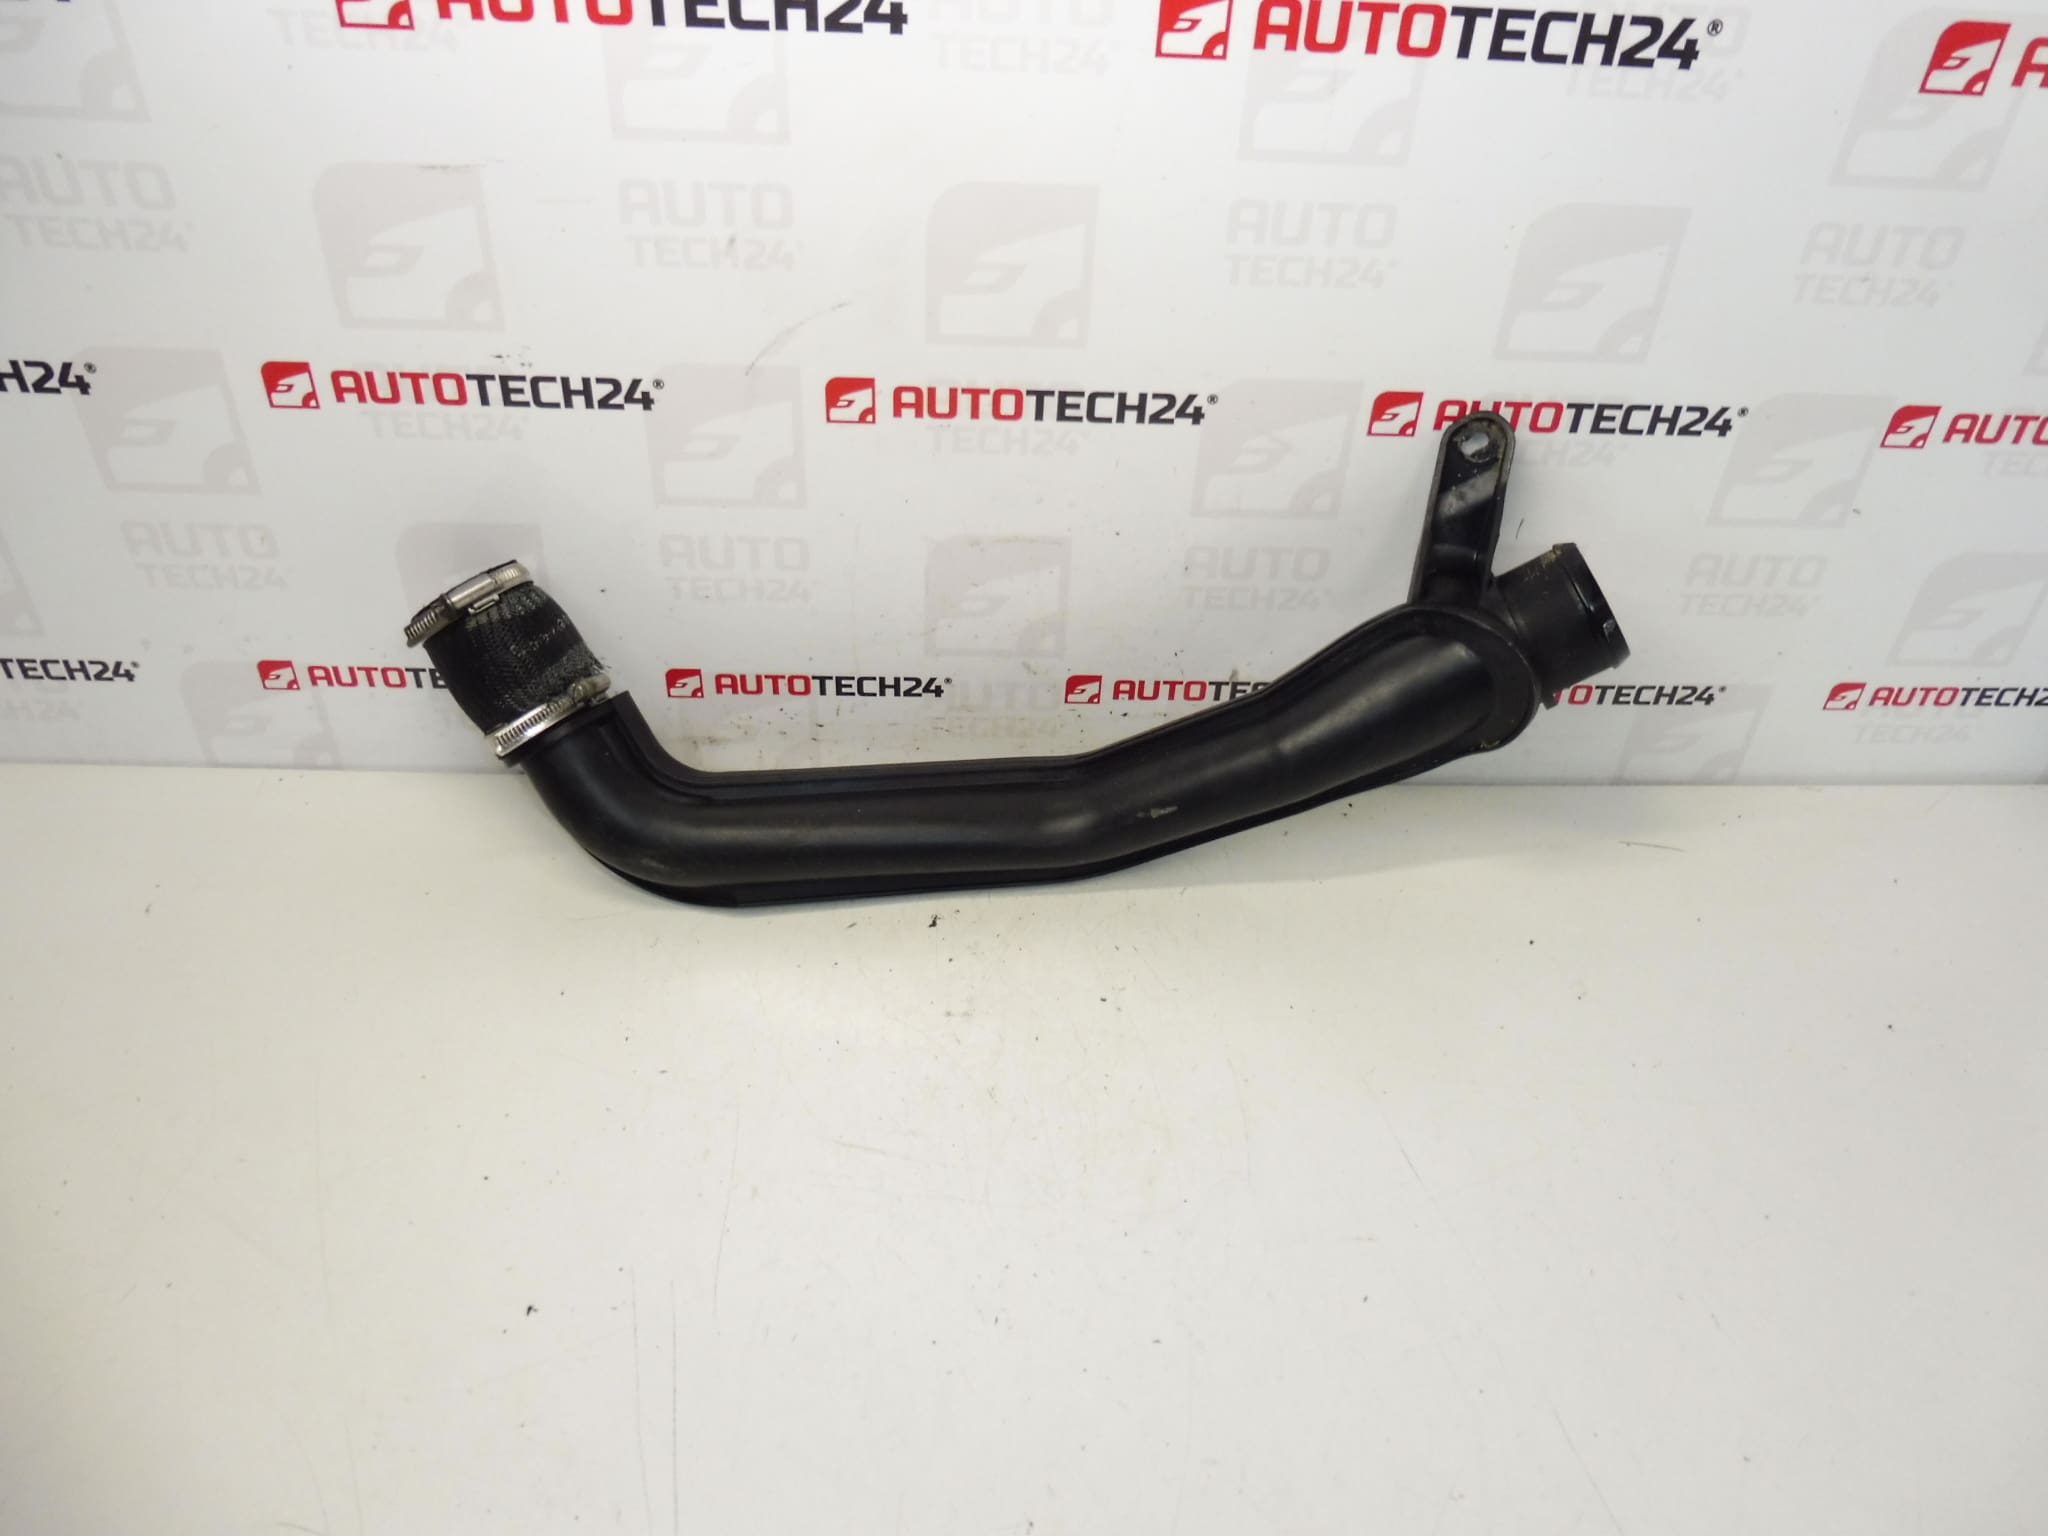
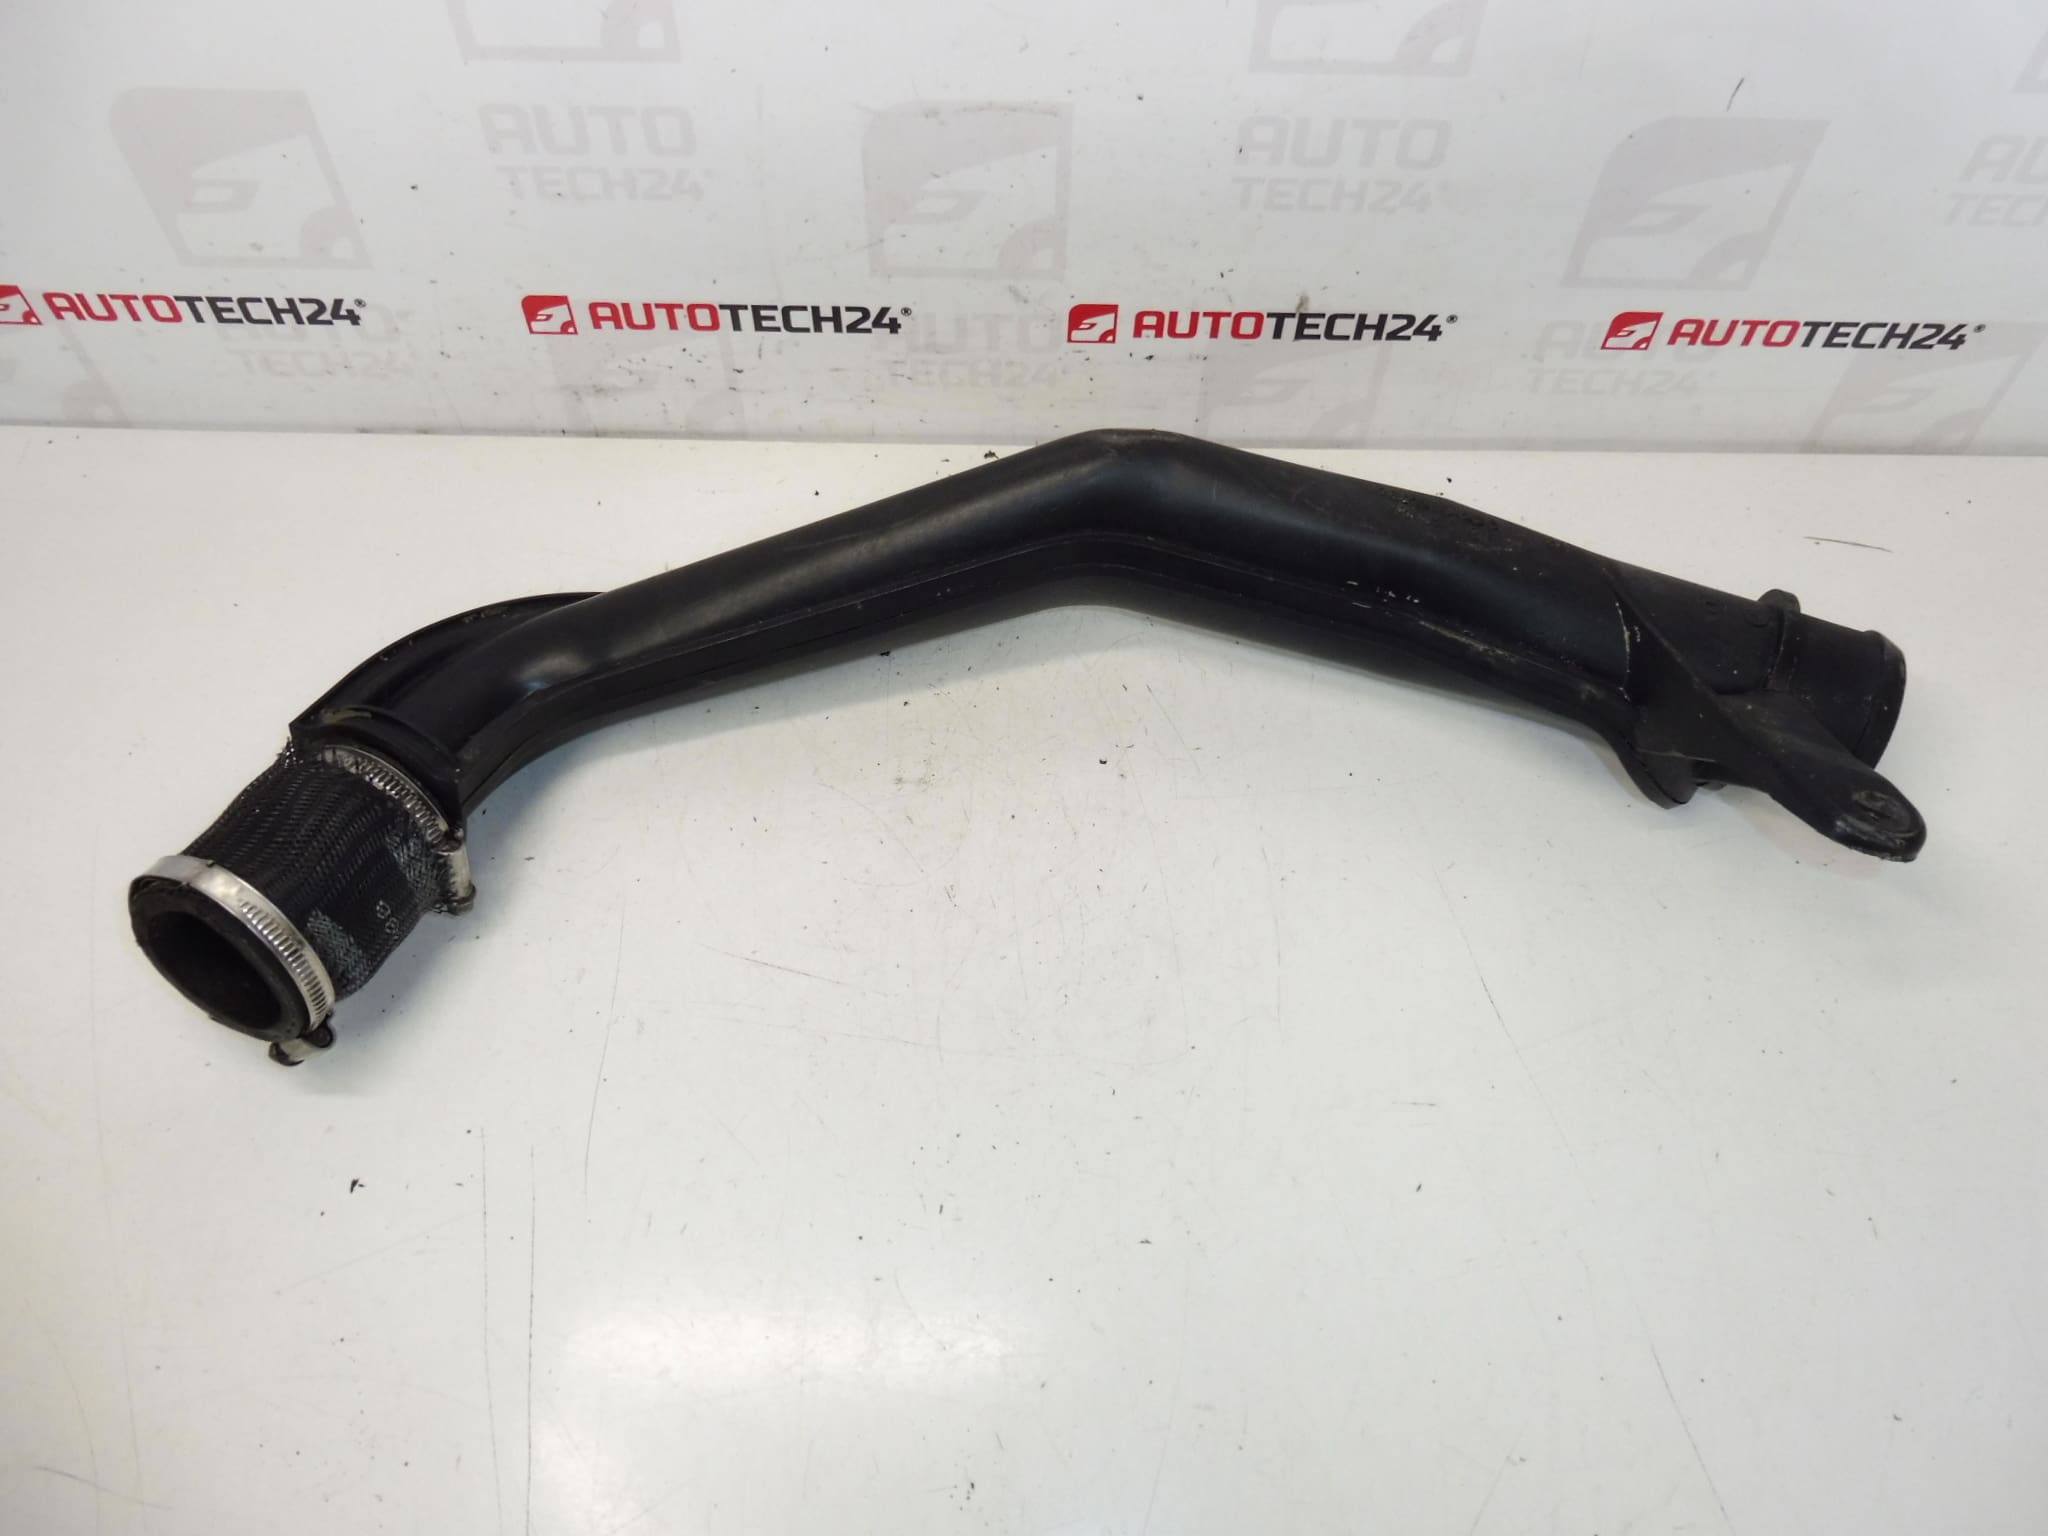
Air inlet connection at the turbocharger for 2.0 HDI engines of Citroën and Peugeot vehicles.
Product Overview
This turbocharger air inlet pipe is a direct-fit connection piece designed for 2.0 HDi diesel engines used in selected Citroën and Peugeot models. It routes incoming charge air into the turbocharger compressor housing and plays a key role in maintaining correct boost pressure and airflow. The part is suitable for professional workshops and experienced DIY mechanics looking for a reliable replacement when the original hose shows wear, cracks or oil contamination.
Benefits
- Direct-fit geometry for original turbocharger interfaces to ensure correct sealing and airflow.
- Restores stable boost delivery and engine response when replaced after leakage or damage.
- Improves reliability and prevents further turbocharger/engine issues caused by air leaks or oil ingress.
- Part numbers included in the listing improve searchability (OEM references often used by mechanics when sourcing parts).
Compatibility
Primarily compatible with Citroën C8 and Peugeot 807 fitted with the 2.0 HDi engine. Always check the part number against the vehicle’s service documentation or parts list to confirm fitment for a particular chassis and engine variant.
Technical Information
- Manufacturer: Stellantis (Citroën / Peugeot)
- Model: Citroën C8; Peugeot 807
- Product Codes: 1487510080, 0382P7
- Additional Numbers: 1487510080, 0382P7
Function And Typical Faults
The turbo inlet connection channels intake air from the airbox/intake tract into the turbocharger compressor. It must remain airtight and dimensionally stable under heat and vibration. Typical failure modes include cracking from heat aging, split seams, deterioration of rubber/elastomer sections, abrasive damage from debris, and oil contamination from a leaking turbo seal. Even small leaks at this point reduce boost pressure, cause drivability issues, increased soot and possible turbocharger overwork.
Replacement Procedure (Overview)
Replacement is straightforward for a trained mechanic but requires care to avoid introducing debris into the turbocharger:
- Allow the engine to cool to avoid burns and pressure hazards.
- Loosen and remove clamps securing the inlet pipe at the turbocharger flange and at the intake side. Keep or replace clamps if corroded.
- Carefully remove the old pipe, preventing dirt from entering the turbo intake. Plug the turbo inlet temporarily if necessary.
- Inspect mating surfaces, compressor inlet and sealing faces for damage, deposits or oil. Clean thoroughly.
- Fit the new inlet pipe, ensure correct orientation and seating, then tighten clamps evenly to avoid distortion. Replace any gaskets or seals if applicable.
- Start the engine and check for leaks at idle and under light load; re-check clamps after a short test drive.
Installation Recommendations
- Work on a cool engine and keep the intake/turbo openings clean to prevent debris ingestion into the compressor.
- Replace worn or corroded hose clamps and any sealing rings. Use clamps rated for boost applications.
- If oil contamination is present, inspect the turbocharger seals and crankcase ventilation system; simply replacing the pipe may not solve the root cause.
- After installation, perform a visual leak check and a short road test to confirm proper boost response and absence of air leaks.
Why This Part Fails Most Often
Failures most commonly result from long-term exposure to high temperatures and vibration, which cause rubber or composite sections to harden and crack. Oil leaks from turbocharger seals or excessive crankcase ventilation contamination accelerate deterioration. Corroded or loose clamps can also lead to slippage and boost leaks. Addressing the underlying cause (oil leaks, worn clamps, excessive crankcase pressure) will prevent premature recurrence.
Notes For Mechanics And DIYers
This part is commonly searched by its OEM numbers (1487510080, 0382P7) — include these when sourcing or ordering to ensure correct fitment. When in doubt, compare the physical shape and mounting interfaces with the removed part before installation.
Warranty And Quality
Check the seller’s warranty and return policy before purchase. Use quality replacement clamps and seals during installation to maintain performance and longevity.