Description
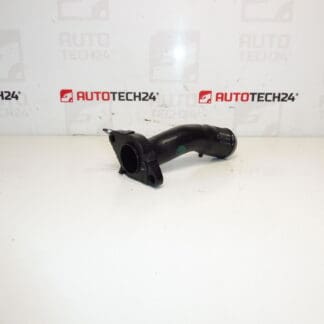
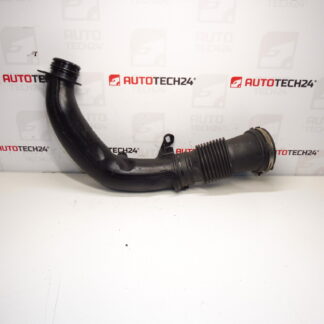
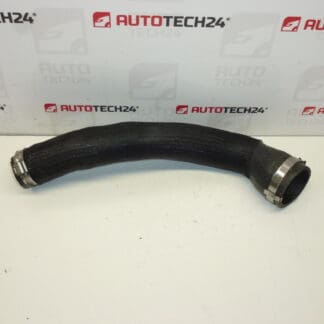
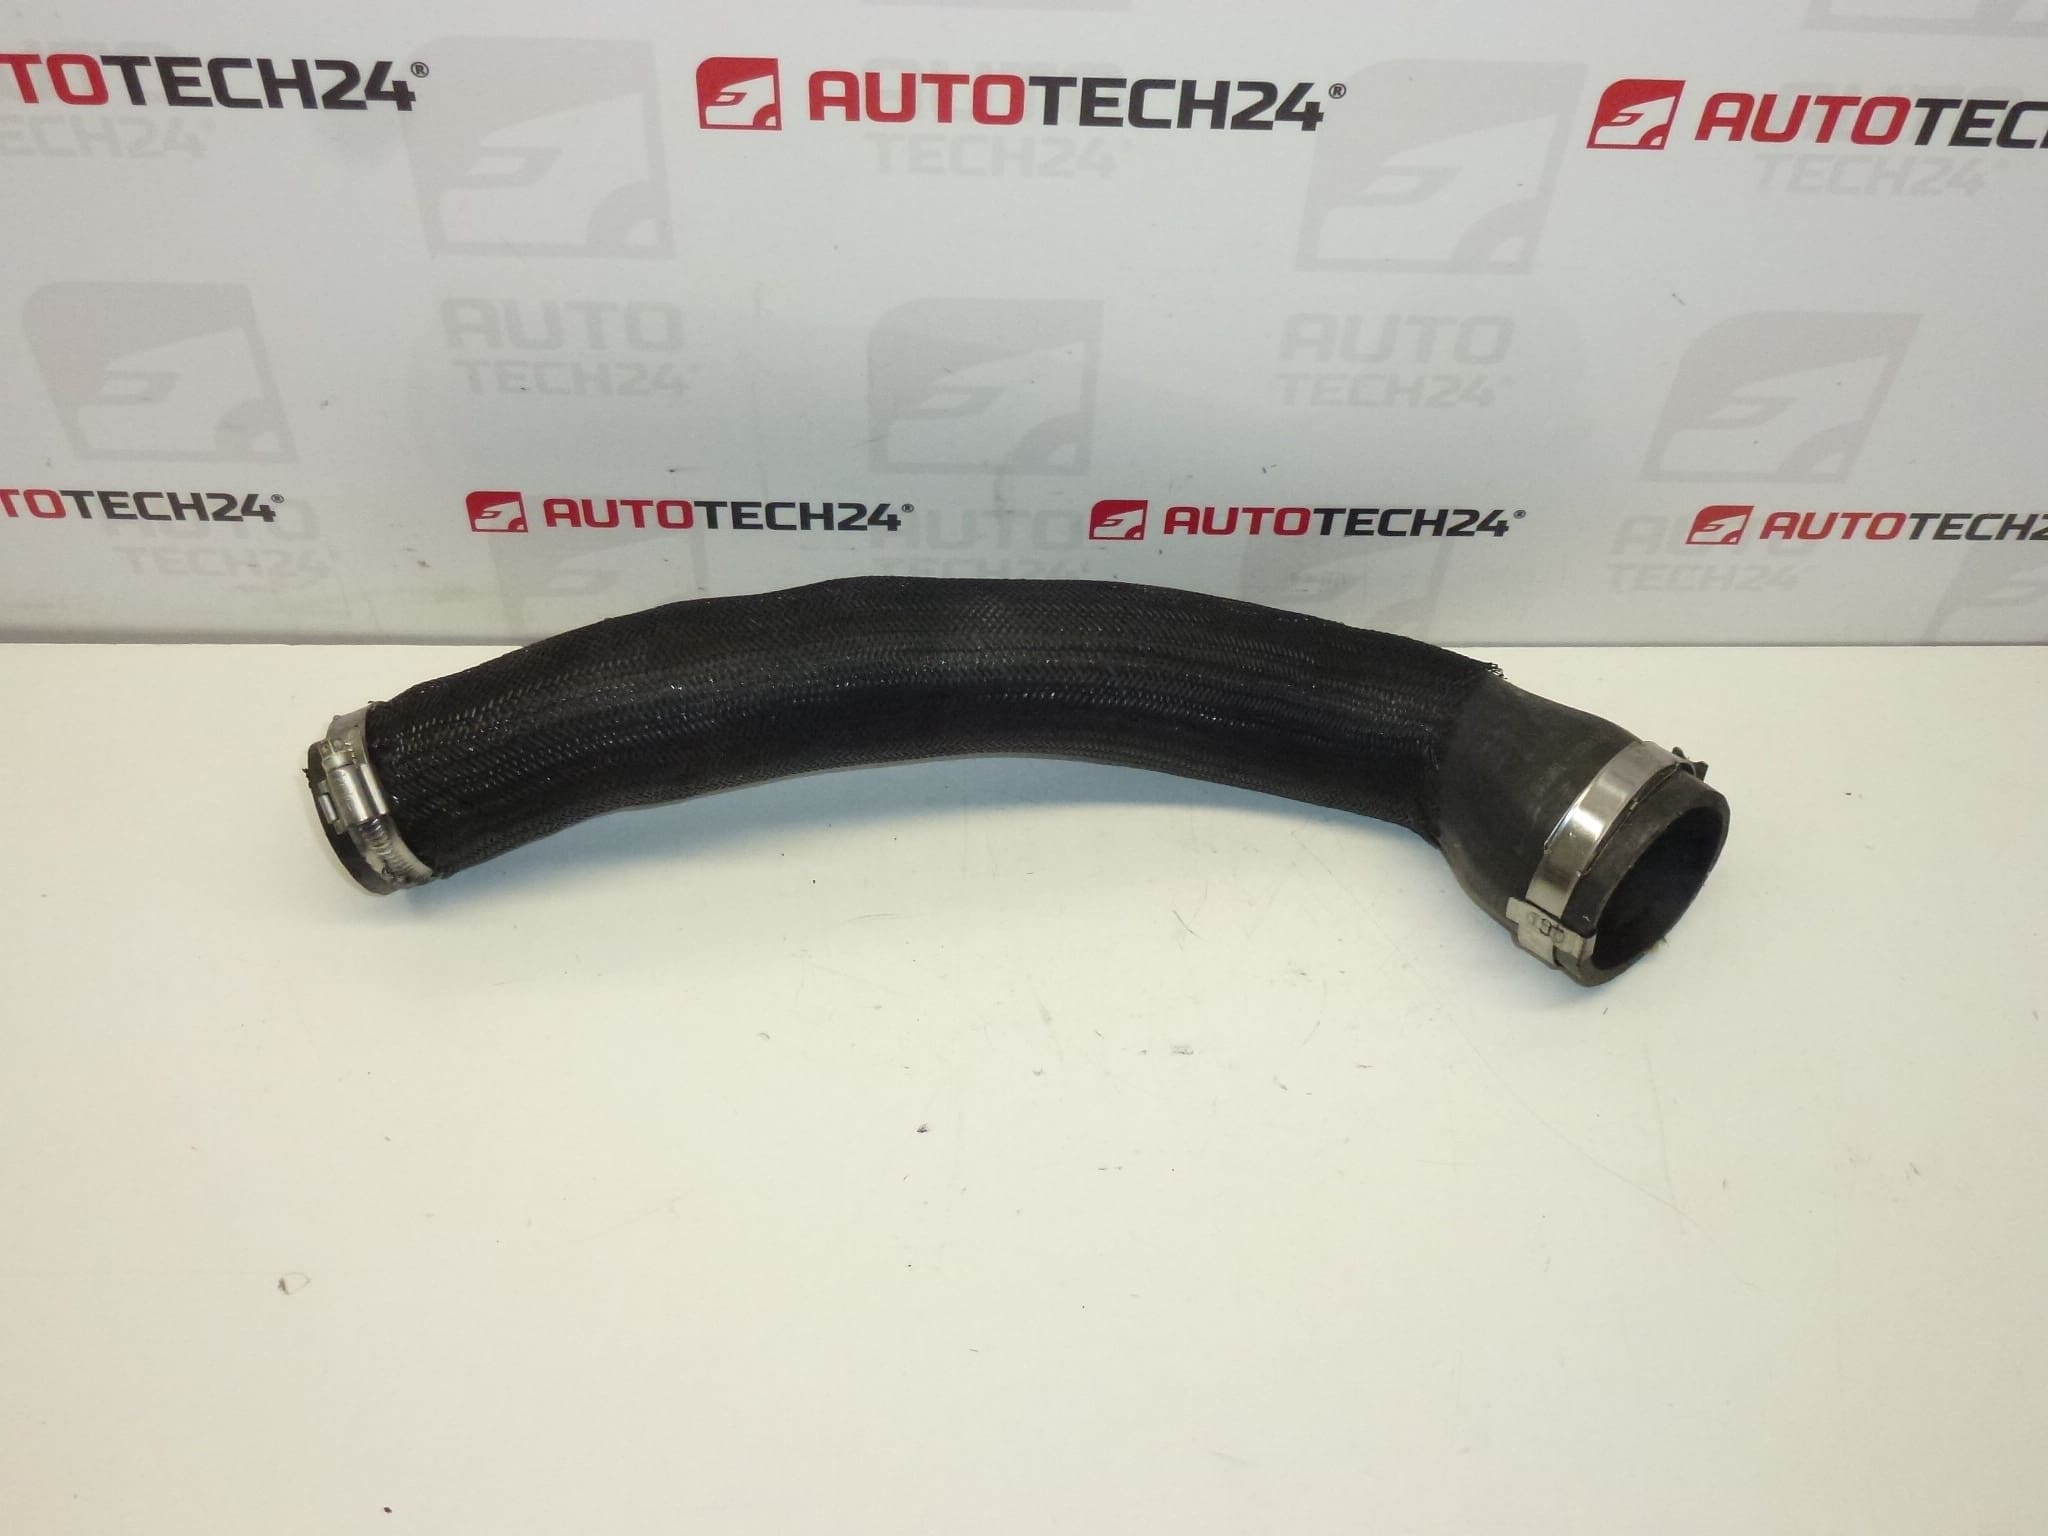
Air connector 2.0 HDi for Citroën and Peugeot vehicles.
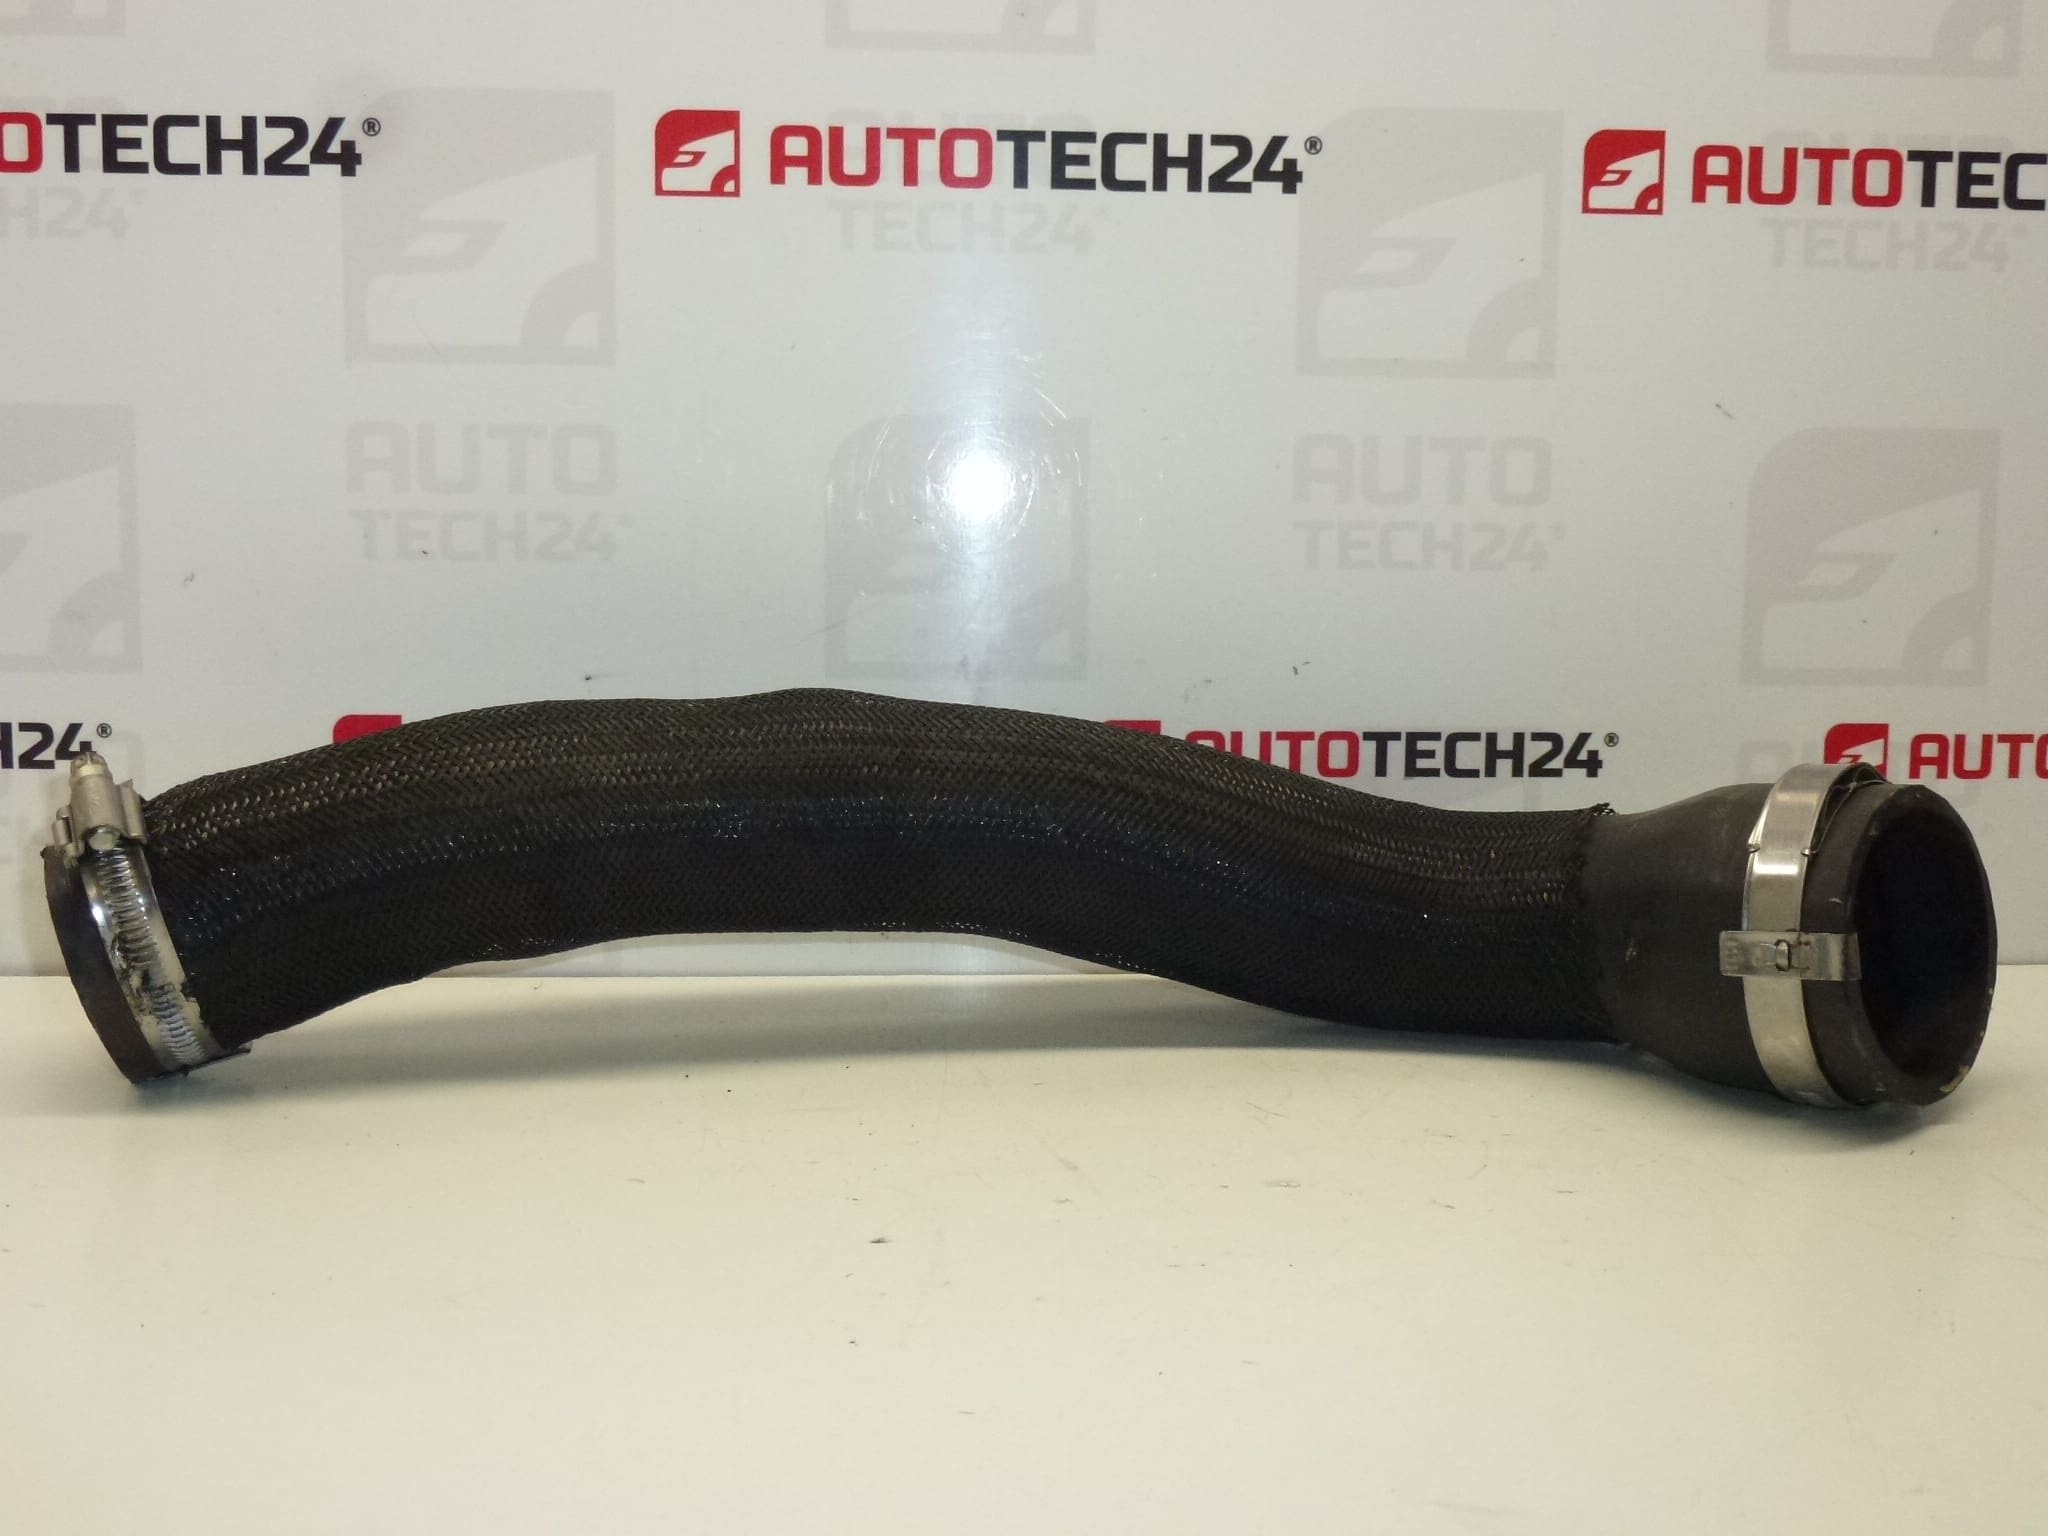
This 2.0 HDi air connector (part number 0382AS) is designed for use on selected Citroën and Peugeot diesel engines. Built to restore proper air flow in the intake/charge circuit, it helps maintain turbo response, stable idling and fuel efficiency. Ideal for professional workshops and experienced DIY mechanics looking for a direct-fit replacement part for common 2.0 HDi platforms.
Technical Information
- Manufacturer: Stellantis / Citroën / Peugeot
- Model: Citroën C5, Peugeot 307, Peugeot 407 (2.0 HDi)
- Product Codes: 0382AS
- Additional Numbers: —
Function And Application
The air connector links sections of the intake or charge-air system on 2.0 HDi engines. Depending on the vehicle’s configuration, it can connect the airbox, intercooler, turbocharger inlet or charge pipes. Its primary role is to provide a sealed, vibration-resistant passage for intake or boost air so the engine receives correct airflow and pressure under all operating conditions.
Fitment And Replacement Procedure
Fitment Is Straightforward For Experienced Technicians:
- Allow The Engine To Cool Before Starting Work.
- Relieve Any Residual Boost Pressure By Cranking The Engine With The Intake Open (follow safe workshop practice).
- Loosen Hose Clamps Or Quick Connects At Both Ends And Carefully Remove The Old Connector.
- Inspect Mating Pipes, Intercooler And Turbo Inlet For Damage Or Oil Contamination; Clean Mating Surfaces.
- Install The New Connector Ensuring Correct Orientation And Full Seating On Both Spigots.
- Use New, Appropriately Sized Clamps And Tighten Securely—Avoid Over-Tightening Which Can Distort The Hose.
- Start The Engine And Check For Air Leaks Under Idle And Boost (visual Check And Smoke Or Pressure Test If Available).
Typical Tools Needed: Screwdriver or nut driver for clamps, pliers for clips, basic hand tools. Estimated Labour Time: 0.5–1.5 hours depending on access and vehicle layout.
Installation Recommendations
- Replace Clamps When Fitting A New Hose To Ensure A Reliable Seal.
- Check For Oil Leaks From Turbocharger Or EGR System—Excess Oil Shortens Hose Life.
- Avoid Sharp Bends And Ensure The Hose Is Free From Contact With Hot Surfaces Or Moving Parts.
- If The Intake System Shows Signs Of Soot Or Oil, Inspect And Clean The Intercooler And Turbo To Prevent Premature Failure Of The New Connector.
Most Common Failure Causes
Failures Typically Occur Due To:
- Aging And Heat Exposure Causing Cracks Or Hardening Of The Hose Material.
- Oil Contamination From Turbocharger Seal Wear Or EGR Backflow Leading To Swelling And Softening.
- Poor Or Loose Clamping Resulting In Boost Leaks Under Load.
- Physical Damage From Engine Bay Vibrations, Contact With Adjacent Components Or Improper Handling During Maintenance.
This connector is a cost-effective way to fix boost leaks, rough idle or loss of performance on 2.0 HDi Citroën and Peugeot models. When replacing, use the correct part number (0382AS) and follow the installation recommendations above to ensure long-term reliability.