Description
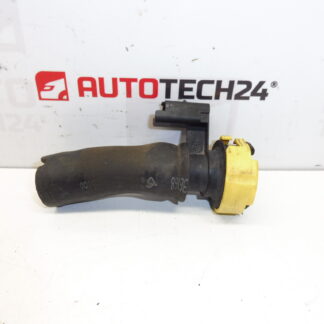
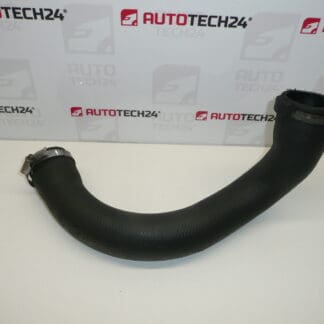
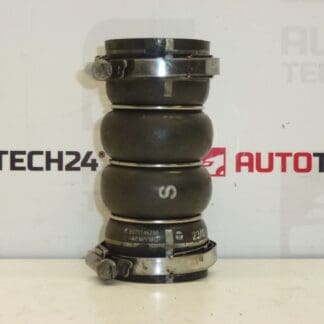
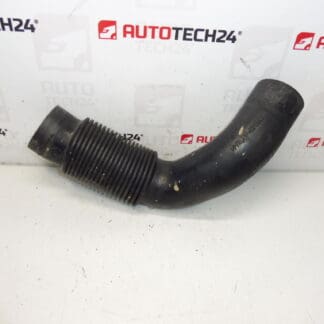
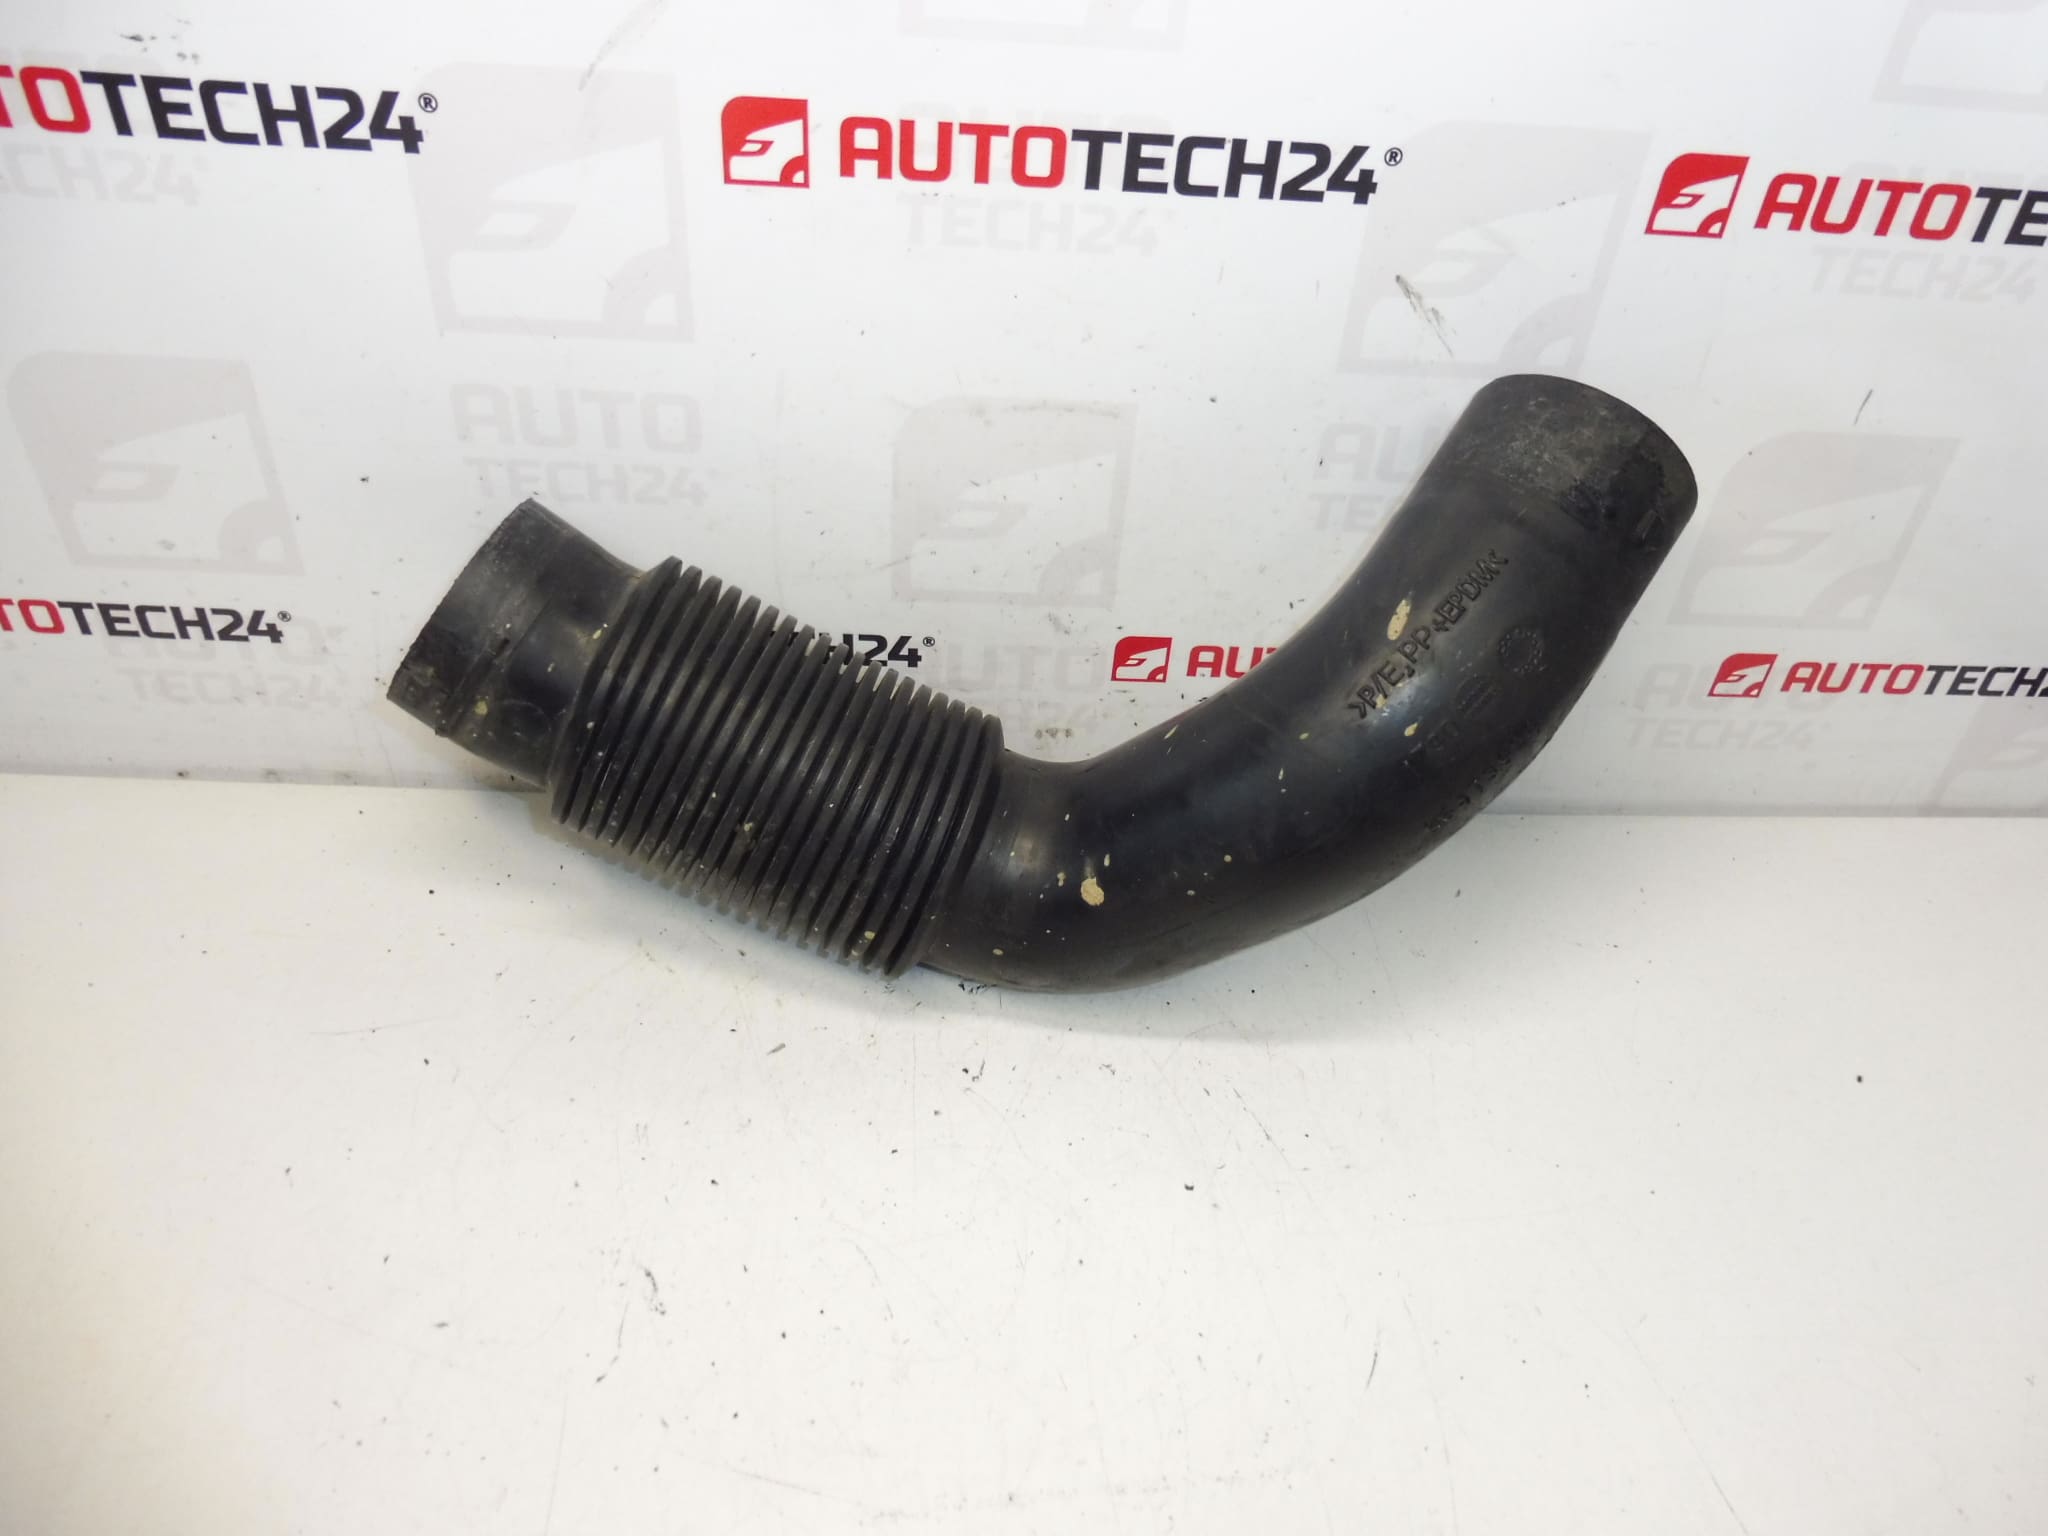
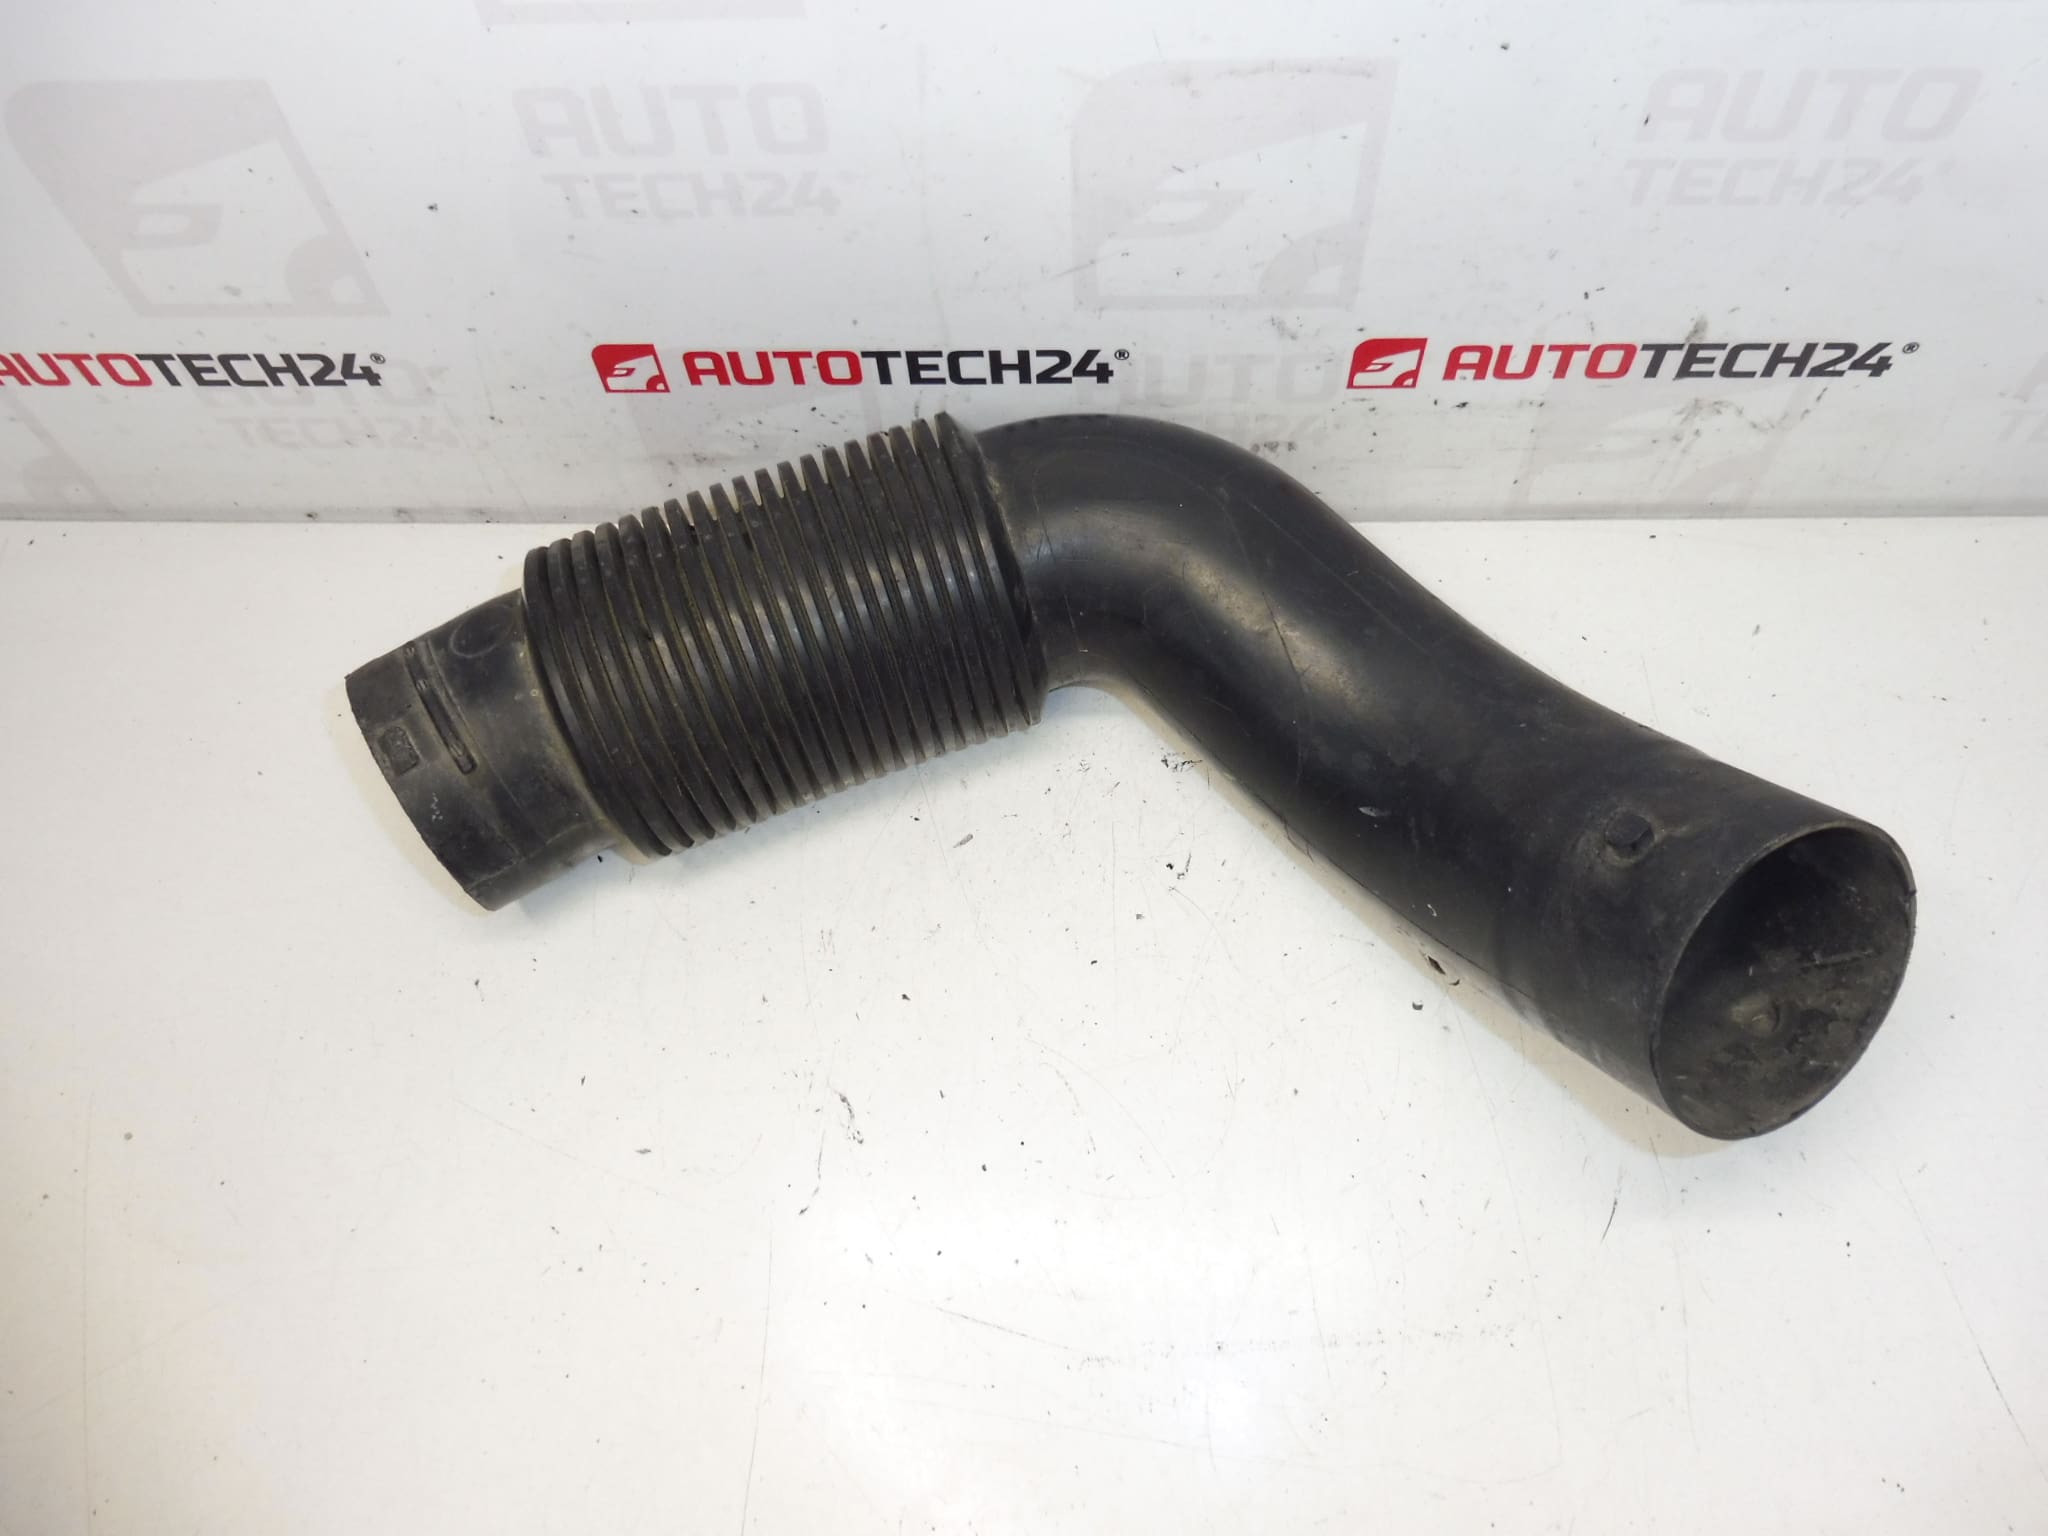
Air inlet for 1.6 HDI engines for CITROEN and PEUGEOT cars
Part description
This intake manifold is a used original car part intended for Citroën and Peugeot cars with a 1.6 HDI engine. It is a part of the intake system that ensures the air supply to the engine and the correct connection of the subsequent parts of the intake.
The part is particularly suitable for repairs where it is necessary to replace a damaged, cracked or deformed air inlet neck. When searching, it is often searched by original numbers, so the product codes are listed below for easier identification.
- Original used PSA part
- For 1.6 HDI
- Designed for Citroën and Peugeot
- Part of the hoses, intake pipes and turbos
engines
cars
category
Technical information
- Manufacturer: Stellantis Citroën Peugeot
- Model: Citroën Berlingo, Citroën Xsara Picasso, Peugeot Partner
- Other numbers: 143451 NFP
Product codes
- Product codes: 9647392480, 143451
Installation recommendations
Generally/typically for this type of part, the exact replacement procedure depends on the specific design of the car and the arrangement of the engine compartment. In the case of the suction nozzle, it is especially important to carefully compare the original and replacement part, to check the tightness of the joints and to fit them correctly without tension.
1) Before assembly
- Check whether the new and original part match in terms of shape, connection diameter, attachment and location of all holes or connection points.
- Check the condition of the used part for cracks, deformation, excessive wear or other damage.
- Check connecting hoses, clips, sealing surfaces and surrounding plastic parts of the intake system.
- Before disassembly, we recommend taking a note or taking a photo of the original line and position of the part.
2) Necessary tools and materials
- A common set of hand tools
- Screwdrivers and possibly socket wrenches
- Clip pliers
- Cleaning agent for removing dirt from contact surfaces
- Clean rag or towels
- Protective gloves and work lighting
3) Step-by-step assembly procedure
- Shut off the engine and let it cool down.
- Ensure access to the dismantled part according to the specific layout of the engine compartment.
- Carefully loosen the clips, fasteners, or fasteners of the old intake manifold.
- Disassemble the original part so as not to damage the connected hoses or plastic parts.
- Clean the contact and connection surfaces from dust, grease and deposits.
- Compare the old and new parts side by side immediately before assembly.
- Place the replacement suction nozzle in the correct position without force and without twisting.
- Connect all connecting parts of the intake so that the joints sit straight and are properly seated.
- Tighten or secure the clips and fasteners evenly so that the joint seals well but does not damage the plastic.
- Check that the part does not rub anywhere, is not in tension and does not interfere with the surrounding parts of the engine.
-
4) Post-assembly checks and test drive/function verification
- After assembly, visually verify the correct seating of all joints.
- After starting, observe for signs of suction leaks or unusual noises.
- Check that the part does not move excessively when the engine is running.
- On a short test drive, verify the smooth operation of the engine and stable response to the throttle.
- After the ride, we recommend checking the fastening and fit of the connections once more.
5) The most common assembly mistakes + how to avoid them
- Part swapping based on similar shape – always compare product numbers and all connection points as well.
- Insufficiently seated joint – check that the part is seated straight all the way around before tightening.
- Extension of fastening – there is a risk of cracking or deformation of plastic parts.
- Leaving dirt at the joint – dirt can cause leakage and impair the suction function.
- Plastic aging and material fatigue due to temperature changes in the engine compartment
- Cracking caused by engine vibrations or long-term mechanical stress
- Damage due to unprofessional disassembly or assembly of surrounding parts
- Deformation or breakage at the point of attachment and connections
- Leaks in the suction system that lead to additional stress on the part