Description
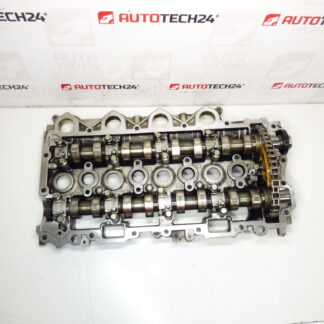
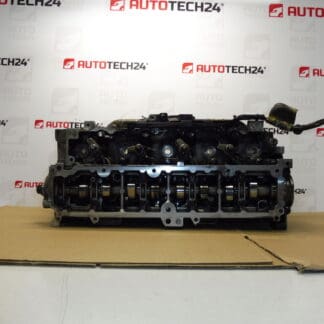
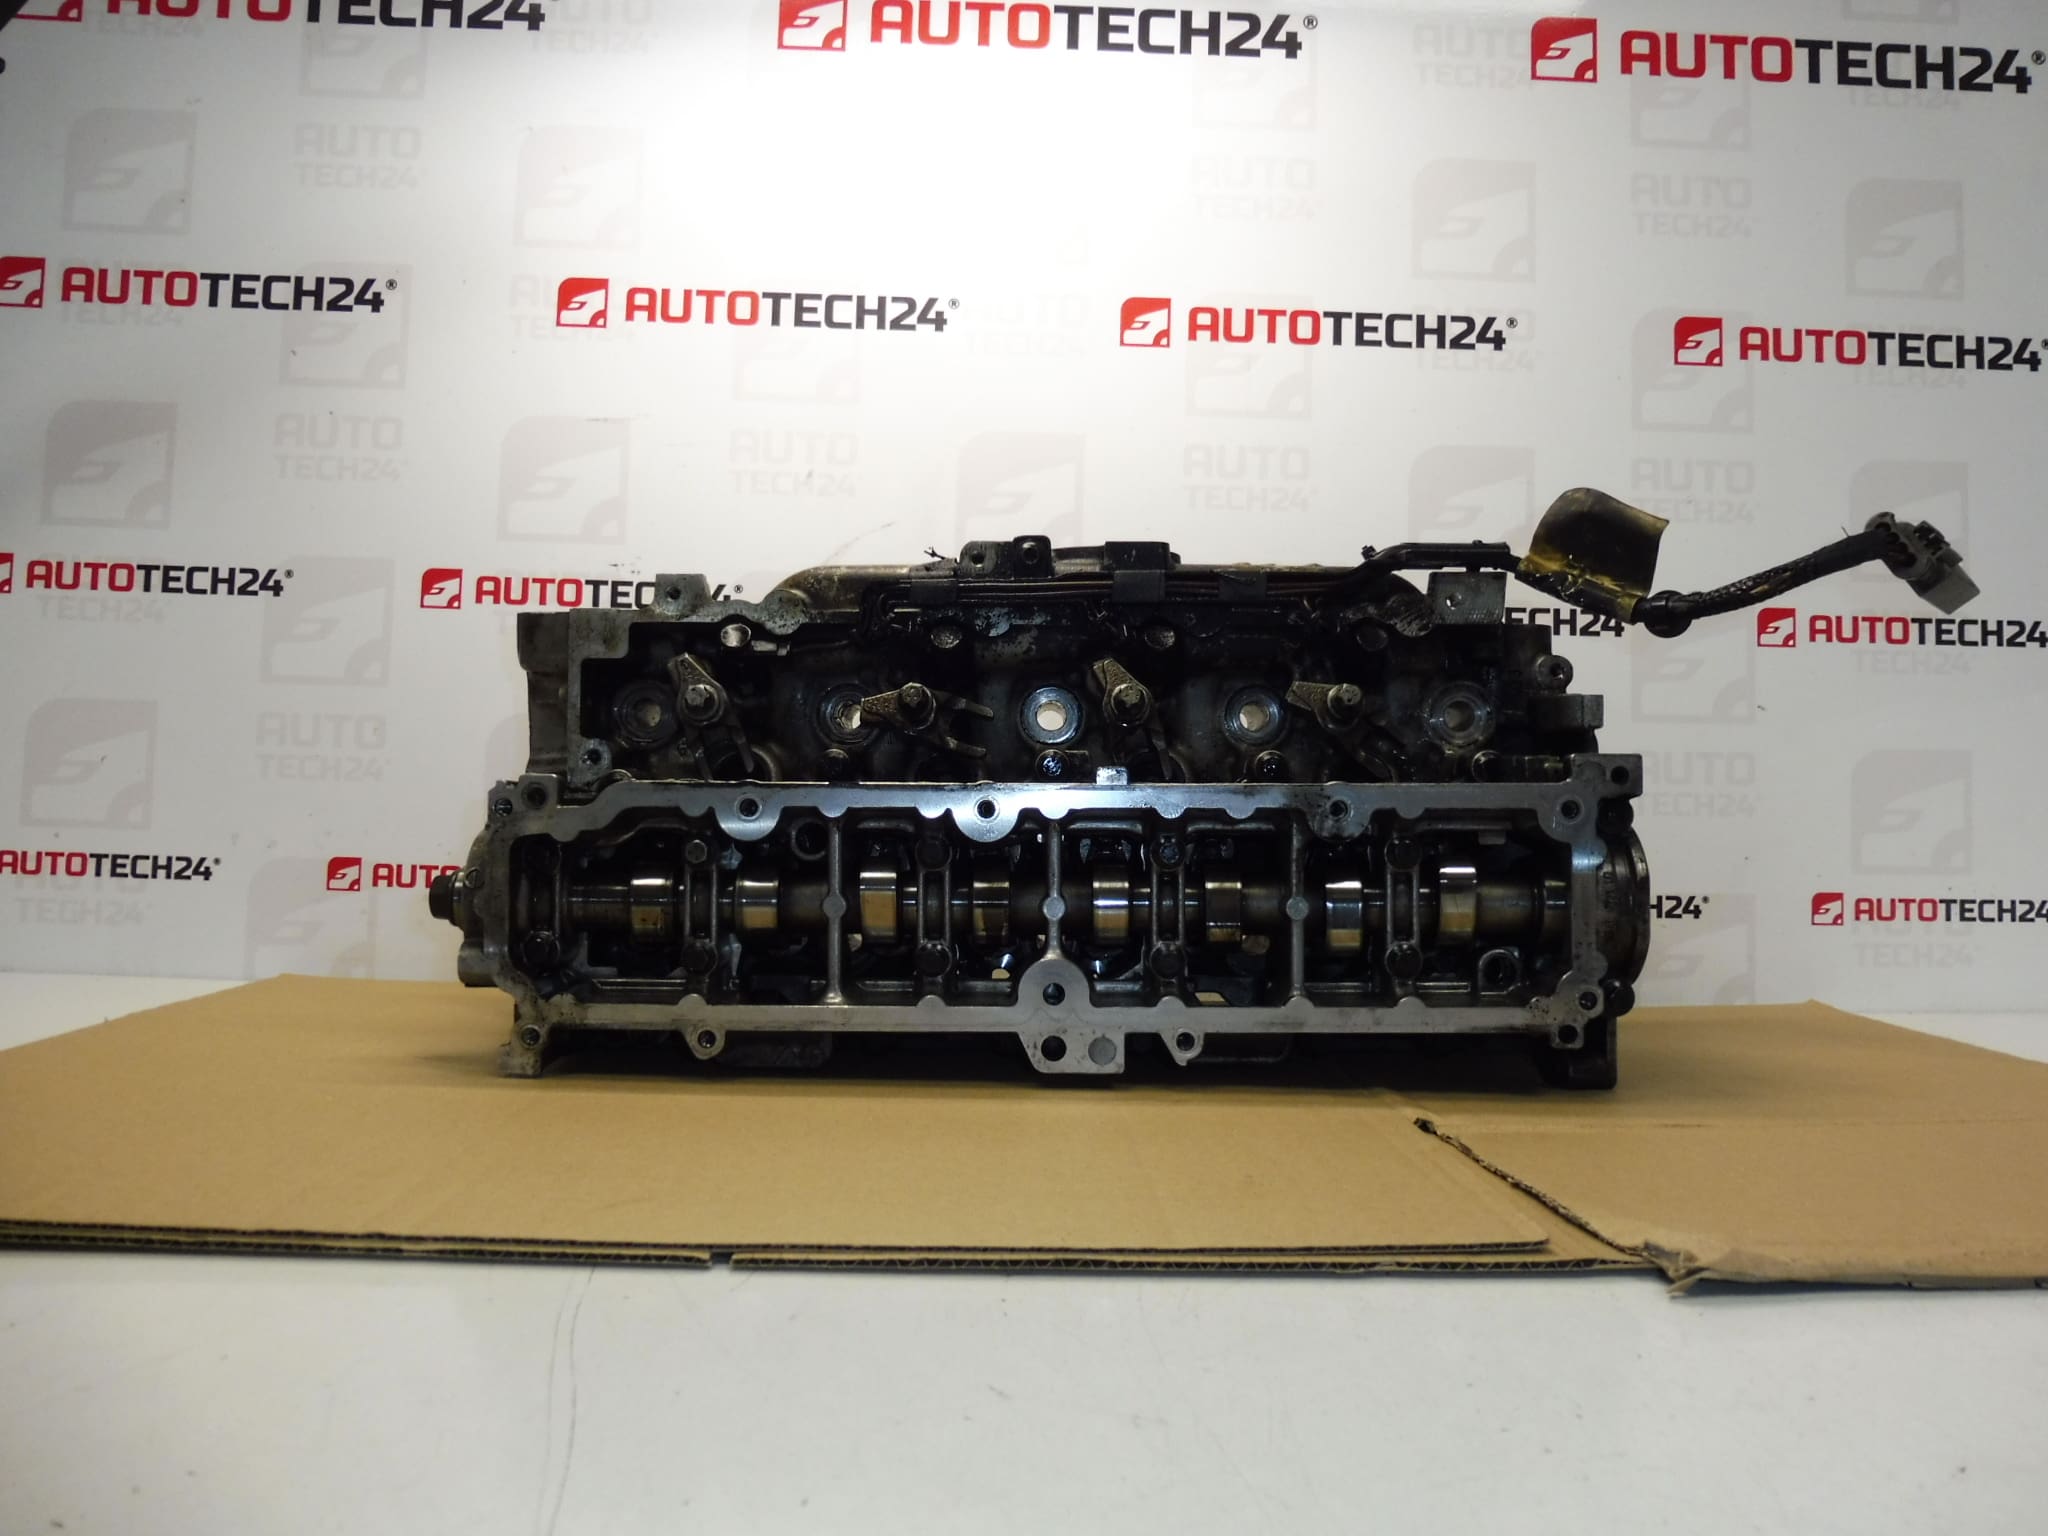
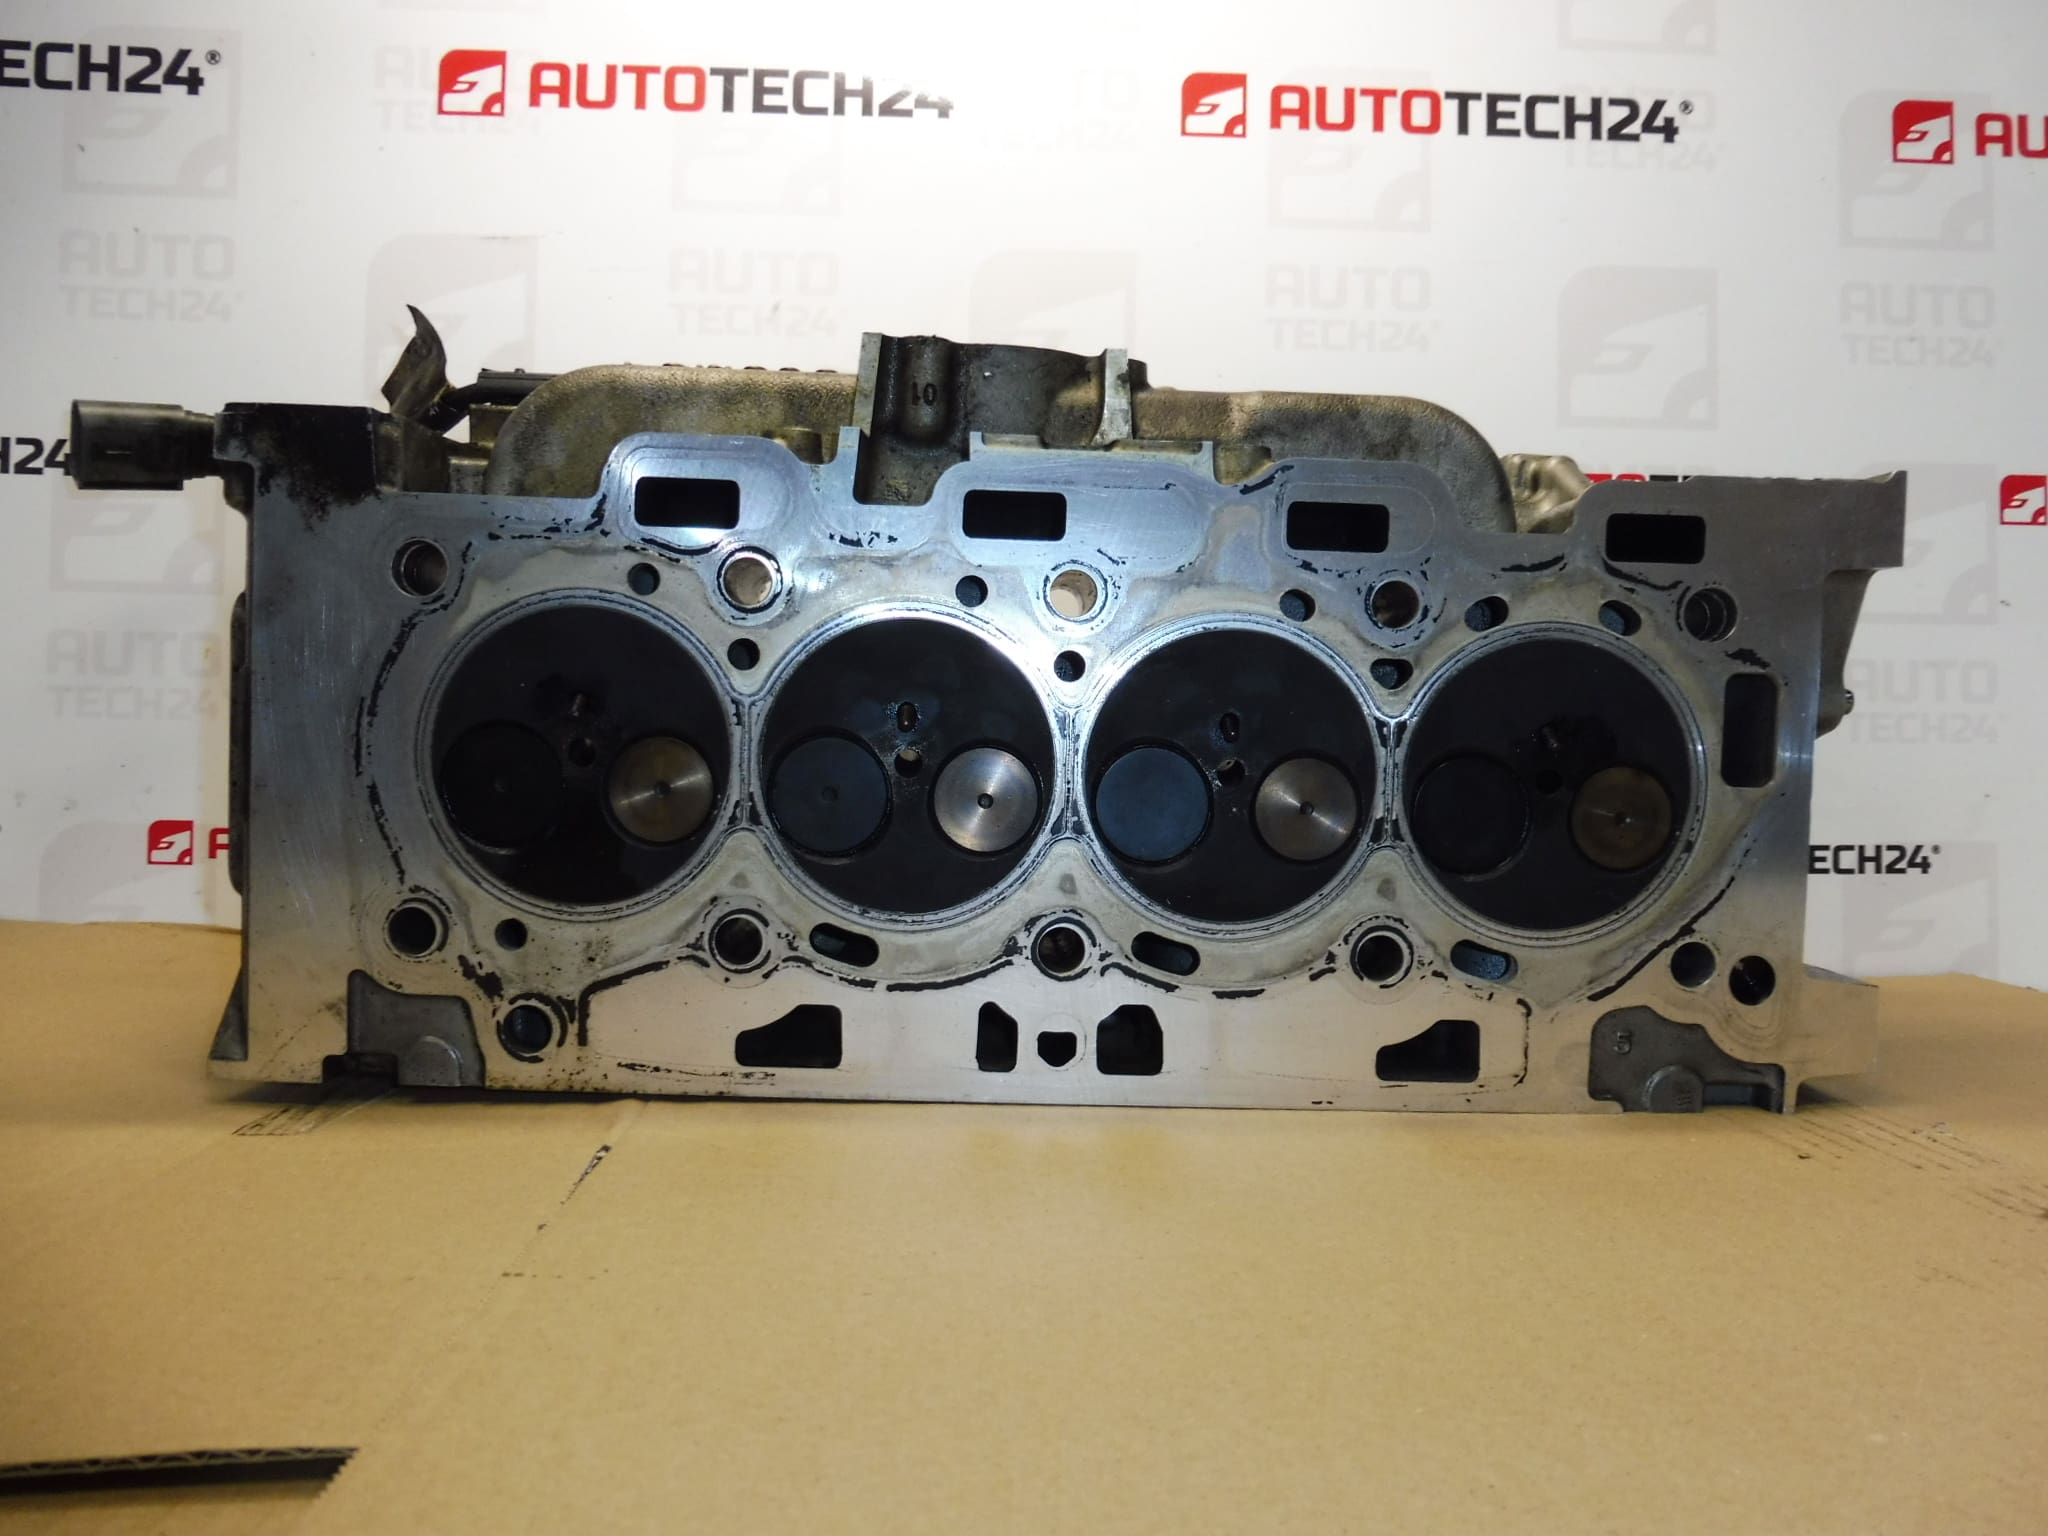
Complete cylinder head with camshaft and valves for 1.6 HDI engines 9H06, 9HF, 9HN, 9HP for Citroën, Peugeot, Ford. Fully functional engine with 148000 km mileage.
This Complete Cylinder Head Assembly (Camshaft and Valves) is a direct-fit solution for 1.6 HDi engines and is often searched under codes 0200HS and 0801FC. Designed for professional workshops and experienced DIY mechanics, the unit saves time during an engine overhaul and restores reliable breathing and timing to affected engines. Listing key engine codes (9H06 / 9HF / 9HN / 9HP) and product numbers increases visibility in searches and helps you find the exact replacement part quickly.
Technical Information
- Manufacturer: Stellantis (Citroën, Peugeot)
- Model: 1.6 HDi (Engine Codes: 9H06, 9HF, 9HN, 9HP)
- Product Codes: 0200HS, 0801FC
- Other Numbers: 9H06
Fitment / Compatible Models
Fits many vehicles equipped with the 1.6 HDi engines listed above, including examples:
- Citroën Berlingo III
- Citroën C3 II
- Citroën C3 Picasso
- Citroën C4 II
- Peugeot 207
- Peugeot 308
- Peugeot Partner Tepee
Function And Application
The cylinder head houses the camshaft, valves, valve springs and guides, and provides the sealing surface for the head gasket. It controls air intake and exhaust timing, valve actuation and contributes to combustion chamber geometry. A properly functioning head and camshaft are essential for correct valve timing, compression, fuel economy and emissions.
Replacement And Installation
Replacing a cylinder head is an intermediate-to-advanced task. Typical workflow:
- Drain coolant and oil, remove intake and exhaust manifolds, ancillaries and timing cover.
- Mark and align timing positions before removing the timing belt/chain; maintain camshaft and crankshaft timing alignment.
- Remove rocker arms/valve train components and unbolt head studs/bolts in the correct sequence.
- Lift the head carefully, inspect mating surfaces, check flatness and assess valve/camshaft wear.
- Fit a new head gasket, clean mating surfaces, replace any worn timing components (belt/chain, tensioner, idlers) and water pump as required.
- Tighten head bolts/studs to manufacturer torque and sequence using the factory service manual; follow any specified re-torque or stretch bolt procedures.
- After assembly, refill fluids, bleed cooling system, perform compression or leak-down test and check for leaks.
Recommended Checks: Camshaft lobe condition, valve seats and guides, valve stem seals, head surface flatness, and oil/coolant passages for blockage. Replace soft parts (gaskets, seals, tensioners) during reassembly for long-term reliability.
Installation Recommendations
- Use Manufacturer Service Manual For Torque Values And Sequences.
- Always Replace The Head Gasket And Use New Timing Components When The Head Is Removed.
- Clean All Mating Surfaces Thoroughly And Verify Head Flatness On A Surface Plate.
- Inspect Camshaft Lobes And Bearing Journals; Replace If Excessive Wear Or Scoring Is Found.
- Perform Compression Or Leak-Down Test After Installation To Confirm Sealing.
- Follow Proper Engine Timing Procedures; Incorrect Timing Can Cause Valve Damage.
Why This Part Fails Most Often
- Overheating Leading To Warped Head Or Cracked Casting — Often Caused By Cooling System Failure.
- Head Gasket Failure Due To Age, Overheating Or Poor Sealing.
- Valve Wear Or Seat Recession From Insufficient Lubrication Or Contaminated Fuel/Oil.
- Timing Belt/Chain Failure Causing Valve And Seat Damage.
- Corrosion From Electrolysis Or Long-Term Coolant Neglect.
Condition Note: The Unit Originates From A Fully Functional Engine With 148000 Km; The Cylinder Head Is Complete With Camshaft And Valves.