Description
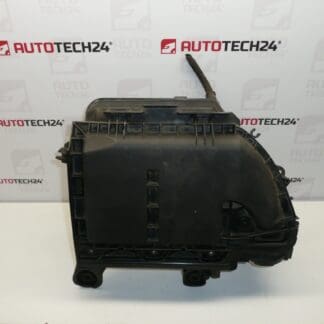
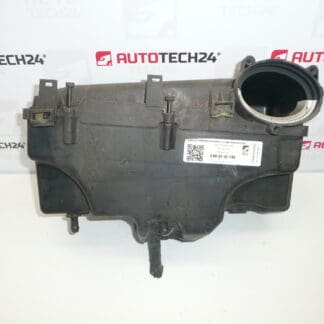
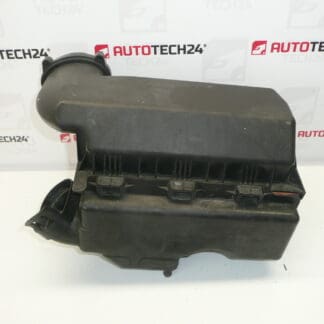
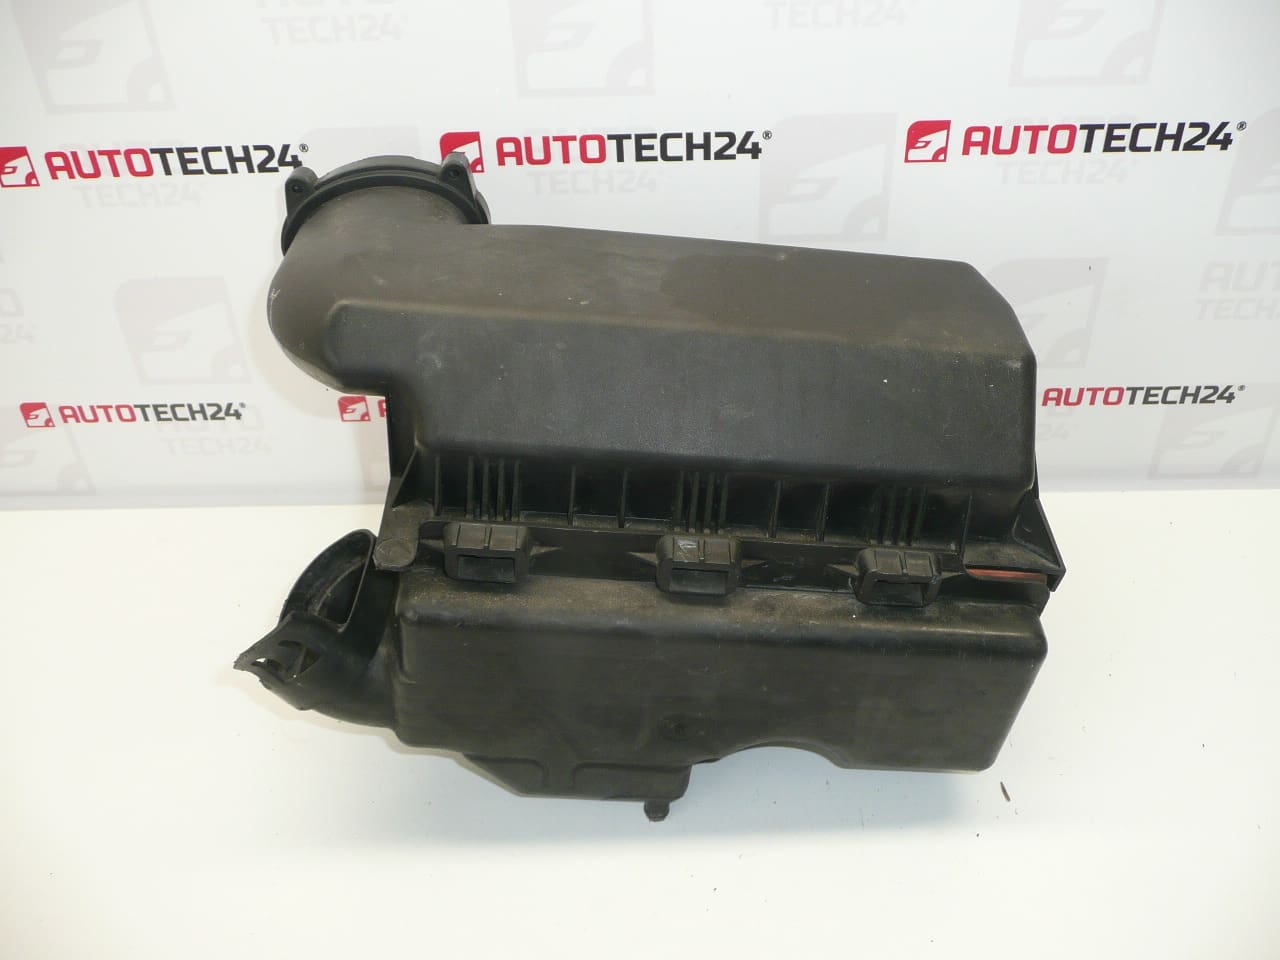
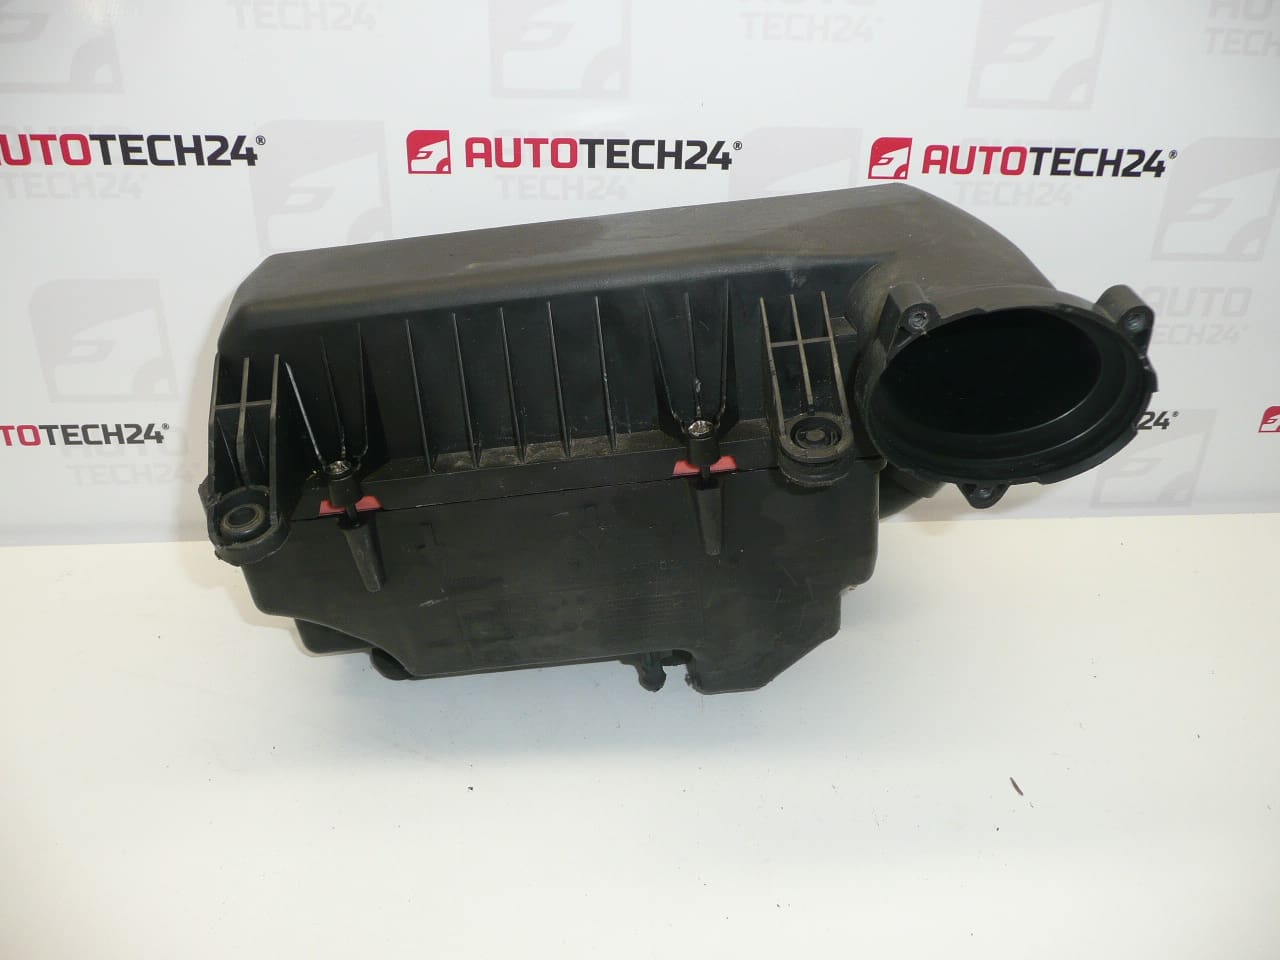
Filter Box 1.6 HDi 80 kW 9HZ for Citroën C5 II (X7) and Peugeot 407
This replacement filter box (airbox) fits the 1.6 HDi 80 kW (engine code 9HZ) family used in Citroën C5 II (X7) and Peugeot 407 models. It houses the engine air filter and ensures clean, metered airflow to the engine management system and turbocharger. The part is often searched and identified by OE numbers, making it easy for professional mechanics and DIY enthusiasts to find the correct unit for service or repair.
Designed to restore proper intake sealing and reduce unwanted air leaks, this airbox helps maintain engine performance, fuel efficiency and reliable operation of the mass air flow (MAF) sensor. Replacing a damaged or cracked airbox eliminates unfiltered air ingestion and prevents related issues such as poor idling, reduced power and false air readings.
Technical Information
- Manufacturer: Stellantis (Citroën, Peugeot)
- Model: Citroën C5 II (X7); Peugeot 407 — Engine 1.6 HDi 80 kW (9HZ)
- Product Codes: 9685205580, 9651883080, 1420N9
- Other Numbers: 9648938580
Installation Recommendations
- Park on a level surface, engage the parking brake and isolate the ignition.
- Disconnect the negative battery terminal if you will be handling electrical connectors (recommended when removing the MAF sensor).
- Remove the intake ducting and any sound deadening resonator attached to the airbox. Loosen hose clamps and unclip retaining fasteners.
- If equipped, carefully unplug the MAF sensor connector and remove the sensor from the airbox housing to avoid damage. Keep screws and seals clean and reuse if undamaged.
- Unscrew or unclip the airbox mounting points and extract the old housing. Inspect mounting rubbers, hoses and clamps; replace any brittle or damaged items.
- Install the new airbox, refit the MAF sensor and reconnect electrical connectors, ensuring a proper seal. Reconnect intake ducts and tighten clamps securely but do not overtighten plastic fixings.
- Fit a new air filter element at the same time for best performance and to prevent immediate contamination of the new housing.
- Perform a visual leak check and start the engine to verify normal idling and absence of intake leaks or abnormal noises.
Why The Part Fails Most Often
- Plastic Fatigue And Heat Cycling: Long-term exposure to engine bay heat and vibration causes cracks or warped sealing surfaces.
- Impact Or Poor Handling: Damage during repairs or from road debris can break mounting tabs or create cracks.
- Clogged Or Saturated Filter Element: A neglected air filter can become saturated with dirt or oil, leading to excessive pressure differentials and stress on the housing.
- Oil Contamination Or Turbo Leaks: Oil ingress from turbocharger or PCV systems can degrade plastic and seals over time.
Maintenance And Signs Of Failure
Inspect the airbox each time you replace the air filter (typical service interval ~20,000 km under normal conditions, sooner in dusty environments). Replace the airbox if you find visible cracks, damaged mounting tabs, a compromised seal around the filter element or evidence of oil/water ingress. Common symptoms of a failing airbox include rough idle, reduced power, increased fuel consumption and inconsistent MAF readings.
Because technicians and DIY mechanics frequently look up parts by OE numbers, the listed product codes make it straightforward to confirm fitment and order the correct replacement for Citroën C5 II (X7) and Peugeot 407 1.6 HDi 80 kW (9HZ) models.