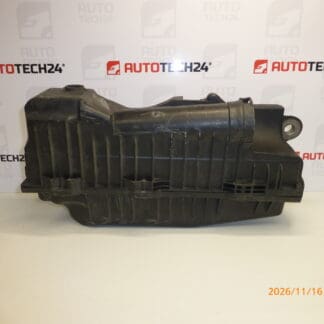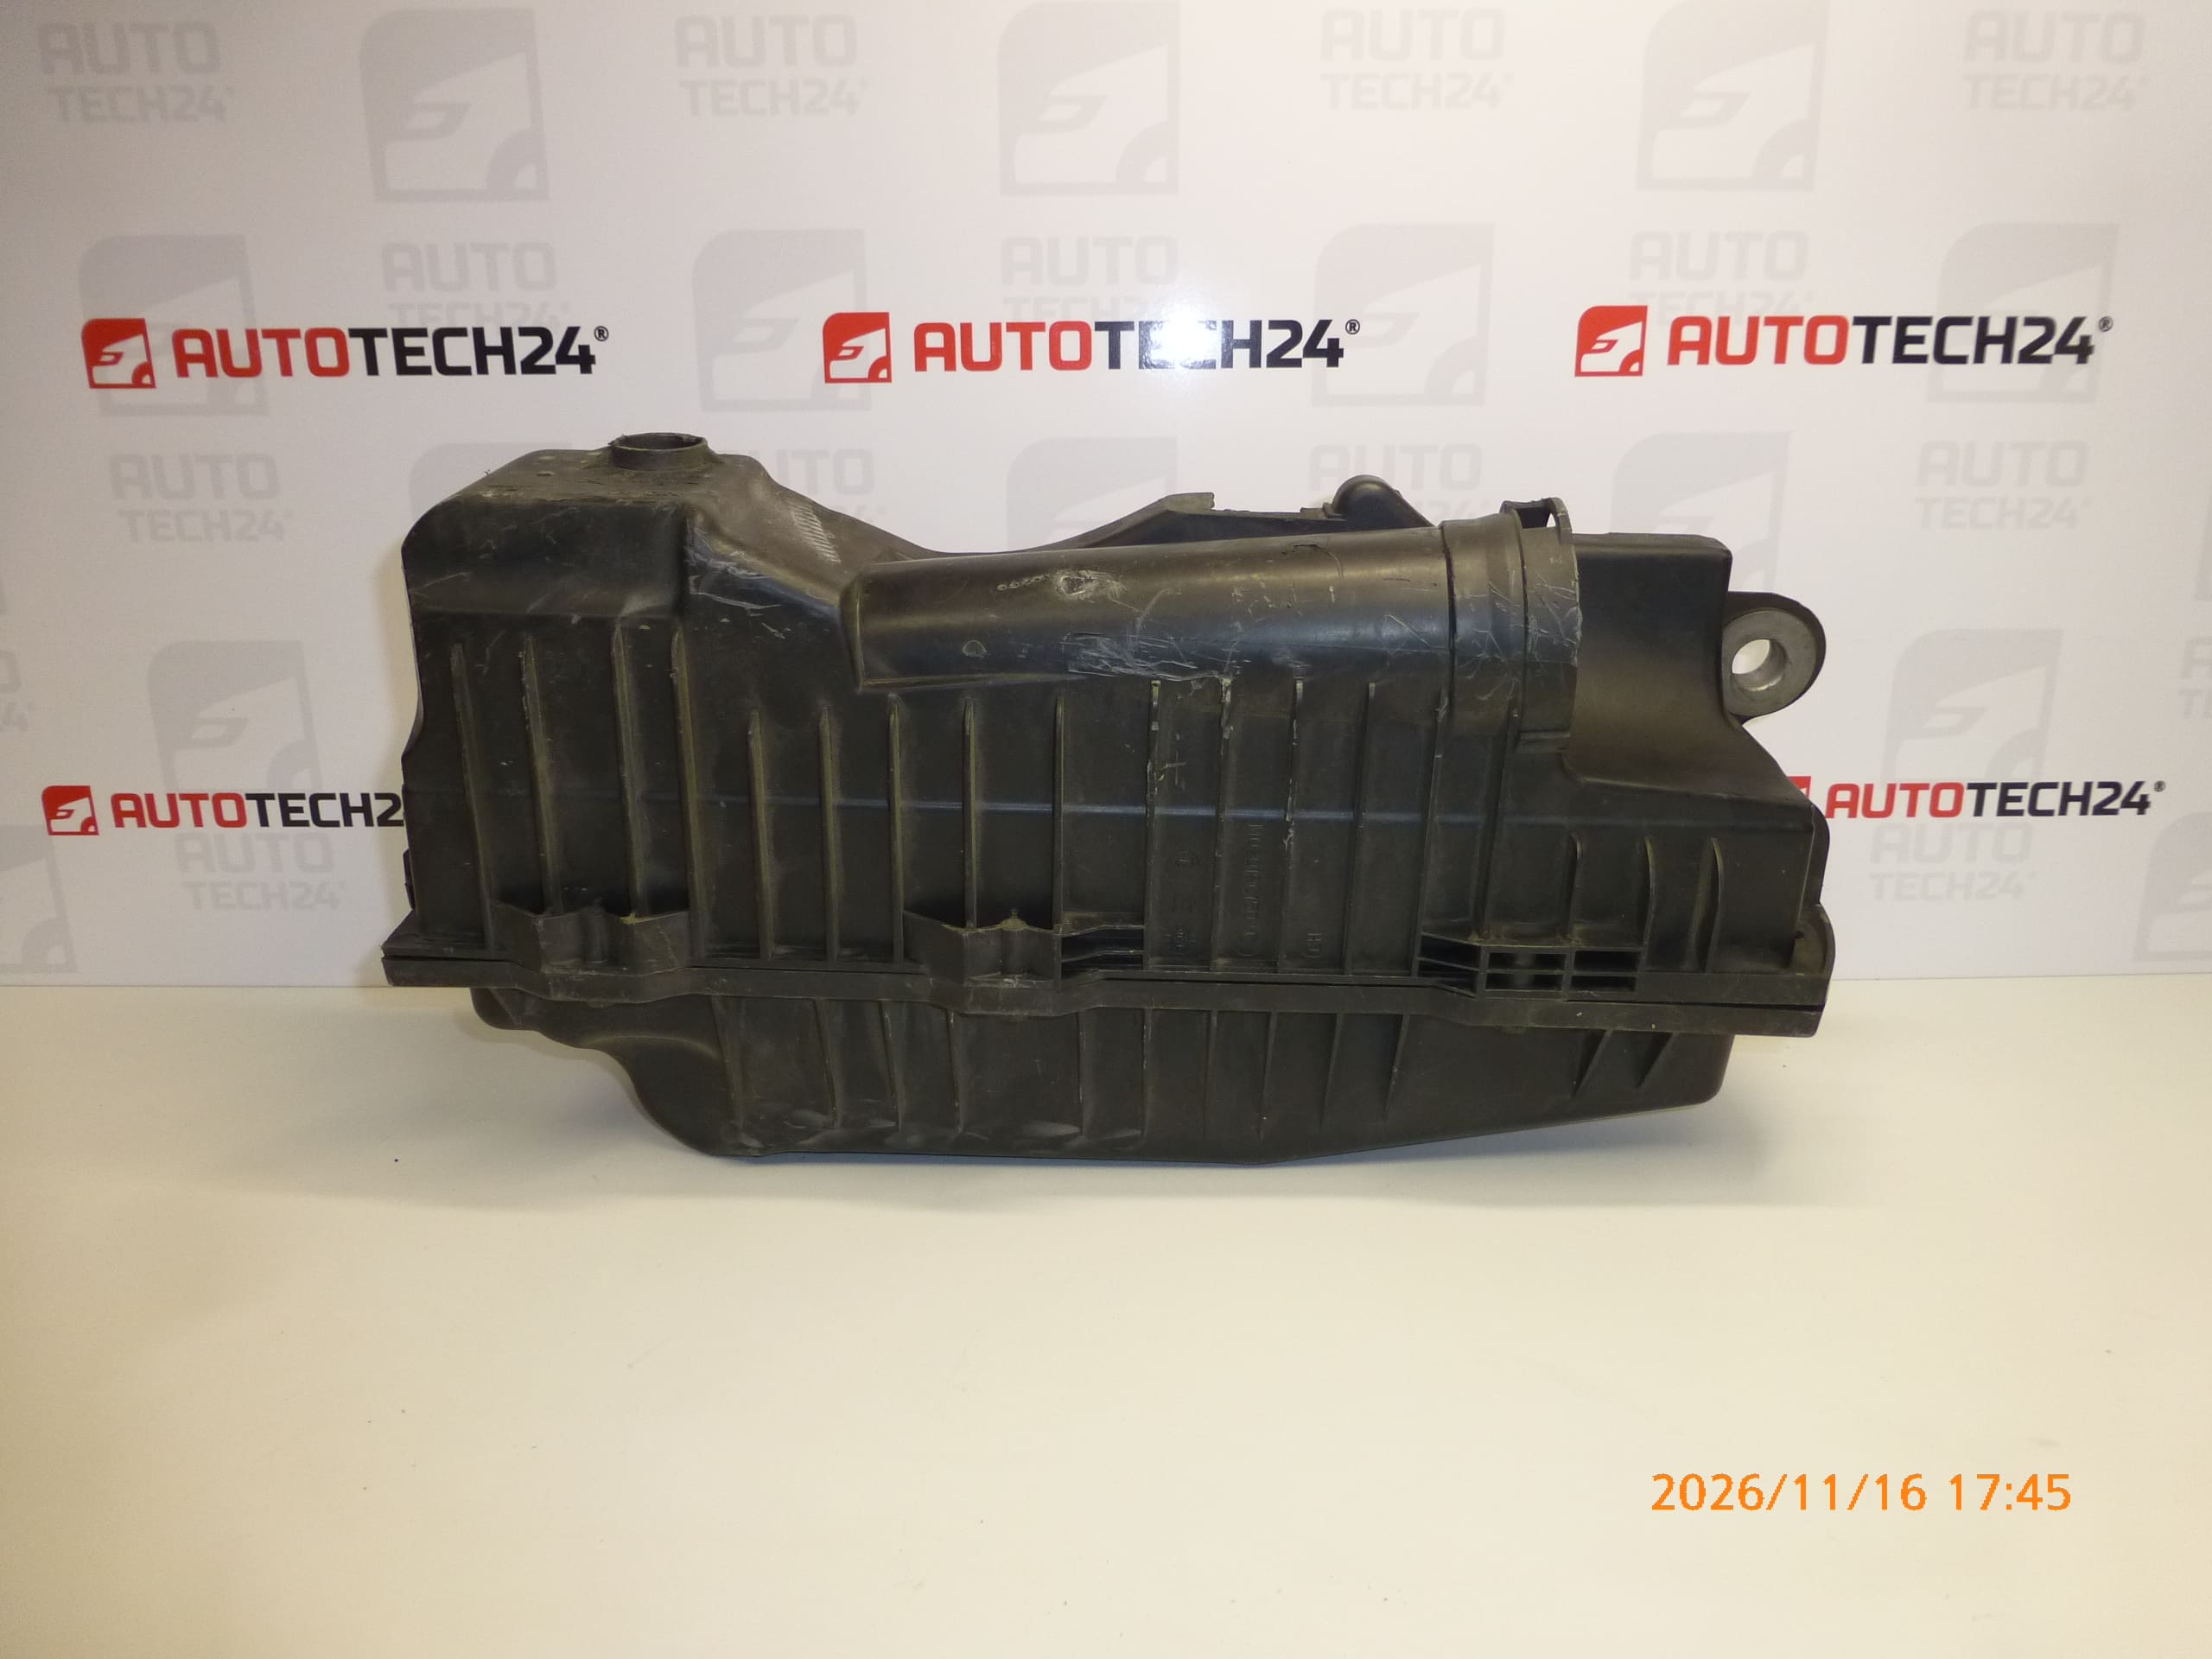
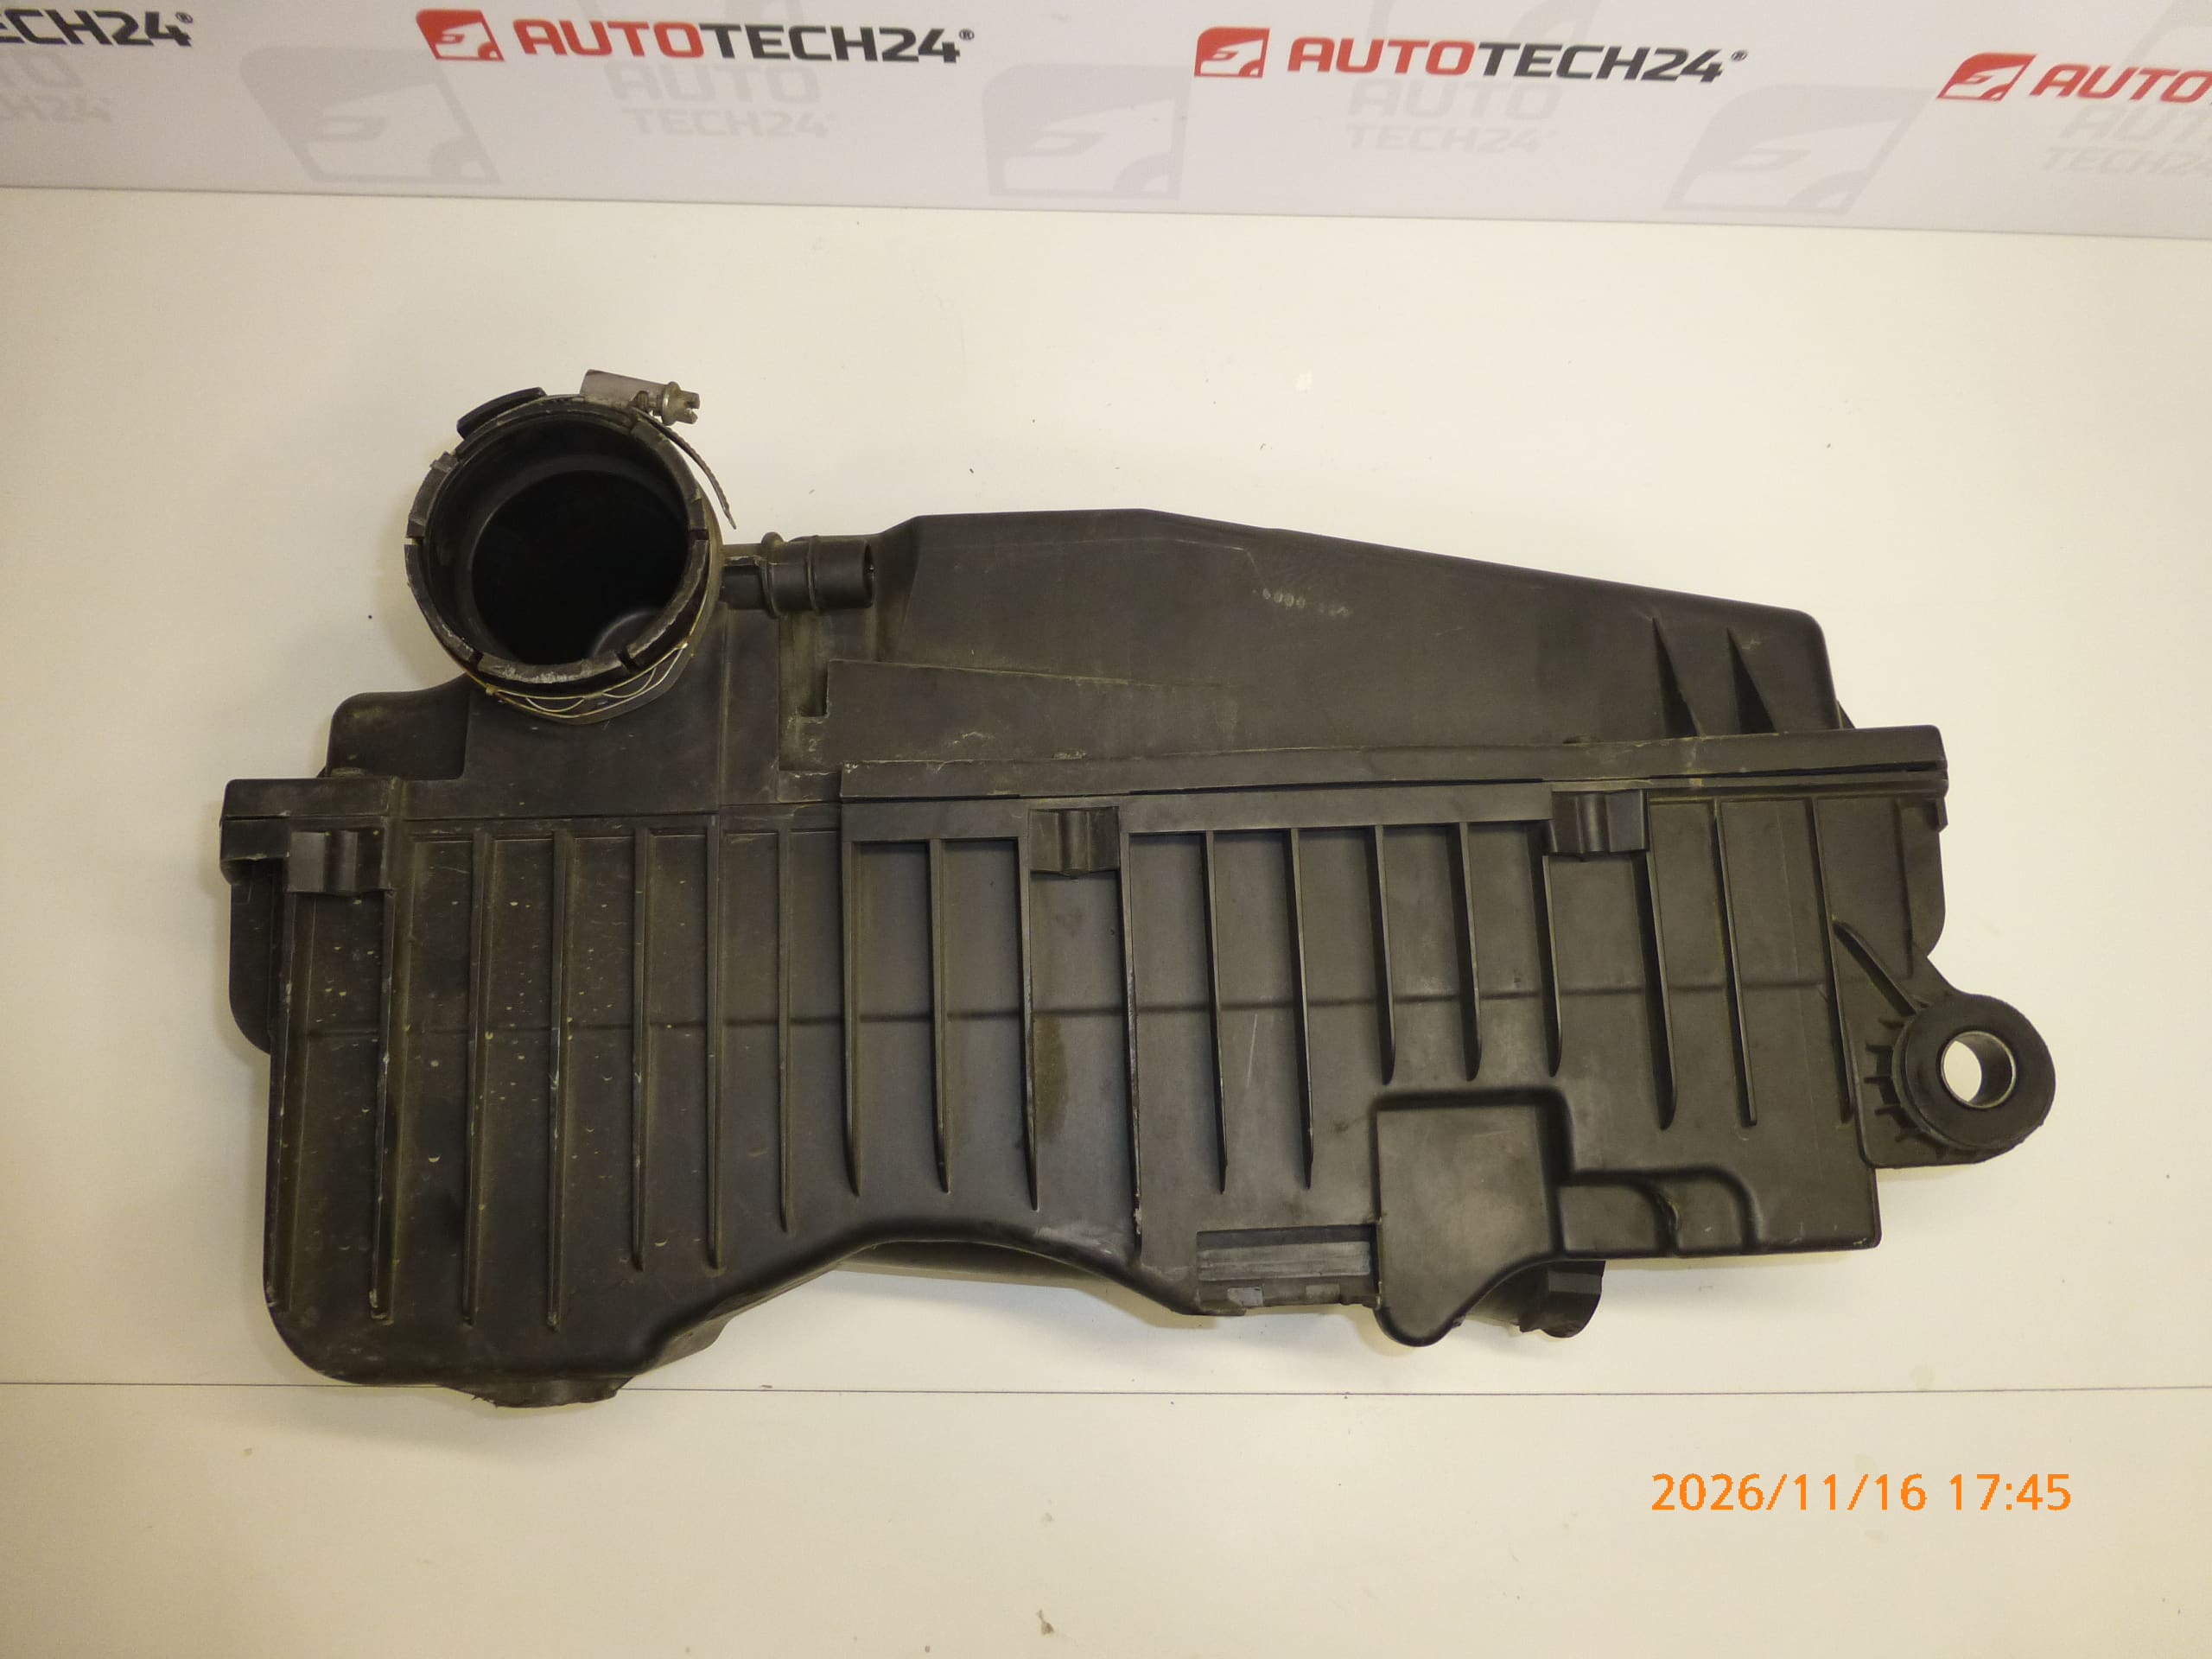
Description
Filter box, air filter housing 1.6 16V NFU for Peugeot and Citroën vehicles
Part description
Used air filter housing for the 1.6 16V NFU engine is intended for Citroën and Peugeot vehicles; the source information lists the Citroën C4 and Peugeot 307 models. When selecting a replacement, compare the product numbers 1420P0 and 1680408380 in particular, as well as the housing shape, mounting points and intake pipe connection with the original part.
The filter box houses the air filter and ensures it is correctly seated in the intake system. An undamaged housing and well-seated connections help prevent air from bypassing the filter element. Replacing a damaged housing is a practical solution when it has cracks, broken mounting points, or a cover that no longer closes properly. The source information does not specify whether the filter element or any other accessories are included.
Technical information
- Manufacturer: not specified; the source information lists the designation Stellantis CITROEN PEUGEOT.
- Model: Citroën C4, Peugeot 307.
- Engine: 1.6 16V NFU.
- Part type: filter box – air filter housing.
- Condition: used car part.
- Other numbers: not specified.
Product codes
- Product codes: 1420P0, 1680408380.
These numbers are an important reference when looking for a replacement filter box. The model name alone is no substitute for comparing the markings and design of the original part.
Installation recommendations
The following procedure is general guidance for replacing an air filter housing. The exact steps, fastening method and extent of disassembly of surrounding components depend on the specific model and vehicle configuration.
1) Before installation
- Compare the markings, shape, dimensions, mounting points and pipe connections with the old part.
- Inspect the used housing inside and out. Check for cracks, deformation, damaged threads, catches and mating surfaces.
- Check that the cover fits properly and that the filter element can be seated evenly.
- Check the condition of the filter element and the hoses to be connected. Do not reuse a damaged or heavily soiled filter.
2) Tools and materials required
Standard hand tools suitable for the fasteners used are usually sufficient, along with a tool for releasing clamps if needed, a flashlight and a clean, lint-free cloth. Have a clean cover ready to temporarily protect the open intake. Choose the specific tools according to the actual fittings on the vehicle.
3) Step-by-step installation procedure
- Park the vehicle on level ground, secure it against movement, switch off the engine and ignition, and allow the engine to cool.
- Check access to the filter box and note the routing of the pipes, the position of the clamps and the type of mounting, for example by taking a photograph.
- Clean around the connections to prevent dirt from entering the intake pipe when they are disconnected.
- Disconnect the intake pipe and any other connections. If electrical connectors are present, disconnect them using their release tabs, not by pulling on the wires.
- Open the housing and remove the filter element if required by the design and access. Prevent dirt from spilling into the clean side of the intake.
- Release the fasteners and carefully remove the original filter box. Do not pry against the plastic necks or surrounding components.
- Temporarily cover the open inlet of the adjoining intake pipe with a clean cover. Inspect and clean accessible mounting points and mating surfaces.
- Prepare the replacement housing: remove loose dirt, and transfer any components only if they match the configuration and are undamaged.
- Position the filter box in its mount without forcing it and secure it according to the service procedure for the vehicle. Do not overtighten plastic fasteners.
- Install the correct air filter, check that its sealing edge sits evenly, and close the housing without pinching the filter element.
- Remove the temporary intake cover, reconnect the pipe and any other connections, and secure all clamps and connectors. Finally, check that no objects have been left in the intake.
4) Post-installation checks and function verification
- Before starting the engine, check that the cover is closed, the housing is securely mounted and the pipe is fully fitted.
- Start the engine and listen for unusual hissing, rattling or vibration. Carry out the check safely, away from moving and hot parts.
- If everything is in order, take a short test drive and check for unusual intake noise or changes in engine operation.
- After the drive, switch off the engine and, once it has cooled, recheck the connections and housing fasteners.
5) Common installation mistakes and how to avoid them
- Pinched filter element: before closing the cover, check that it is seated around its entire perimeter.
- Overtightened screws or catches forced closed: first check that the cover is correctly positioned and follow the service instructions.
- Loose or incorrectly seated pipe connections: visually inspect each connection and carefully check it by hand after installation.
- Dirt or a forgotten cover in the intake: keep open pipes protected and check that they are clear before reconnecting them.
- Housing installed under tension: first position all mounting points correctly; do not try to correct misalignment by tightening forcefully.
Reasons why the part gets damaged
Plastic air filter housings can generally be damaged in the following ways. This is not a description of defects found on this specific part.
- Material aging and thermal stress: plastic can gradually become brittle and more susceptible to cracking.
- Careless filter replacement: prying the cover, overtightening fasteners or closing it incorrectly can damage the catches and threads.
- Vibration and loose mounting: movement of the housing puts stress on the mounting points and connected necks.
- Mechanical impact: damage can occur in an accident or while working on nearby components.
- Incorrectly positioned pipe or filter: constant tension or forcing the housing closed can cause deformation and leaks.