Description
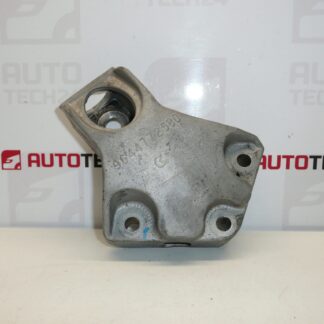
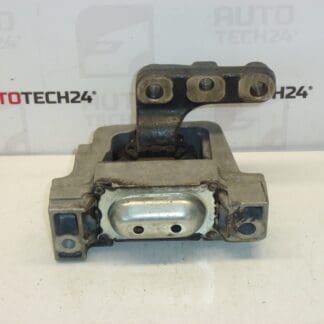
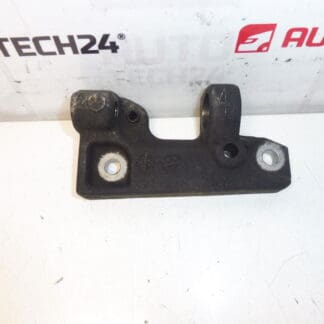
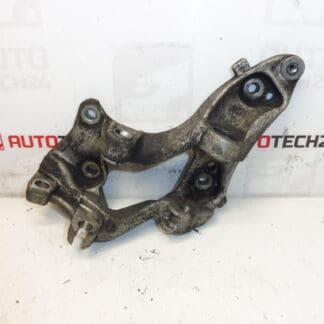
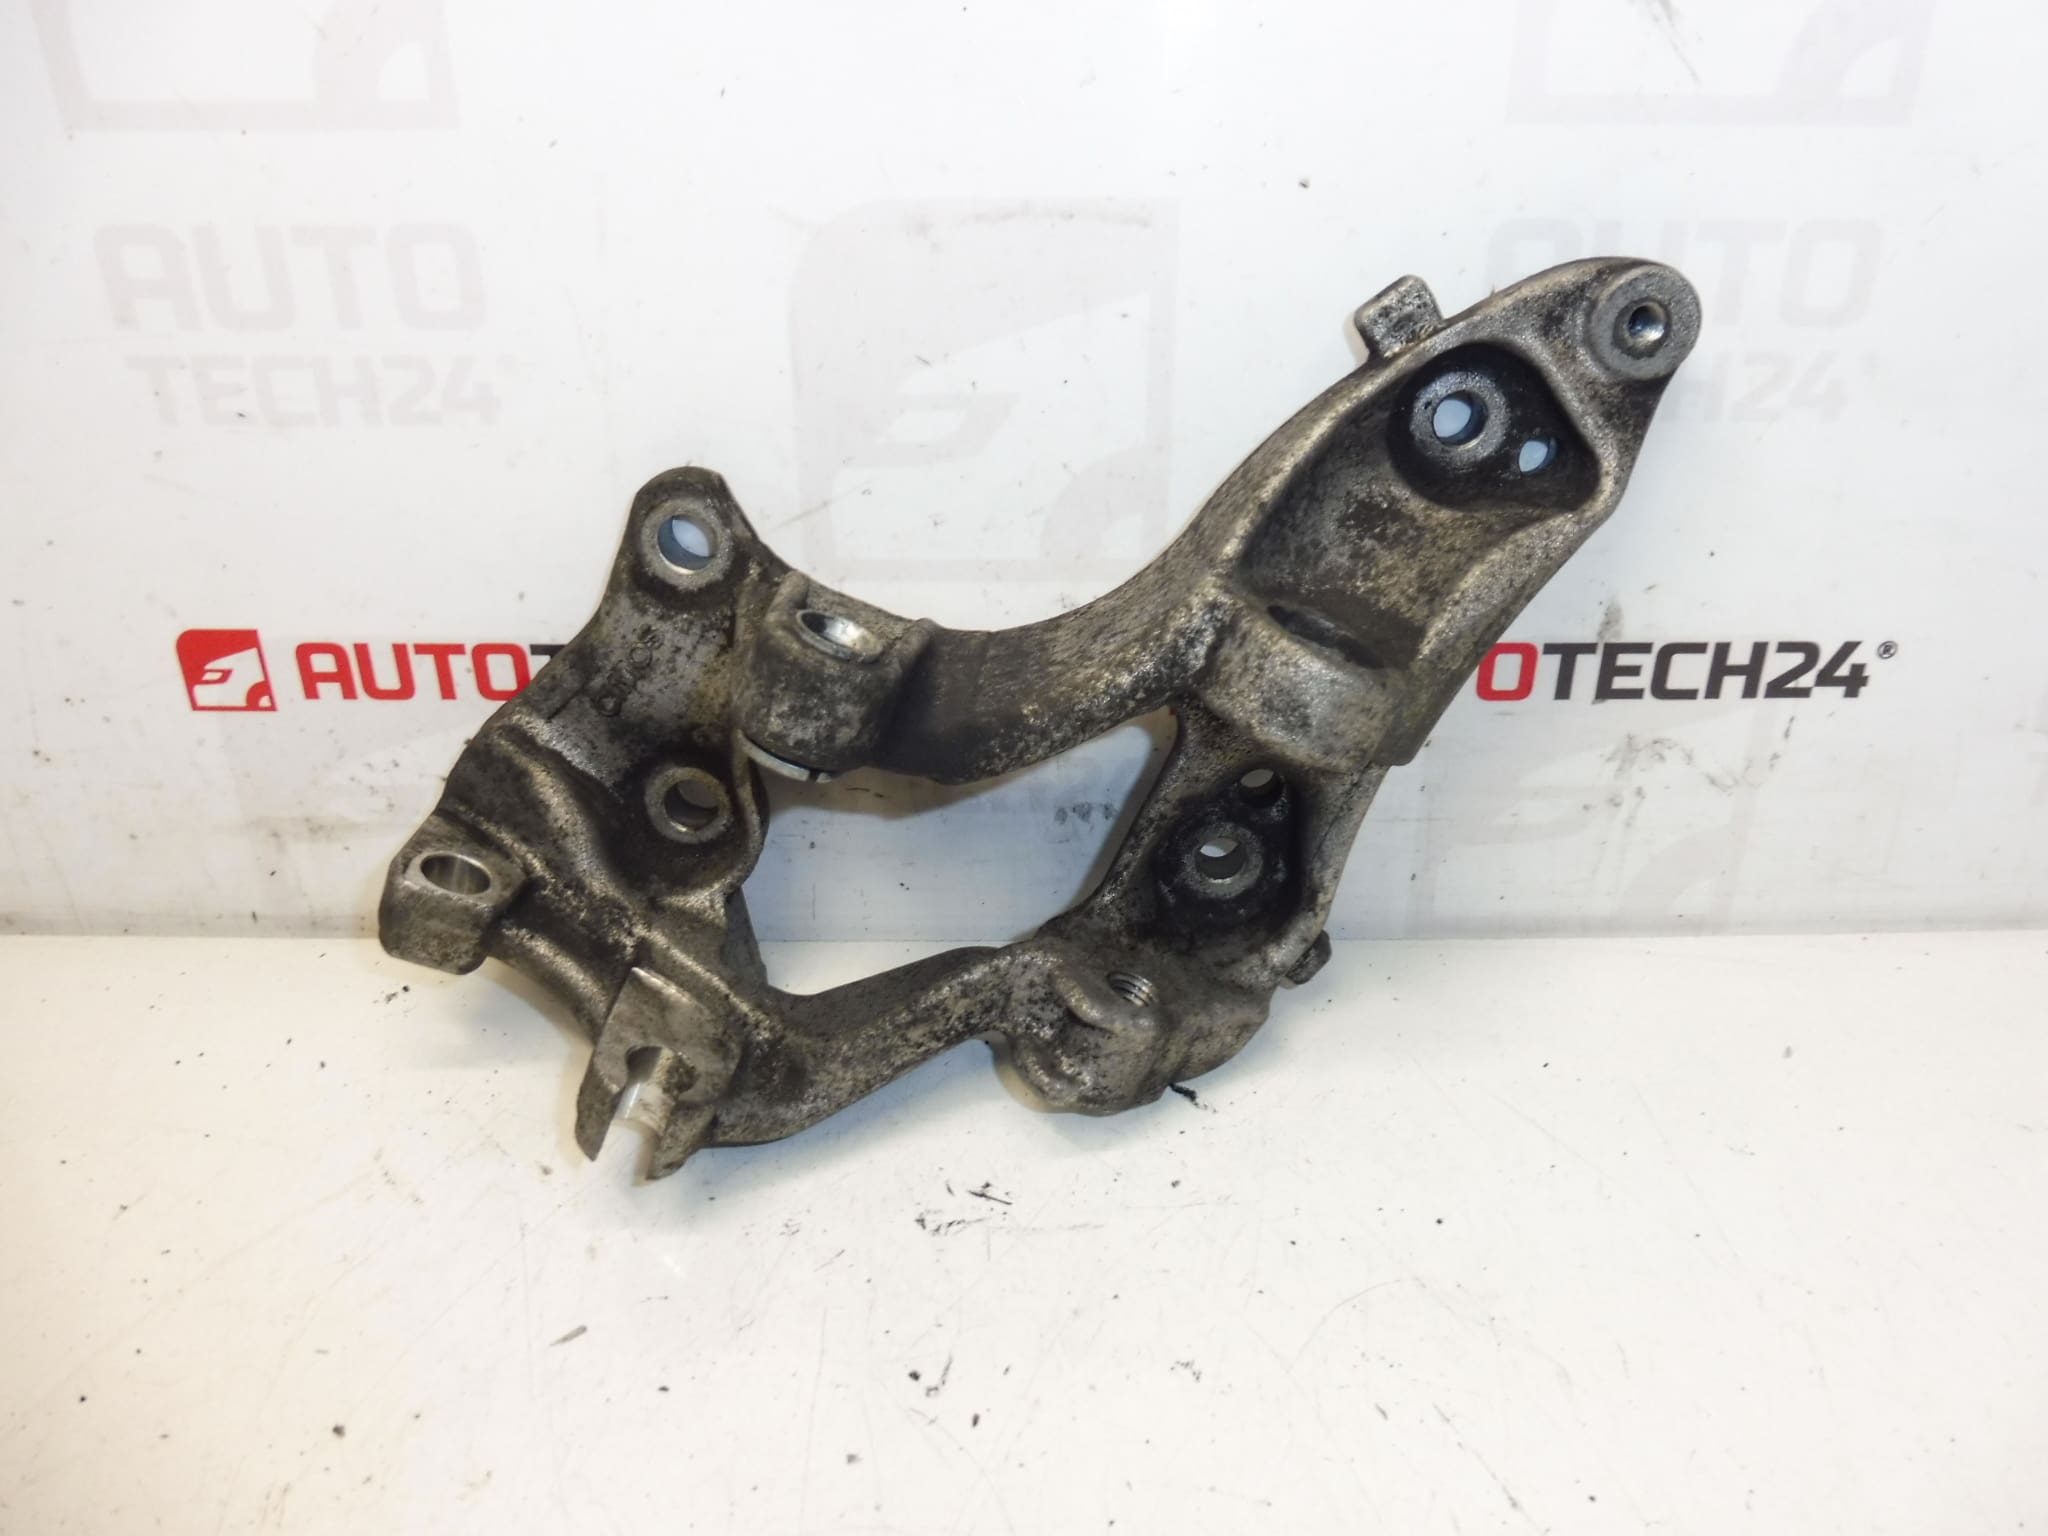
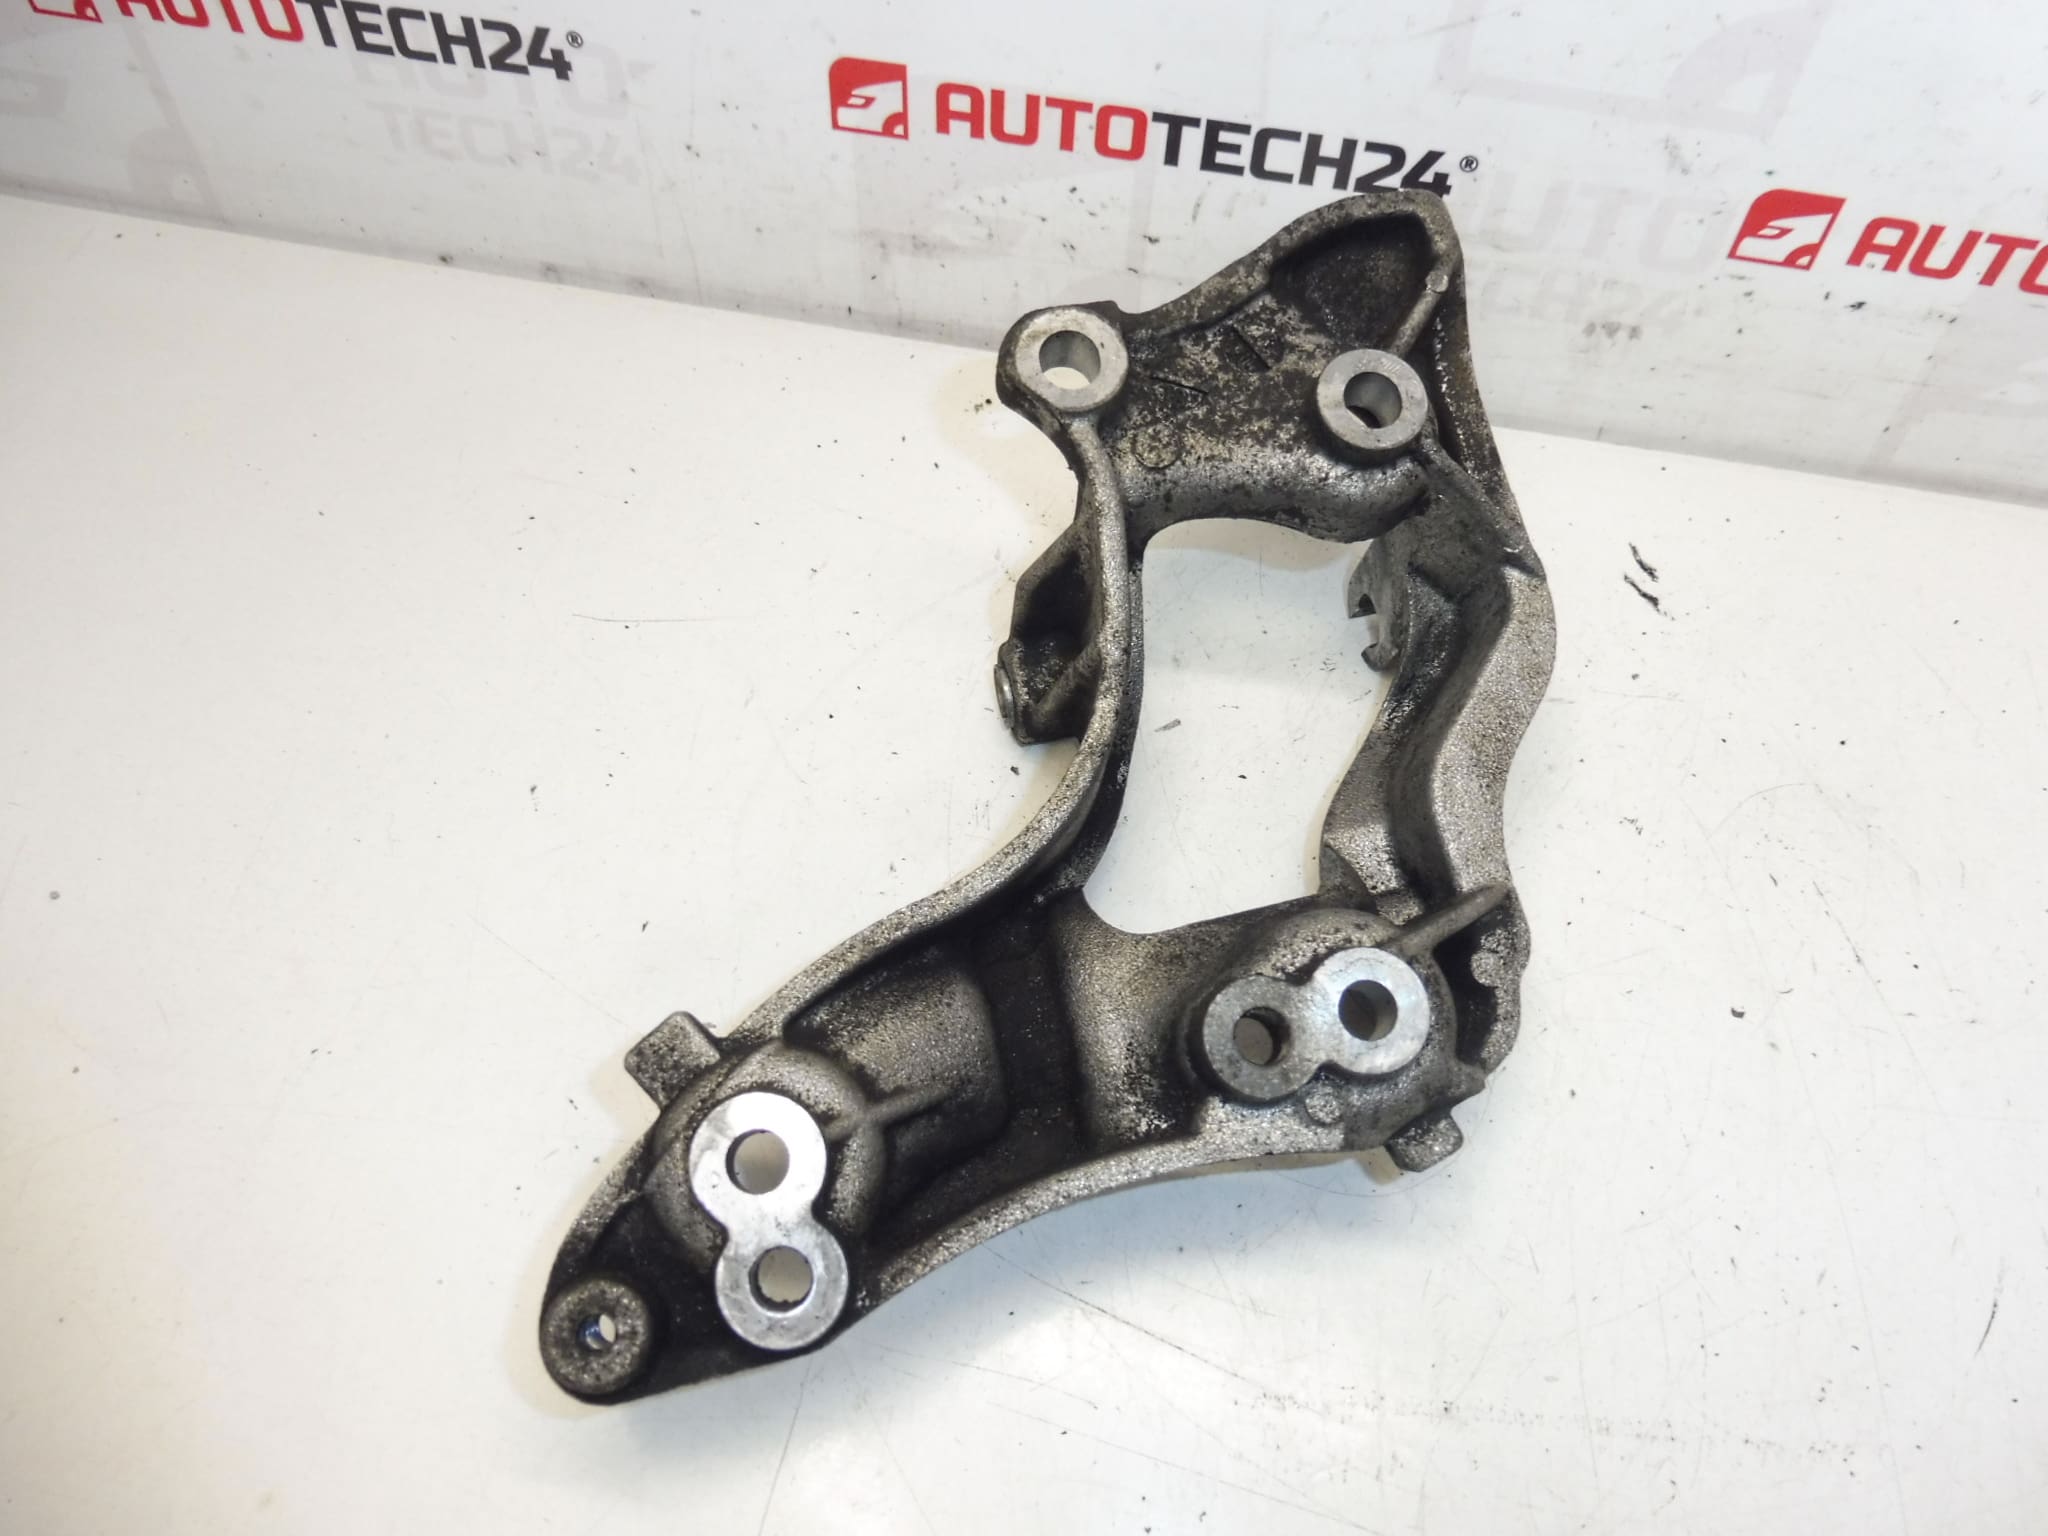
Alternator bracket for CITROËN and PEUGEOT vehicles with 1.6 HDi engine
Reliable alternator bracket designed for Citroën and Peugeot HDi engines, ensuring secure mounting and correct alignment of the alternator. This direct-fit bracket is commonly searched under the OEM numbers 9655652980 and 5706K3, which makes it easy to find in parts catalogs. Built to restore correct belt routing and reduce vibration transmission, it is an essential replacement part for charging system reliability. Ideal for professional workshops and experienced DIY mechanics working on 1.6 HDi powertrains.
Technical Information
- Manufacturer: Stellantis (Citroën / Peugeot)
- Model: Citroën C2; Citroën C3; Citroën C3 Pluriel; Citroën C4; Citroën C4 Picasso; Peugeot 1007; Peugeot 3008 I; Peugeot 307; Peugeot 308; Peugeot 407 (primarily 1.6 HDi applications)
- Product Codes: 9655652980, 5706K3
- Additional Numbers: 9655652980 / 5706K3
Function And Application
The alternator bracket secures the alternator to the engine block and maintains correct pulley alignment for the accessory belt. Proper function prevents premature belt wear, noise, and charging system faults. It is typically used on 1.6 HDi diesel engines in the listed Citroën and Peugeot models and may share mounting points with related HDi variants.
How To Replace
Basic replacement overview for experienced technicians:
- Disconnect the negative battery terminal before starting work.
- Support the engine with a suitable jack and block under the oil pan or use an engine support bar.
- Release belt tension and remove the accessory belt or move the alternator to relieve tension.
- Remove any components blocking access to the bracket, such as the alternator or intake covers.
- Unbolt the old bracket from the engine block and remove it together with any associated spacers or bushings.
- Fit the new bracket, reuse or replace mounting hardware as recommended, and tighten bolts to the manufacturer’s torque specifications.
- Refit the alternator, restore belt tension, reconnect the battery and verify correct belt alignment and charging system operation.
Installation Recommendations
- Always Disconnect The Battery Before Work To Avoid Short Circuits And Unwanted Electrical Damage.
- Inspect The Alternator Pulley, Belt, Tensioner And Nearby Engine Mounts When Replacing The Bracket; Worn Components Accelerate Failure.
- Use Proper Torque Values From The Service Manual For All Fasteners To Prevent Loosening Or Thread Damage.
- Replace Damaged Or Corroded Bolts And Washers; Where Applicable Apply Threadlocker According To Manufacturer Instructions.
Why This Part Fails
- Corrosion And Rust From Road Salt And Moisture Can Reduce Structural Integrity.
- Fatigue Cracks Due To Continuous Engine Vibrations And High Torque Loads Over Time.
- Impact Damage From Accidents Or Improper Lifting/Support During Engine Service.
- Indirect Damage Caused By A Failed Engine Mount Or Excessive Belt Tension Which Transfers Additional Stress To The Bracket.
Compatibility And Search Tips
Search by OEM part numbers 9655652980 or 5706K3 for fastest match. Also check fitment against vehicle model and 1.6 HDi engine designation to ensure correct application.
Safety Note
Work Should Be Performed By Qualified Personnel Or Experienced Mechanics. Use Appropriate Lifting Equipment And Follow Vehicle Manufacturer Procedures To Avoid Injury Or Damage.