Description
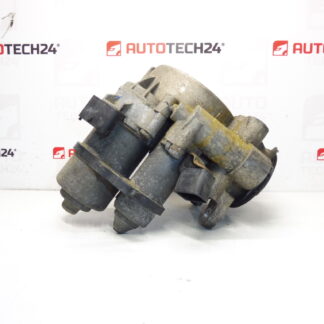
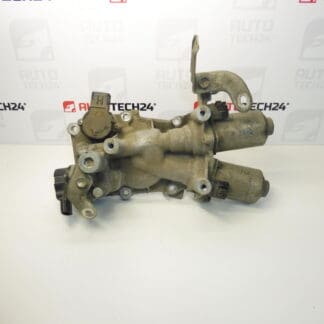
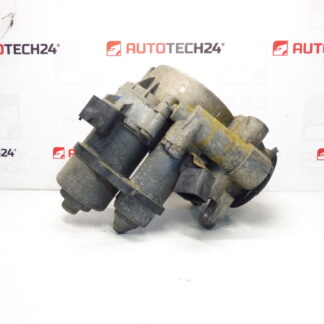
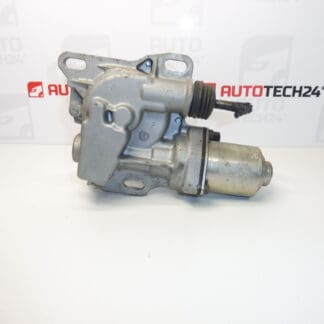
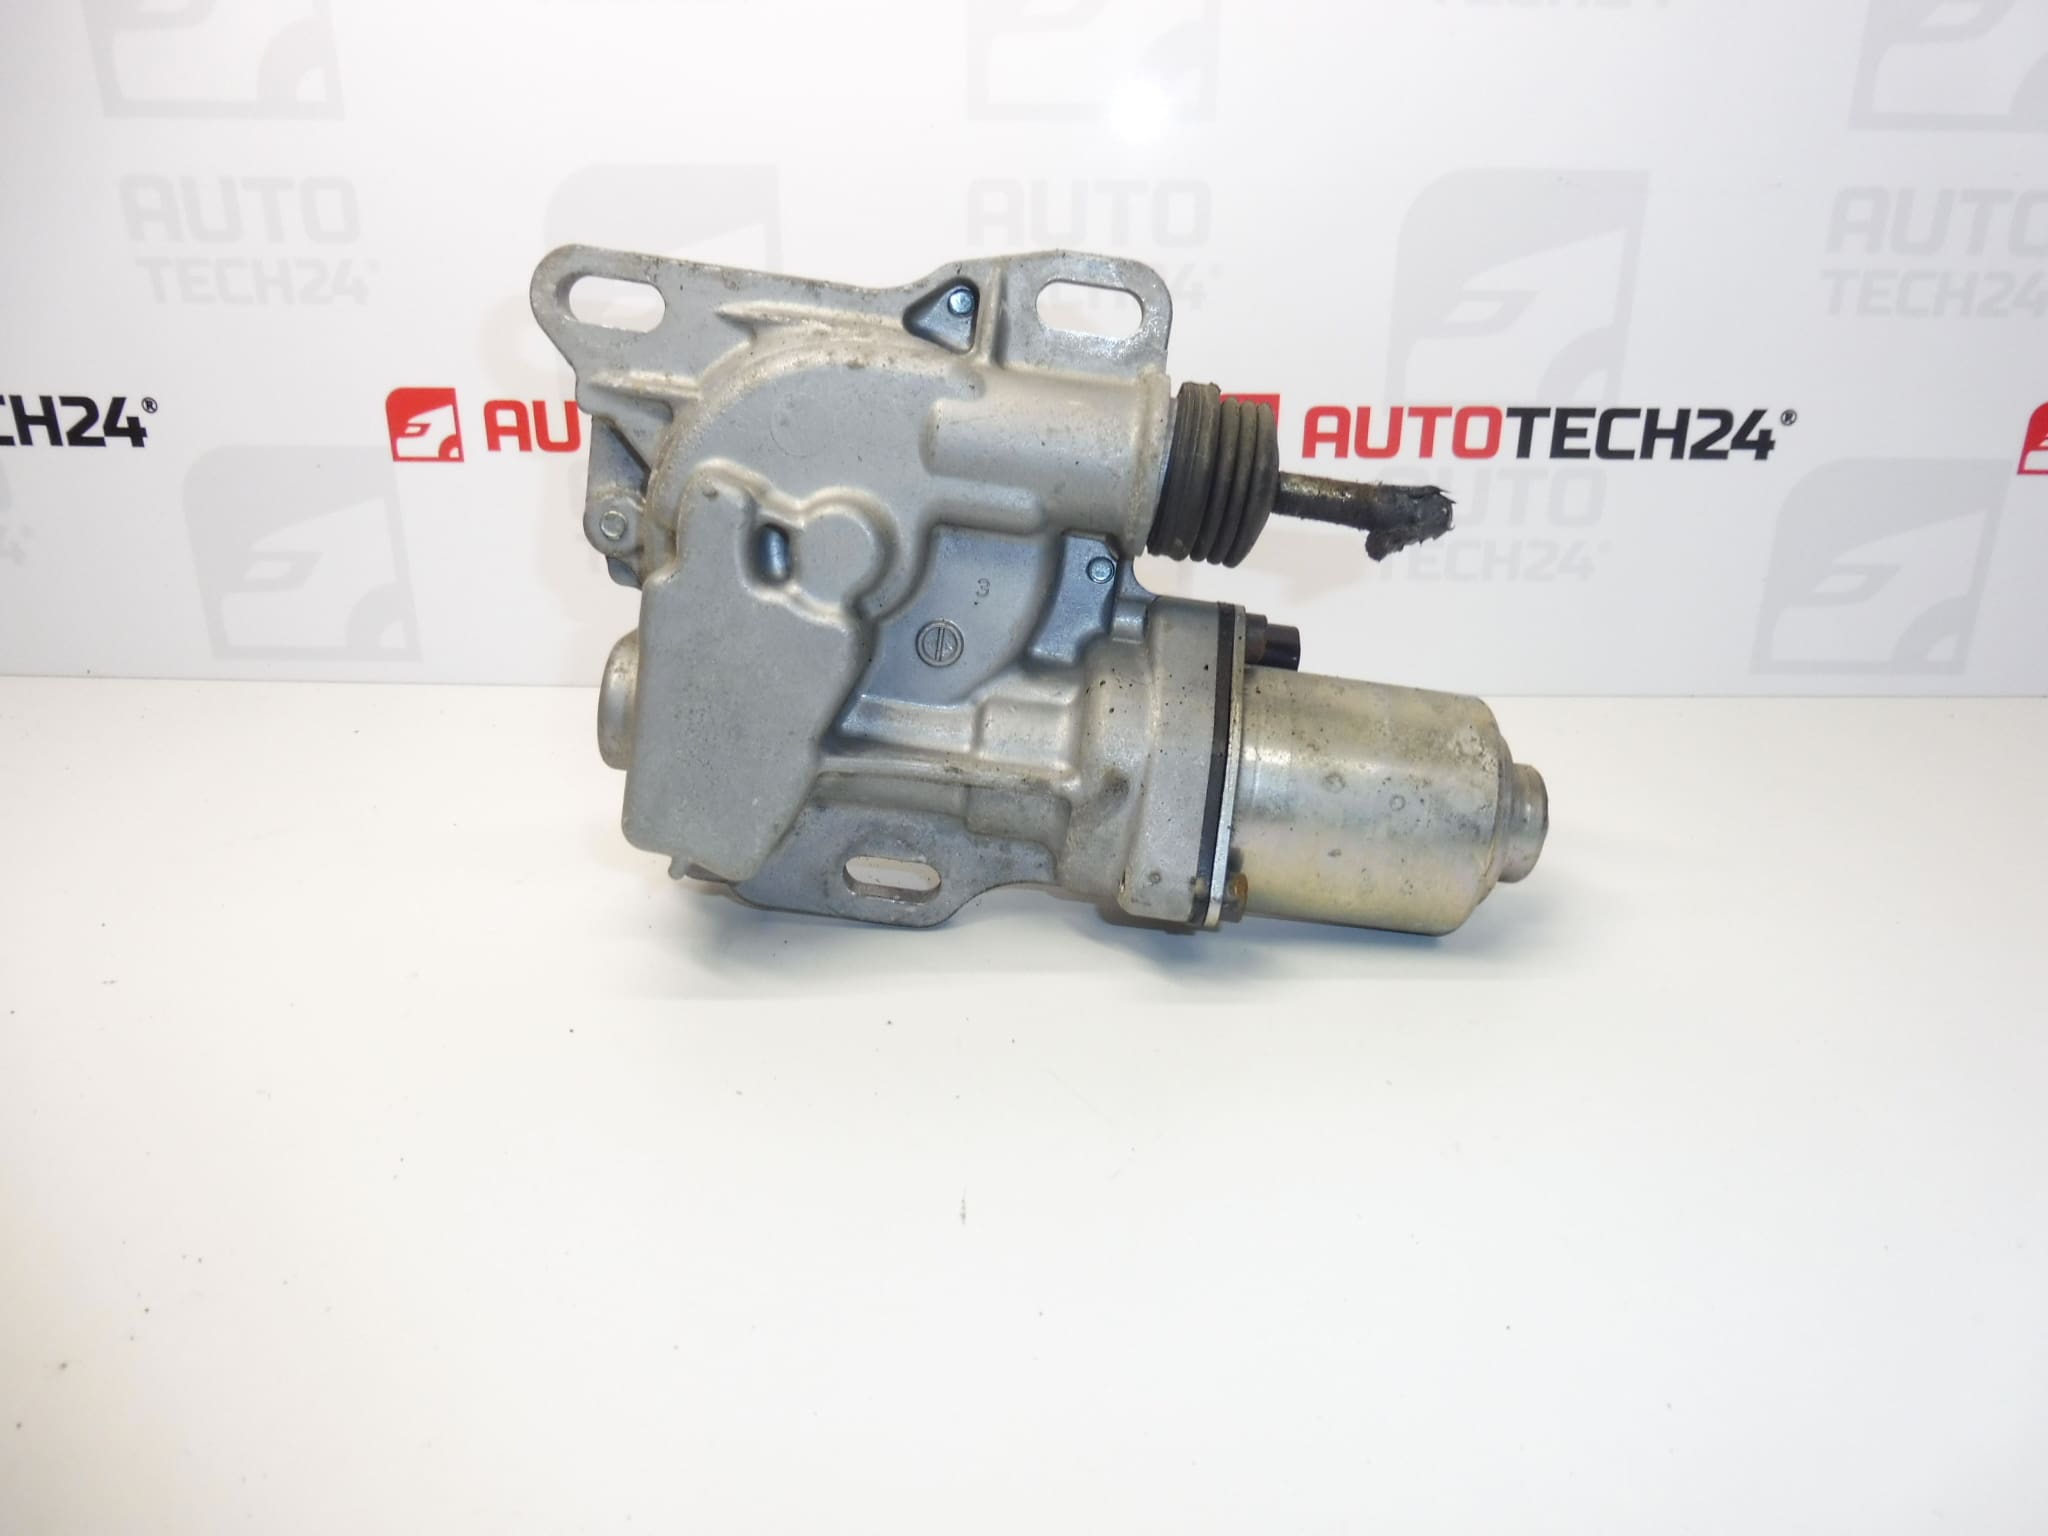
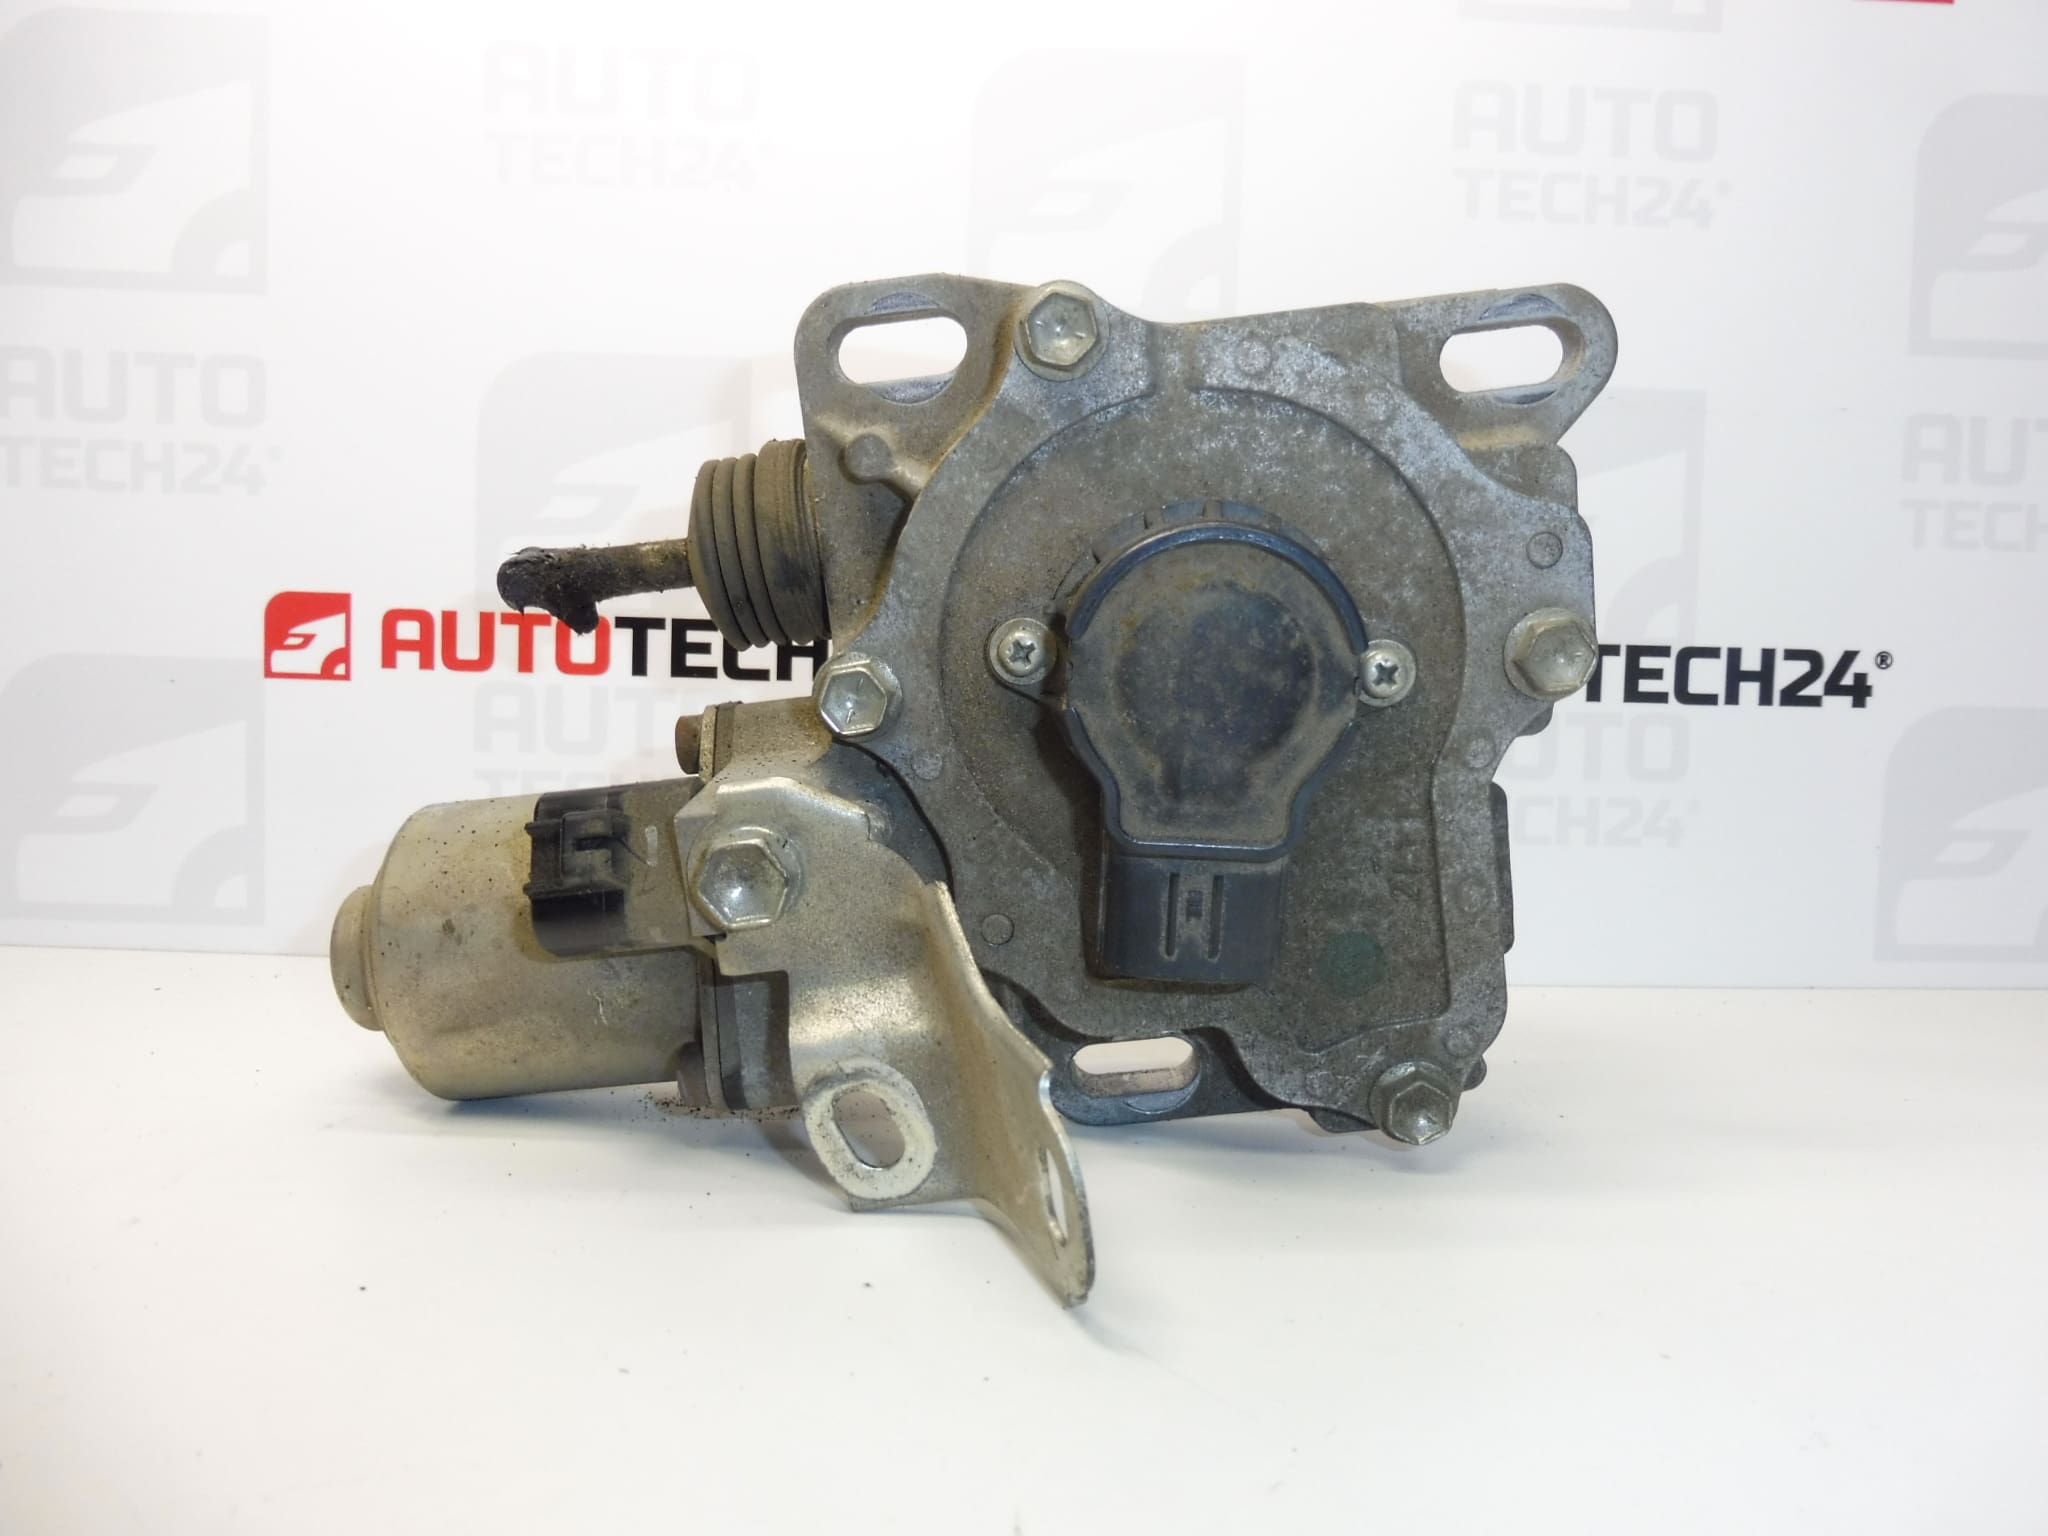
Clutch actuator for CITROEN C1, PEUGEOT 107 and Toyota Aygo vehicles
For SENSODRIVE automated manual transmission
Tested – 100% functional
From a vehicle with 48,000 km mileage
Up to 2014
Part description
Used clutch actuator for SENSODRIVE automated manual transmission controls the clutch according to instructions from the transmission control system. Correct operation of this part is important for pulling away, disengaging the clutch and shifting gears.
According to the supplied information, this part is intended for Citroën C1, Peugeot 107 and Toyota Aygo vehicles up to 2014 with the specified type of transmission. If you are looking for a replacement by part number, the key identifiers are 218245 and 1612909880. Before selecting a part, compare its markings and design with the original part; the model name and year of manufacture alone are not sufficient.
The advantage of the item on offer is its stated testing and full functionality, as well as the documented mileage of 48,000 km for the donor vehicle. It is a practical choice when repairing the clutch control system, provided diagnostics confirm that this particular actuator is faulty.
Technical information
- Manufacturer: not specified; the supplied information lists the designation Stellantis CITROEN PEUGEOT.
- Model: Citroën C1, Peugeot 107; the long description also mentions Toyota Aygo.
- Part type: clutch actuator.
- Transmission: SENSODRIVE automated manual.
- Model years according to the supplied information: up to 2014.
- Condition: used; according to the supplied information, tested and 100% functional.
- Donor vehicle mileage: 48,000 km.
- Additional numbers: not specified.
Product codes
- Product codes: 218245, 1612909880.
- Models on labels: Citroën C1, Peugeot 107.
Product numbers are used to identify the part. When comparing, also take into account the design, mounting points and electrical connection of the original clutch actuator.
Installation recommendations
The following procedure is general and applies to clutch actuators for automated manual transmissions. The exact removal, adjustment and any initialization steps depend on the specific model and vehicle configuration. Follow the manufacturer’s service procedure; this is not a model-specific installation guide.
1) Before installation
- First, use diagnostics to verify the cause of the problem. A power supply, wiring or clutch mechanism issue can mimic a clutch control fault.
- Compare the part numbers, housing shape, mounting points, connector and control mechanism design with the old part.
- Inspect the used part for cracks, damaged mounts, corroded contacts and damage to protective components, if present.
- Do not force any moving parts, and do not connect the part directly to a power supply without the specified test procedure.
2) Tools and materials required
- Standard hand tools suitable for the fasteners used and a torque wrench for tightening according to the service documentation.
- Suitable diagnostic equipment that supports the relevant automated manual transmission system and its service functions.
- Clean cloths, a suitable product for cleaning the area around the mounting surfaces, and protective equipment.
- If the vehicle needs to be raised, suitable lifting equipment and secure supports.
3) Step-by-step installation procedure
- Secure the vehicle against movement and prepare a safe working area.
- Before disconnecting the power supply, retrieve diagnostic information and record the symptoms of the fault.
- According to the service documentation, place the transmission and clutch control in the position or service mode required for removal, if specified.
- Switch off the ignition, wait for the systems to shut down and disconnect the battery according to the manufacturer’s procedure. Prevent the mechanism from being activated unintentionally while working.
- Access the part according to the vehicle design. Before removal, record the wiring route and the position of the original actuator.
- Clean the surrounding area, release the connector lock and disconnect it without pulling on the wires.
- Undo the fasteners and remove the original actuator using the specified procedure. Be aware of possible mechanical preload and do not use force.
- Inspect the contact surfaces and the adjoining clutch control mechanism. Resolve any binding or visible damage before installing the replacement part.
- Fit the replacement actuator according to the service procedure. If position or preload adjustment is specified, perform it according to the documentation; do not try to overcome incorrect seating by tightening the bolts.
- Tighten the fasteners according to the manufacturer’s specifications, connect the connector and secure the wiring away from moving parts and heat sources.
- Restore the power supply using the specified procedure and use suitable diagnostic equipment to perform the setup, initialization or adaptation of the clutch control, if required by the manufacturer for replacement.
- Reinstall any removed access components, check that everything is secured and verify operation before driving.
4) Post-installation checks and test drive/functional verification
Check that the connector is secured, the wiring is routed correctly and the part is properly seated. Use diagnostics to check the system status and the results of the required settings. First, safely test the transmission function with the vehicle stationary, following the service procedure. Only if it operates correctly, take a short test drive in safe conditions and monitor pulling away, gear changes, unusual noises and warning messages. Stop the test if there is significant jerking or a control malfunction.
5) Most common installation mistakes and how to avoid them
- Replacing the part without identifying the cause of the fault: check the power supply, wiring and adjoining clutch mechanism beforehand.
- Incorrect seating or adjustment: follow the manufacturer’s procedure and never force the part into position by tightening it.
- Skipping the required adaptation: make sure diagnostic equipment with the necessary service functions is available before starting work.
- Damaging the connector or wires: release the connector locks and secure the wiring without putting it under tension.
- Activating the mechanism during installation: work with the power supply safely disconnected and follow the specified system shutdown procedure.
Reasons why the part may be damaged
In general, the following causes can contribute to clutch actuator failure. This is not a description of faults in the item on offer, which is stated to have been tested and to be functional.
- Operational wear of the drive and gear mechanism from repeated clutch operation.
- Increased resistance in the adjoining clutch mechanism, which can place excessive strain on the actuator.
- Ingress of moisture and dirt if protective components are damaged, or corrosion of electrical contacts.
- Power supply or wiring faults, which can cause incorrect operation and be mistaken for damage to the actuator itself.
- Incorrect installation, adjustment or forced handling, which can damage the mechanism or increase the load on it.