Description
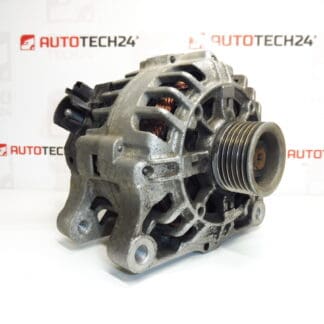
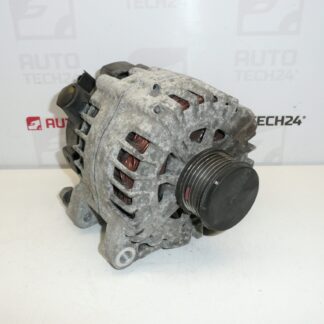
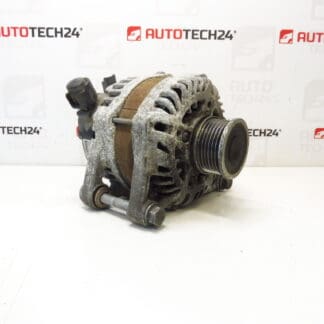
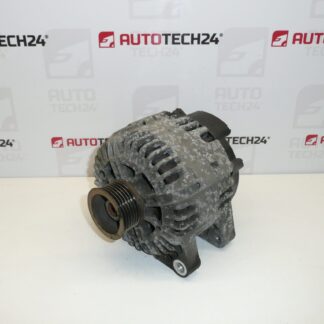
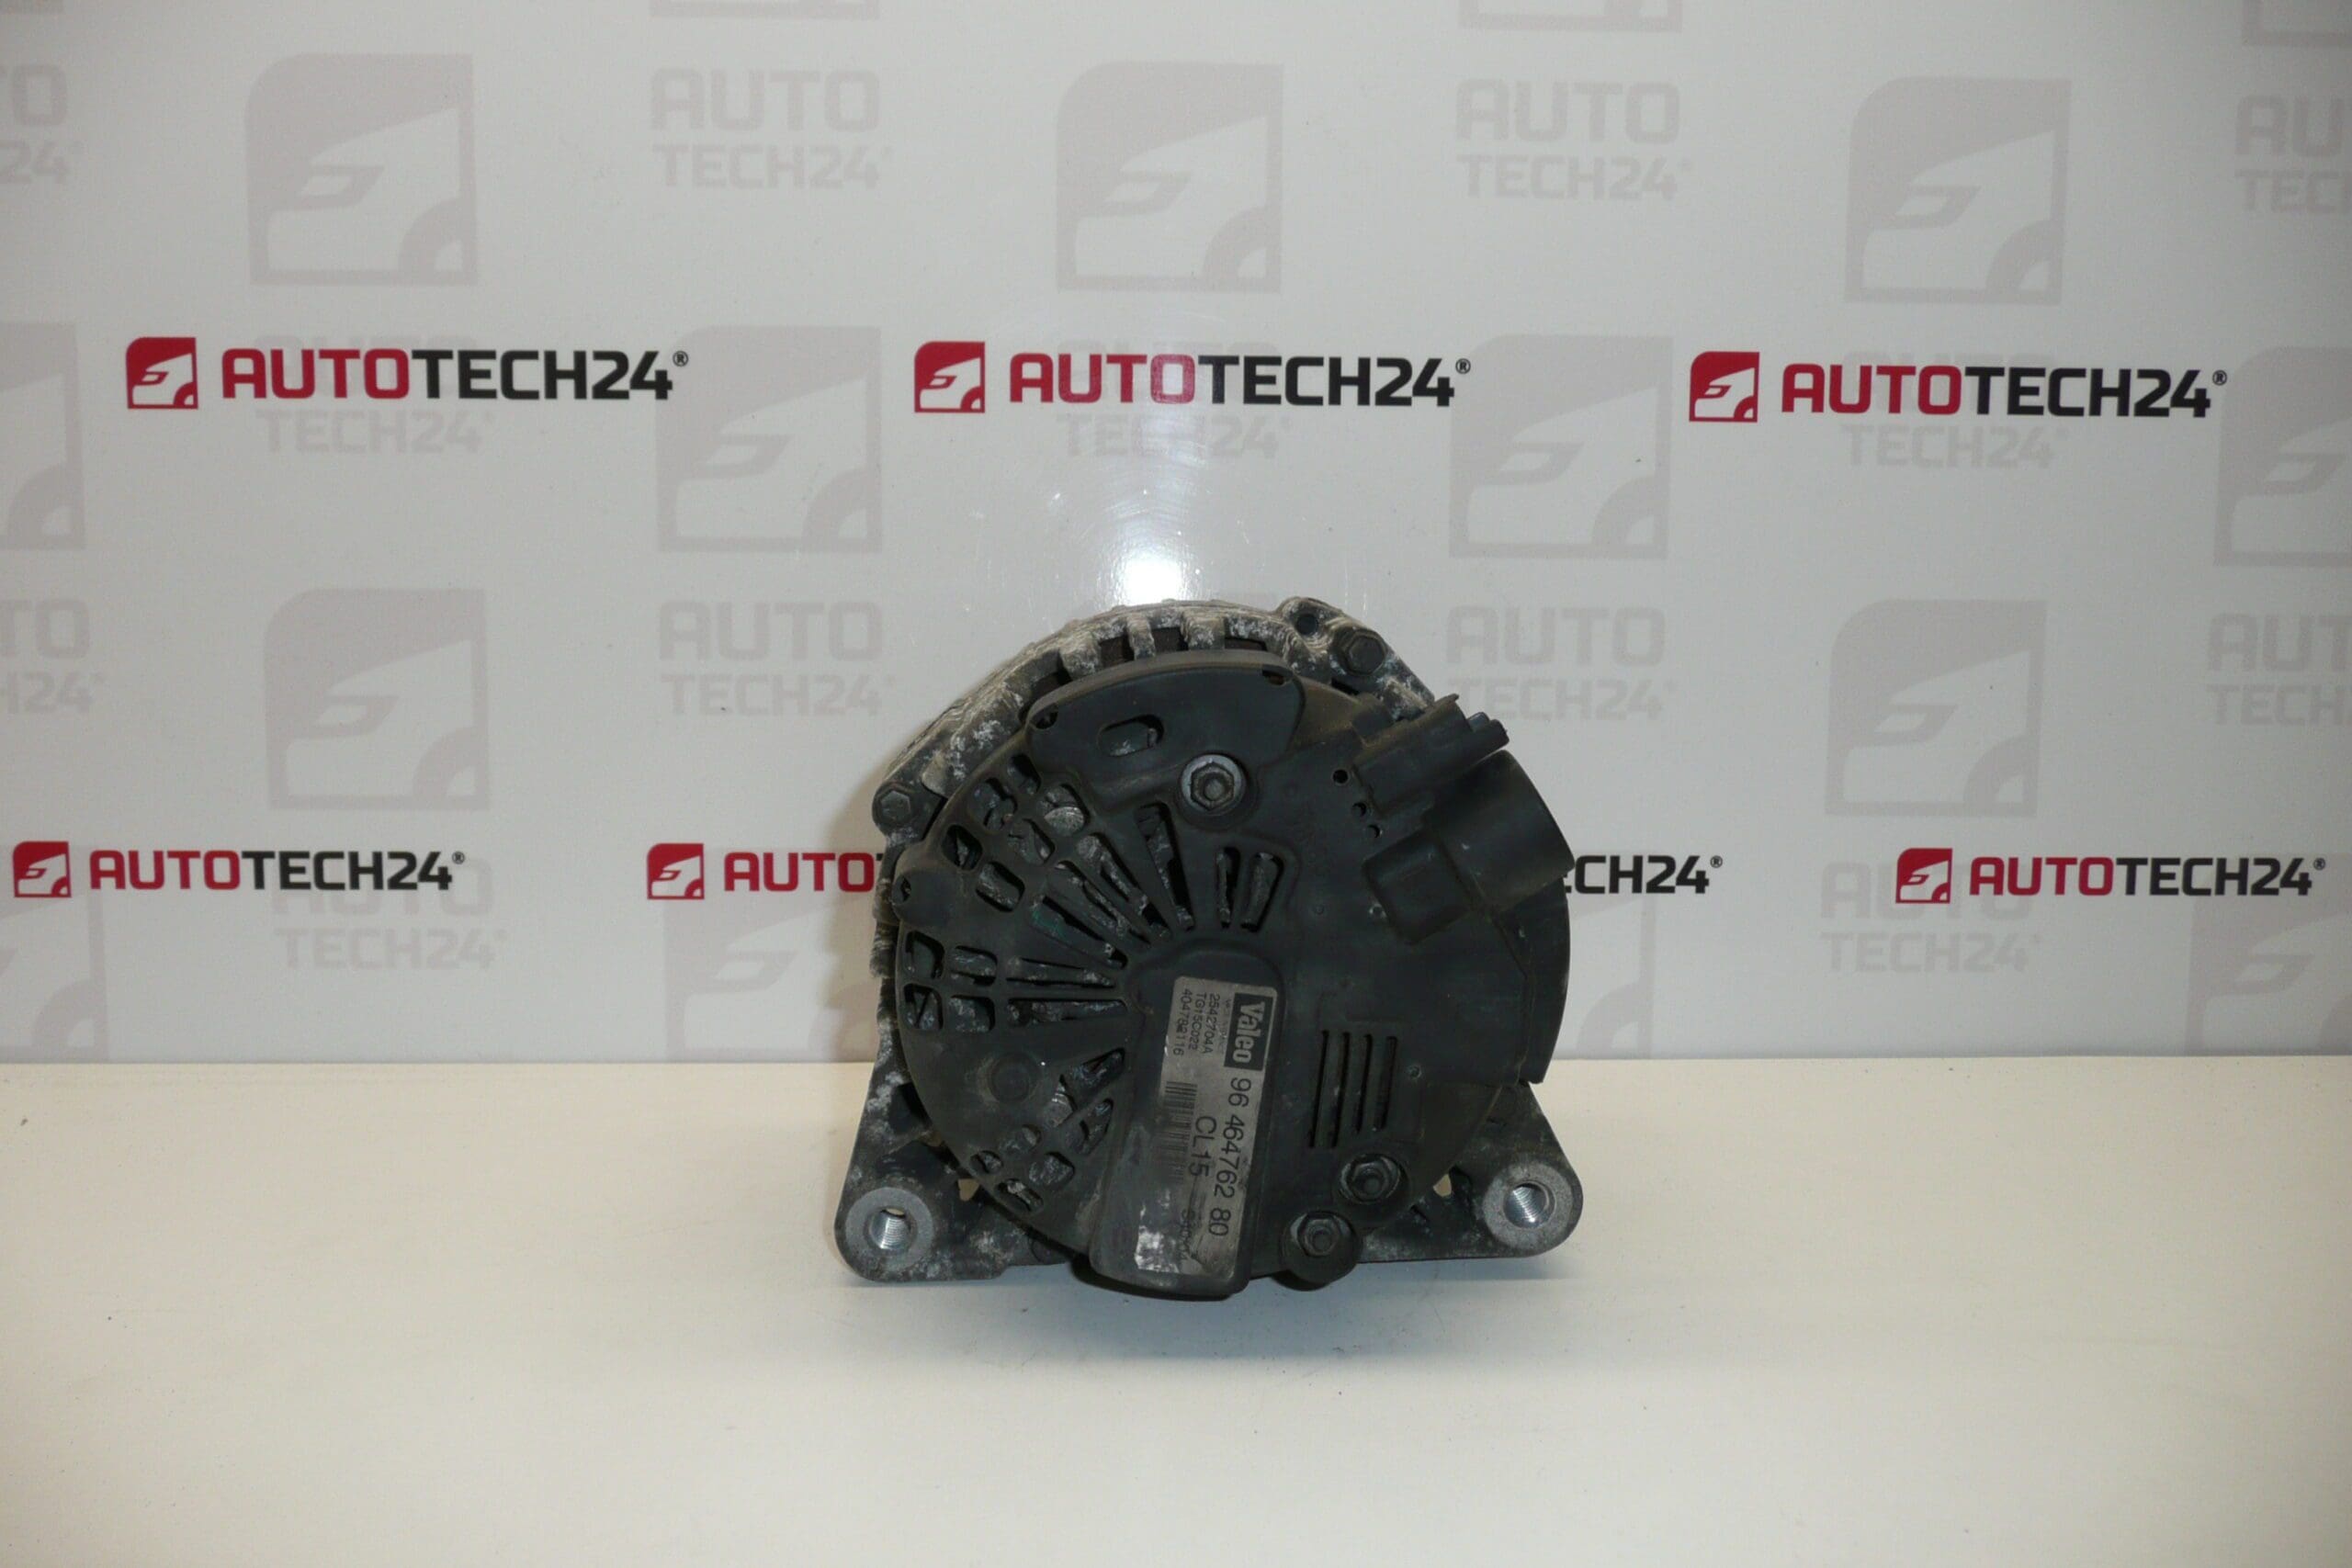
Alternator VALEO CL15 1.4 2.0 2.2 HDI CITROEN PEUGEOT
Product Information
Voltage [V] 14
Generator Charging Current [A] 150
Without Overrunning Pulley
Eyelet, Connector
This Valeo CL15 alternator is a high-output 14V, 150A unit designed for a range of Citroën and Peugeot HDi diesel engines (1.4, 2.0, 2.2). Built to supply stable charging under heavy electrical load, it suits workshop replacements and DIY repairs where reliable battery charging and onboard electronics operation are essential. The alternator is commonly identified by several part numbers, so customers often search using one of the listed codes to ensure direct fitment.
Fitment And Compatible Models
Compatible With Many Stellantis Models Including:
- Citroën Berlingo
- Citroën C2
- Citroën C3 / C3 Pluriel
- Citroën Xsara / Xsara Picasso
- Peugeot 1007
- Peugeot 206
- Peugeot 307
- Peugeot Partner
Technical Information
- Manufacturer: Valeo
- Model: CL15
- Product Codes: 9646476280, 5705AL, 5705NE, 5802AZ, 5802FG, 5802FH, 5802FP, 5802Y4, 5802Y5, 5802Y6, TG15C022
- Other Numbers: Common OE References For Stellantis Applications
- Voltage: 14 V
- Charging Current: 150 A
- Pulley: Without Overrunning Pulley
- Connections: Eyelet Terminal And Multi-Pin Connector
Function And Typical Faults
The alternator’s primary role is to maintain battery charge and supply electrical power to all vehicle systems while the engine runs. Common failure modes include worn bearings, faulty voltage regulator, damaged diodes in the rectifier, contamination from oil or coolant leaks, and excessive wear from improper belt tension or repeated electrical overloads. Symptoms of a failing alternator include dashboard warning lights, battery discharging at idle, dimming lights under load, or unusual bearing noise.
Service Life And When To Replace
Service Life Depends On Driving Conditions And Electrical Loads. Typical Lifespan Can Vary Widely, Often Between 80,000 And 200,000 km. Replace The Unit If You Experience Persistent Charging Problems, Audible Bearing Noise, Or If Voltage Output Deviates From Spec Under Load.
Installation Recommendations
- Disconnect The Battery Negative Terminal Before Starting To Prevent Short Circuits.
- Note Or Photograph Belt Routing And Accessory Positions To Ensure Correct Reassembly.
- Release Belt Tensioner And Remove Drive Belt Carefully. Inspect Belt And Tensioner For Wear; Replace If Necessary.
- Disconnect Electrical Connectors And Remove Mounting Bolts. Support The Alternator While Removing To Avoid Damage.
- Compare New Unit With Old One For Mounting Points, Pulley Type, And Connector Orientation Before Installing.
- Reinstall In Reverse Order, Refit Belt To Specified Tension, Reconnect Battery, And Verify Charging Voltage (~13.8–14.6V At Operating RPM).
Why This Part Most Often Fails
Most Failures Result From Mechanical Wear (Bearings), Electrical Component Fatigue (Regulator Or Diodes), Contamination From Oil/Coolant Leaks, Or Excessive Thermal And Electrical Stress Due To High Accessory Loads. Improper Belt Tension And Repeated Jump-Starts Can Also Shorten Life.
This description Helps Mechanics And DIY Enthusiasts Quickly Verify Compatibility By Part Numbers And Understand Practical Replacement Steps, Typical Symptoms, And What To Inspect During Installation.