Description
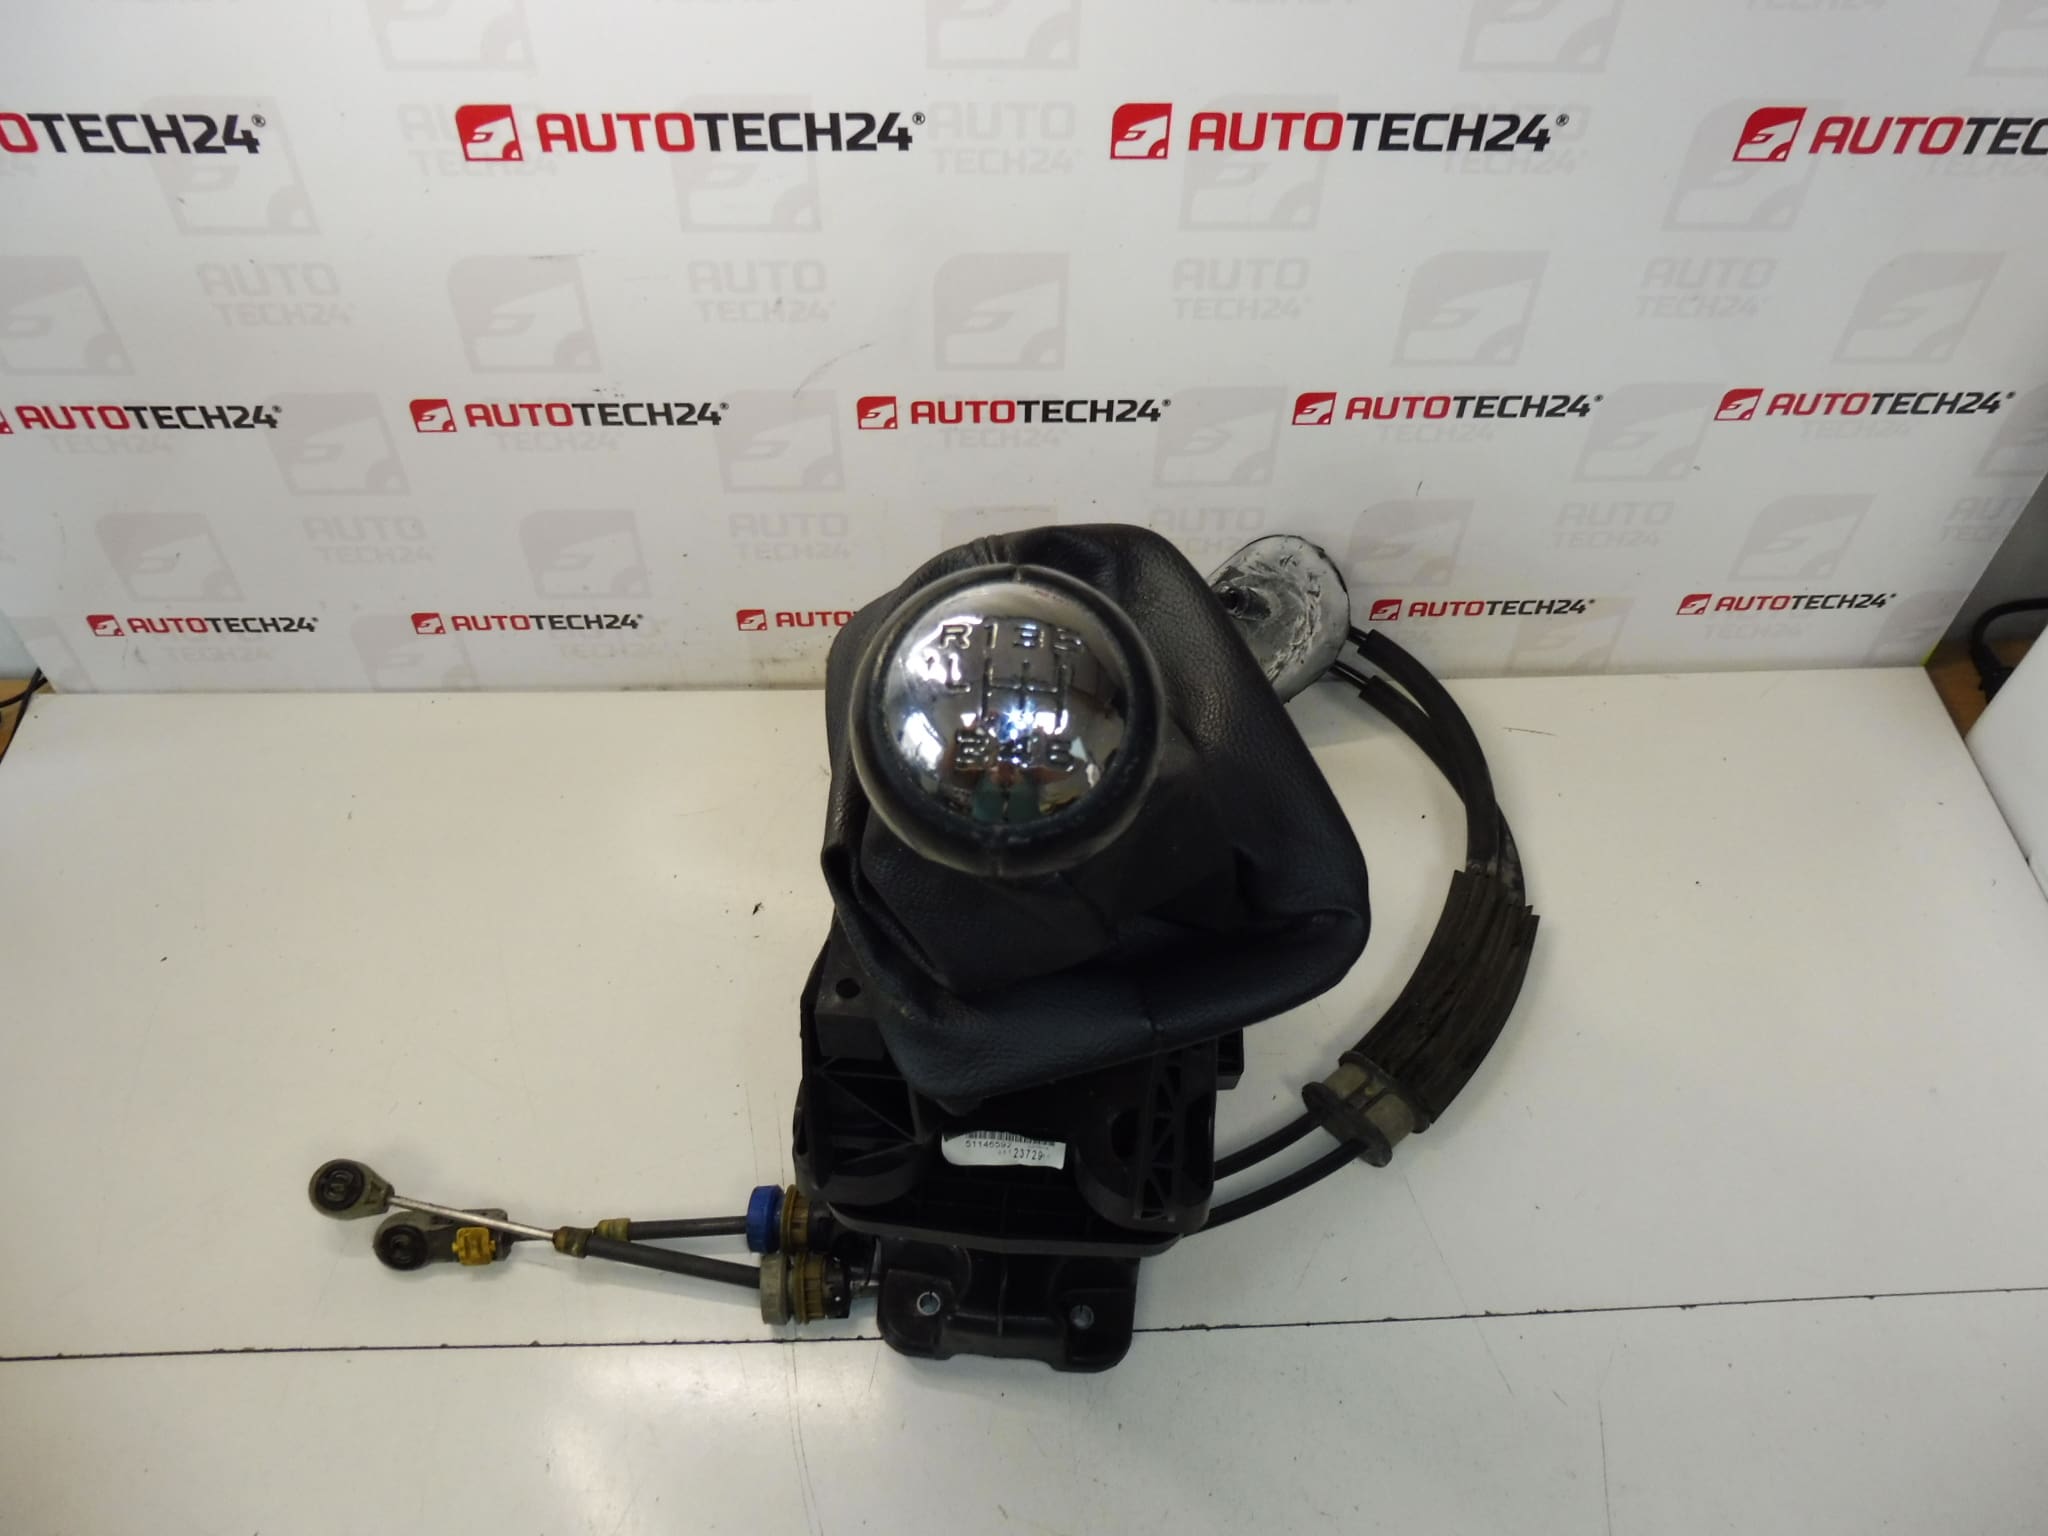
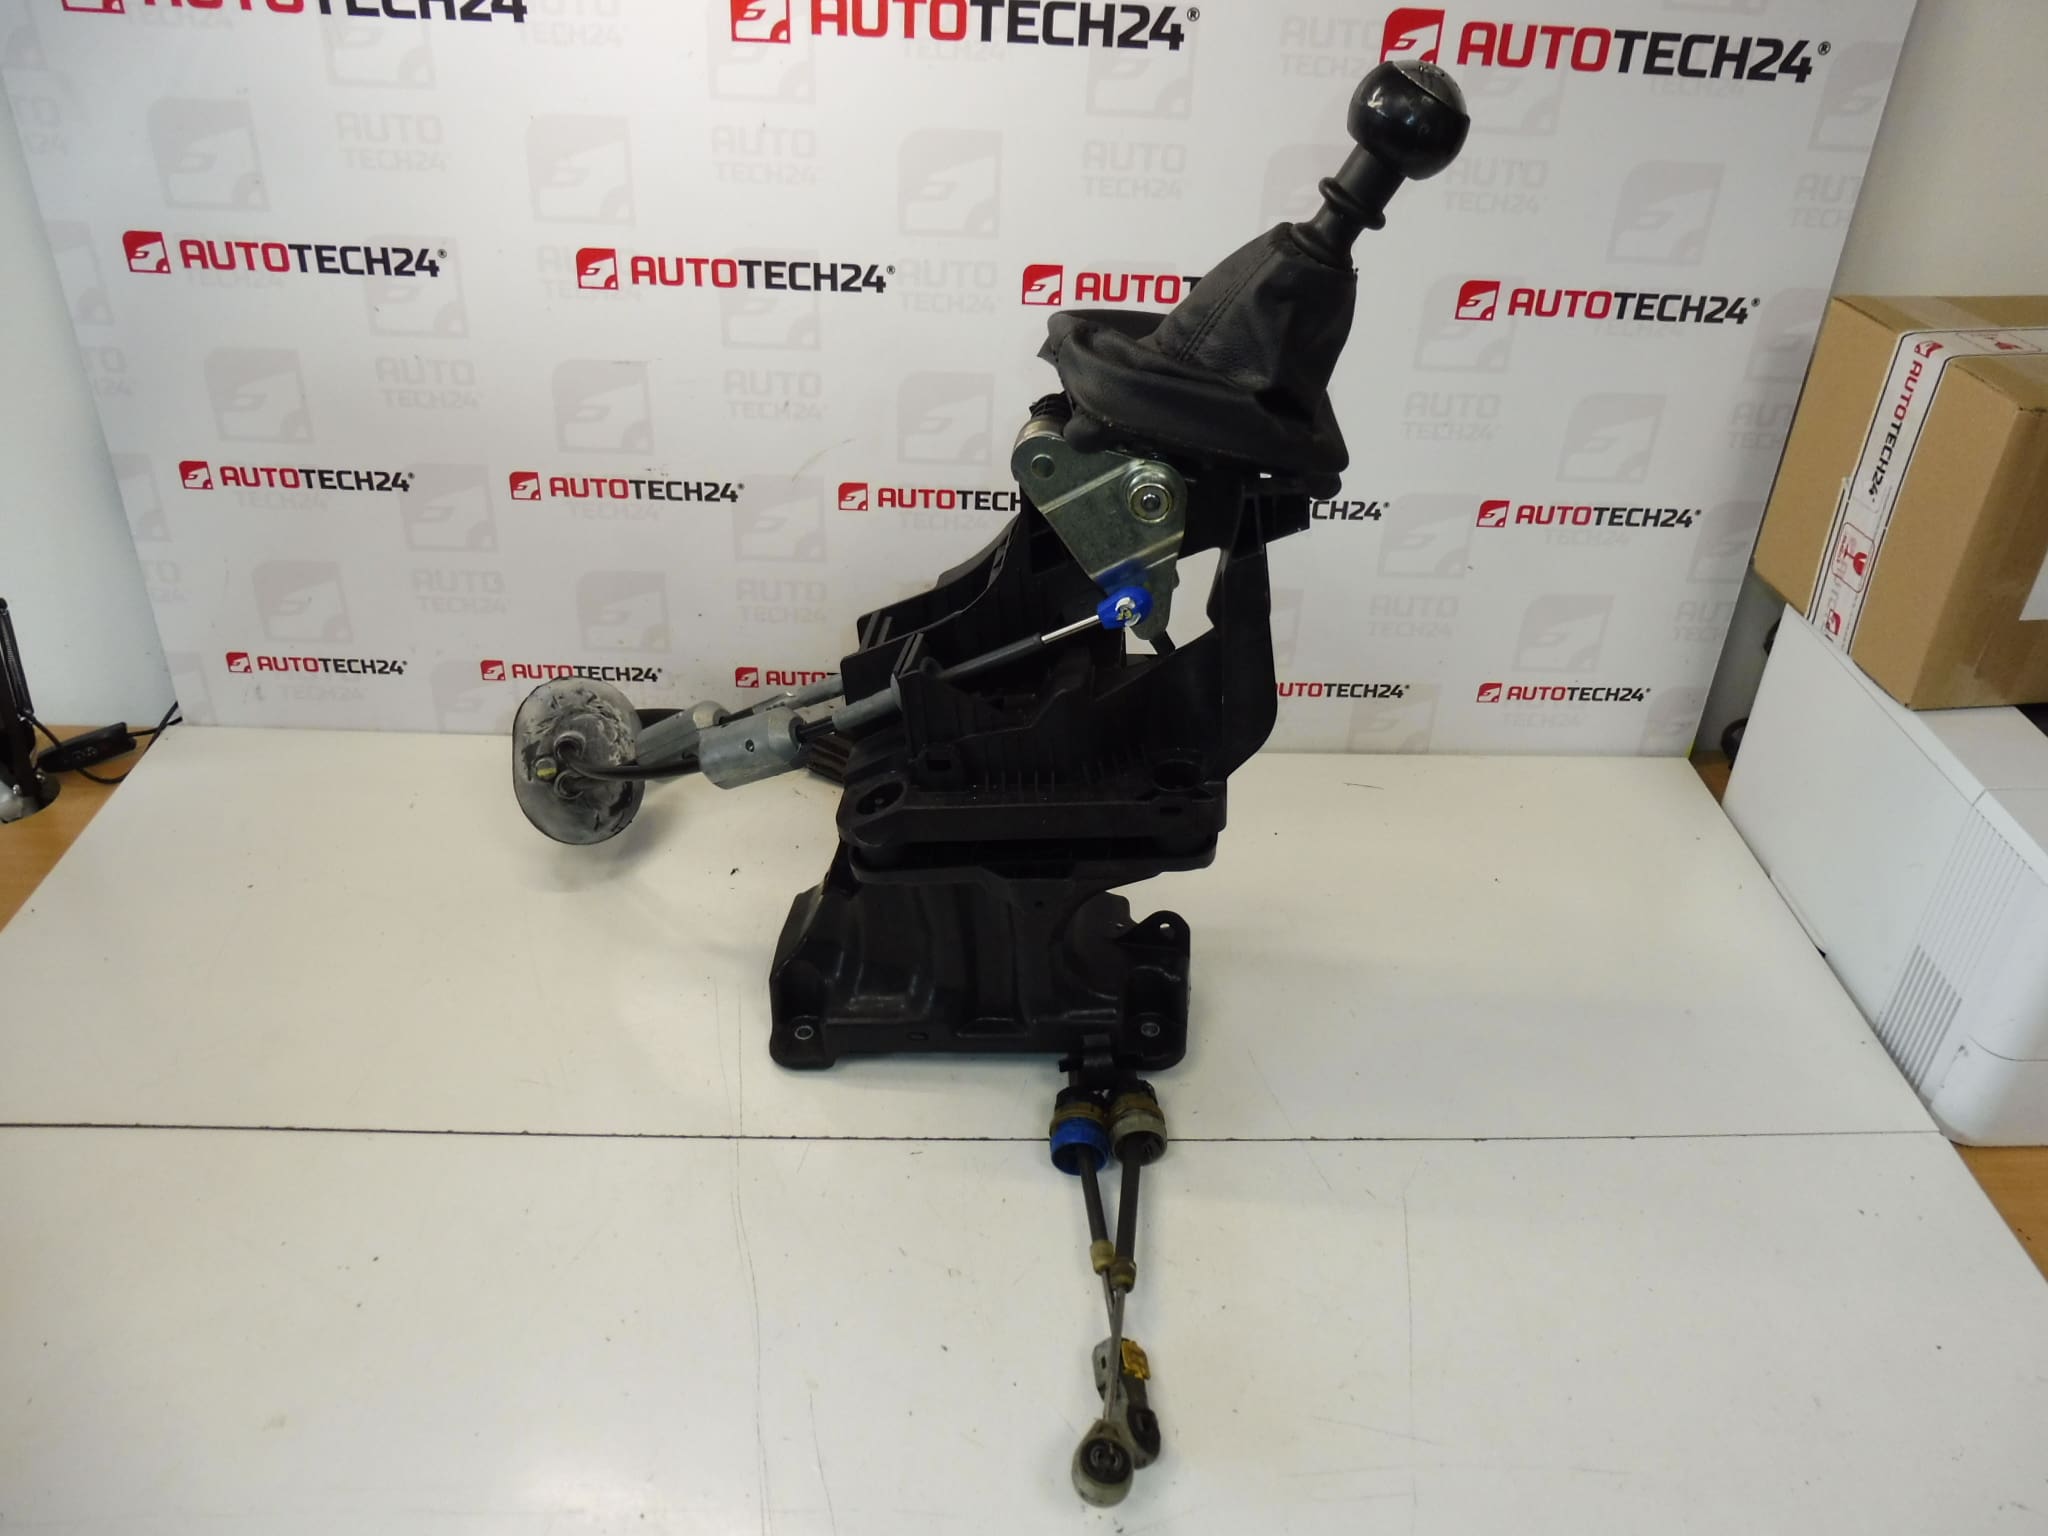
Gear lever, shift gate with cables 6-speed, gear selector for PEUGEOT 3008 and 5008 first generation. From a 2014 PEUGEOT 3008 1.6 HDI 84 kW with mileage 84,000 km. With Gear Knob.
This used shift gate assembly with cables is a direct-fit solution for mechanics and competent DIY enthusiasts working on first-generation Peugeot 3008 and 5008 models. Designed for 6-speed gearboxes, the unit transfers driver input through robust linkages and cables to the transmission, delivering precise gear selection and a positive shift feel. The part is ideal when the original selector suffers from excessive play, sticking, or broken cables.
Technical Information
- Manufacturer: Stellantis
- Model: Peugeot 3008 I, Peugeot 5008 I
- Product Codes: 2400KQ, 2403V2, 240891, 9682624580
- Other Numbers: 2400 KQ, 2403 V2
Function And Key Features
The assembly includes the gear lever mechanism, shift gate and associated Bowden cables that transmit movement to the gearbox. It contains the selector pivot, bushings and cable end fittings and is supplied with the gear knob installed. Primary features include compatibility with 6-speed transmissions, factory-fit mounting points and a complete mechanical linkage ready for adjustment and installation.
Fitment And Compatibility
Compatible with first-generation Peugeot 3008 and 5008 models (early MPV/SUV generation). Confirm fitment by matching the vehicle application years and the listed product codes. Typical original fitment includes diesel and petrol variants that use the 6-speed manual transmission in these models.
Installation Recommendations
- Prepare the vehicle on a level surface and use appropriate axle stands when working under the car.
- Remove center console trim and unscrew the gear knob/lever surround to access mounting points and cable connections.
- Note or mark cable routing and end positions before removal to ensure correct reassembly.
- Disconnect cables from the gearbox end first, then from the selector to avoid tensioning issues. Replace worn clips and grommets.
- After fitting, adjust cable free play and check smooth operation through all gears. Road-test in a safe area to verify correct engagement and return of the selector.
- Use quality hardware and replace any perished bushings or retaining clips during installation for long-term reliability.
Most Common Failure Causes
- Wear of inner cable or outer sheath leading to increased play or sticking.
- Frayed or broken cable strands due to age, corrosion or repeated stress.
- Deterioration of plastic clips, bushings and pivot points causing sloppy or imprecise shifting.
- Ingress of dirt, moisture or road salt accelerating corrosion and binding of moving parts.
- Impact or improper handling during maintenance that deforms linkage or bends cables.
Expected service life varies with usage and environment; many assemblies remain reliable beyond 80,000–200,000 km, while aggressive use or lack of maintenance can shorten that interval. This unit is supplied as shown and includes the gear knob, ready for installation and adjustment.