Description
Air Conditioning Refrigerant Pipe for Citroën C5 II and Peugeot 407
Overview
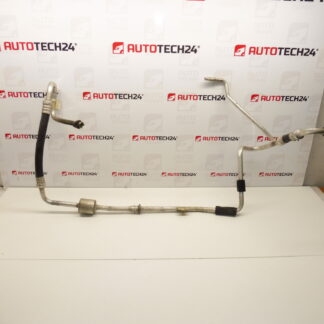
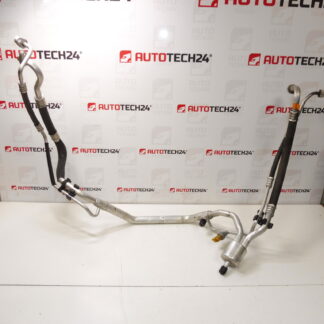
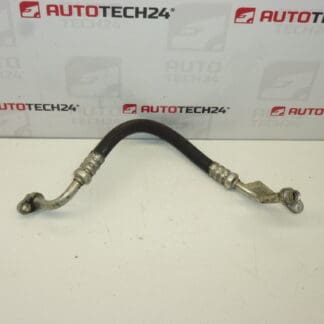
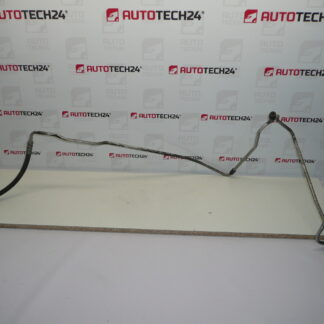
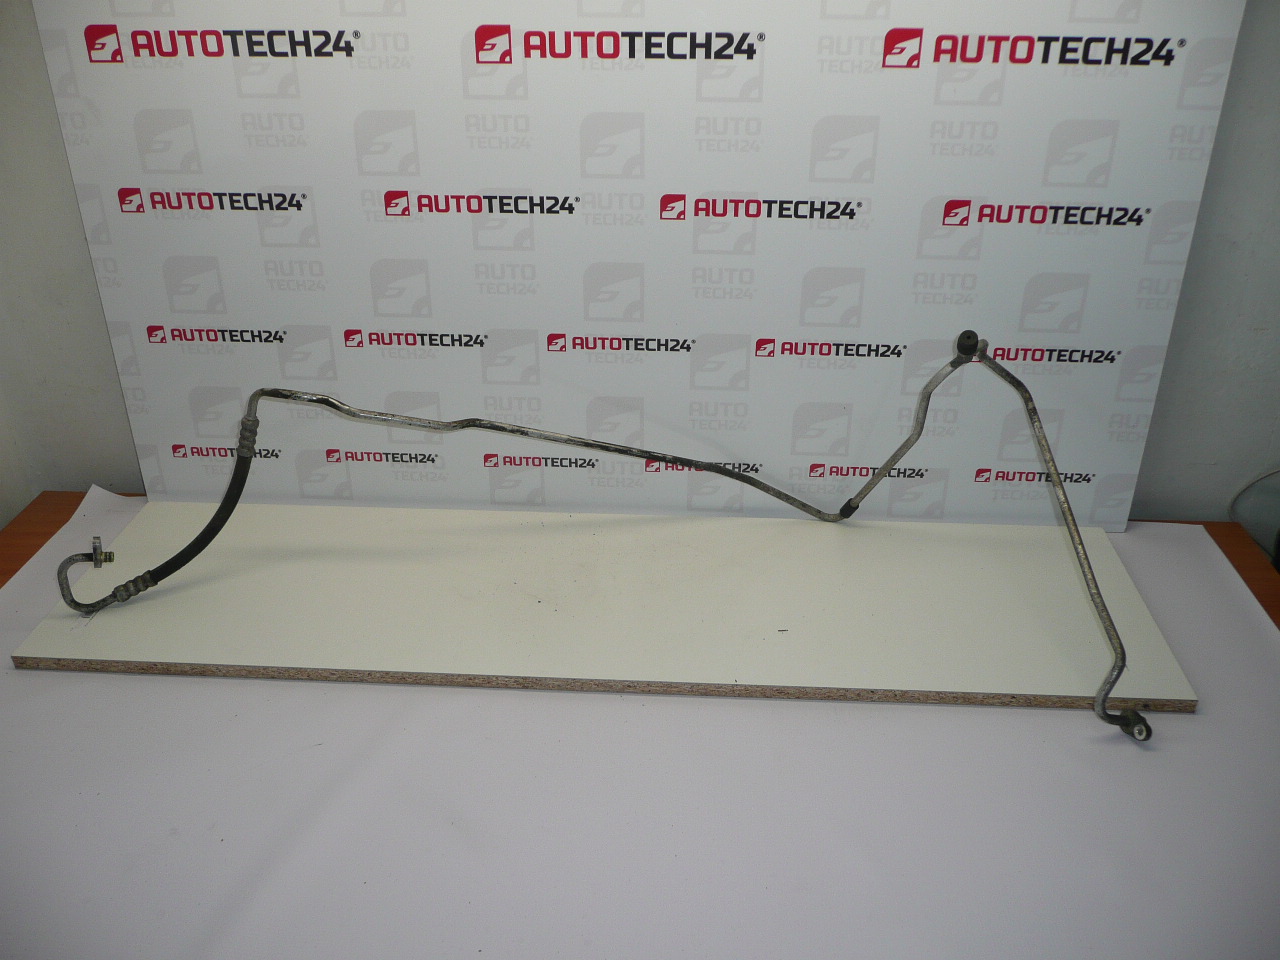
High-quality air conditioning refrigerant pipe designed for Citroën C5 II and Peugeot 407 vehicles. This replacement pipe restores proper refrigerant routing within the A/C system, ensuring efficient cooling performance and reliable operation. Commonly sought under OEM codes such as 9650885580 and 6460LP, this part is suitable for professional workshops and competent DIY mechanics familiar with automotive air conditioning service.
Technical Information
- Manufacturer: Stellantis (Citroën / Peugeot OEM)
- Model: Citroën C5 II; Peugeot 407
- Product Codes: 9650885580; 6460LP
- Additional Numbers: NFP (as supplied)
Function
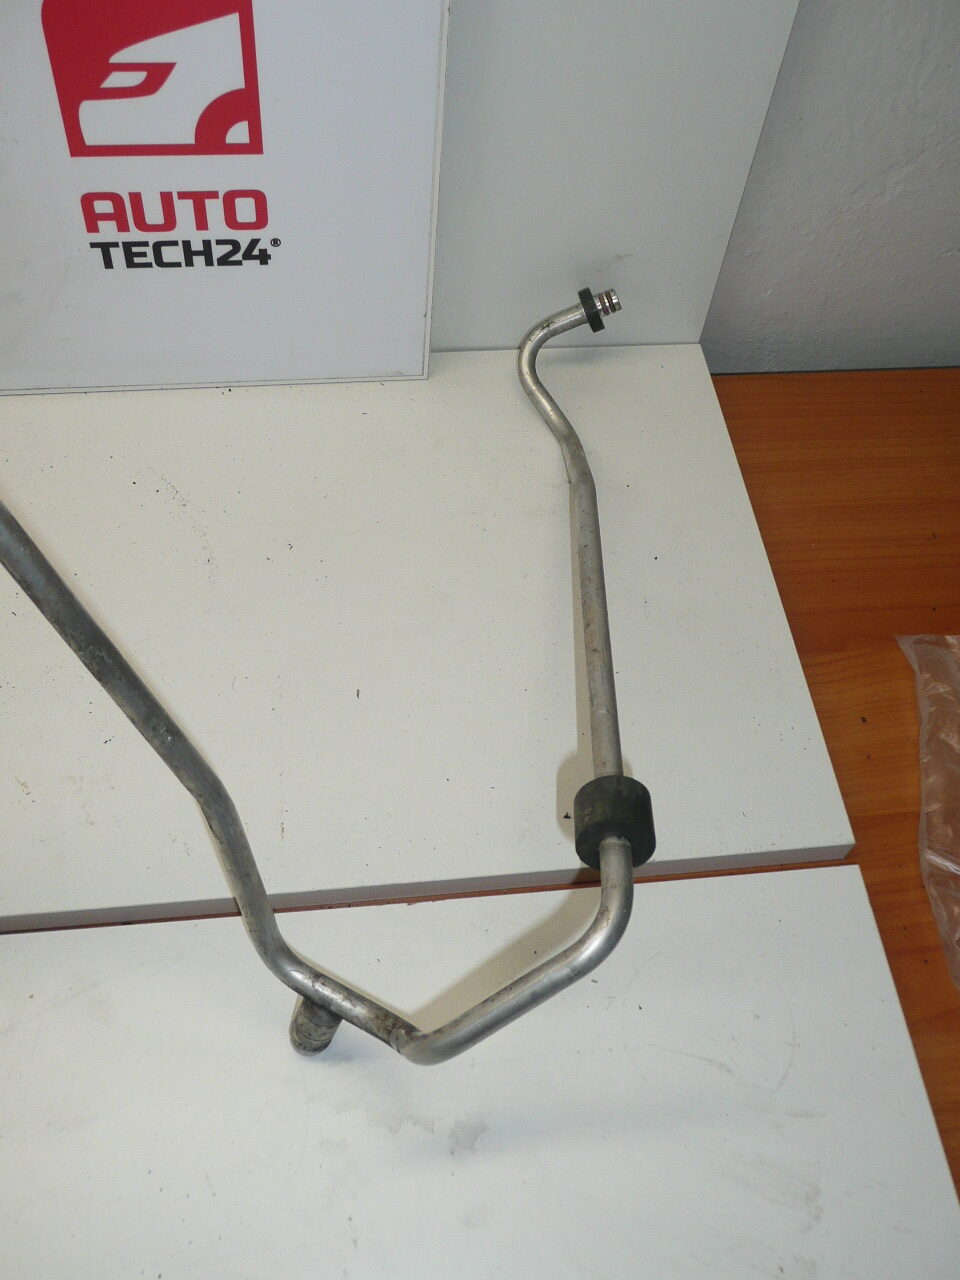
The refrigerant pipe routes high- or low-pressure refrigerant between components of the air conditioning system (compressor, condenser, evaporator, receiver/drier). It maintains a sealed, pressure-rated path and often integrates fittings and flared connections. A correctly functioning pipe is essential to preserve system pressure, prevent leaks and allow the compressor and evaporator to operate efficiently.
Common Failure Causes
- Corrosion from road salt and moisture, especially on external metal lines and fittings.
- Mechanical damage from impacts or abrasion under the vehicle.
- Degraded or hardened O-rings and seals at connection points, causing leaks.
- Vibration and thermal cycling leading to stress at bends and joints.
Replacement Frequency
There is no fixed interval for replacing refrigerant pipes; they are replaced when a leak, damage or performance loss is detected. Regular visual inspections during scheduled maintenance are recommended, particularly on older cars or vehicles exposed to corrosive environments.
Replacement Procedure (Summary)
- Recover refrigerant with certified A/C recovery equipment before any disassembly. Do not vent refrigerant to atmosphere.
- Access the pipe by removing any undertray panels or trim that obstruct the work area.
- Loosen and remove fittings/clamps at both ends. Keep track of connection types and torque specifications.
- Replace all associated O-rings/seals with new, correctly sized parts and lubricate them with the correct refrigerant oil.
- Install the new pipe, tighten fittings to manufacturer torque, and reinstall panels.
- Perform a vacuum test to check for leaks, then recharge the system to manufacturer refrigerant specification and measure system pressures and cooling performance.
- Confirm there are no leaks with an electronic leak detector or UV tracer before returning the vehicle to service.
Installation Recommendations
- Work Must Be Performed Or Supervised By Personnel Trained In A/C Service And Using Proper Recovery/Recharge Equipment.
- Always Recover Refrigerant First; Do Not Open The System While Pressurized.
- Use New O-Rings At All Connections And The Correct Type Of Refrigerant Oil Recommended For The Vehicle.
- After Installation, Perform A Vacuum And Leak Test Prior To Recharging, Then Verify System Performance And Temperatures.
- If Any Corroded Brackets Or Mounts Are Present, Replace Them To Prevent Future Chafing Or Damage.
Why Choose This Part
This A/C refrigerant pipe is a direct replacement for original equipment codes 9650885580 and 6460LP, offering correct fitment on Citroën C5 II and Peugeot 407 applications. Supplying the correct pipe helps eliminate leaks, restores system pressure integrity and supports reliable cooling—critical for workshop repairs and confident DIY restoration.
Search Tags
Common search terms: 9650885580, 6460LP, A/C pipe Citroën C5 II, air conditioning pipe Peugeot 407, refrigerant hose Citroen Peugeot.
Purchase Note
If you recognize one of the product codes above (9650885580, 6460LP) as the part you require, this refrigerant pipe is prepared for immediate replacement tasks in professional garages or by skilled home mechanics. Ensure A/C service procedures are followed to complete the repair safely and effectively.