Description
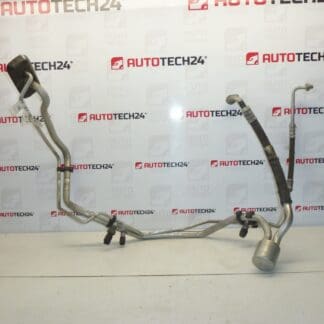
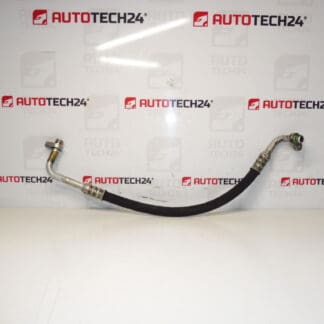
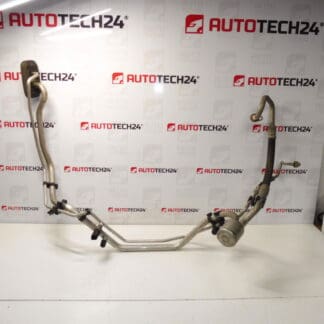
Air conditioning pipe for Citroën C4 and Peugeot 307 with 2.0i engine.
Overview
This Air Conditioning Pipe Is A Direct-Fit Replacement For The Air Conditioning System On Citroën C4 And Peugeot 307 Vehicles Equipped With The 2.0i Engine. Supplied Under The Reference Numbers 9657451180 And 6460QK, The Part Is Intended For Use By Professional Technicians And Experienced DIY Enthusiasts Who Service Cabin Cooling Systems. It Transports Refrigerant Between System Components To Ensure Efficient Heat Exchange And Stable System Pressure.
Key Benefits
- Direct Replacement For Original Equipment Numbers, Making Identification Easy Via Part Codes.
- Restores Cooling Performance By Replacing Leaking Or Damaged Lines.
- Recommended For Garage Repairs And Confident DIY Replacements With Proper Tools.
- Helps Prevent Further Damage To Compressor And Other AC Components By Eliminating Leaks.
Technical Information
- Manufacturer: Stellantis (Citroën / Peugeot)
- Model: Citroën C4; Peugeot 307 (2.0i Engine)
- Product Codes: 9657451180; 6460QK
- Additional Numbers: NFP
Function And Application
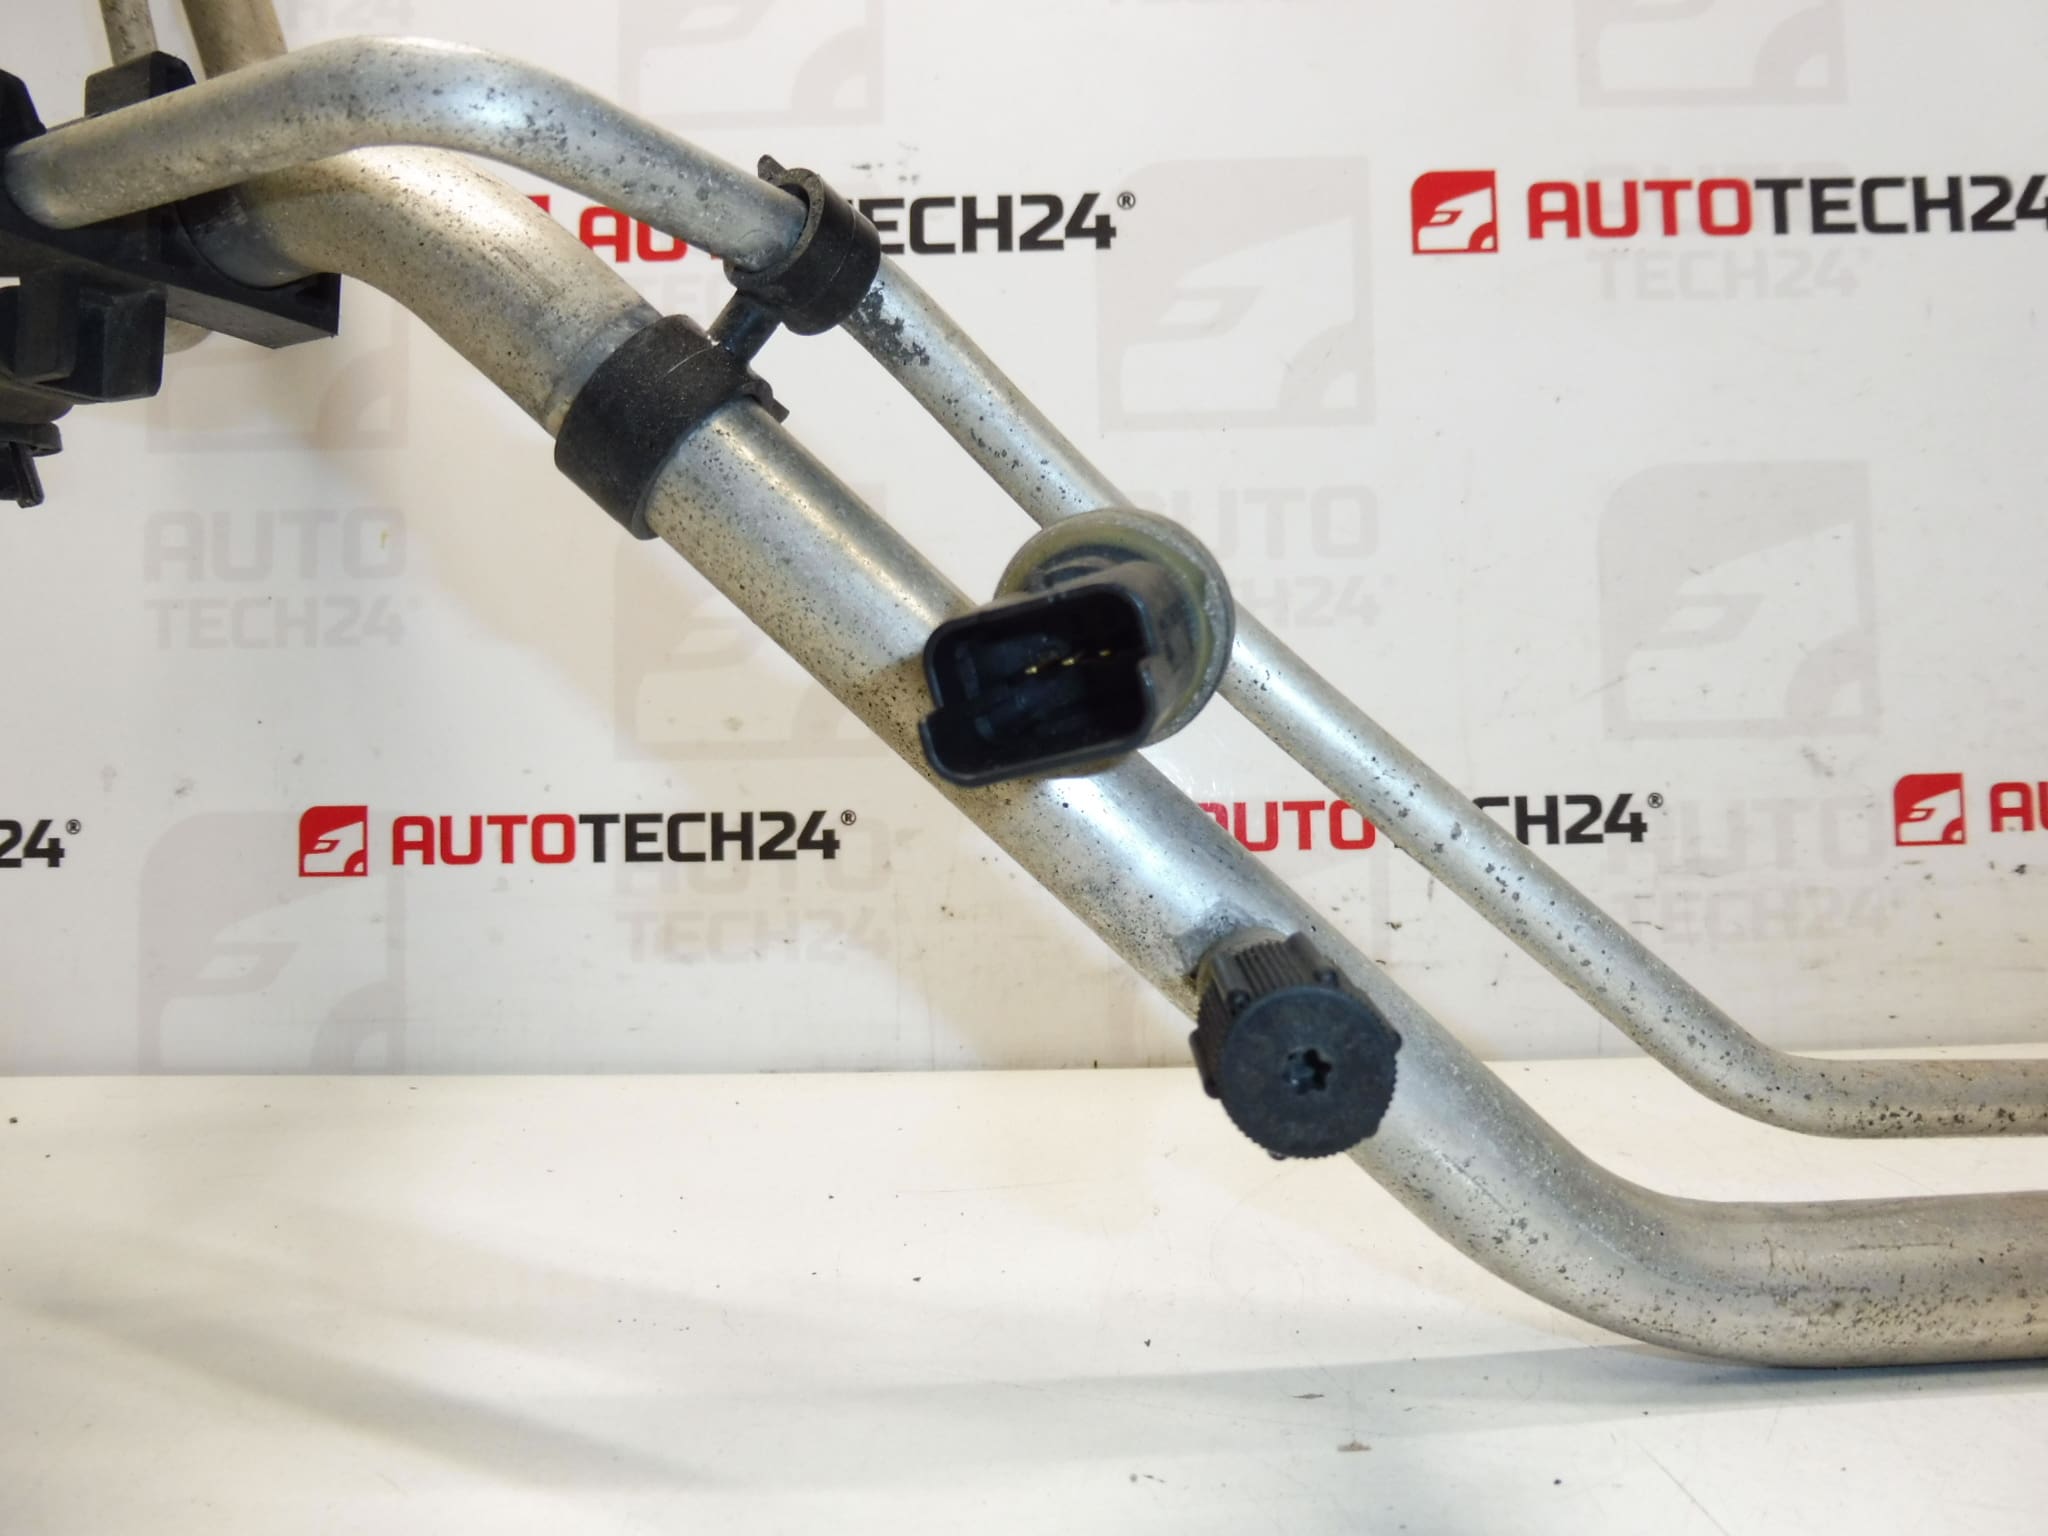
The Pipe Carries Refrigerant Under High And Low Pressure Between Components Such As The Compressor, Condenser And Evaporator. It Is A Structural Part Of The Air Conditioning Circuit, Sealed At Joints With O-Rings Or Flared Fittings. A Serviceable, Leak-Free Line Is Essential For Maintaining System Pressure, Cooling Capacity And Lubrication Of The Compressor.
How The Replacement Is Performed
Replacement Should Follow Standard Air Conditioning Service Procedures. Typical Steps Include:
- Recover Refrigerant Using Approved Recovery Equipment (Performed By A Certified Technician Or In A Properly Equipped Workshop).
- Disconnect Electrical Connectors And Remove Components Obstructing Access To The Pipe.
- Unscrew Or Unclip The Old Pipe, Taking Care To Note The Position Of Clamps And Brackets.
- Replace Sealing O-Rings At All Connections With Correct Size O-Rings Lubricated With Correct Refrigerant Oil.
- Install The New Pipe, Secure Brackets And Torque Fittings To Manufacturer Specifications Where Available.
- Evacuate The System With A Vacuum Pump To Remove Moisture And Air, Then Recharge With The Correct Type And Amount Of Refrigerant And Oil.
- Perform A Leak Check And Verify Cooling Performance.
Note: The Procedure Requires Specialized Equipment For Refrigerant Recovery, Evacuation And Recharging. If You Lack The Equipment Or Experience, Have The Work Carried Out By A Qualified Workshop.
Common Failure Causes
- Corrosion From Road Salt And Moisture Leading To Pinholes And Leaks.
- Mechanical Damage From Impact Or Chafing Against Adjacent Components.
- Deterioration Of Sealing O-Rings And Fittings Causing Slow Leaks.
- Vibration Over Time Resulting In Cracks Or Fatigue At Bends And Connections.
- Excessive System Pressure Caused By Blockages Or A Faulty Condenser/Compressor, Which Can Stress The Pipe.
Signs Of A Failing Pipe Include Reduced Cooling Efficiency, Visible Oil Traces Around Joints, Hissing Sounds With The System Running, And Low Refrigerant Levels Detected During Service.
Practical Advice
Always Replace O-Rings When Installing A New Pipe And Use The Correct Refrigerant Oil To Ensure Proper Sealing. Inspect Mounting Brackets And Nearby Components For Damage Or Wear That Could Cause Future Chafing. After Installation, Perform A Thorough Leak Test And Monitor System Pressures To Confirm Correct Operation.
Compatibility And Identification
This Pipe Is Sourced For Vehicles Listed Above And Is Commonly Searched By Part Numbers 9657451180 And 6460QK. Confirm Fitment By Matching These Codes To Your Existing Part When Possible.
Ideal For Garages And Skilled DIYers Seeking A Reliable Replacement Part To Restore Air Conditioning Performance On Citroën C4 And Peugeot 307 2.0i Vehicles.