Description
BOSCH brake booster for Stellantis vehicles
From a vehicle with 33,000 km mileage
Part description
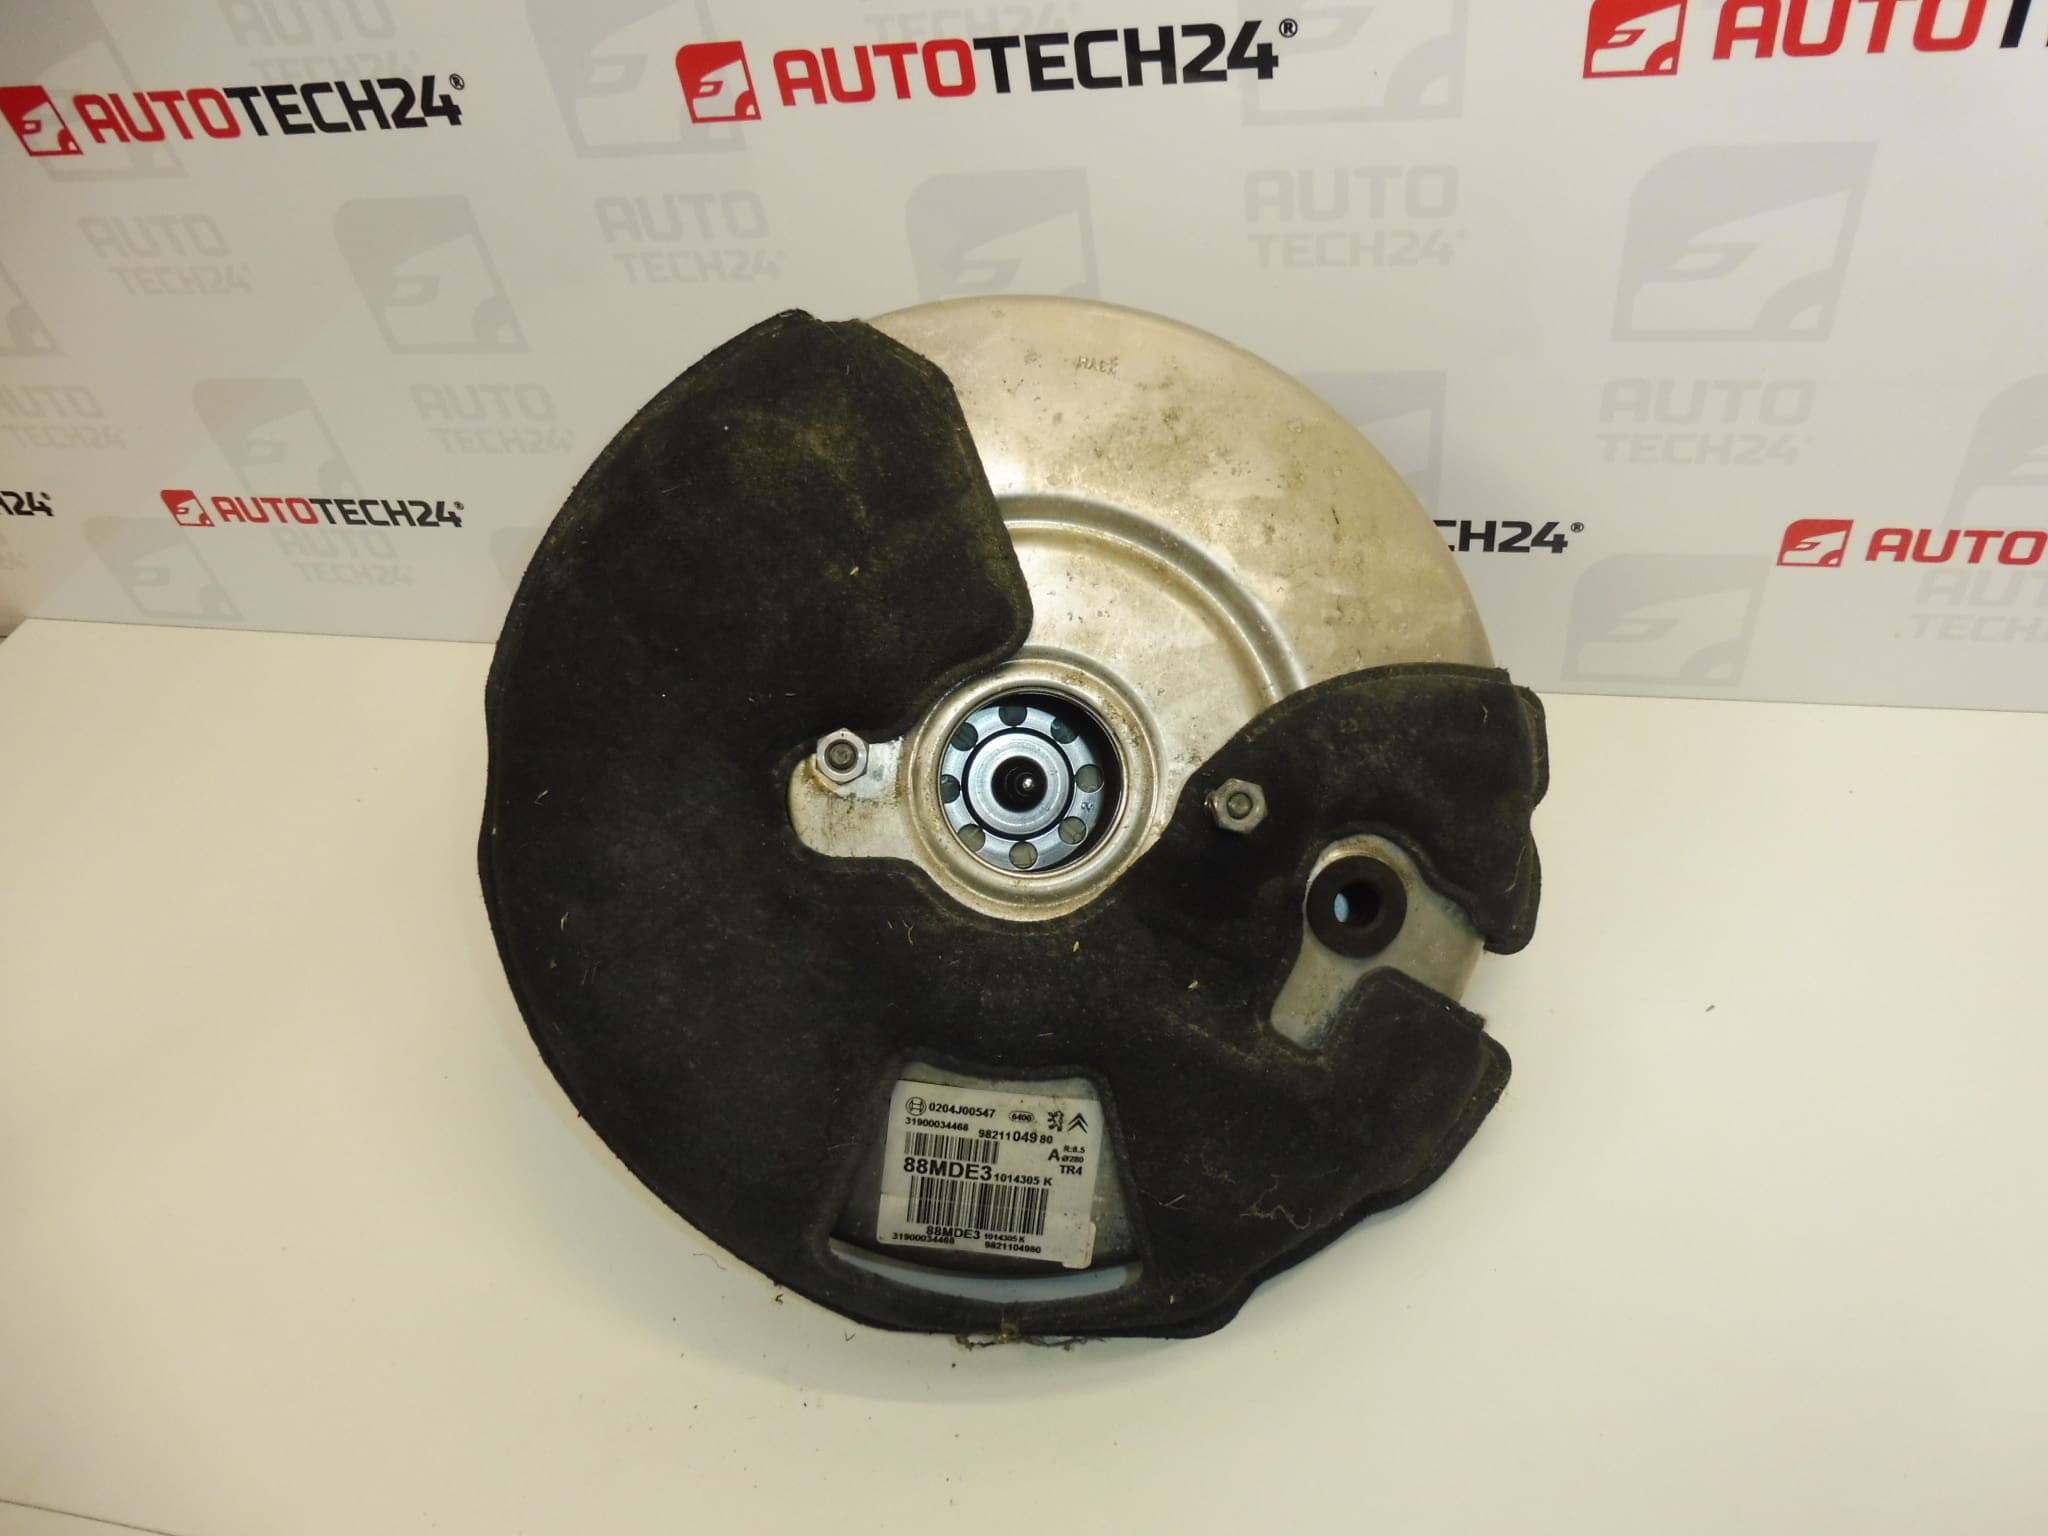
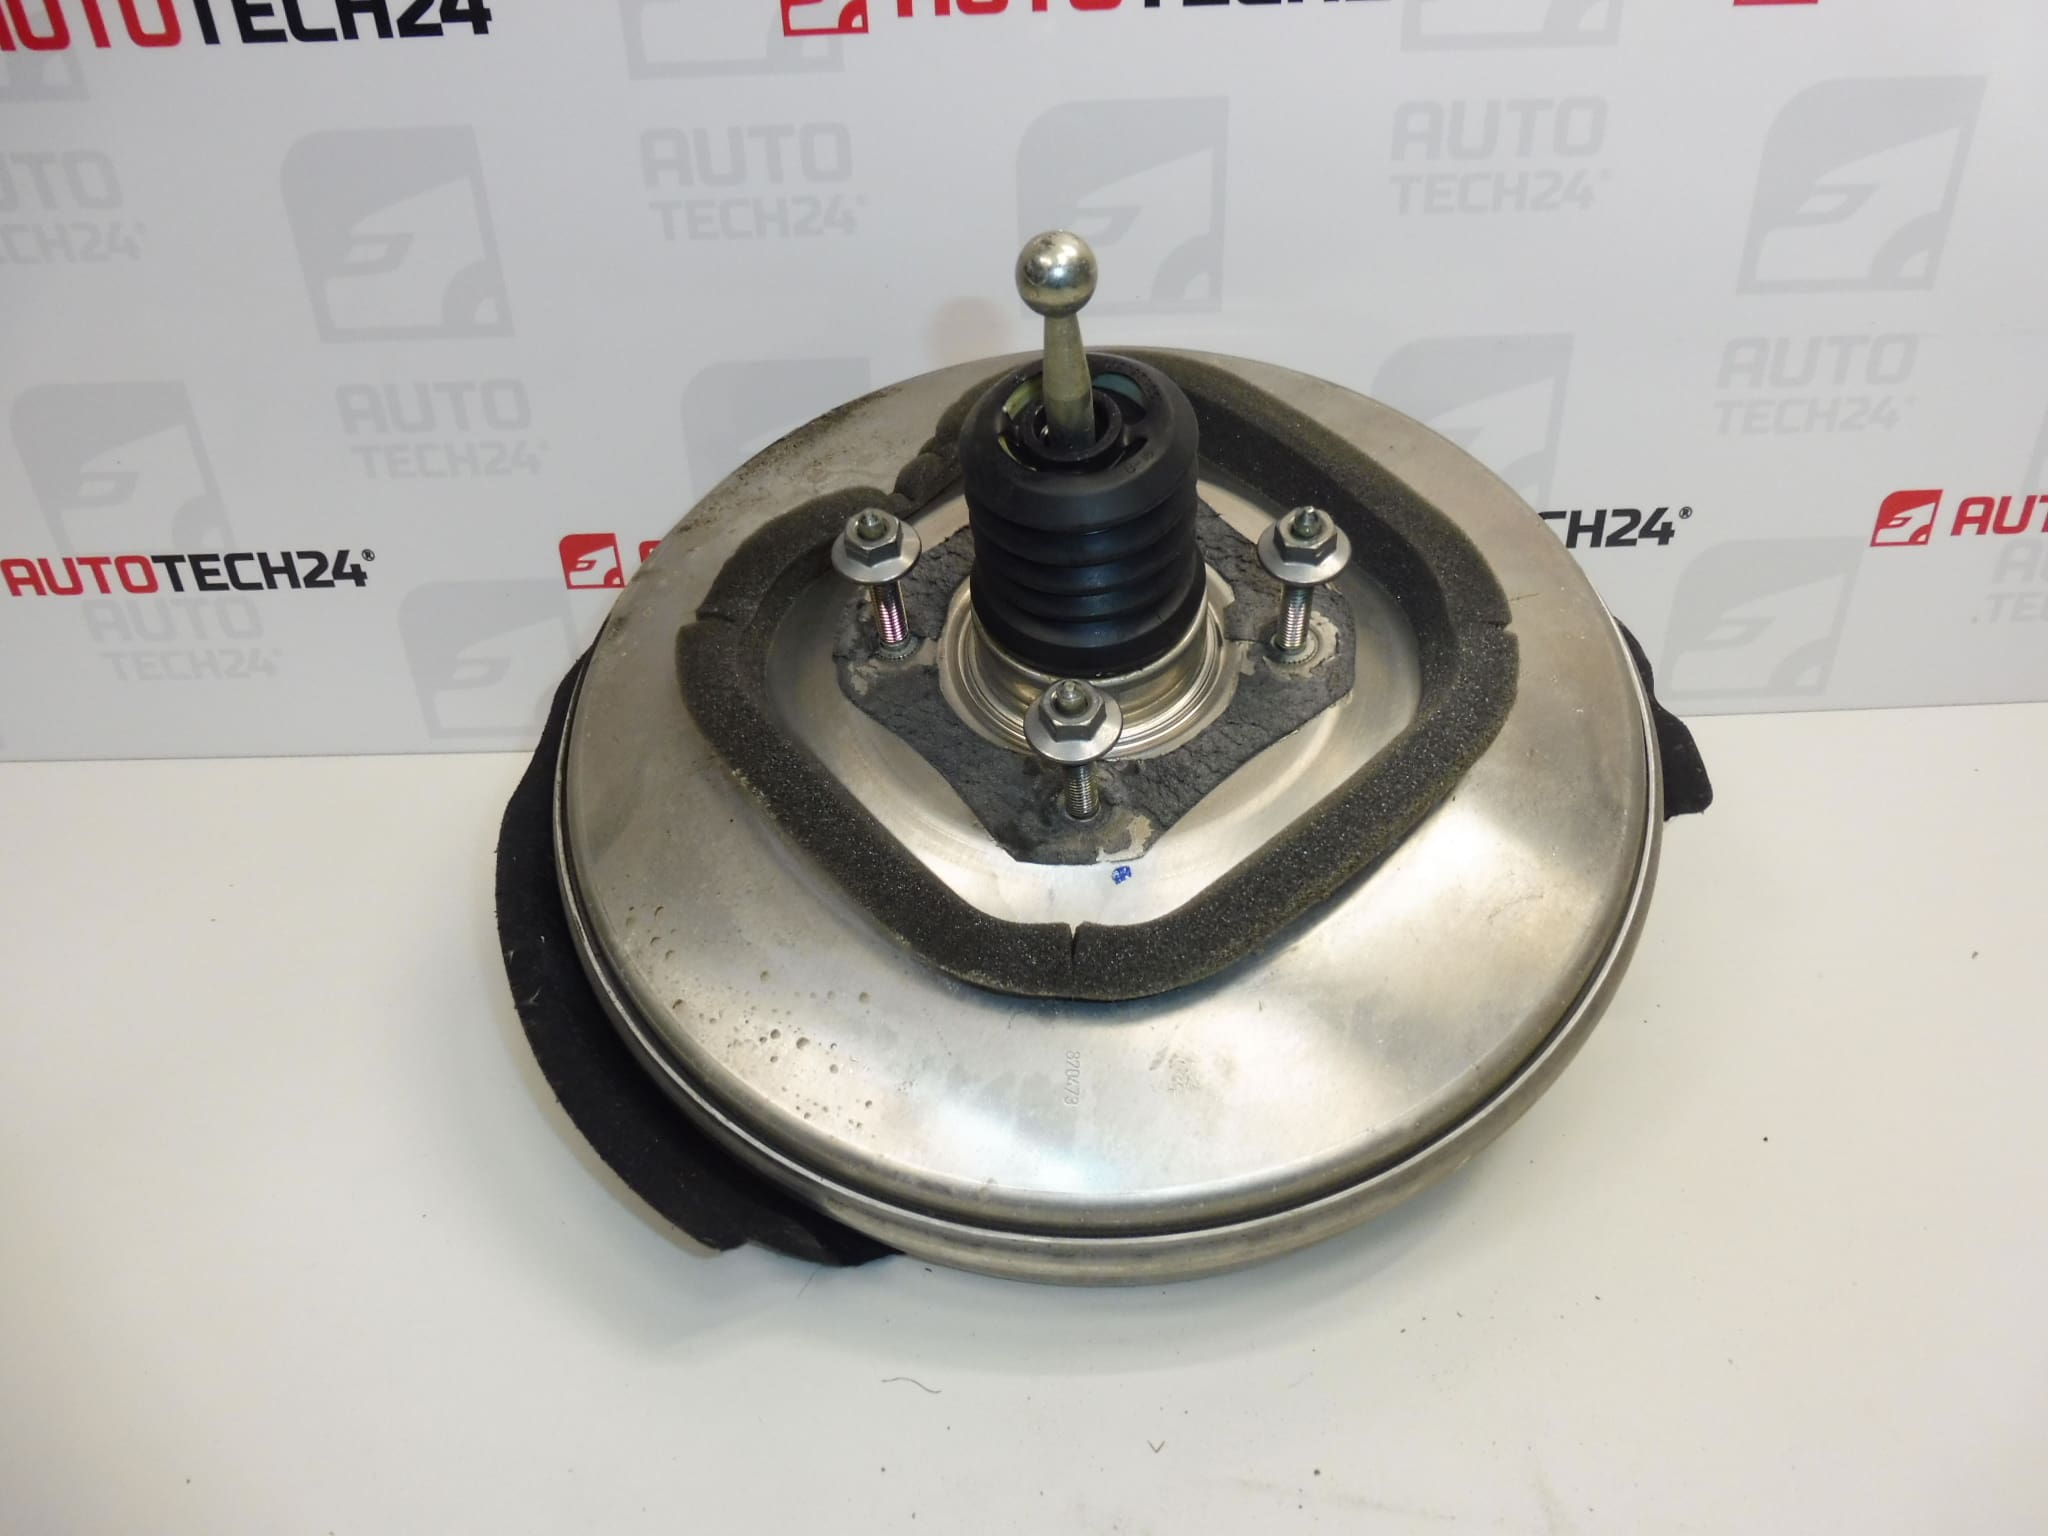
Used BOSCH brake booster for vehicles in the Stellantis group, identifiable by numbers 9821104980, 0204J00547 and 1635255280. The booster reduces the force needed to press the brake pedal and contributes to comfortable brake operation. Proper functioning of this component is important for safe braking.
The part comes from a vehicle with 33,000 km mileage and offers the option of replacing a faulty booster with a used part whose donor vehicle’s mileage is known. The information lists the models Citroën Berlingo K9, Peugeot Partner III, Peugeot Rifter, Opel Combo E K9 and Fiat Doblo III. When selecting the part, compare not only the product numbers, but also the mounting, connections and design of the operating mechanism with the original part.
Technical information
- Manufacturer: BOSCH
- Model: Citroën Berlingo K9; FIAT DOBLO III; OPEL COMBO E K9; PEUGEOT PARTNER III; PEUGEOT RIFTER
- Part type: brake booster
- Vehicle group: Stellantis
- Condition: used part
- Donor vehicle mileage: 33,000 km
- Other numbers: not specified
The model names are taken from the supplied labels. Specific model years, engine types and brake system variants are not specified; therefore, the model name alone is not enough to determine whether the part is suitable.
Product codes
- Product codes: 9821104980, 0204J00547, 1635255280
The numbers provided can be used to search for the booster and compare it with the markings on the original part. The information does not clarify the relationship between the individual numbers or the extent to which they are interchangeable.
Installation recommendations
The following procedure is general and typical for replacing a brake booster. Access to the part, the connection method and the exact steps depend on the specific model and vehicle configuration. This is a safety-critical component: installation requires appropriate experience and compliance with the manufacturer’s service documentation.
1) Before installation
- First determine the cause of the fault. A hard brake pedal or weak assistance does not necessarily mean that the booster itself is damaged.
- Compare the product numbers, housing shape, mounting points, connection to the master cylinder, operating rod and connections with the old part.
- Inspect the used part: check for deformation, cracks, corrosion, threads, any seals present and signs of fluid.
- If the part is damaged or has a different configuration, stop the installation and arrange for a professional assessment.
2) Tools and materials required
In general, prepare suitable hand tools, a torque wrench, lighting, protective gloves and clean materials to protect disconnected connections. If the work requires opening the hydraulic circuit, equipment for bleeding the brakes will also be needed. Determine the requirements for sealing and locking components from the service documentation for the specific vehicle.
3) Step-by-step installation procedure
- Park the vehicle on a level surface, secure it against movement and review the prescribed replacement procedure.
- Switch off the ignition. Secure the electrical system and release any residual energy in the booster system as specified by the manufacturer.
- Remove the components necessary for access. Record the routing of the connections and the position of retaining devices, for example by taking photographs.
- Clean the area around the connections to prevent dirt from entering the connected systems when they are disconnected.
- Depending on the configuration, disconnect the booster connections. Release hoses, any connectors and their retainers without using force.
- Release the master cylinder according to the service procedure. If it can remain connected to the pipes, support it securely; do not leave it hanging from the lines. Protect any open hydraulic connections from contamination.
- Disconnect the operating mechanism, release the booster mounting and carefully remove the part without damaging surrounding components.
- Compare the two parts side by side and inspect the mating surfaces. Do not adjust the rod length or its setting by guesswork.
- Position the replacement booster, secure it and correctly fasten the operating connection. Tightening and any adjustment must be carried out strictly according to the vehicle manufacturer’s specifications.
- Reinstall the master cylinder, connections and all other removed components. Check that the lines are not pinched, stretched or kinked.
- If the hydraulic circuit was opened, bleed it using the prescribed procedure. Before moving the vehicle, complete the checks for leaks, secure connections and brake operation.
4) Post-installation checks and test drive/functional verification
With the vehicle stationary, check the operation of the brake assist, pedal return and the tightness of the affected connections according to the service documentation. Also check that the brakes do not remain applied after the pedal is released. Only carry out a test drive after the stationary checks have been completed successfully, initially at low speed in a safe area away from normal traffic. If the pedal behaves unusually, fluid is leaking or braking is insufficient, do not use the vehicle and have the fault corrected.
5) Most common installation errors and how to avoid them
- Confusing similar configurations: compare the markings and construction details, not just the appearance of the housing.
- Replacing the part without determining the cause of the fault: check related components of the brake assist system before installation.
- Incorrect rod adjustment: follow the service procedure and do not make adjustments by guesswork.
- Straining the brake pipes: support the released cylinder and do not bend the lines by force.
- Damaged seals or unsecured connections: during assembly, check the fit, the condition of sealing surfaces and all retainers.
- Skipping bleeding or functional checks: after opening the hydraulics, complete the prescribed bleeding procedure and verify the operation of the entire affected system before driving.
Reasons why the part may become damaged
In general, the following factors may cause damage to a brake booster. This is not a description of faults found on the item being offered:
- Aging seals and wear of moving parts, which may lead to loss of tightness or irregular operation.
- Moisture and corrosion affecting the housing, connections or operating mechanism.
- Brake fluid entering from a leaking master cylinder, if the assembly design allows this.
- Mechanical damage caused by an accident, dropping the part, improper handling or forced installation.
- Incorrect adjustment or excessive strain on the operating mechanism, disrupting proper operation.
In vacuum systems, similar fault symptoms may also be caused by leaking hoses, a faulty check valve or a problem with the vacuum source. It is therefore important to assess the system as a whole before replacement and to address any underlying cause of the damage as well.