Description
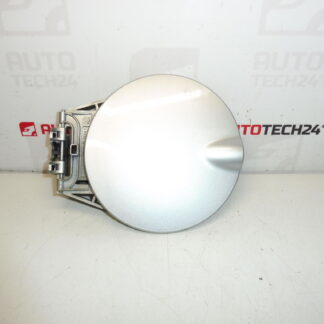
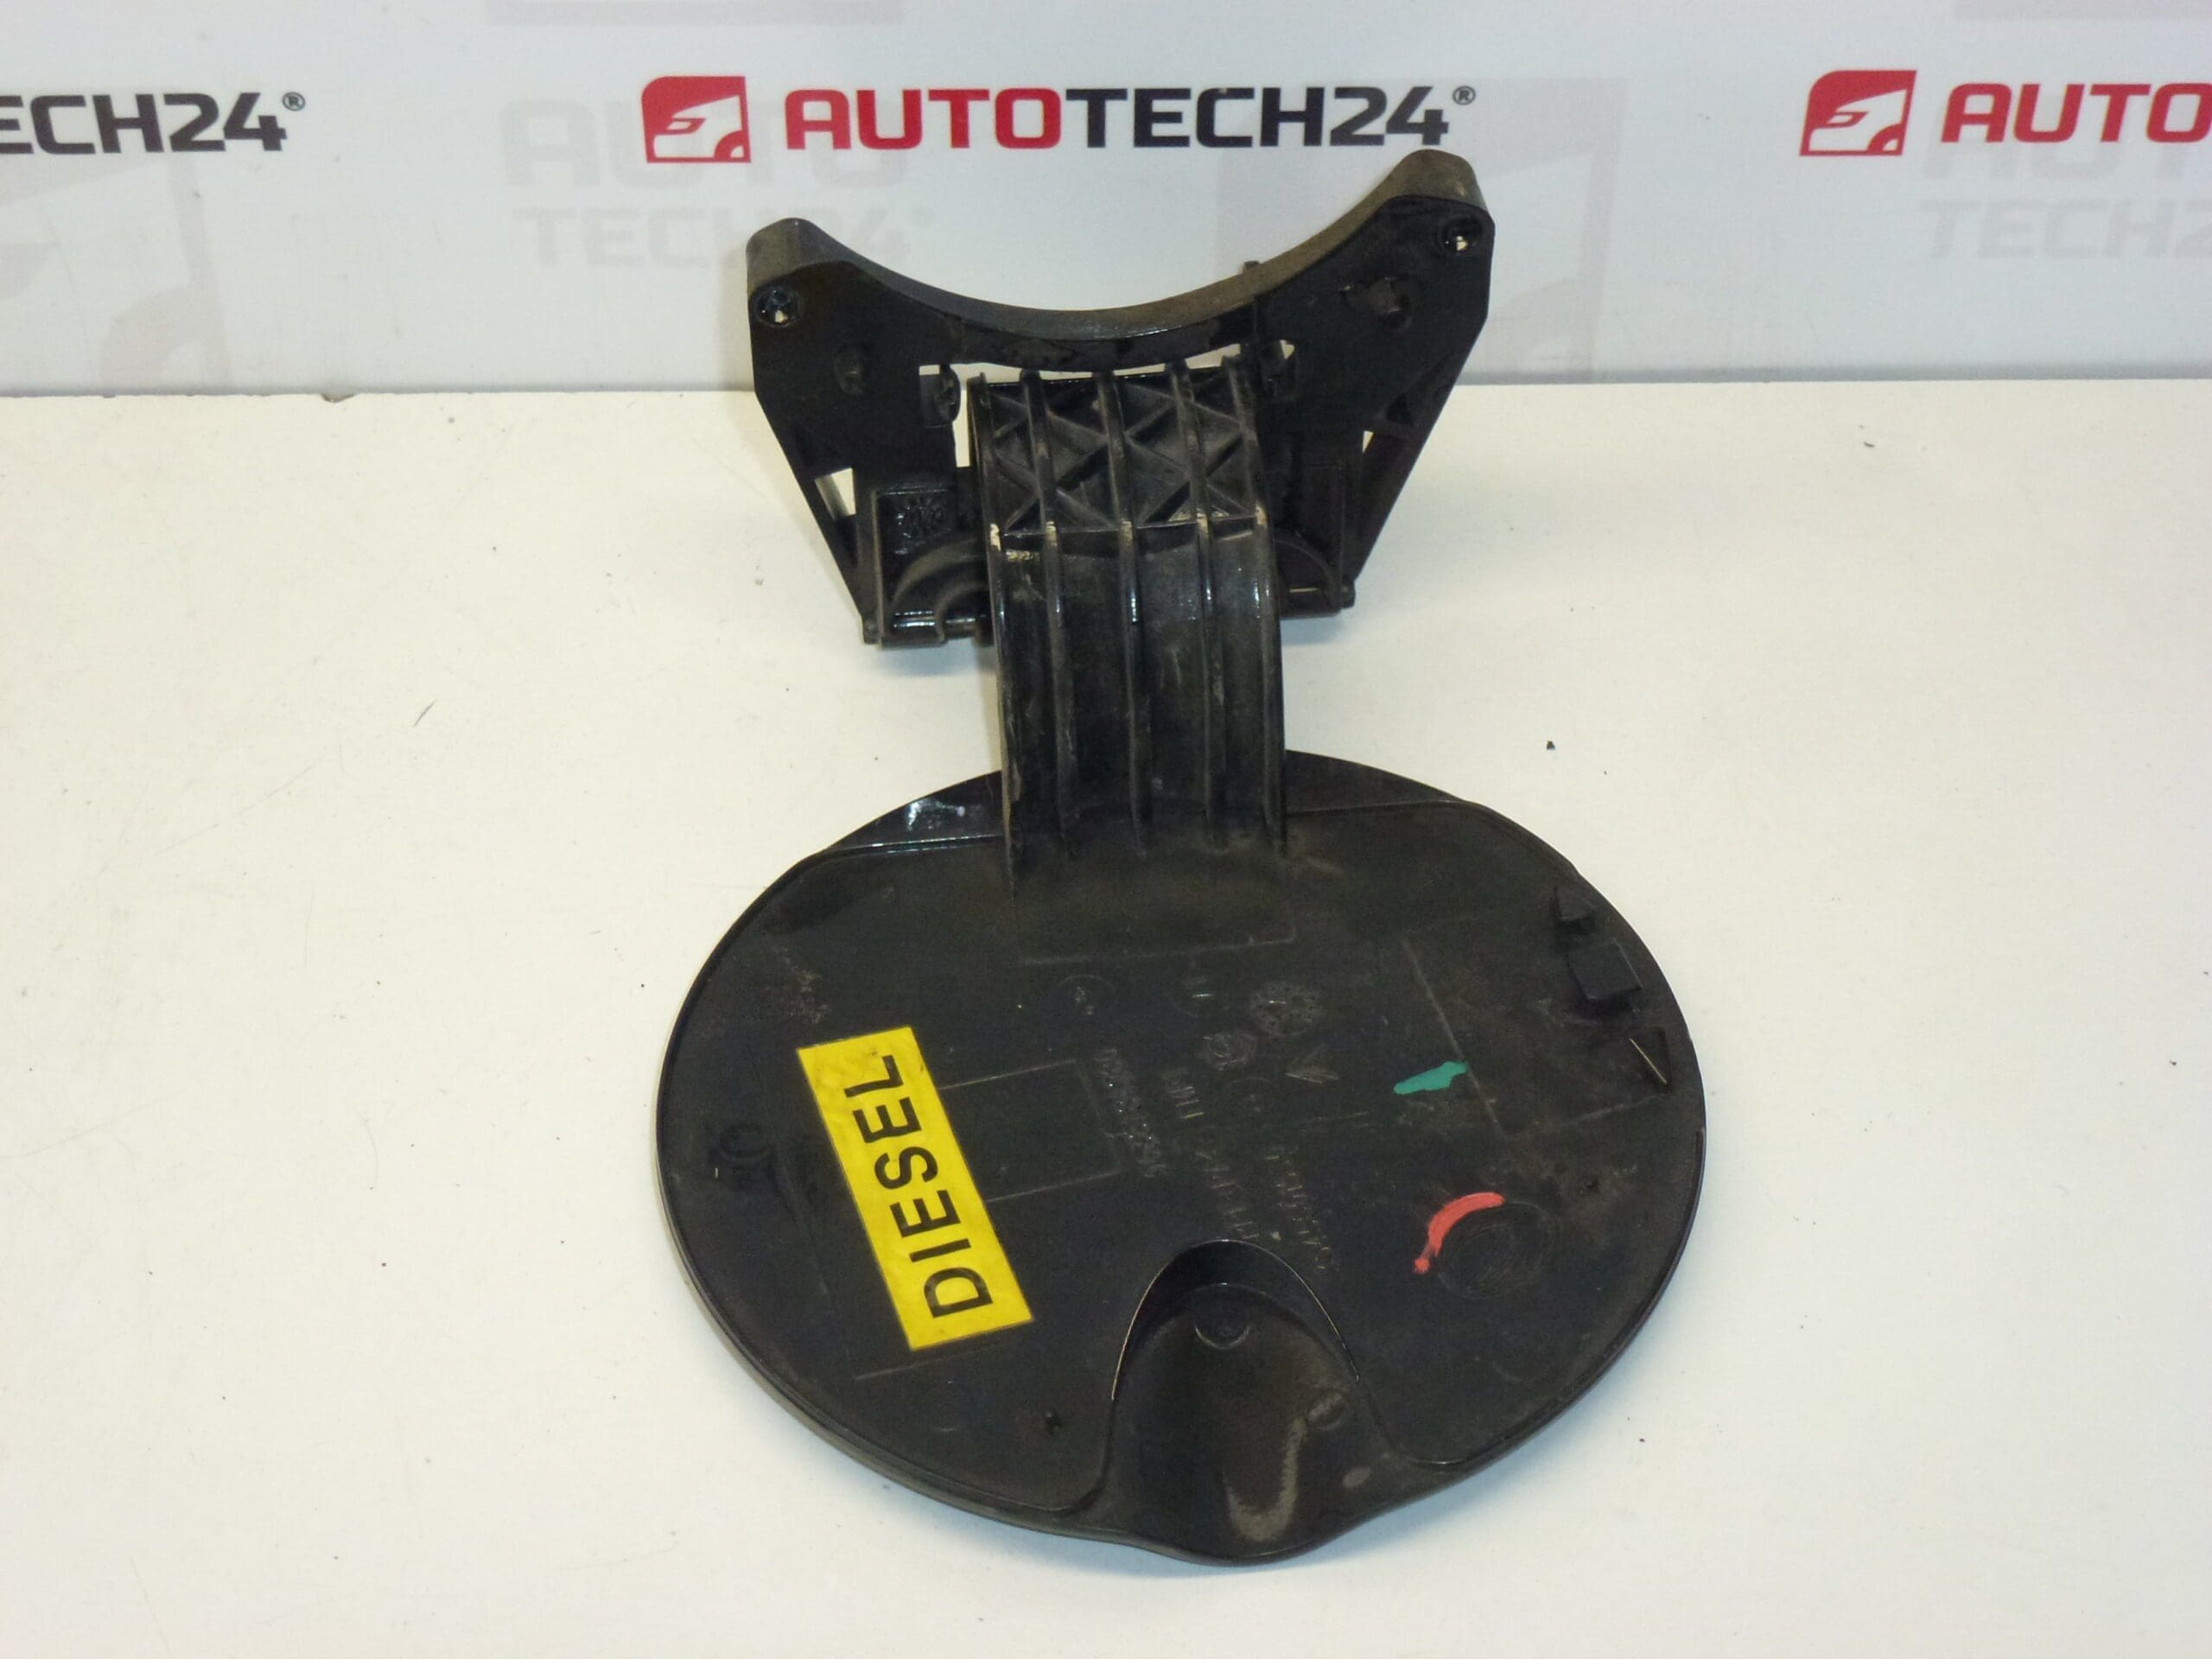
Fuel filler cap / tank cover for Citroën C3. Color EXY – Onyx Black paint.
This Fuel Filler Cap (tank cover) is designed for Citroën C3 models and provides a precise fit with the original housing and hinge points. The part is frequently searched by its reference numbers 9638184280 and 151796, and the EXY paint code corresponds to a deep Onyx Black finish for an exact exterior color match. Ideal for mechanics and DIY enthusiasts who need a direct replacement that restores appearance and protects the fuel filler opening from dirt and moisture.
The cover protects the filler neck from contamination, prevents unwanted access, and completes the vehicle’s exterior look. It is a direct-fit exterior component intended to match factory mounting locations and paint. Using the correct part number or color code ensures consistent alignment and a clean finish after installation.
Technical Information
- Manufacturer: Citroën (Stellantis)
- Model: Citroën C3
- Product Codes: 9638184280, 151796
- Other Numbers: Color Code EXY (Onyx Black)
Installation Recommendations
Replacement is straightforward for experienced technicians or competent DIYers. Typical steps include:
- Open The Fuel Flap And Inspect Fasteners: Identify visible screws or retaining clips around the hinge and housing.
- Remove Interior Trim If Necessary: Some versions require removing a small inner panel or accessing the wheel-arch liner to reach hidden fasteners.
- Release Clips Or Unscrew Fasteners: Use a trim tool and a suitable screwdriver or bit set to avoid damaging plastic clips and painted surfaces.
- Fit The New Cover: Align Hinge Pins And Snap Or Screw The Cover Into Place, Ensuring Smooth Opening And Closing.
- Check Operation And Seal: Verify That The Flap Latches Correctly And That There Are No Gaps That Could Allow Water Ingress.
Recommended Tools: Trim Removal Tool, Screwdriver Set, Socket/Ratchet With Appropriate Bits, Clean Cloth For Paint Protection. Take Care When Working Near Painted Surfaces To Prevent Scratches.
Common Failure Causes
- Impact Damage: Bumping The Fuel Flap With The Fuel Nozzle, Shop Equipment, Or Minor Collisions Can Crack Or Break The Cover.
- Hinge And Clip Wear: Plastic Hinges And Retaining Clips Can Become Brittle Over Time, Leading To Loose Or Detached Covers.
- UV And Weathering: Prolonged Sun Exposure Can Fade Paint And Make Plastic More Susceptible To Cracks.
- Stone Chips And Corrosion: Road Debris Can Damage Paint, And Moisture Trapped In Damaged Areas Can Lead To Corrosion Around Fastening Points.
When replacing, match the part numbers 9638184280 or 151796 and the EXY color code to ensure the best fit and appearance. Proper installation restores protection for the filler neck and maintains the vehicle’s exterior finish.