Description
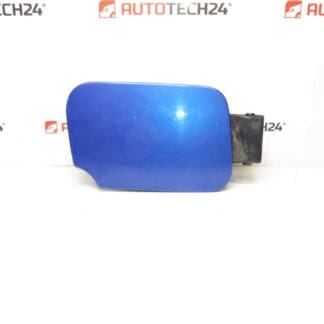
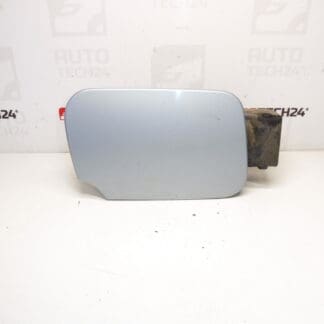
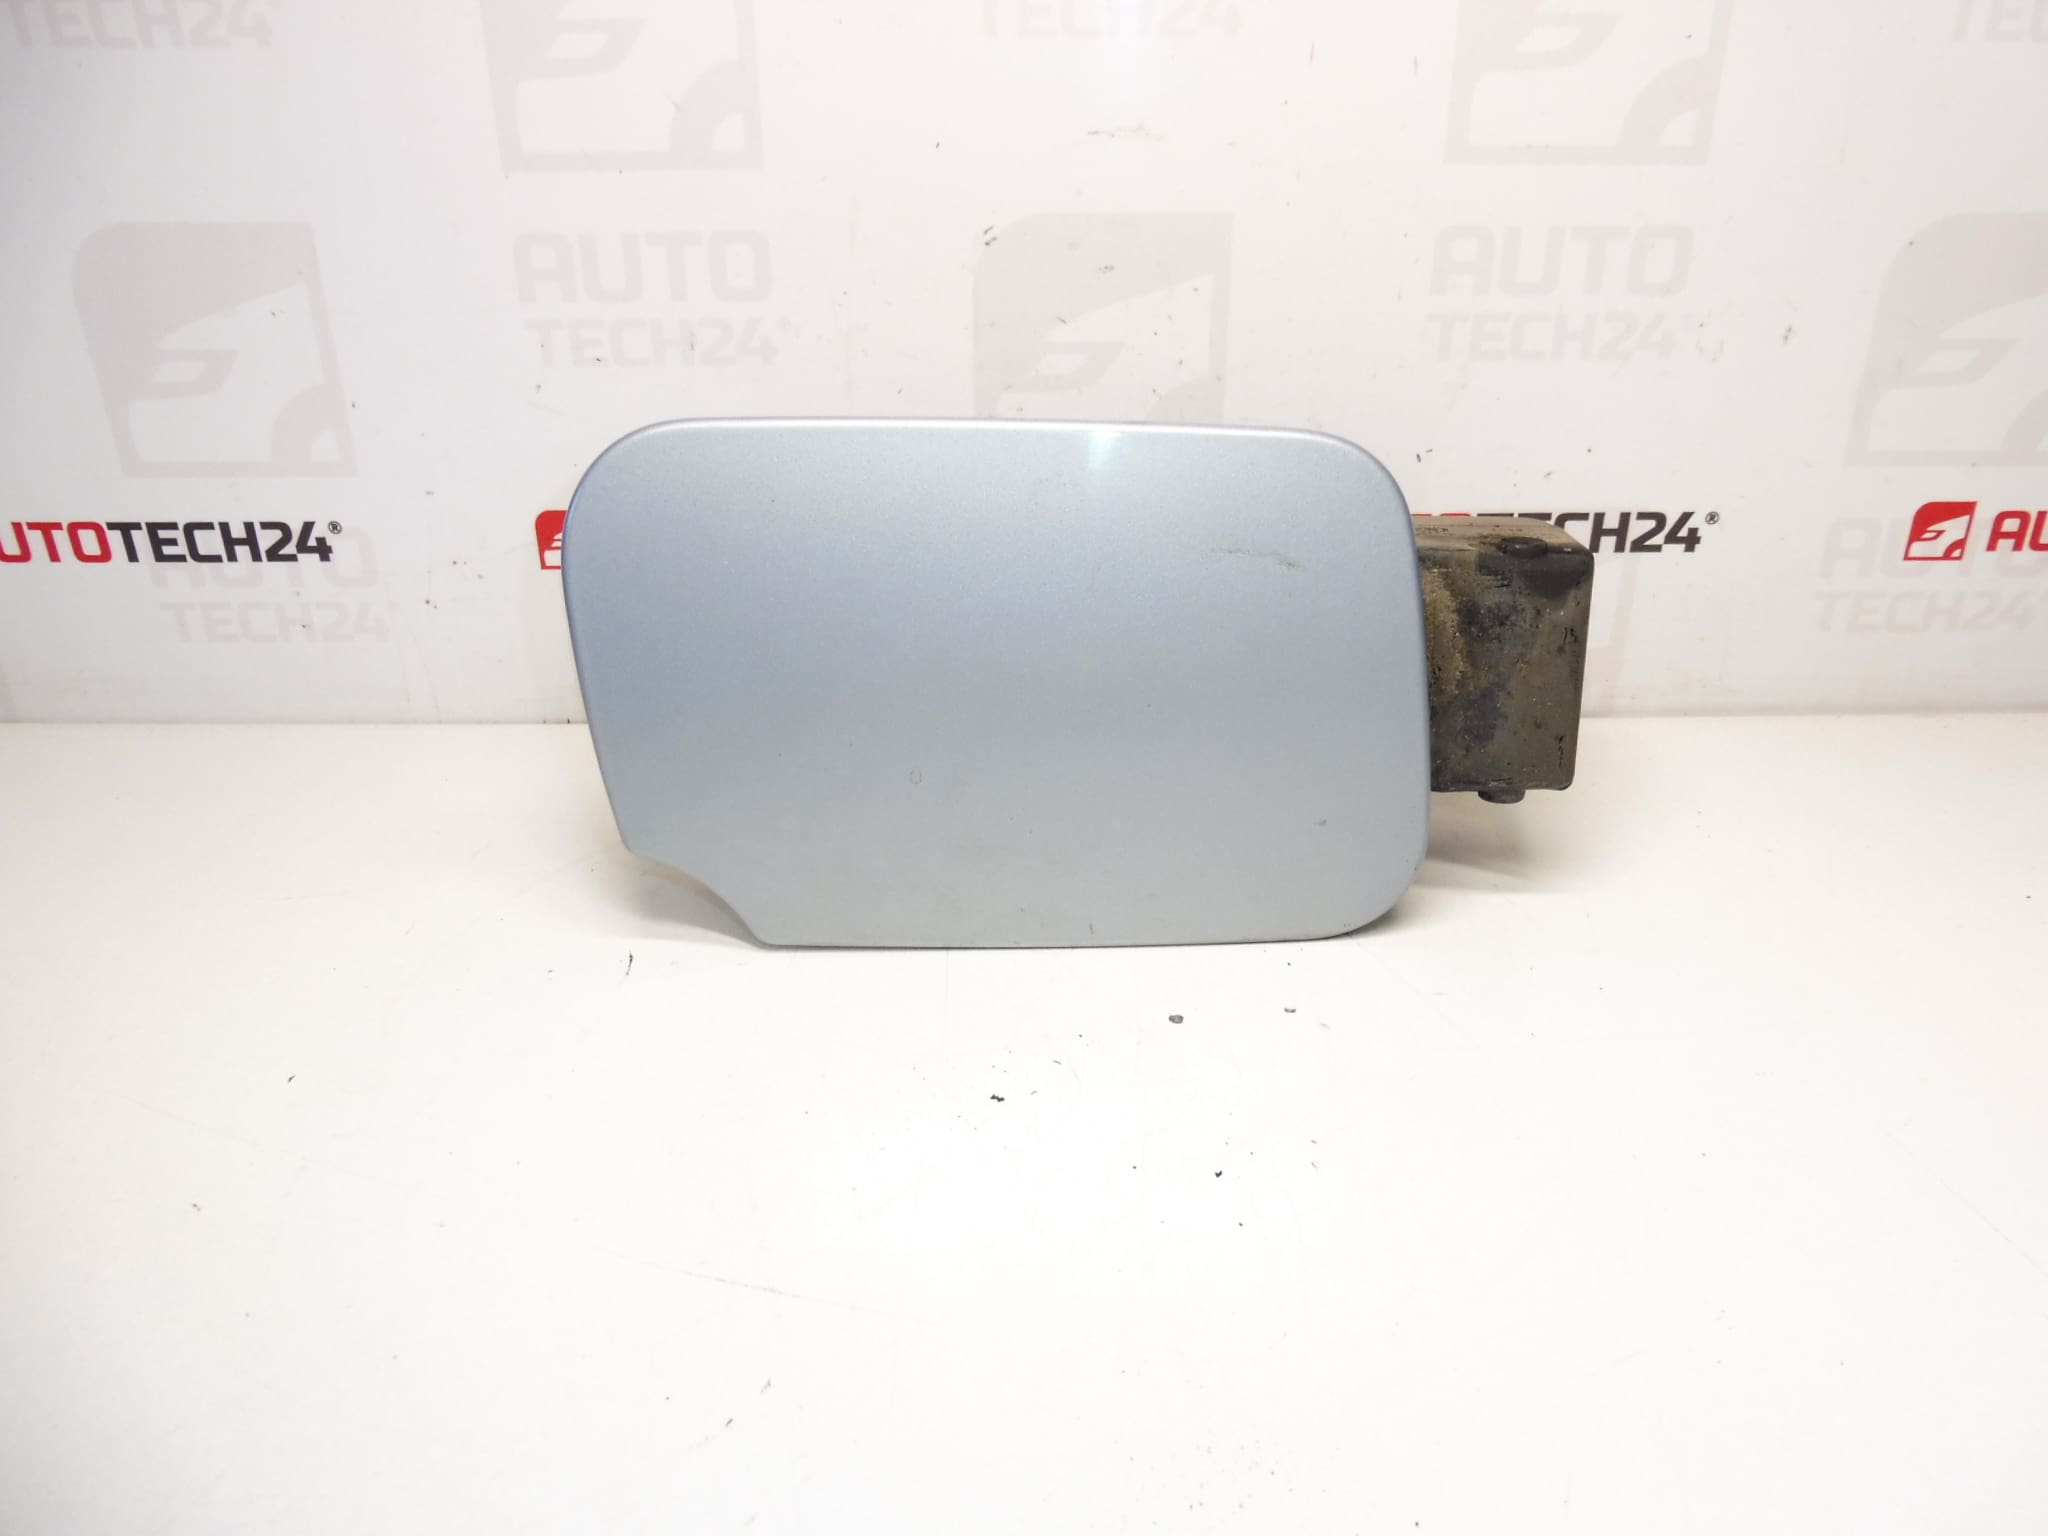
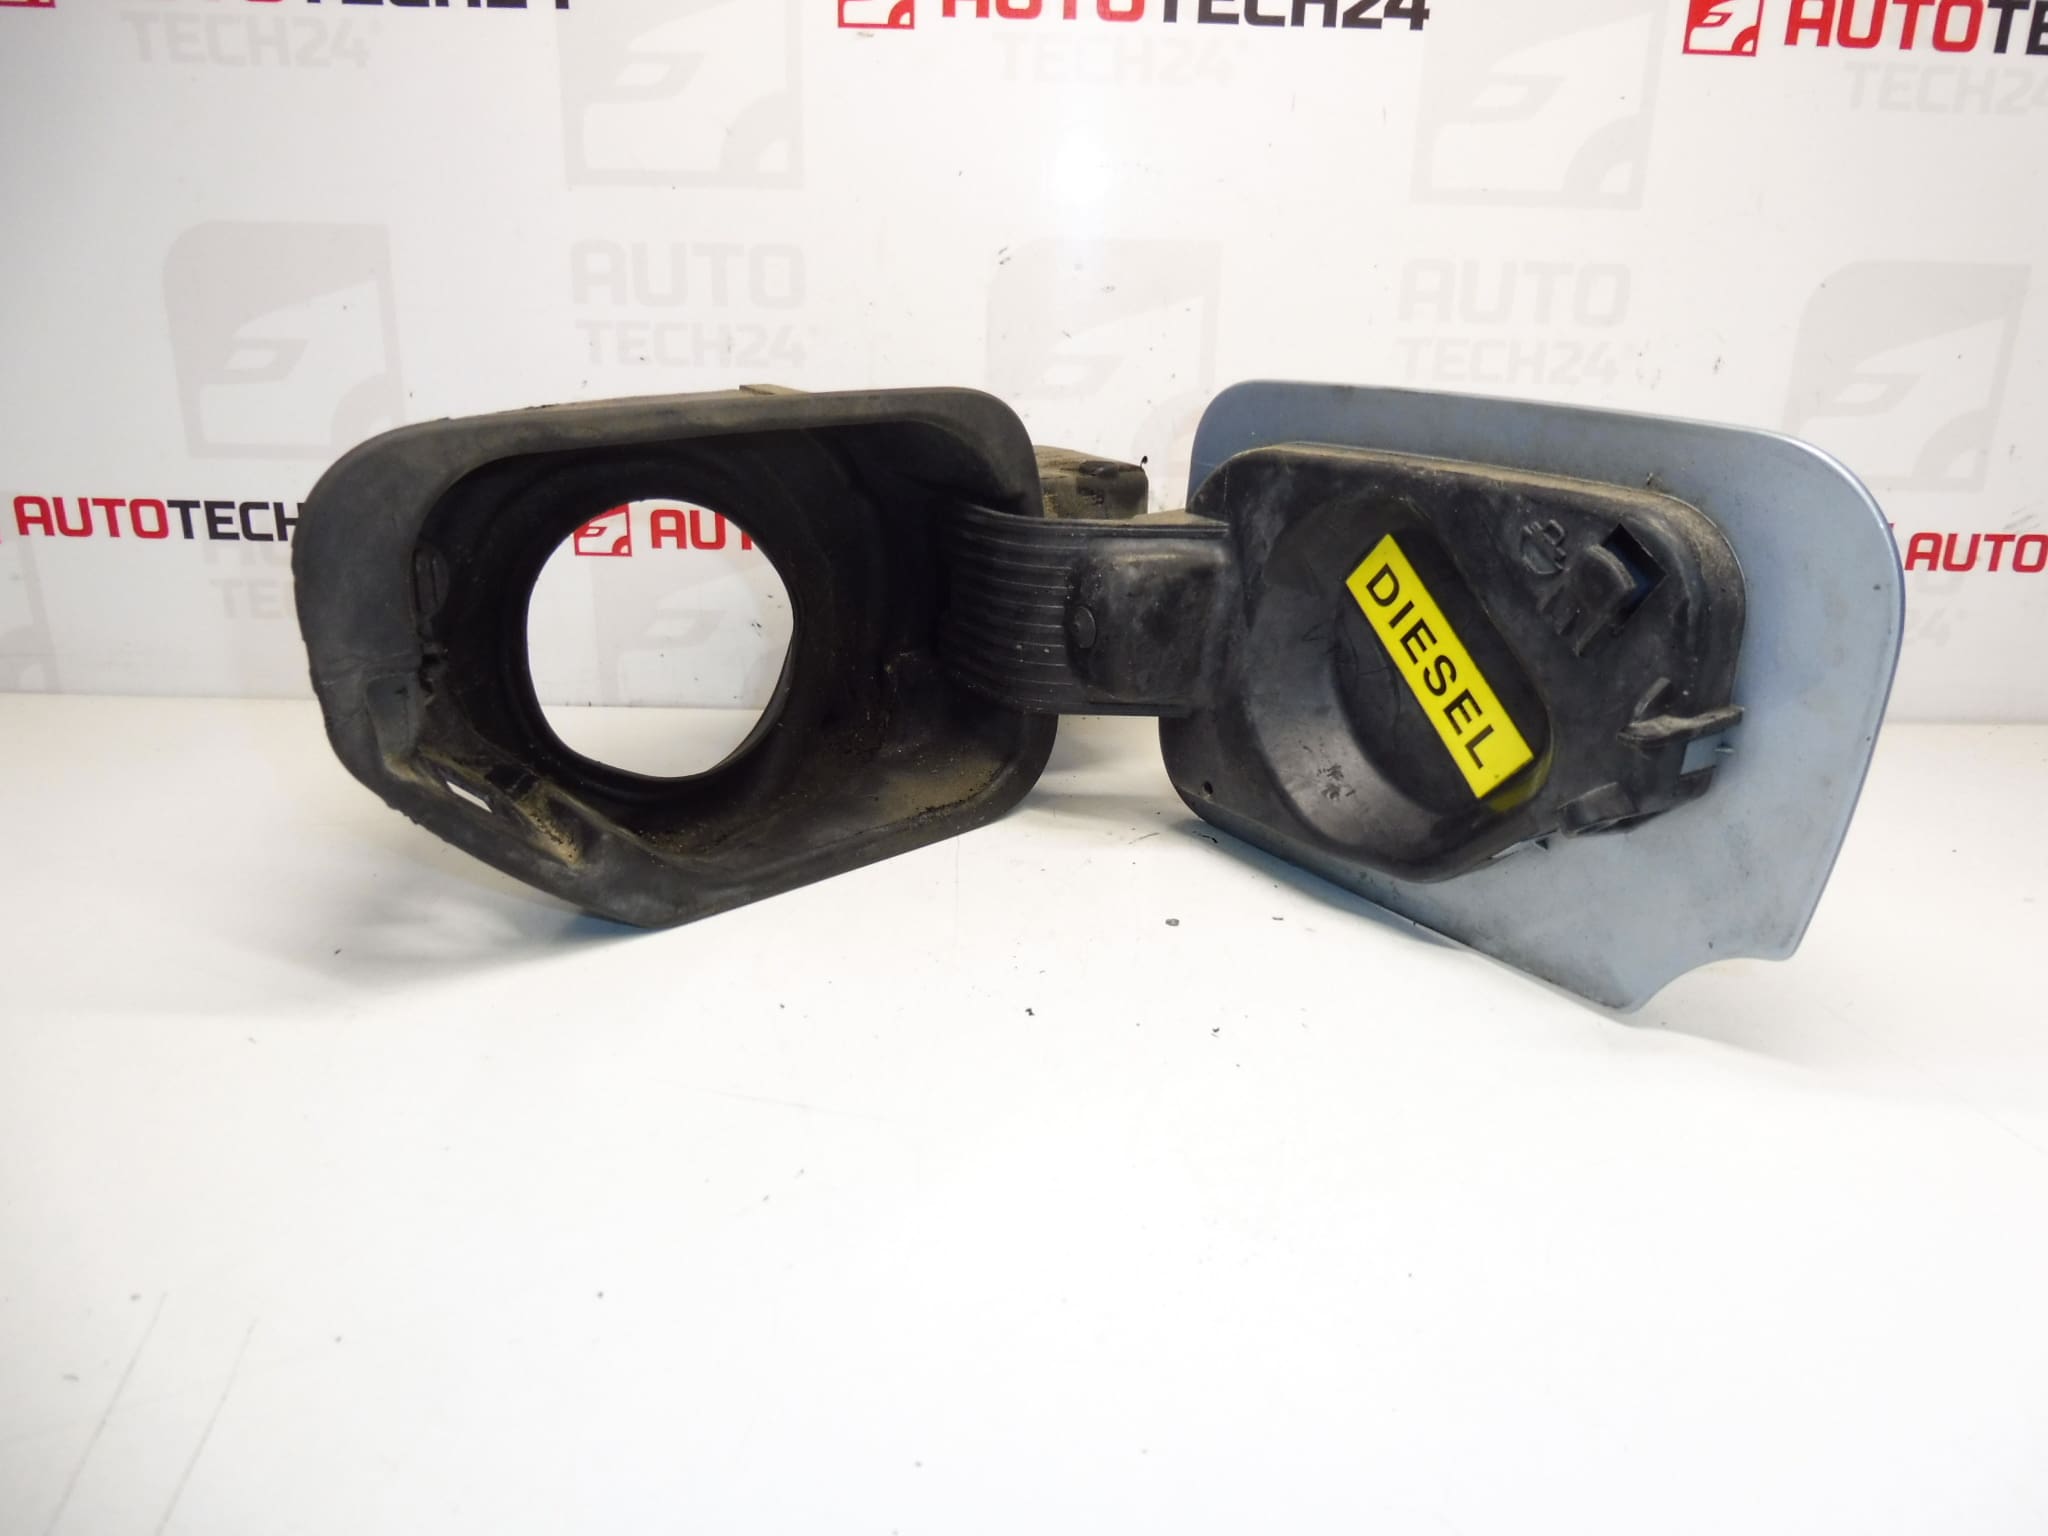
Fuel filler cap/cover for PEUGEOT 407 sedan. Includes the fuel filler neck housing. Color EYL – Paint Grey (Iceland).
This replacement fuel filler cover is designed for Peugeot 407 sedan models and is often searched by part numbers 1517A6 and 151877 (EYLC). The unit includes the complete fuel filler neck housing, ensuring correct fitment and an OEM-style finish in Grey Iceland. Robust construction and original mounting points make it a direct-fit exterior body part that restores appearance and protects the fuel inlet from dirt, moisture and minor impacts.
Technical Information
- Manufacturer: Stellantis / Peugeot
- Model: Peugeot 407 Sedan
- Product Codes: 1517A6, 151877
- Other Numbers: EYLC (Color Code EYL – Paint Grey Iceland)
Part Function
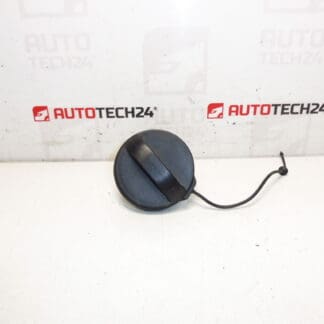
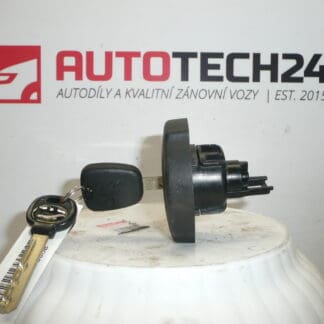
The fuel filler cover conceals and protects the fuel filler neck and cap. It prevents contamination from dirt and water, preserves the vehicle’s exterior appearance, and maintains the correct interface for a sealing fuel cap. The attached filler neck housing secures the fuel inlet components and ensures proper alignment with the fuel cap.
Compatibility and Fitment
Fits Peugeot 407 Sedan models that use part numbers 1517A6 or 151877 (check the code on the original part). The unit is supplied in the factory color EYL (Grey Iceland) for a seamless exterior match. Common searches reference the codes 1517A6 and 151877 — include these when verifying fitment for faster results.
Replacement Procedure
Basic removal and installation steps (overview for experienced mechanics and DIY enthusiasts):
- Open the fuel filler door and remove any visible fasteners securing the filler flap assembly.
- Access the rear of the filler housing from inside the luggage compartment or wheel-arch liner; remove trim or liner panels as required.
- Disconnect any release cable or actuator and unclip the mounting tabs holding the filler housing.
- Remove the complete old assembly and transfer any required clips, gaskets or actuator components to the new unit if not supplied.
- Fit the new filler cover and housing, secure all fasteners, reconnect the release mechanism and test operation for smooth opening/closing and correct alignment.
- Reinstall trim panels and verify paint finish and gap alignment.
Installation Recommendations
- Use Correct Tools: Use plastic trim tools to avoid scratching inner panels and a torque screwdriver where specified.
- Check Seal Condition: Replace any worn gaskets or clips during installation to ensure weather-tight fitment.
- Paint Protection: If performing bodywork or paint touch-up, mask surrounding panels to maintain the factory finish.
- Test Operation: Verify release actuator and latch function after installation, and confirm the filler cap seals correctly.
- Professional Help: If the assembly includes an integrated actuator or if access requires major disassembly, consider professional installation.
Why This Part Fails Most Often
- Impact Damage: Collisions with fuel nozzles, minor parking impacts or vandalism can crack the flap or break hinge mounts.
- Broken Hinges or Clips: Plastic hinge pins and mounting clips deteriorate over time and can shear off.
- Corrosion and Wear: Long-term exposure to moisture and road salt leads to corrosion of metal components and poor fitment.
- Latch/Actuator Failure: Mechanical latches or central-release actuators can seize or fail, preventing proper closure.
- Paint Damage: Chipped or damaged paint around the filler increases corrosion risk and reduces visual match.
Choose the correct part number (1517A6 or 151877) and color code (EYLC) to ensure a perfect fit and finish. Replace worn seals and damaged clips at the same time to restore reliable operation and preserve the vehicle appearance.
Ready to fit and suitable for professional repair shops and experienced DIYers searching by part number for fast identification.