Description
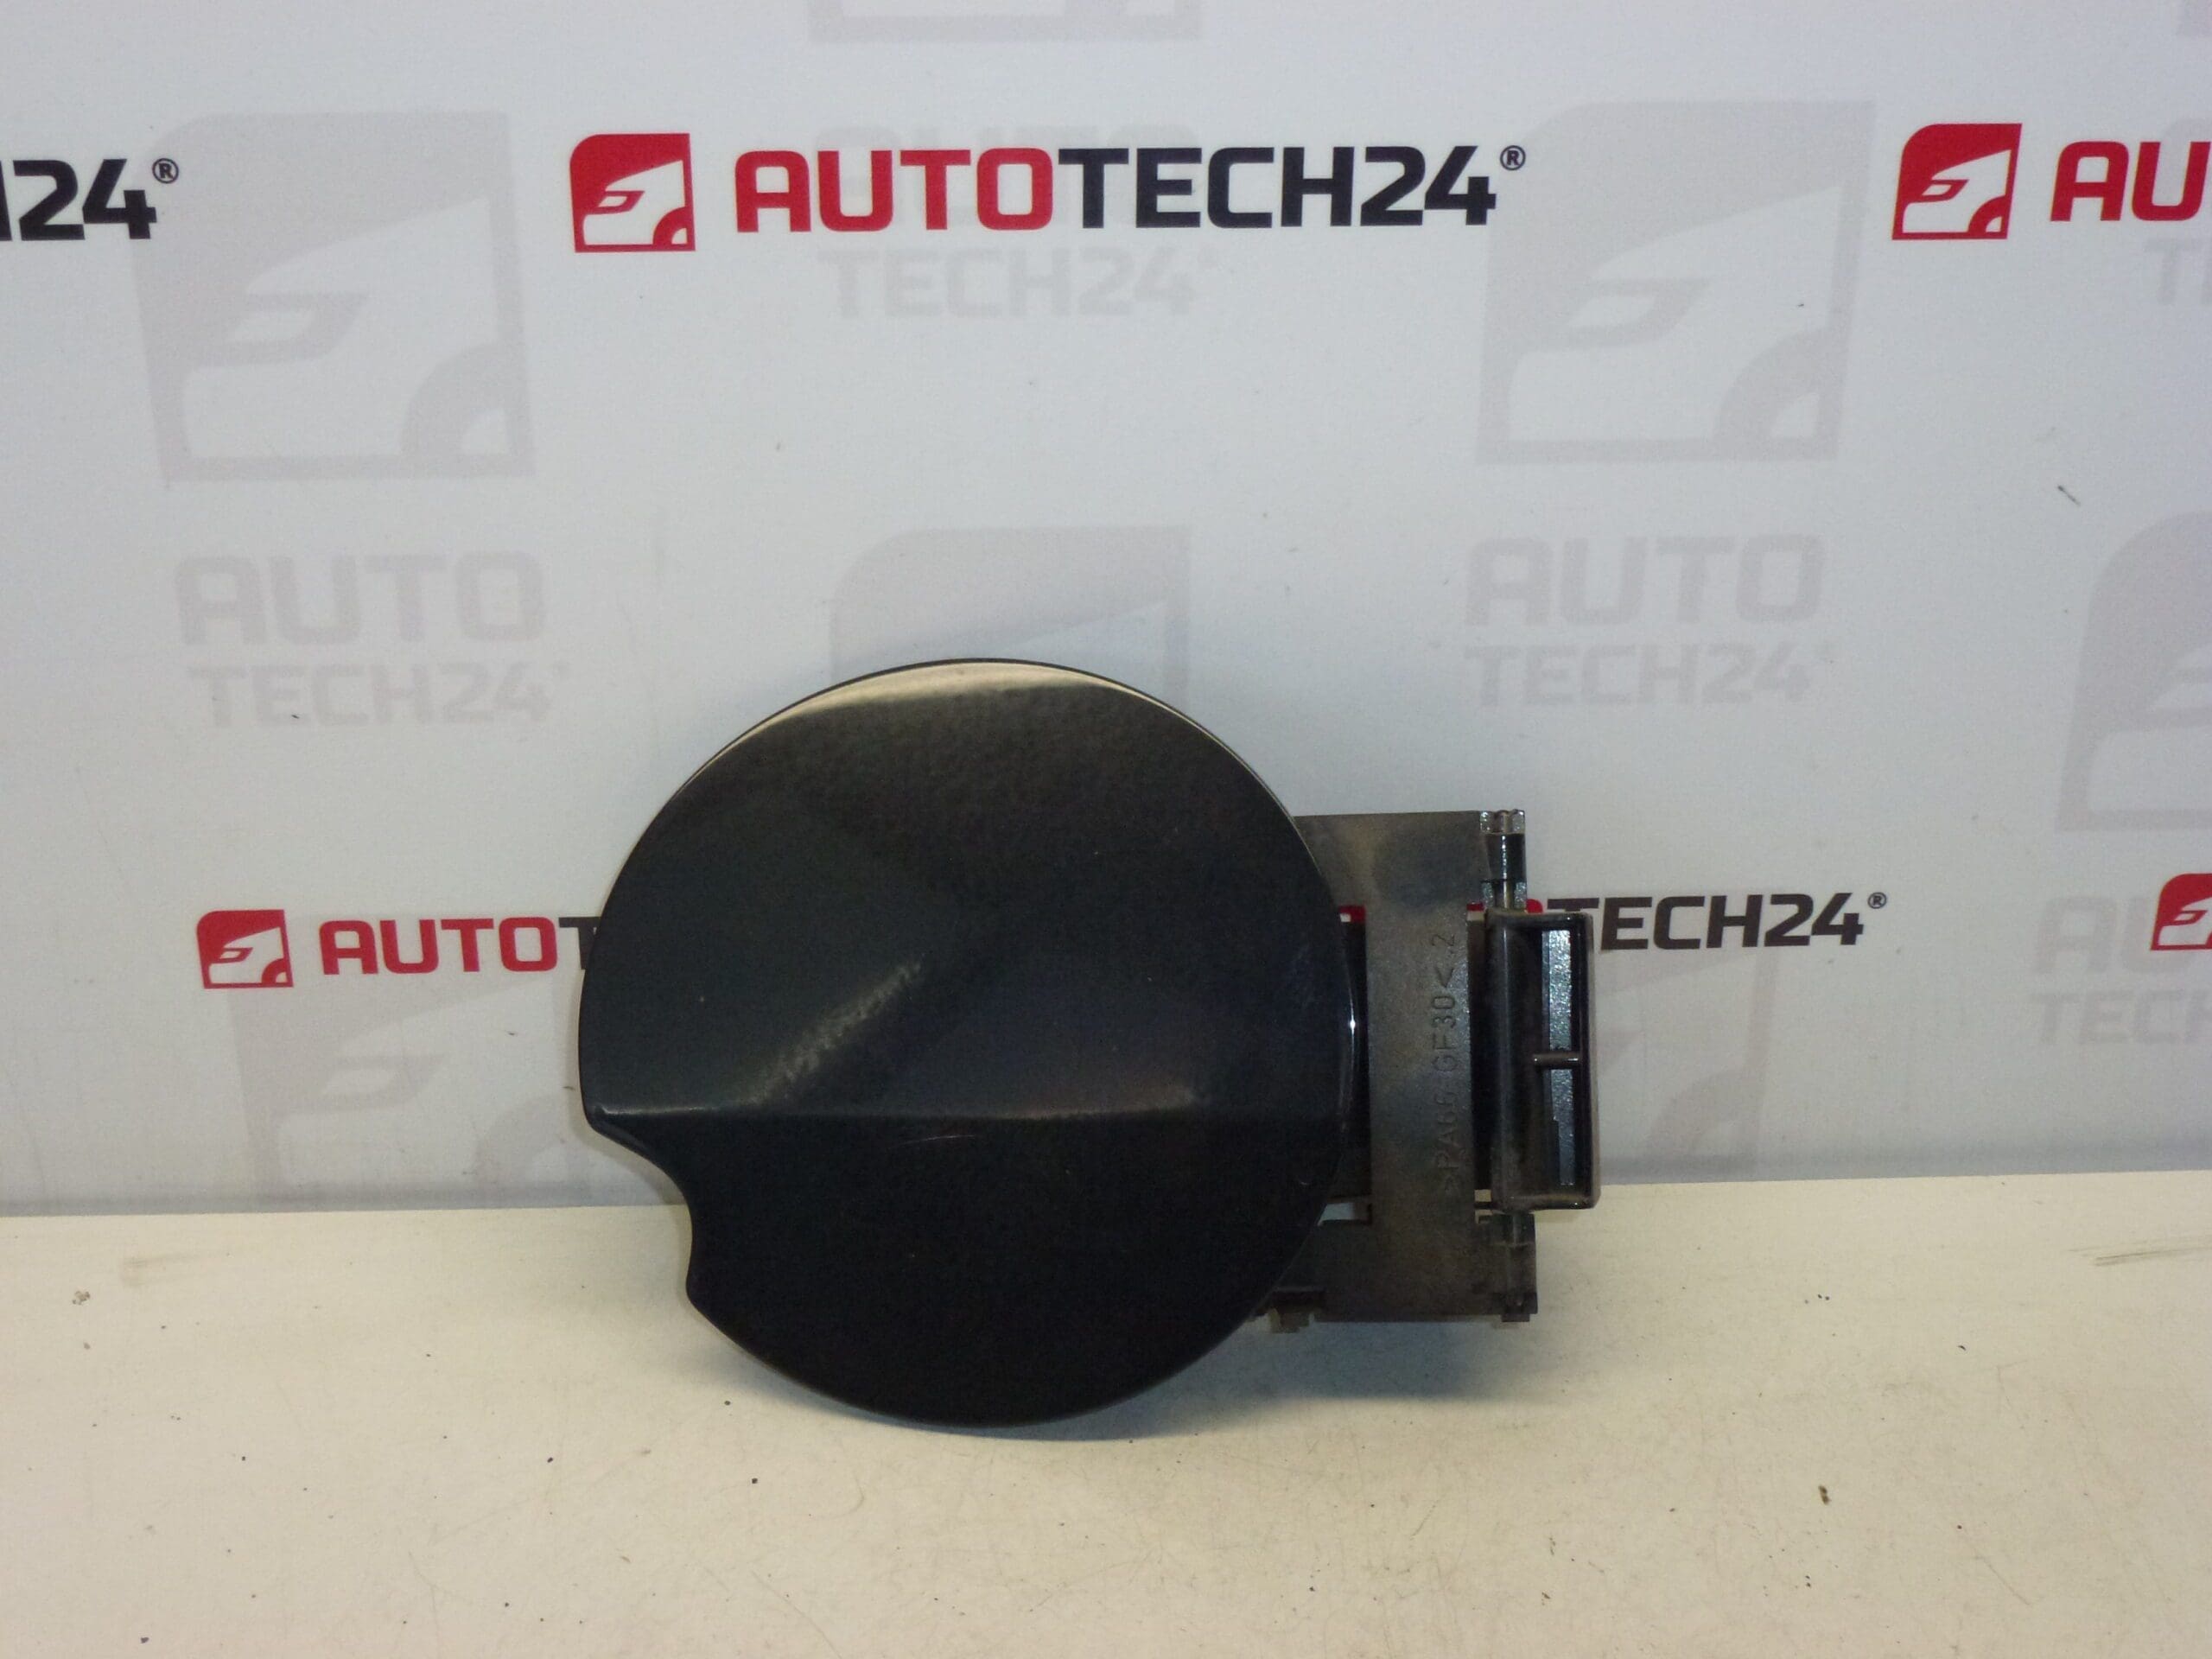
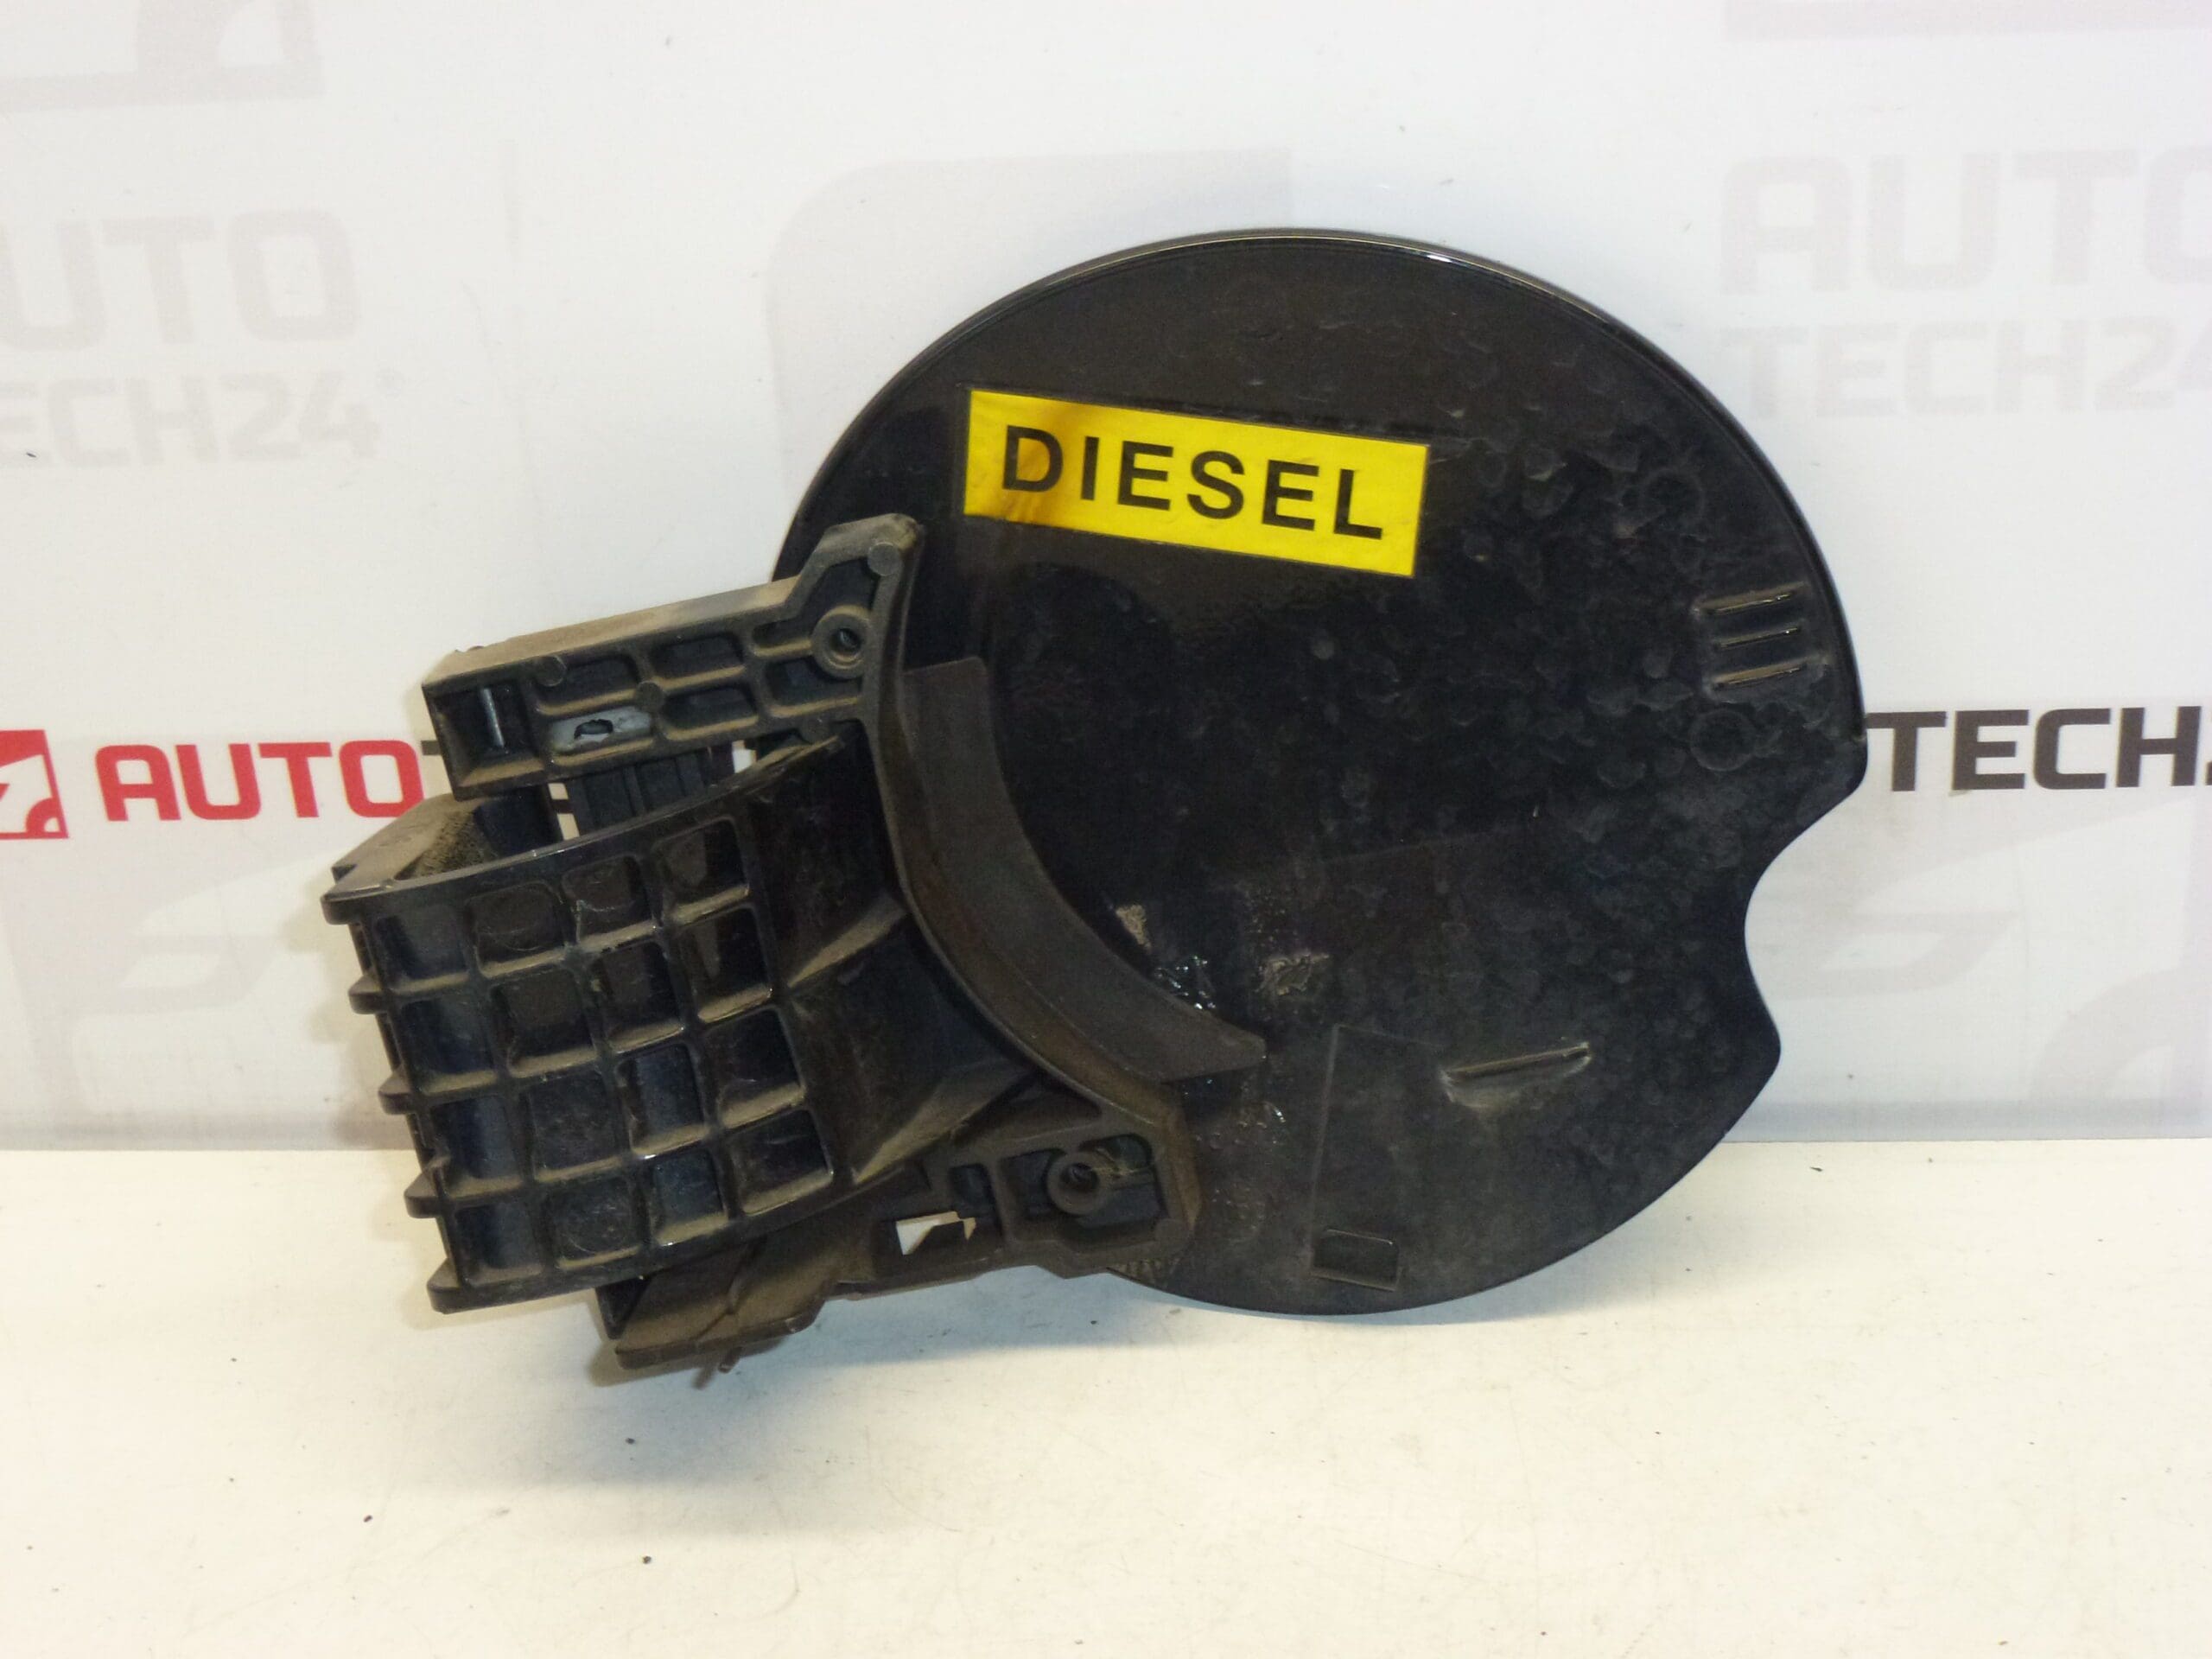
Cap tank cover for PEUGEOT 307 CC I and II
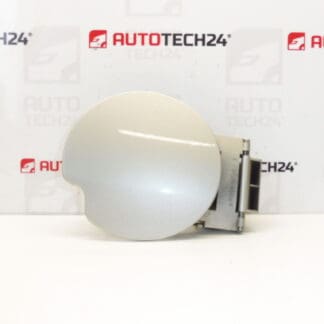
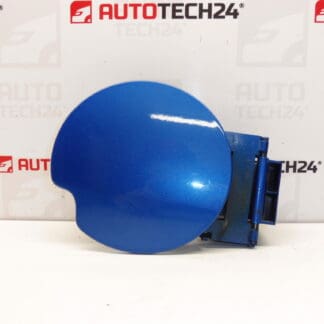
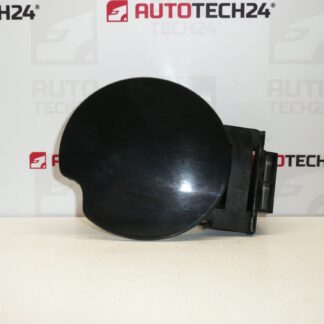
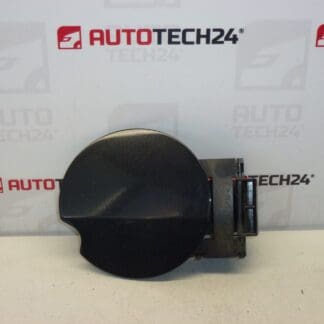
Color EXLD – BLACK OBSIDIAN PAINT
We have different colors in stock
Part description
This fuel tank cap / cover is intended for Peugeot 307 CC and is suitable as a replacement if the original piece is damaged, lost or worn. Thanks to the accurate product marking, the part is easy to find by number and is a practical choice for quick body repair without unnecessary compromises in fit and appearance.
The design is in the color EXLD (obsidian black lacquer). A suitable solution for mechanics and home repairs when you need to give your car a clean and complete look in the area of the tank cover.
Technical information
- Manufacturer: Stellantis (Citroën / Peugeot)
- Model: Peugeot 307 CC I and II
- Other numbers: EXLD, NFP
Product codes
- Product codes: 9643084577, 1517A5
Installation recommendations
Generally/typically replacing the tank cap/cover is a simple body work, but the exact procedure may vary depending on the car design and type of attachment.
1) Before assembly
- Compare the new and the original part: shape, attachment, possible guide elements and stops.
- Check paint shade and finish (scratches, scuffs, cracks, edge damage).
- Check the functional parts (typically hinge/joint, securing, possibly holder/cable – depending on design) whether they move smoothly and nothing is broken.
2) Necessary tools and materials
- A basic set of hand tools (typically screwdrivers / small ratchet tools depending on the attachment)
- Plastic pry bar for removing upholstery/covers (if access is needed from the inside)
- Cleaning agent and cloth for degreasing the contact surfaces
3) Step-by-step assembly procedure
- Open the tank lid/cover area and prepare access to the attachment.
- If access is required from the inside of the bodywork, gently pry open the relevant cover/upholstery (use a plastic pry bar).
- Check how the original part is attached (screws/pins/latches – depending on the design) and document everything before disassembly.
- Unfasten the original part and remove it carefully so as not to scratch the surrounding paintwork.
- Clean the mating surfaces and the area around the hole where the part fits.
- Attach the replacement part and verify correct seating in the hole and alignment with the bodywork.
- Mount the part in the original mounts and fix it in the same way as the original.
- Try opening/closing and locking repeatedly (without force).
- Return any interior covers/upholstery to their original position.
- Finally, clean the surface of the part and the surrounding area so that any unevenness or contact with the body can be seen.
-
4) Post-assembly checks and test drive/function verification
- Check that the part fits properly and does not rub anywhere.
- Check that the cover stays firmly closed and does not open by itself.
- After a short ride, recheck seating and any clearances (especially if the inner covers have been removed).
5) The most common assembly mistakes + how to avoid them
- Scratching the surrounding paint during disassembly: use a plastic pry bar and work slowly.
- Poor fit due to dirt in the bearing surface: clean everything before assembly.
- Overtightening of the fixings (if it is solved with screws): tighten with sensitivity so that the fasteners do not crack.
- Mechanical damage (impact, careless handling, leaning on an open cover).
- Breaking of handles or cracking of plastic due to age and fatigue of the material.
- Paint damage (abrasions, scratches) from dirt, brushes in the dishwasher or improper cleaning.
- Deformation or clearance after previous unprofessional assembly/disassembly.
- Loss of a part after poor securing or after an accident/service intervention.