Description
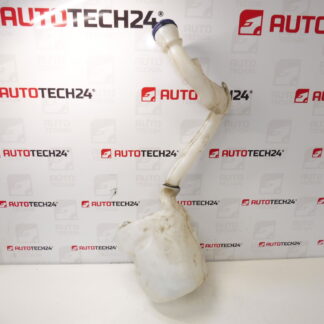
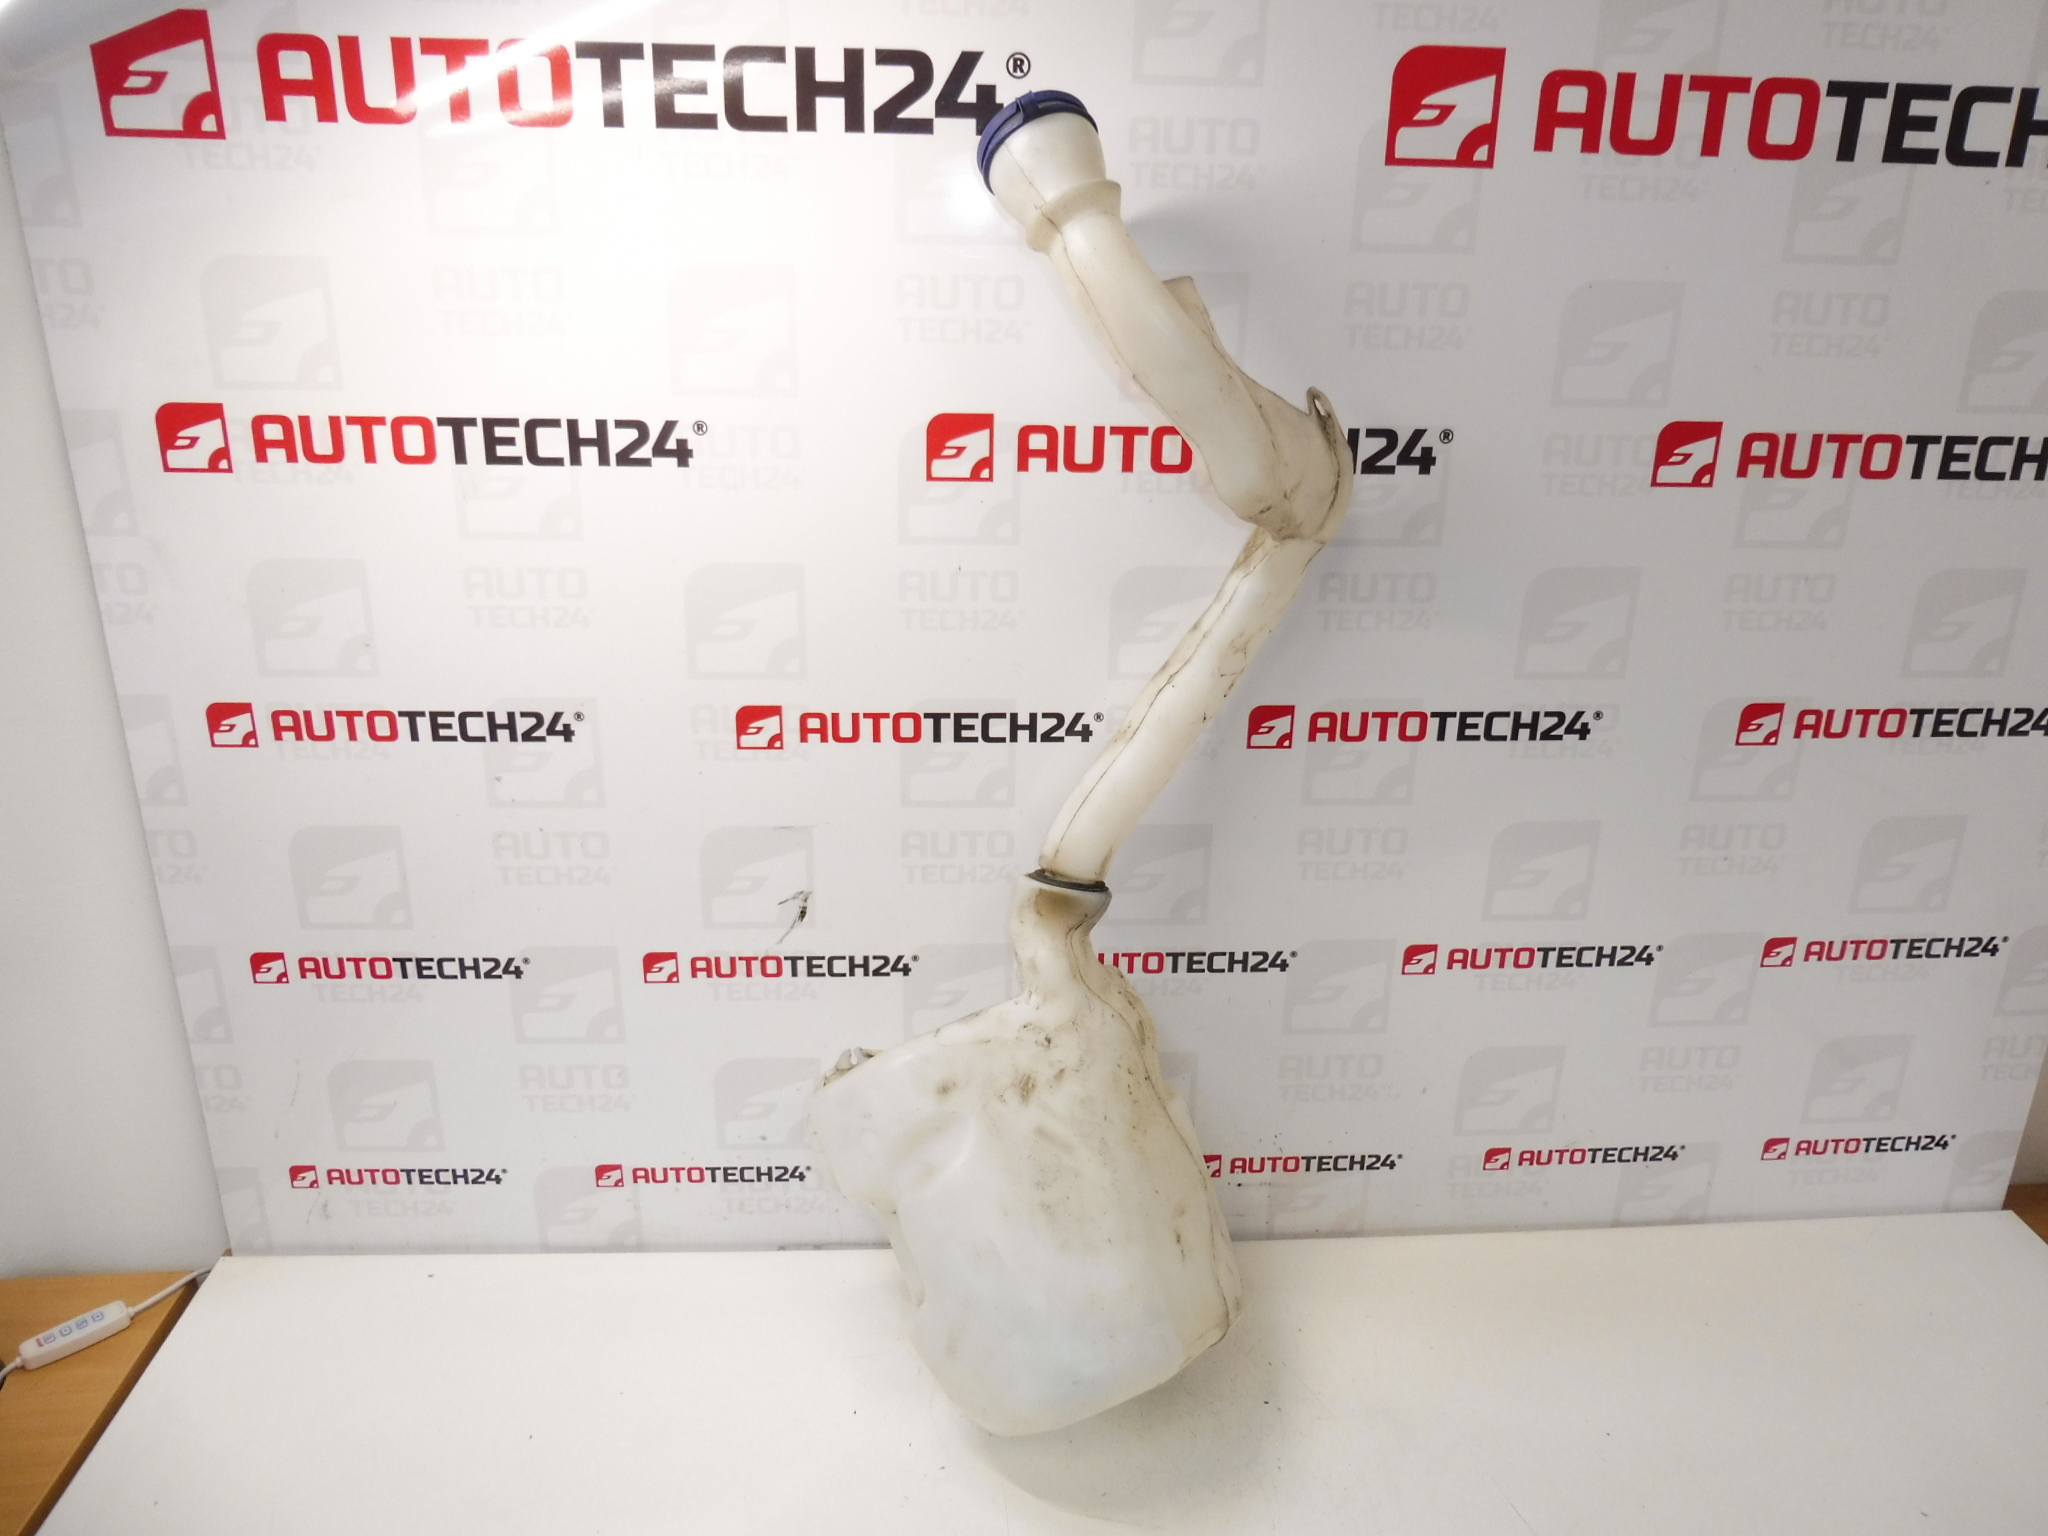
Washer tank for PEUGEOT 1007 207 301 and CITROEN C-Elysée cars
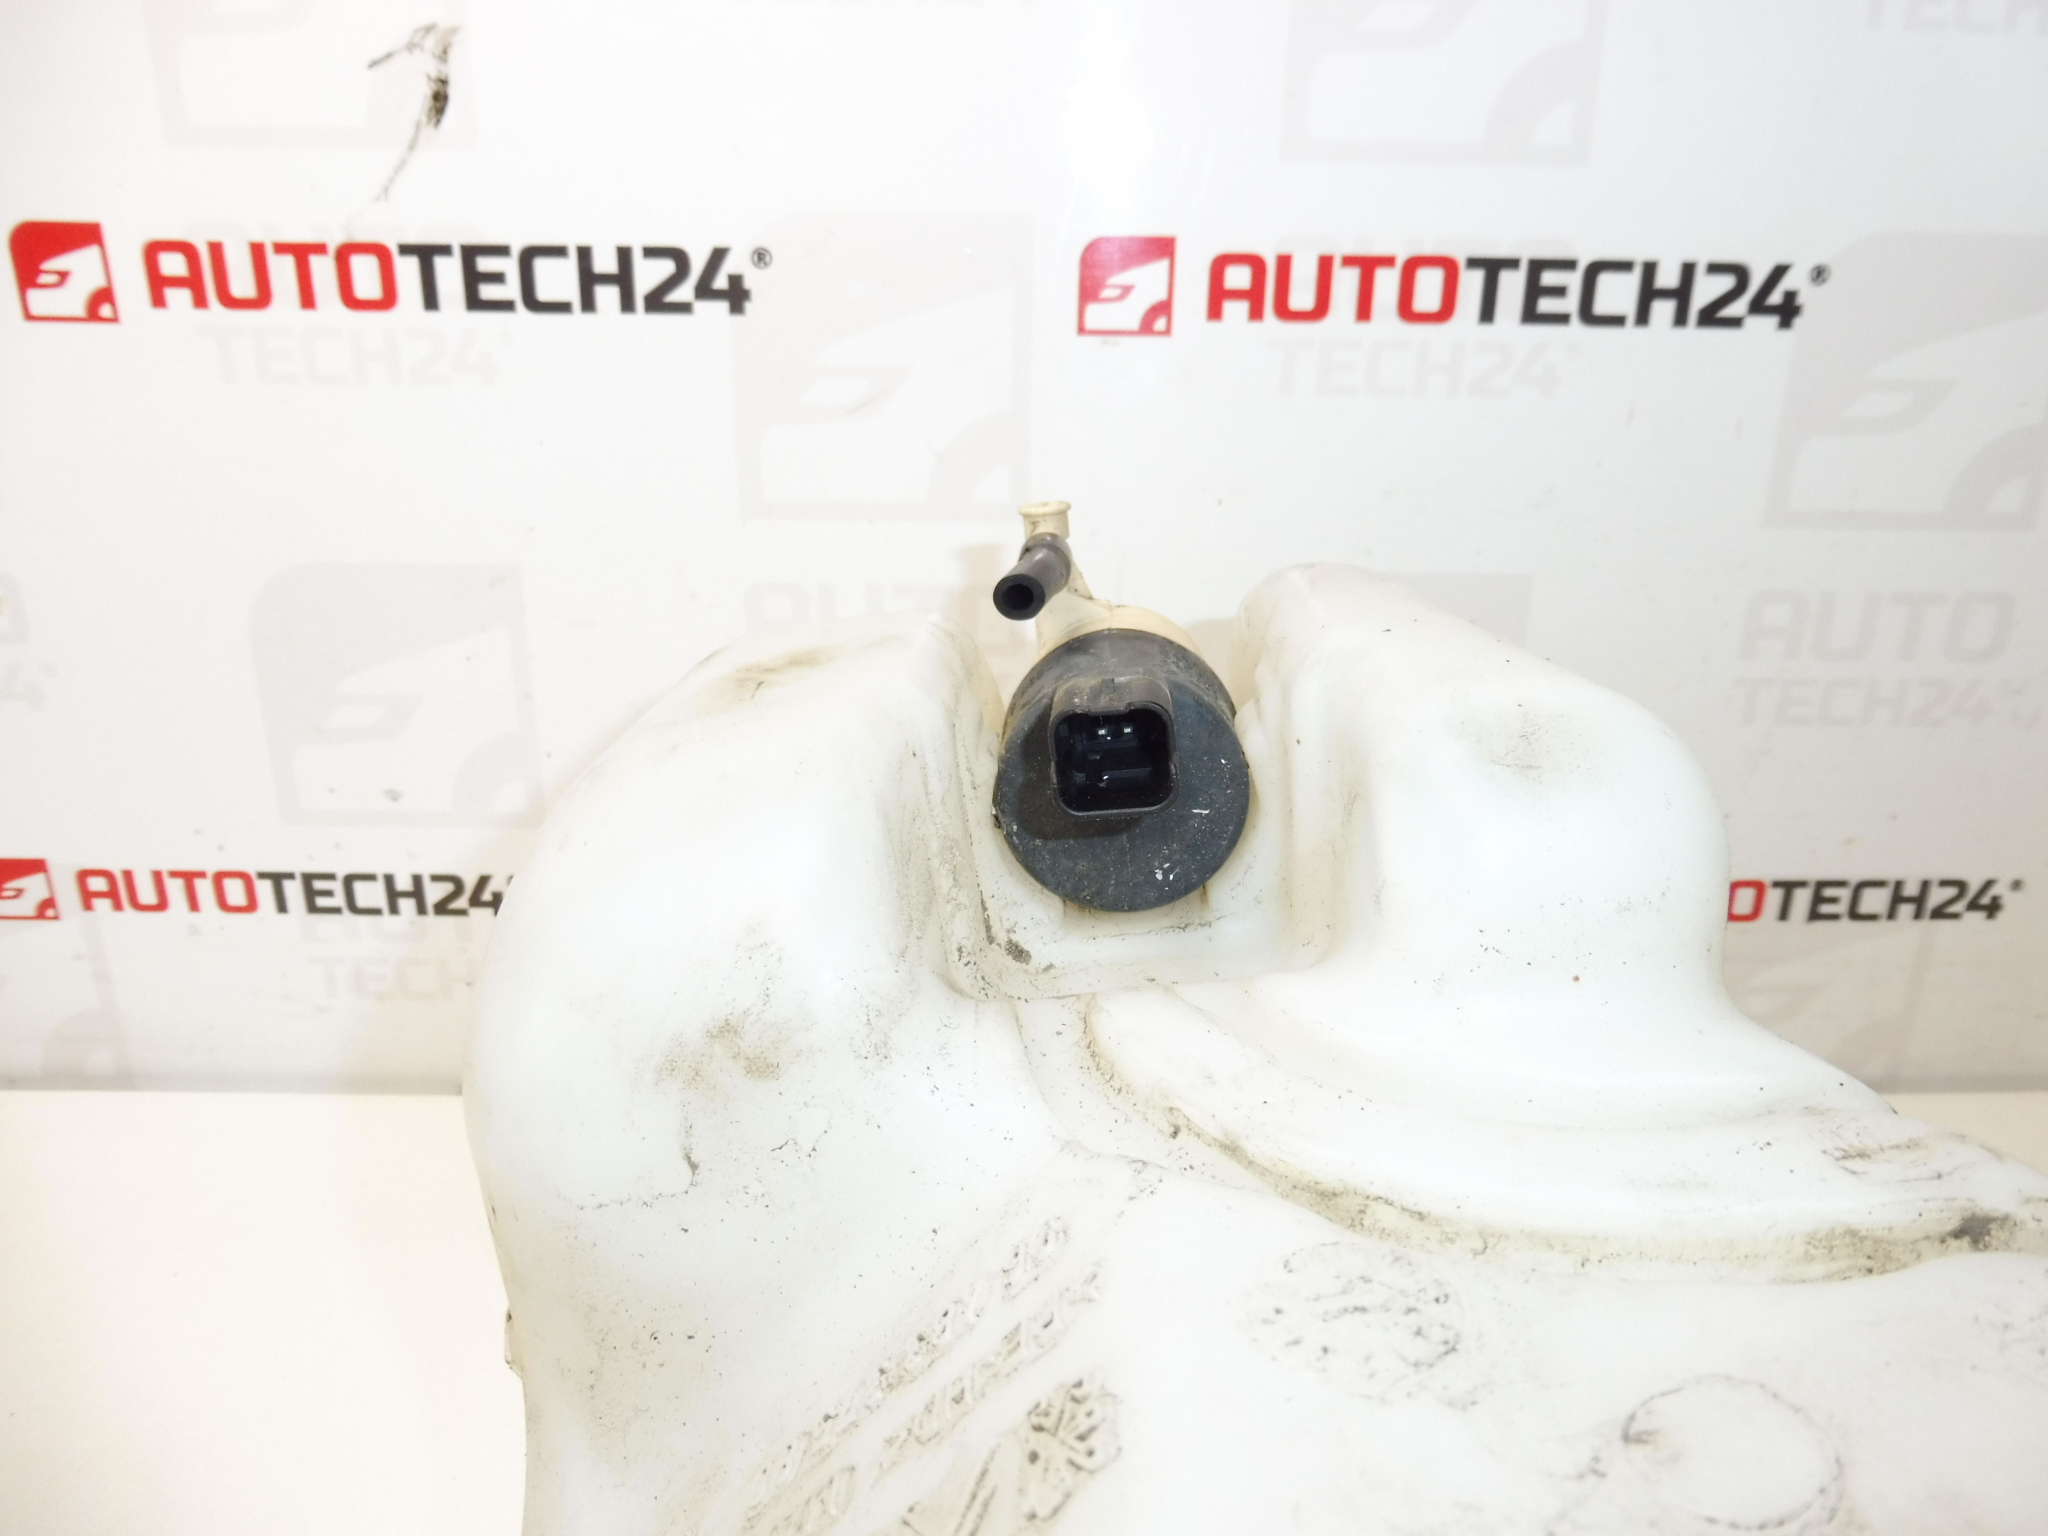
Washer motors and cap may not be part of the delivery
Original part
Part description
This washer tank (washer fluid reservoir) is intended for selected Citroën and Peugeot cars as indicated in the documents. It is an original part, suitable as a replacement in the event of a ruptured tank, leakage, damage to the neck or after a defect in the fastening area.
Important: according to the documents washer motors and the cap may not be part of the delivery. Therefore, before assembly, check whether you have available accessories from the old container, or whether it needs to be supplemented.
Technical information
- Manufacturer: Stellantis (OEM/Original Part)
- Model: Peugeot 1007, Peugeot 207, Peugeot 301, Citroën C-Elysée
- Other numbers: 6431F3
Product codes
- Product codes: 9648337580, 6431F3
Installation recommendations
Generally/typically, the following procedure applies to replacing the washer reservoir. The exact steps may vary depending on the specific design of the car and access to the container.
1) Before assembly
- Compare the new part with the old part: the shape of the container, the location and diameters of the holes for the motors/sensors (if any), the tube routing and the attachment points.
- Check the condition of the neck, thread/fit of the cap and the bearing surfaces for the motor seals.
- Check whether the motor and cap are included in the delivery – according to the documents they may not be. Prepare the original motors/cap if they are ok.
2) Necessary tools and materials
- Basic set of keys and sockets, screwdrivers
- Pliers for tube clips (according to type), or a plastic pry bar for removing covers
- Container for catching liquid, rags/towels
- Cleaning agent for degreasing and leak checking (e.g. water for rinsing)
3) Step-by-step assembly procedure
- Secure the car against movement and allow surrounding parts to cool if the car has been in operation.
- Disconnect the electrical connectors of the washer motors (and any level sensor, if fitted).
- Drain the liquid from the container into a prepared container (or disconnect the tubing and collect the liquid safely).
- Mark the tubes (e.g. front/rear circuit) to avoid confusion during reassembly.
- Disconnect the washer hoses and release the line clips/holds.
- Dismantle the canister fastening (screws/handles according to design) and remove the canister.
- Move the usable components from the old one (typically motors, seals, lid) to the new container, if they are not included in the delivery.
- Check and clean the sealing points; when folding, pay attention to the correct seating to avoid leakage.
- Install the container back into the car and tighten the fixings sufficiently so that the plastic does not crack.
- Connect the tubes in the correct direction, secure them with clips and store them in their original holders.
- Connect the electrical connectors.
- Top up the washer fluid and check that the container is secure and that nothing is leaking.
-
4) Post-assembly checks and test drive/function verification
- Verify the sprinkler function and check the operation of the motors by listening.
- Check for leaks at the motors, hose connections and at the lid neck (especially after the first few minutes of operation).
- After a short drive or after several uses of the washer, check again for moisture around the canister.
5) The most common assembly mistakes + how to avoid them
- Motor leak: poorly seated or damaged gasket – always check the seating surface and correct seating.
- Swapping tubes: mark them before disassembly.
- Plastic cracking: do not overstretch the fixing points, the plastic container is sensitive to overstretching.
- Forgotten connector: after assembly, check that all connectors are properly engaged.
Reasons why the part is damaged
- Aging of plastic and microcracks due to temperature changes and vibrations.
- Mechanical damage (impact, abrasion, damage during previous repair or manipulation).
- Leakage at motors/sealing – hardened or damaged sealing elements can lead to fluid leakage.
- Damaged neck or cap – poor fitting, torn seating or cracks will cause leakage or contamination of liquid.
- Inappropriate fluid or long-term neglect of maintenance that can contribute to deposits and subsequent problems in the system.