Description
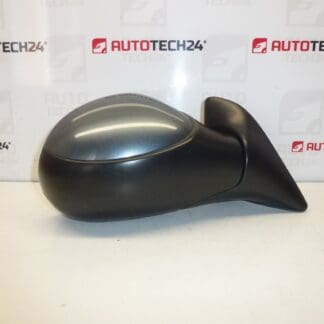
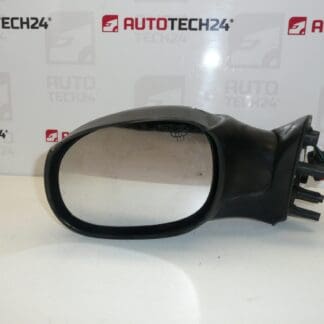
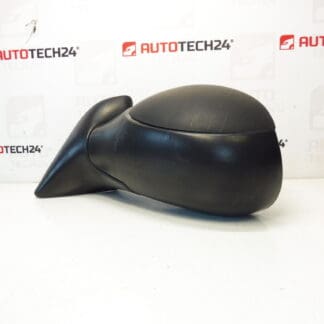
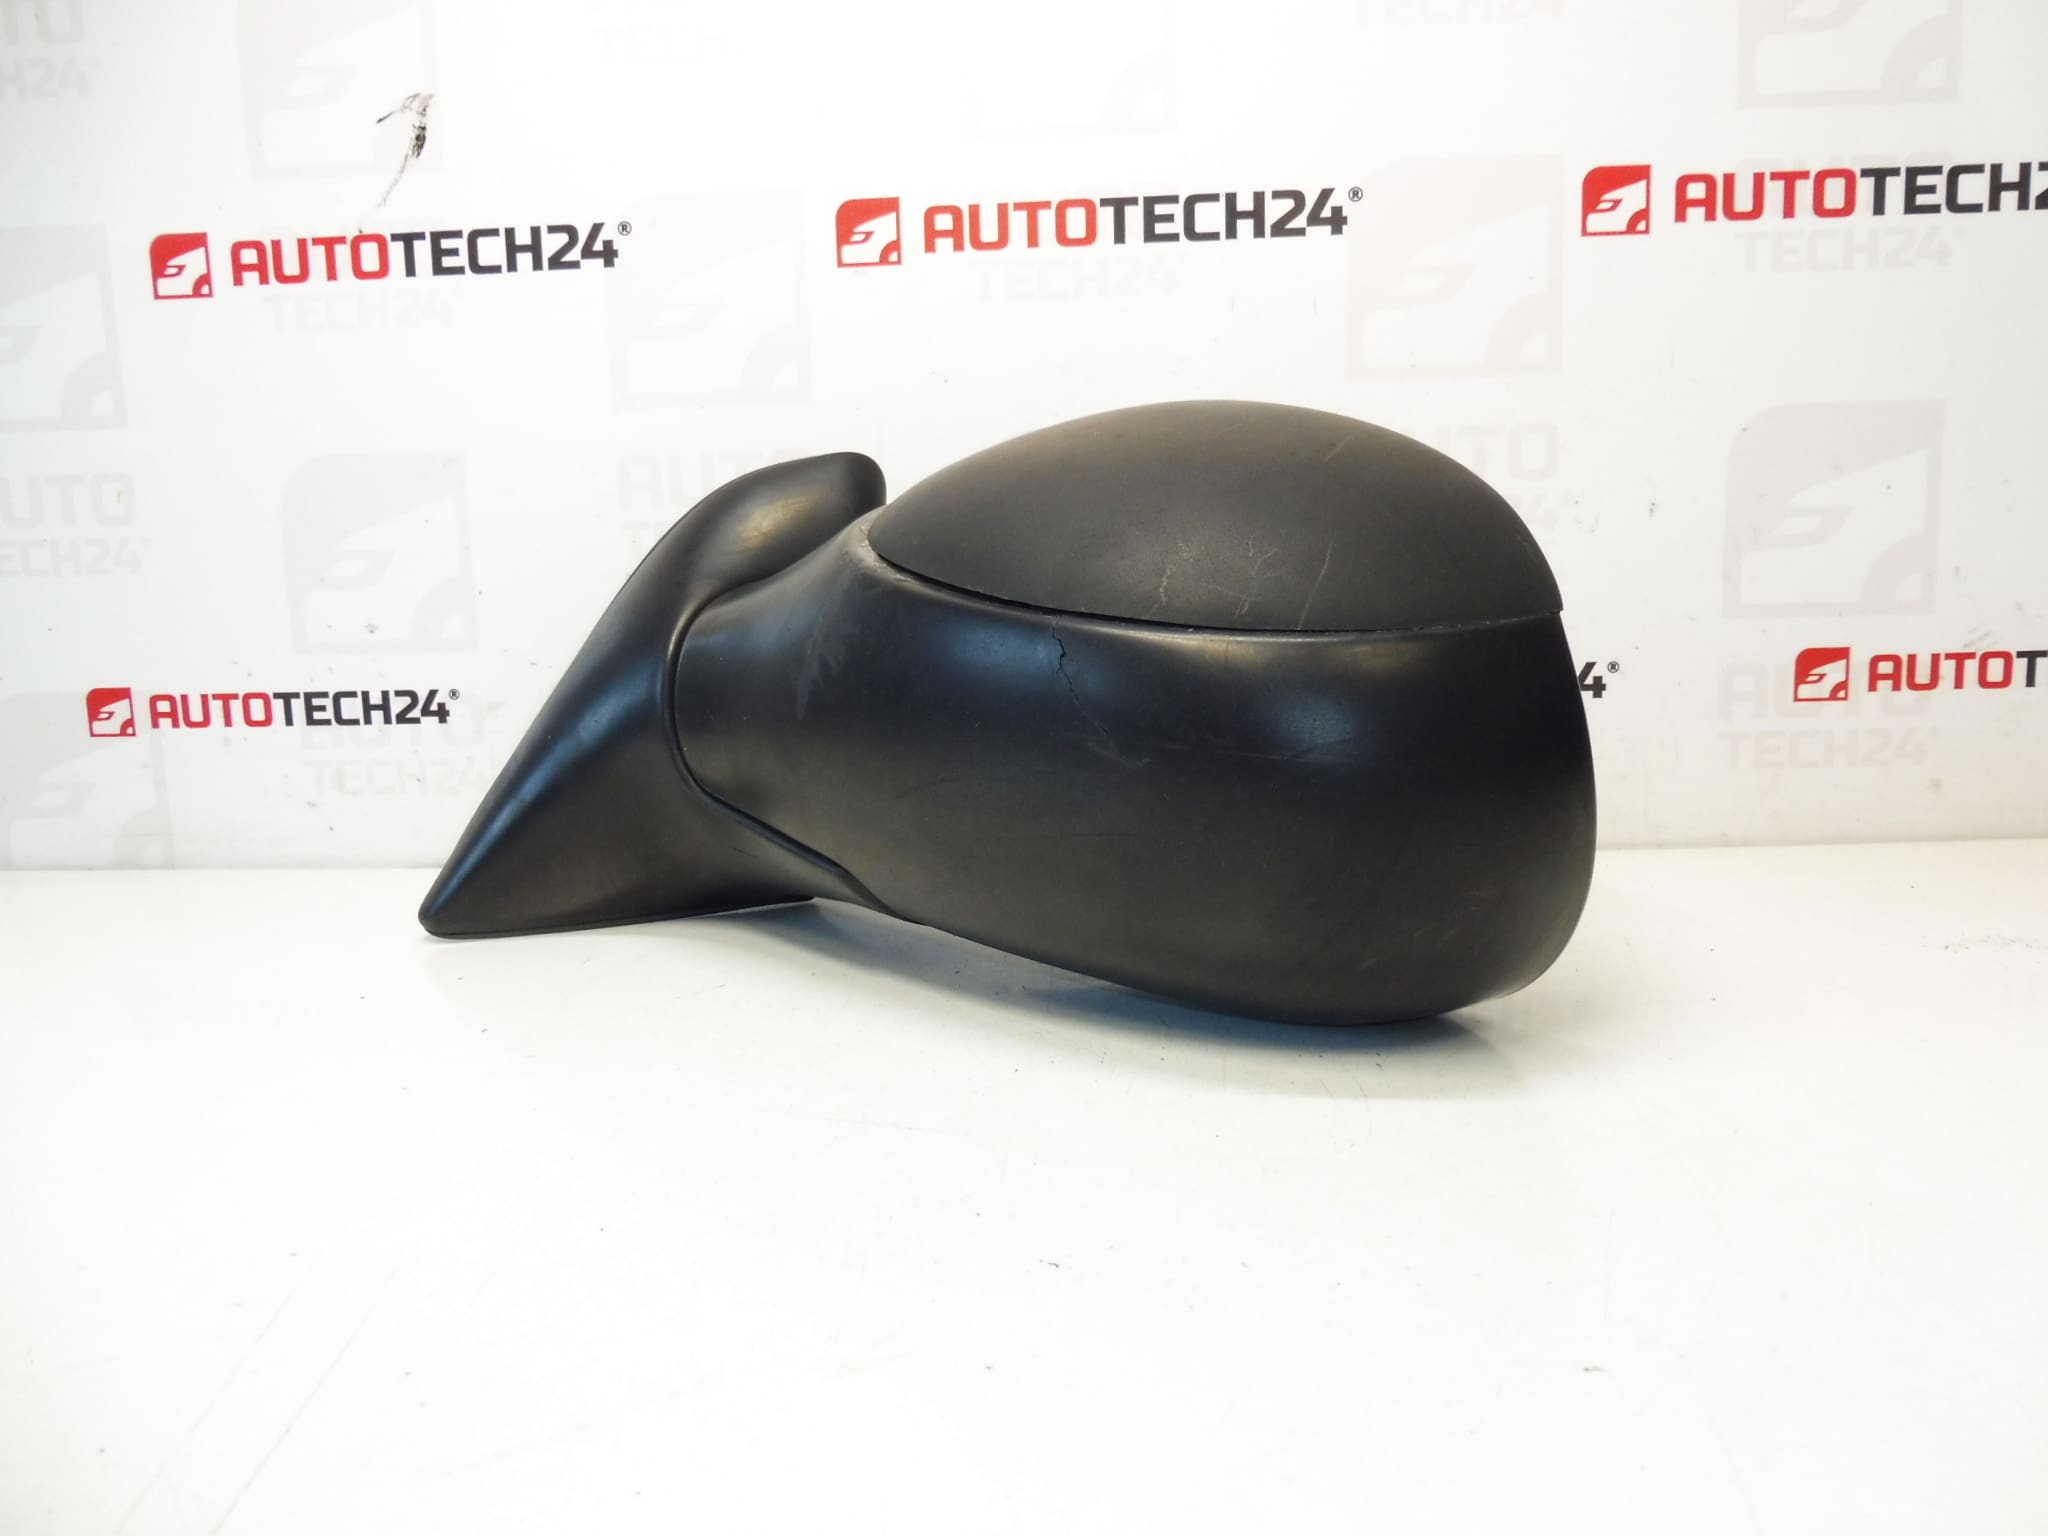
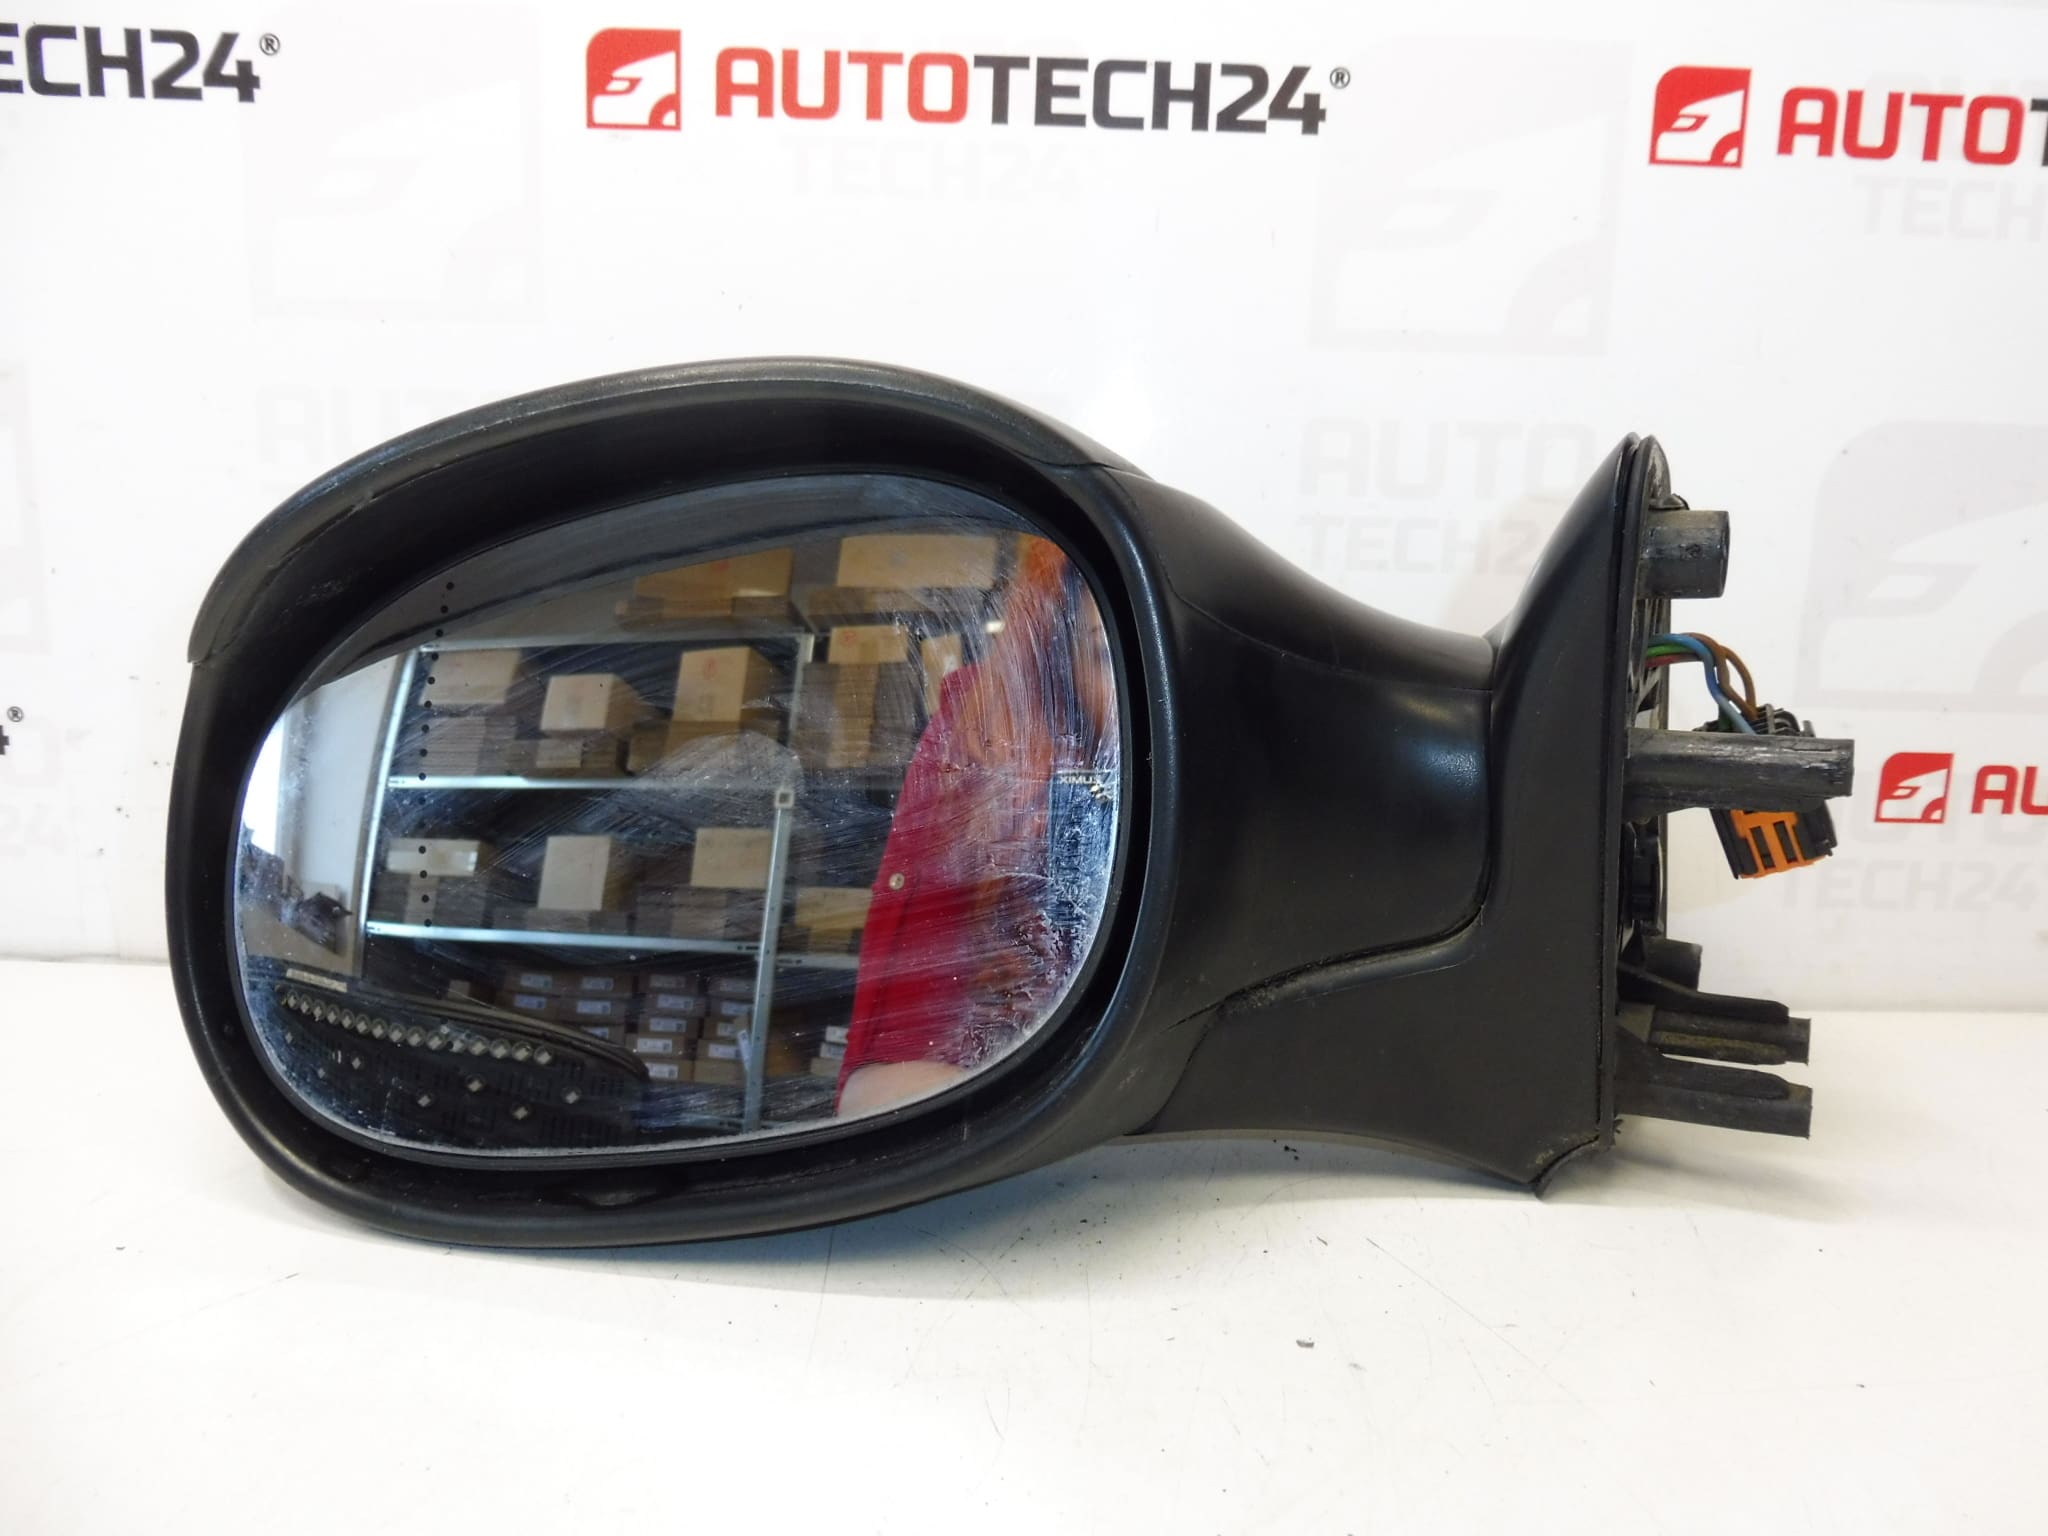
Left Exterior Mirror For Citroën Xsara Picasso
Electrically Operated
Driver’s Door – 5 Wires
We Have Various Colors In Stock
Product Overview
This left side replacement mirror is designed for Citroën Xsara Picasso models and provides reliable electric adjustment from the driver’s position. The unit is a direct-fit replacement for vehicles that use a 5-wire connector on the driver door. It is a practical spare part for workshops and DIY mechanics who search by part numbers such as 96570954XT or 815350.
Benefits
- Direct fit for Citroën Xsara Picasso – quick swap, minimal modification.
- Electric adjustment for convenient in-cabin control.
- Available in several colors to match vehicle paint or to be painted to order.
- Replacement by part number (96570954XT / 815350) makes finding the correct unit fast for garages and DIYers.
Technical Information
- Manufacturer: Stellantis (Citroën/Peugeot)
- Model: Citroën Xsara Picasso
- Product Codes: 96570954XT, 815350
- Additional Numbers: 815350 | 96570954XT
- Side: Left (Driver Side)
- Function: Electrically Adjustable Mirror
- Connector/Wiring: 5 Wires (Driver Door)
- Compatibility Notes: Fits Citroën Xsara Picasso models produced in the standard Xsara Picasso model years (verify visual match of mounting points and connector type before fitting).
Fitment
Fits Citroën Xsara Picasso models that use a left-hand electric mirror with a 5-wire connection. Typical production years for the Xsara Picasso range from 1999 to 2012; confirm the connector and mounting pattern on the vehicle before installation.
Installation Recommendations
- Prepare Tools: Screwdrivers, trim tools, socket set and a small torque wrench if available.
- Procedure (Summary): Remove the interior door trim or triangular mirror cover, disconnect the electrical connector, remove the mirror mounting bolts, fit the new mirror, connect the electrical plug, test the mirror adjustment, then reassemble the door trim.
- Handling Tips: Avoid forcing clips or overtightening screws to prevent cracking plastic housings. Test electrical adjustment before fully refitting trim to ensure correct operation.
- Safety: Wear protective gloves and work on a stable surface. For electrical safety, it is good practice to disconnect the negative battery terminal when working with vehicle electrics, though this is not strictly required for all mirror replacements.
Common Failure Causes
Side mirrors fail most often due to physical impact (parking knocks or collisions), water ingress that corrodes the electric motor or connector, worn or seized adjustment motors from long-term use, and broken internal plastic gears or mounting tabs. Damage to the mirror glass or folding mechanism is typically caused by external impacts.
How To Replace
- Remove the small triangular trim panel covering the mirror mounting area on the inside of the door.
- Disconnect the electrical connector (note the 5-wire plug orientation).
- Unscrew the mirror mounting bolts while supporting the mirror from outside to prevent dropping it.
- Remove the old mirror, align the new mirror and loosely fit mounting bolts.
- Reconnect the electrical connector and test adjustment functions (up/down/left/right) before torquing bolts to final specification.
- Reinstall interior trim and ensure all clips are secured.
Why This Part Fails Frequently
The mirror is exposed to environmental stress and impacts. Common causes of failure include: collision damage (most frequent), moisture penetration leading to motor or connector corrosion, and mechanical wear of the adjustment motor or internal gears over time.
Note For Mechanics And DIYers
Many customers search using the part numbers 96570954XT or 815350 — including these codes in your search or parts lists speeds up identification. Choose the correct exterior color variant where available or select a primed/paintable option if repainting is needed.
Purchase Advice
For workshops and home mechanics looking for a straightforward, electrically adjustable left mirror for the Xsara Picasso, this unit offers direct-fit convenience and proven common-fit part numbers. Check the connector type and mounting arrangement against the vehicle before ordering to ensure compatibility.