Description
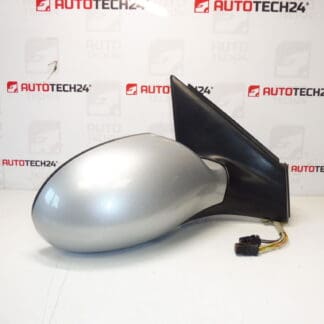
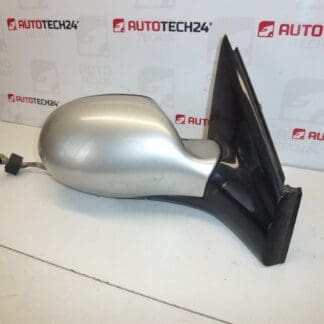
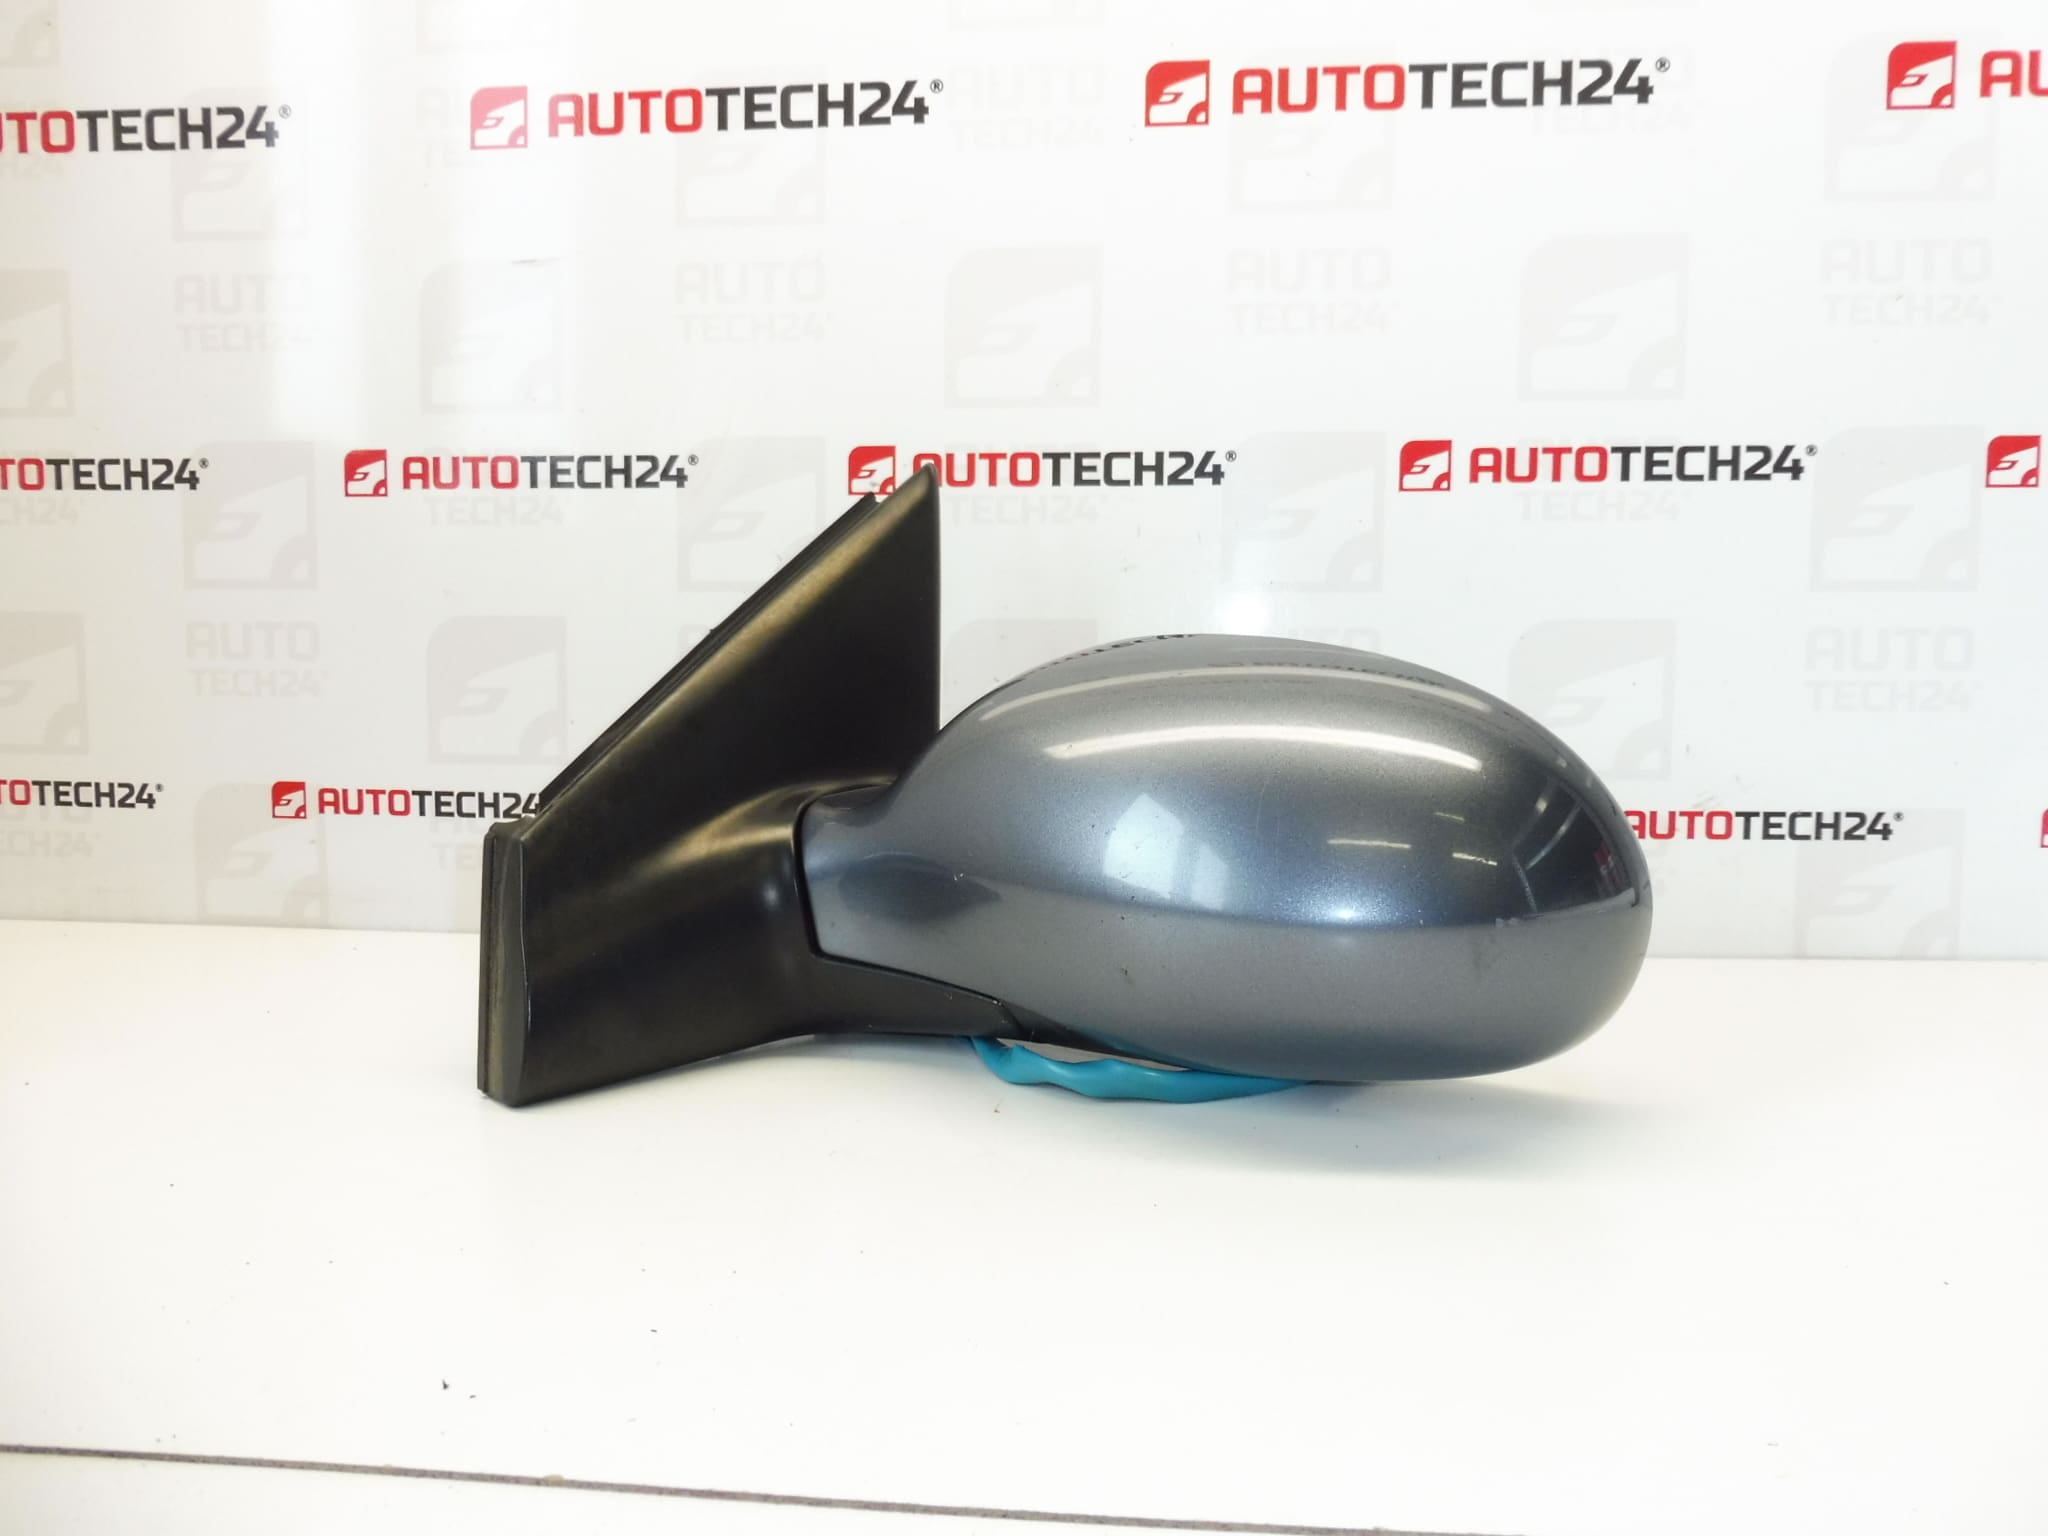
Left Exterior Mirror For Citroën C5 From 2005, Can Also Be Used On Models From 2001. Electrically Operated, Electrically Folding, Heated. Color EZW – Grey Metallic Paint. Driver Side.
This left side exterior mirror is designed for Citroën C5 vehicles and delivers reliable, factory-style functionality for workshops and DIY mechanics. The unit features electric adjustment, an electric folding mechanism and an integrated heating element to prevent misting and ice buildup. The grey metallic finish (EZW) provides a direct color match for vehicles painted in the same shade. Frequently searched under product code 8149WL, this mirror is a practical replacement when the original is damaged, malfunctioning or affected by corrosion.
Key Features
– Electric Adjustment: Smooth motorized adjustment to set mirror angle from inside the vehicle.
– Electric Folding: Power-folding mechanism for parking in tight spaces and automatic folding in many vehicle configurations.
– Heated Glass: Built-in heating element to speed up demisting and defrosting.
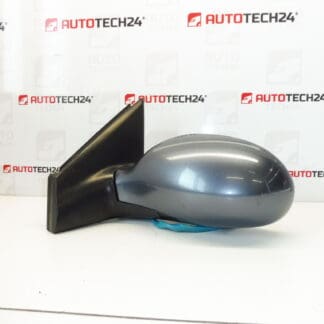
– Color: EZW Grey Metallic Paint for an OEM appearance.
– Side: Left (Driver Side).
Why It Fails
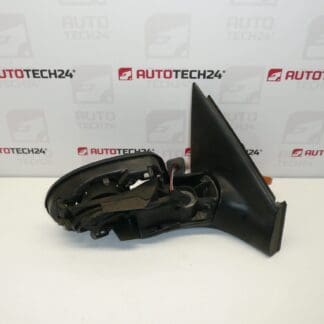
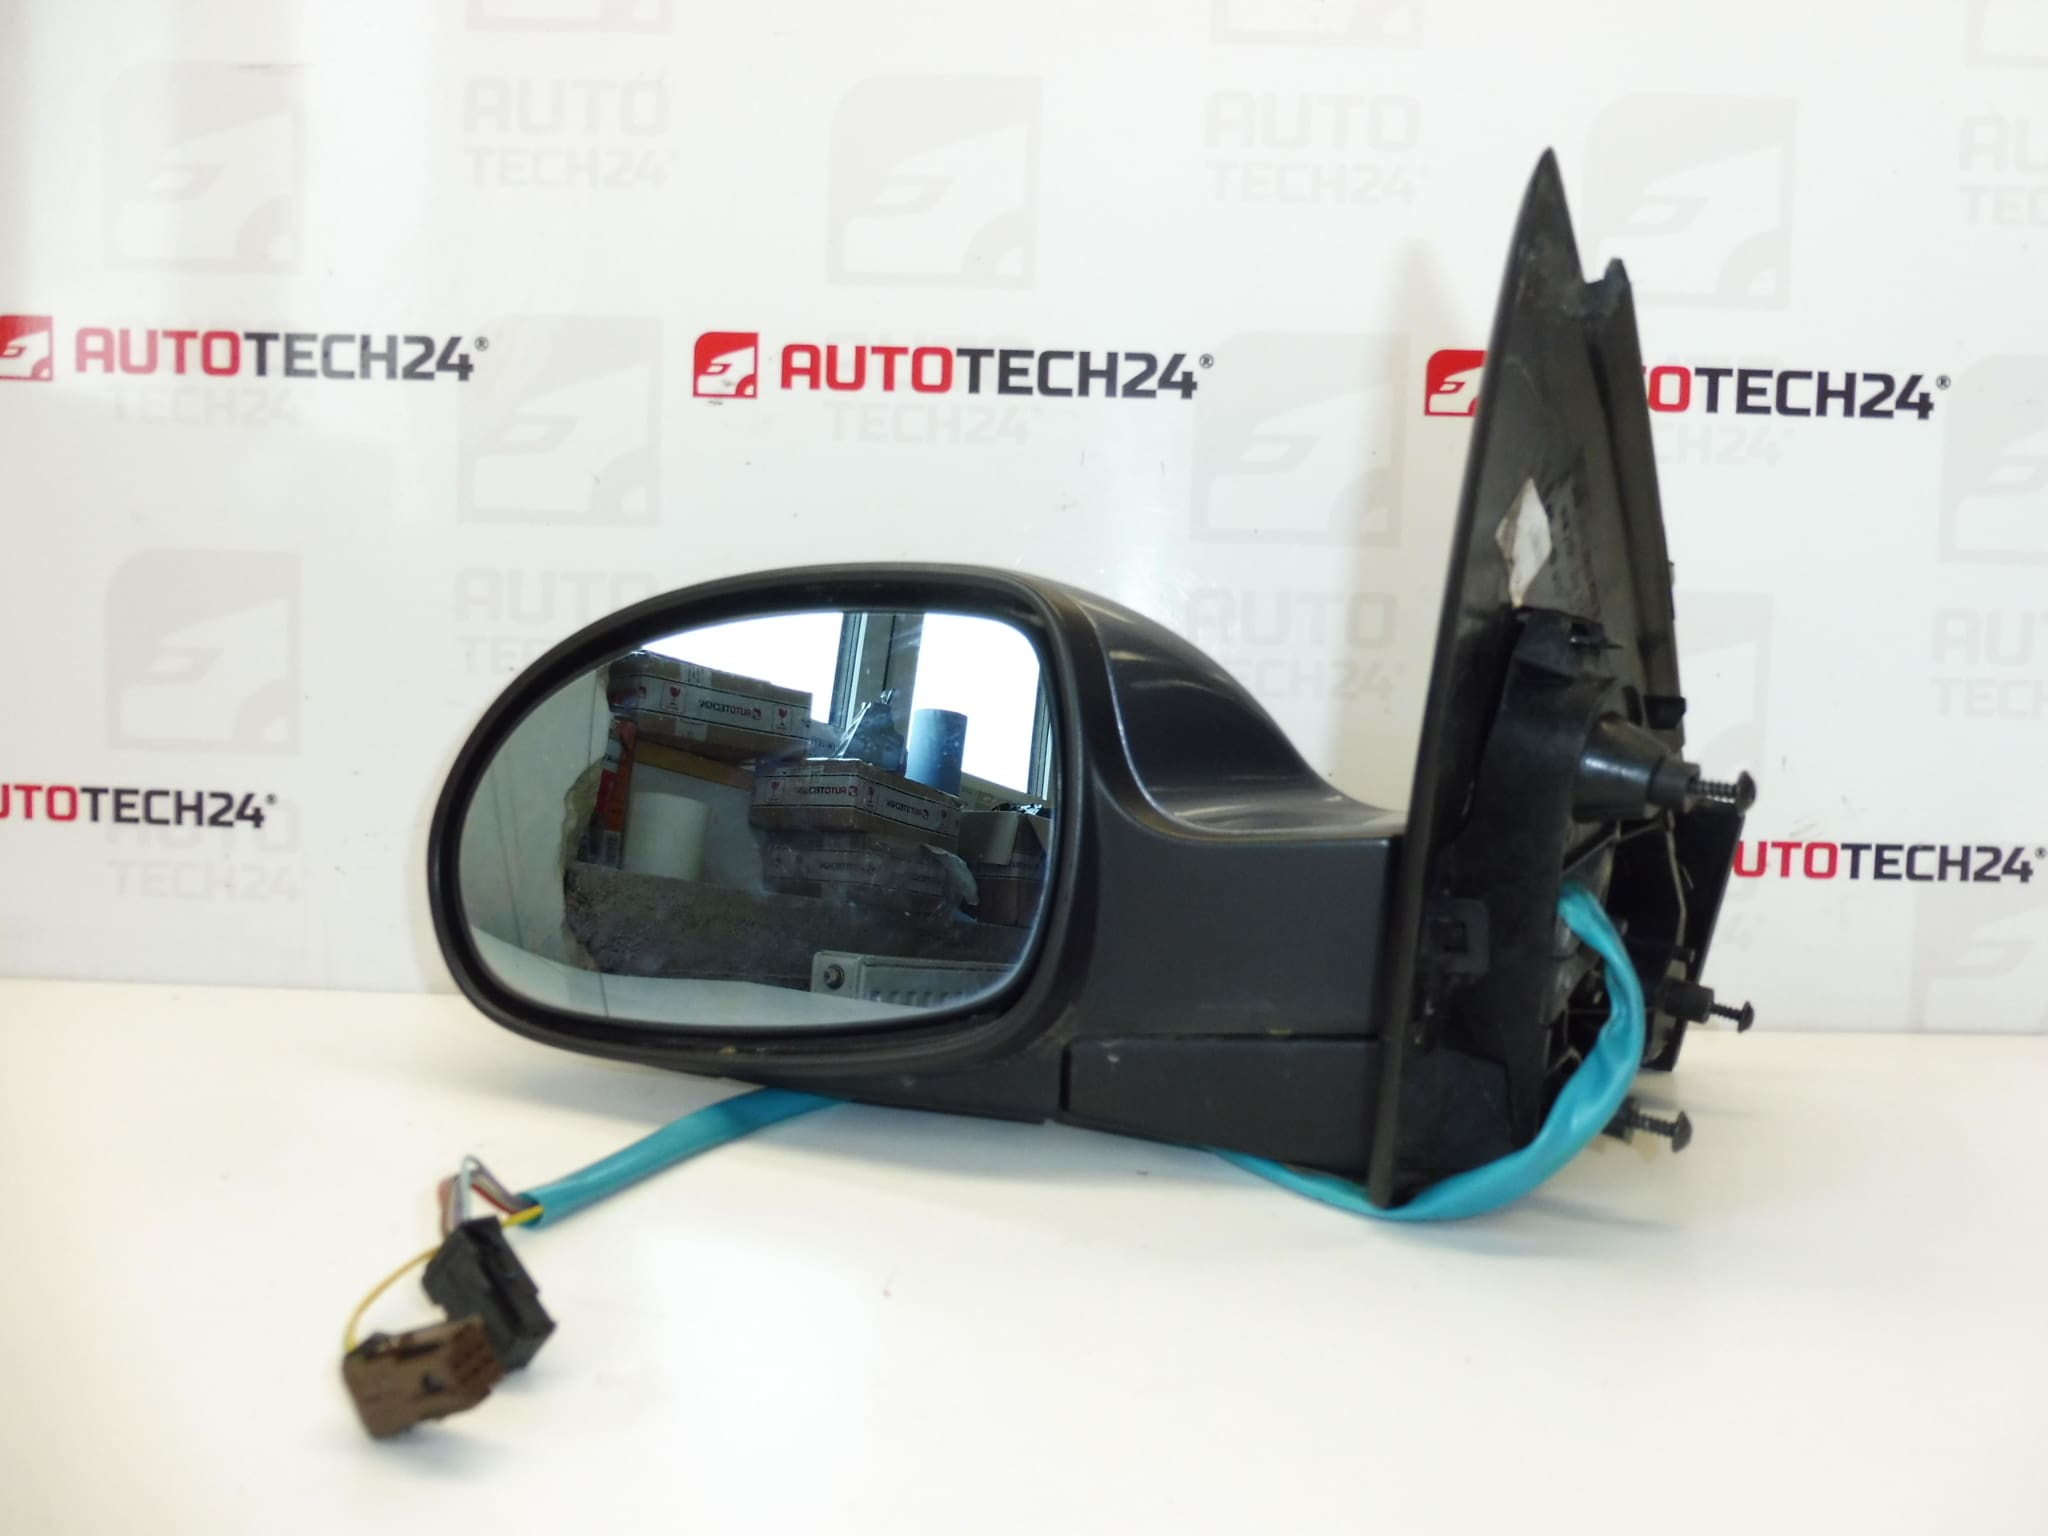
Exterior mirrors typically fail due to impact damage (collisions or knocks), water ingress that corrodes the motor or electrical connectors, broken gears in the folding mechanism, or failure of the heating element and adjustment motor after extended use. Environmental exposure (road salt, moisture) accelerates connector corrosion and internal wear.
Installation Recommendations
Recommended for professional fitment or experienced DIY mechanics. Basic steps:
- Disconnect The Battery Before Working On Electrical Connectors.
- Remove Inner Door Trim Or Mirror Access Panel To Reach Fixing Screws And Connectors.
- Unplug Electrical Connectors Carefully And Unscrew The Mirror Mounting Bolts.
- Fit The New Mirror, Reconnect Wiring, And Temporarily Reconnect Battery To Test Adjustment, Folding And Heating Functions Before Reassembling Trim.
- Do Not Overtighten Fasteners; Use Correct Tools (Torx/Screwdrivers/Socket Set) And Ensure Wiring Harnesses Are Secured Clear Of Moving Components.
Technical Information
- Manufacturer: Citroën / Stellantis
- Model: Citroën C5 (From 2005; May Also Fit Some Models From 2001)
- Product Codes: 8149WL, EZWD
- Other Numbers: EZW (Color Code) – Grey Metallic Paint
This mirror restores full functionality to the driver side mirror assembly and is ideal for mechanics and technicians who need a direct-fit replacement. Ordering by product code 8149WL / EZWD improves the chance of immediate match and faster fitting.