Description
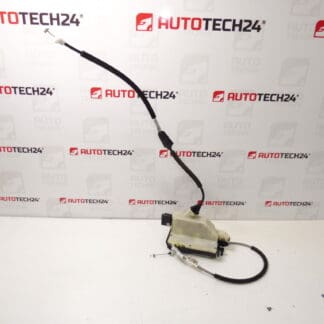
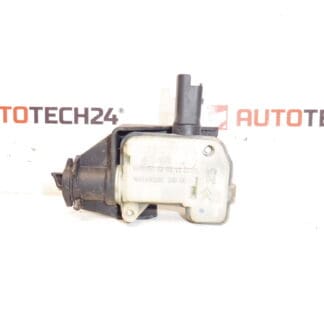
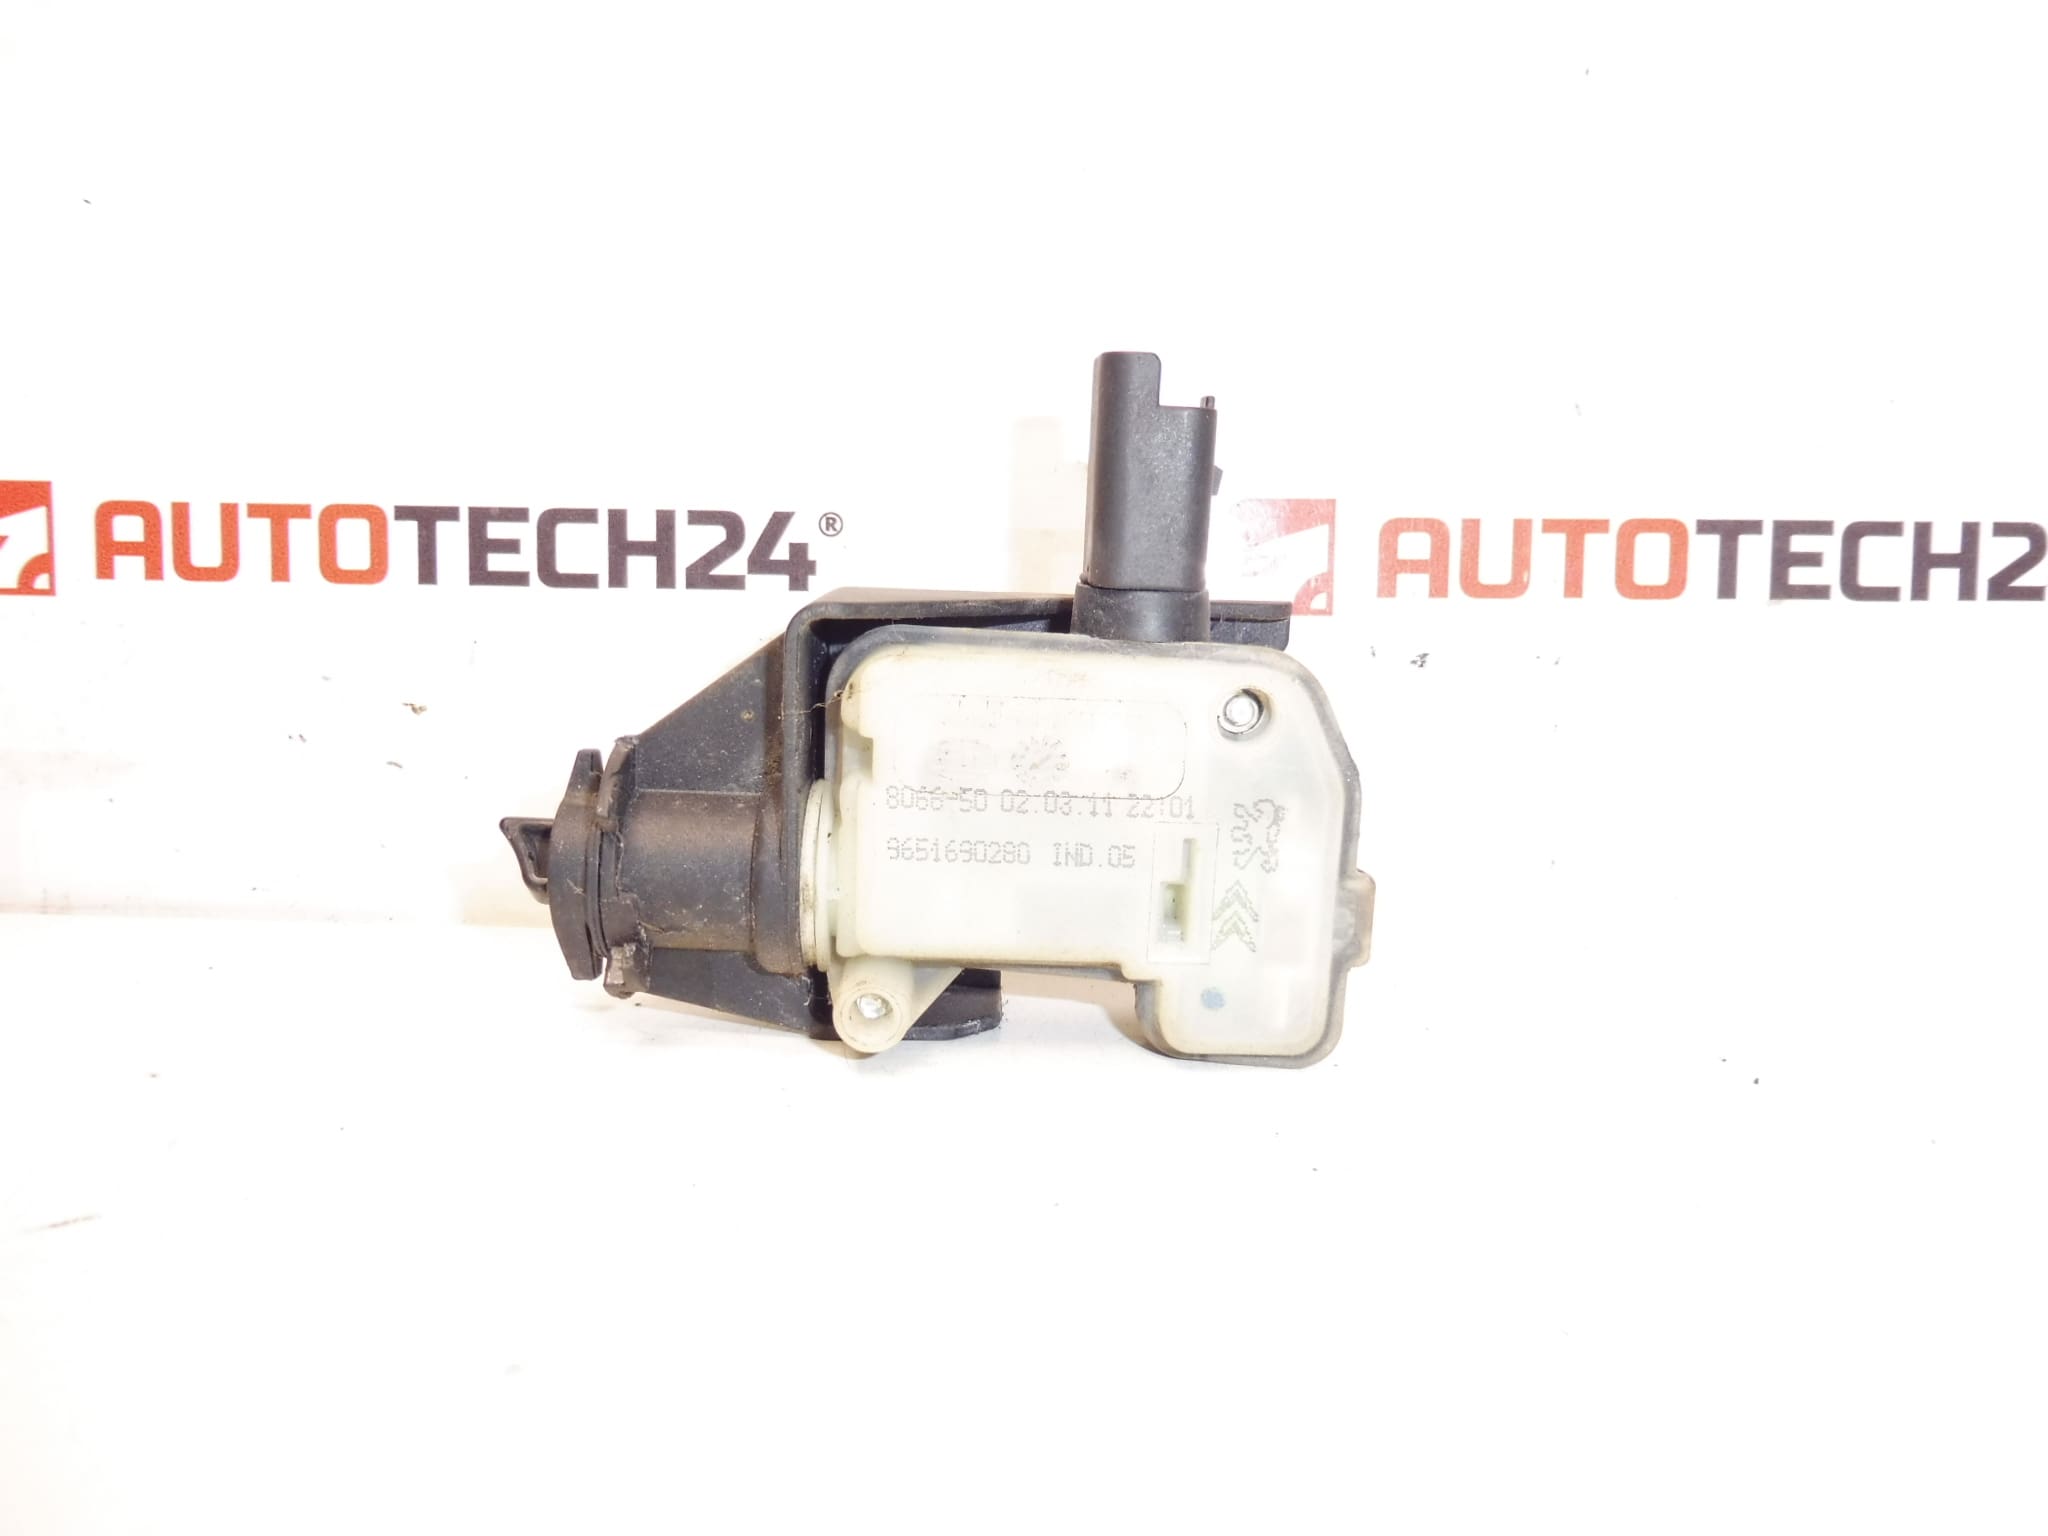
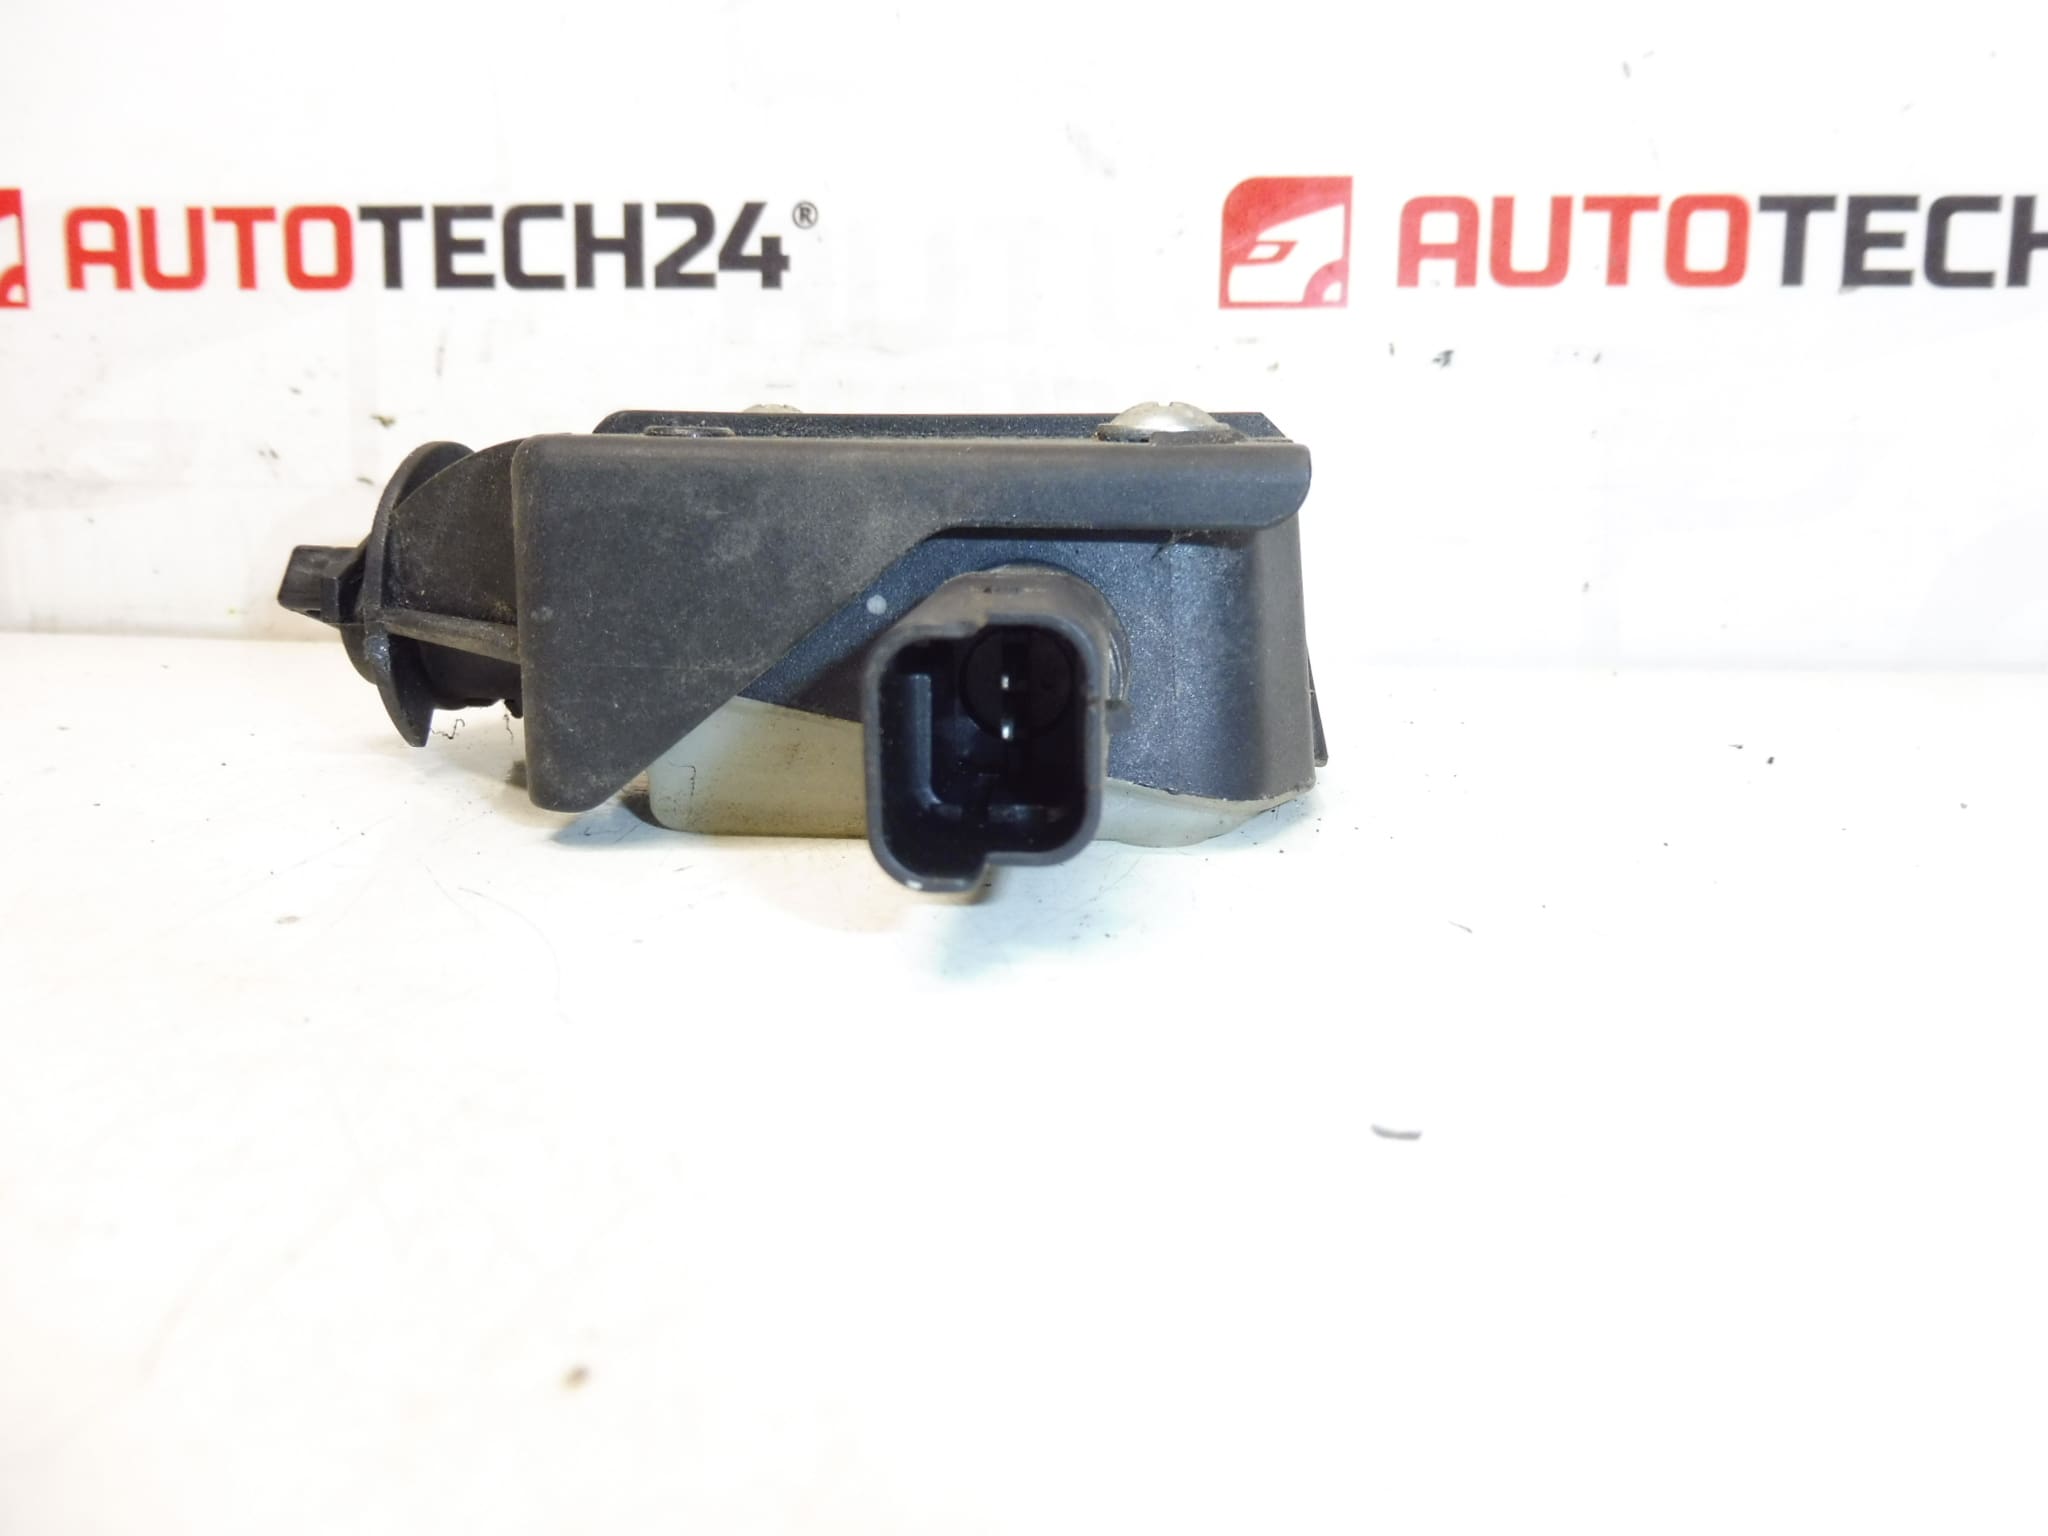
Fuel Filler Cap Actuator For Citroën And Peugeot Vehicles.
Restore reliable operation of the fuel filler lock with this direct-fit actuator supplied under OEM references 9651690280 and 661535. Designed for technicians and competent DIYers, the unit replaces a faulty fuel door locking mechanism to eliminate symptoms such as a stuck fuel flap, intermittent locking, or clicking without movement. The actuator is a common replacement part on Citroën and Peugeot models and is particularly associated with Citroën C4 II applications.
Technical Information
- Manufacturer: Stellantis (Citroën / Peugeot)
- Model: Citroën C4 II (common fitment; may fit compatible Peugeot models sharing the same OEM reference)
- Product Codes: 9651690280
- Other Numbers: 661535
Function And Typical Symptoms
The actuator operates the latch that locks and releases the fuel filler flap. When it fails, common symptoms include a fuel door that will not open or lock, noise (clicking) from the actuator area when operating the central locking or fuel flap release, and occasional warning messages related to the fuel flap on some vehicles. Replacing the actuator restores mechanical movement and electrical control of the fuel door.
Common Causes Of Failure
Failure is most often caused by moisture ingress and corrosion, mechanical wear of plastic gears or linkages, debris/jamming inside the latch, or electrical motor burnout after long service life. Freeze-related jamming or impact damage to the fuel flap assembly can also accelerate wear. In everyday use, these parts typically last many years but are exposed to road dirt and weather, which shortens their service life.
Installation Recommendations
Recommended For: Experienced Automechanics And Skilled DIYers.
- Preparation: Switch Off Ignition. If possible, disconnect the negative battery terminal to reduce the risk of short circuits while working on an electrical component.
- Access: Remove the appropriate trim or access panel inside the boot or wheel-arch area to reach the fuel flap actuator. Use plastic trim tools to avoid damage to clips and panels.
- Removal: Unplug the electrical connector, release any retaining clips or fasteners, and remove the actuator from its mounting. Inspect linkages and the latch for damage or corrosion.
- Fitment: Install the new actuator in the same position, secure fasteners without over-tightening, reconnect the electrical connector and verify that the connector is seated and free of corrosion.
- Testing: Before reassembling trim, test the fuel door operation using the central locking and the in-cabin fuel flap release. Cycle several times to confirm smooth movement and reliable locking.
- Finishing: Reassemble all trims and panels. Apply a light dielectric grease to moving linkages if appropriate to protect against moisture and reduce noise.
Why The Part Should Be Replaced
Continuing to operate a worn actuator can lead to a permanently stuck fuel flap or intermittent locking failures that complicate refuelling. Replacing a failing actuator is a cost-effective repair that restores normal function and prevents secondary damage to the surrounding latch mechanism.
Search By Product Number: Use References 9651690280 Or 661535 When Looking For This Part To Ensure You Select The Correct Unit.