Description
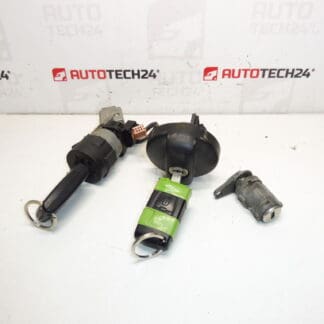
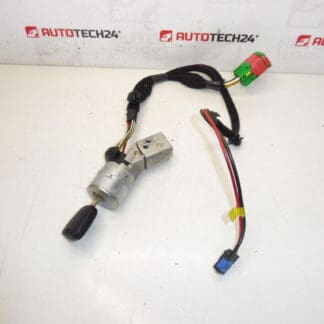
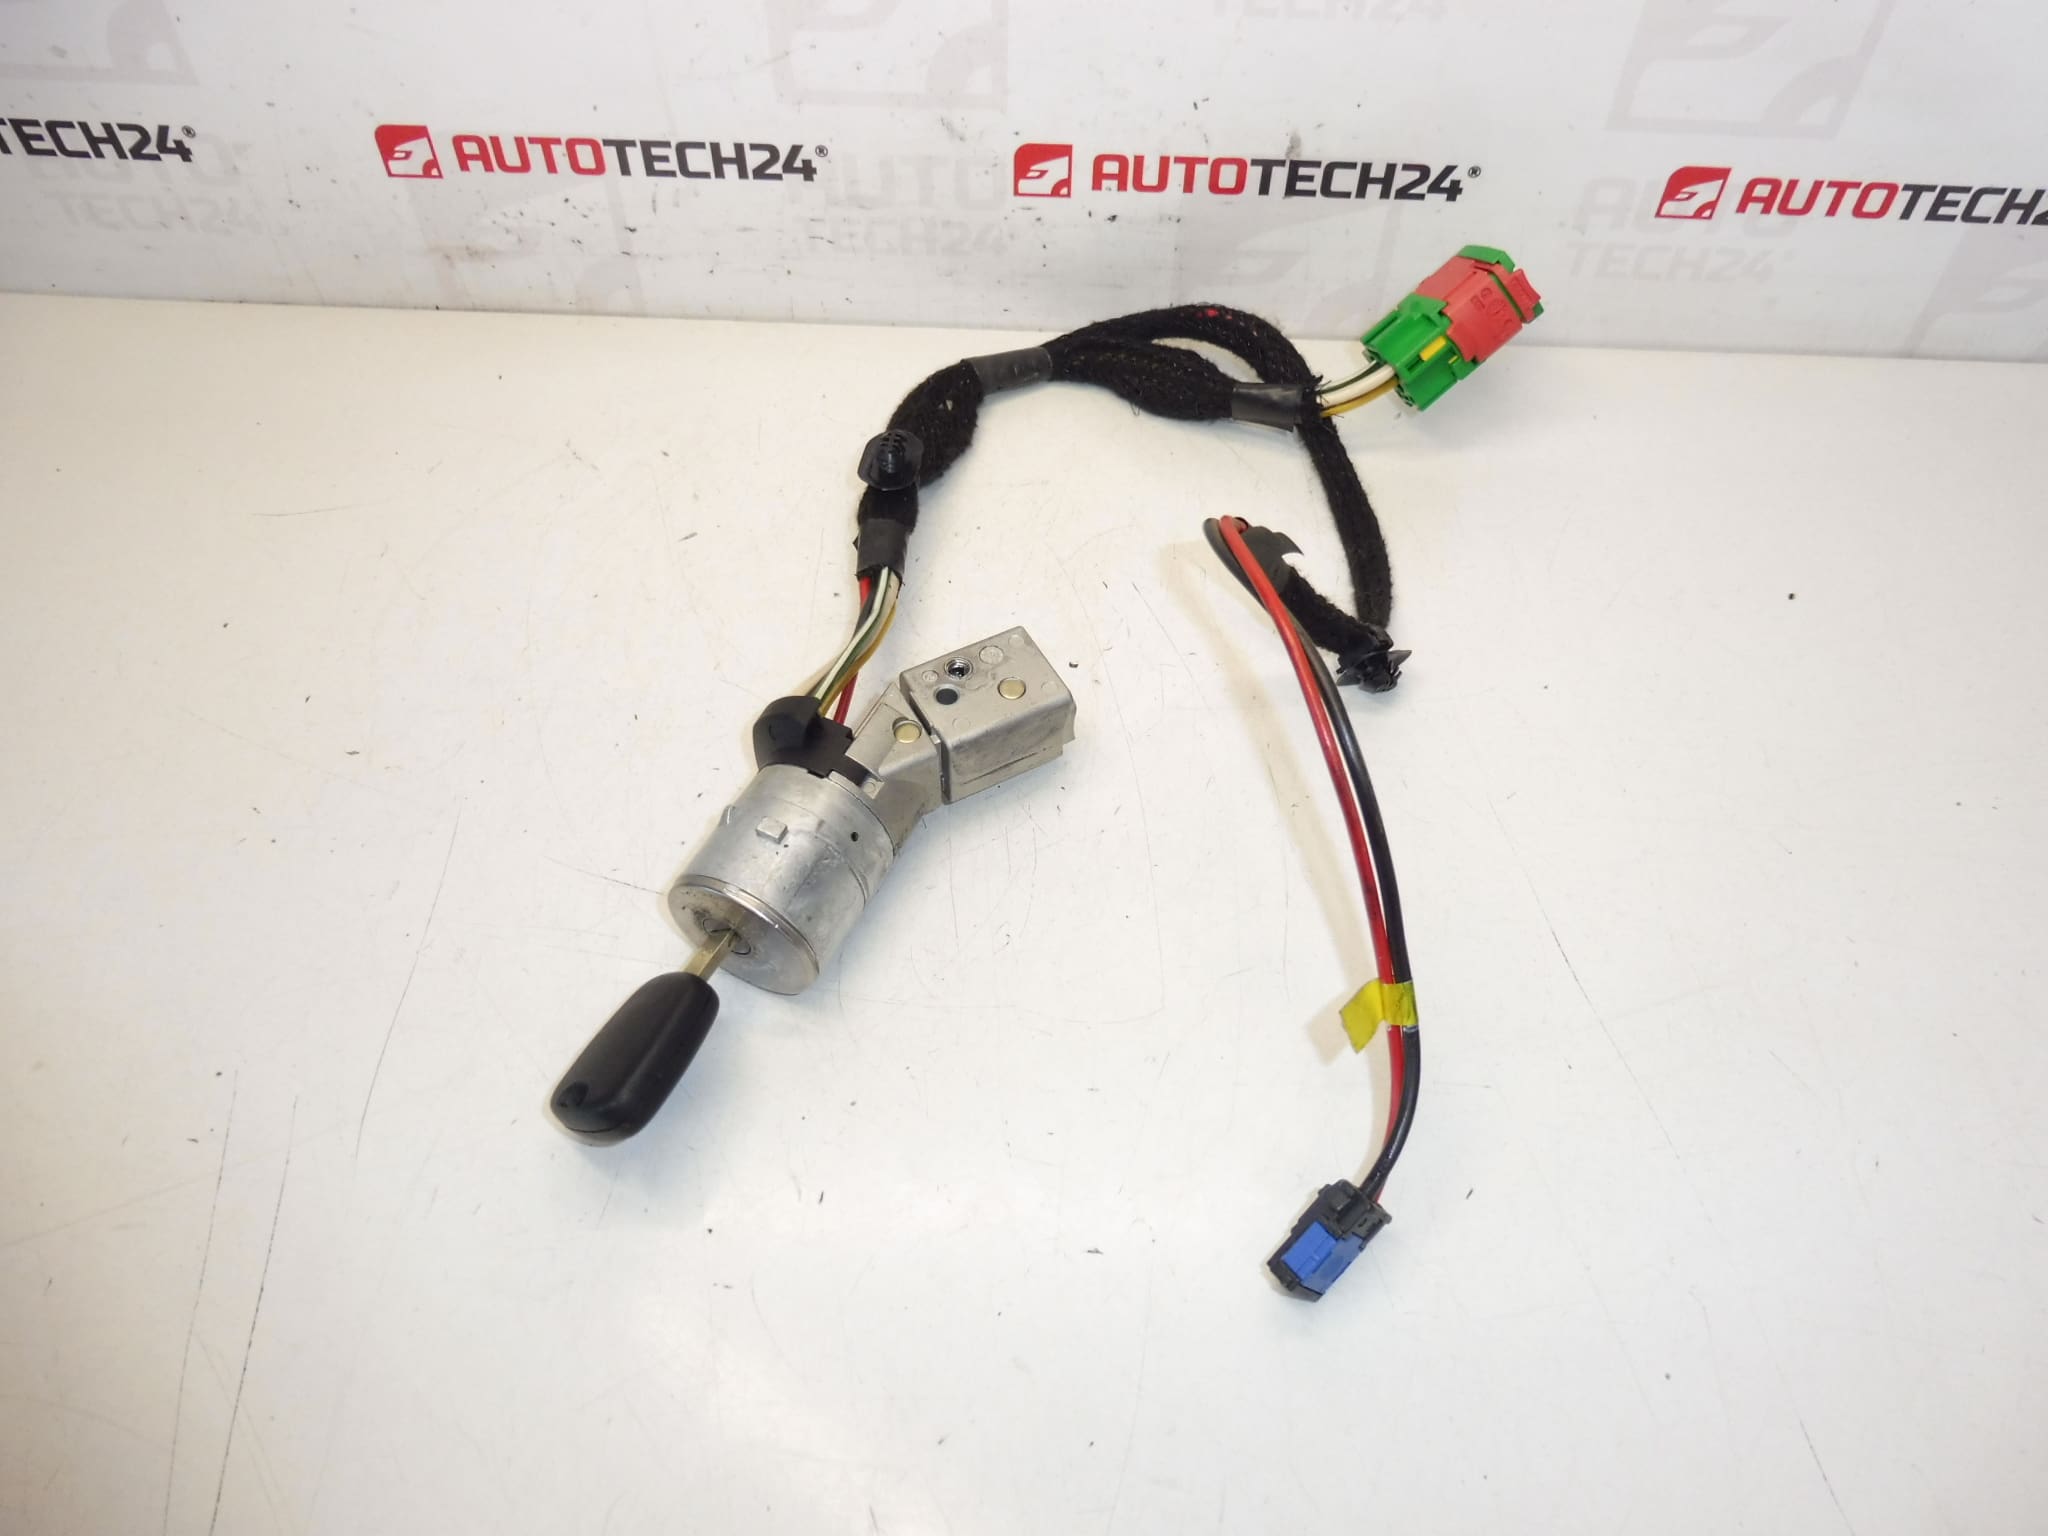
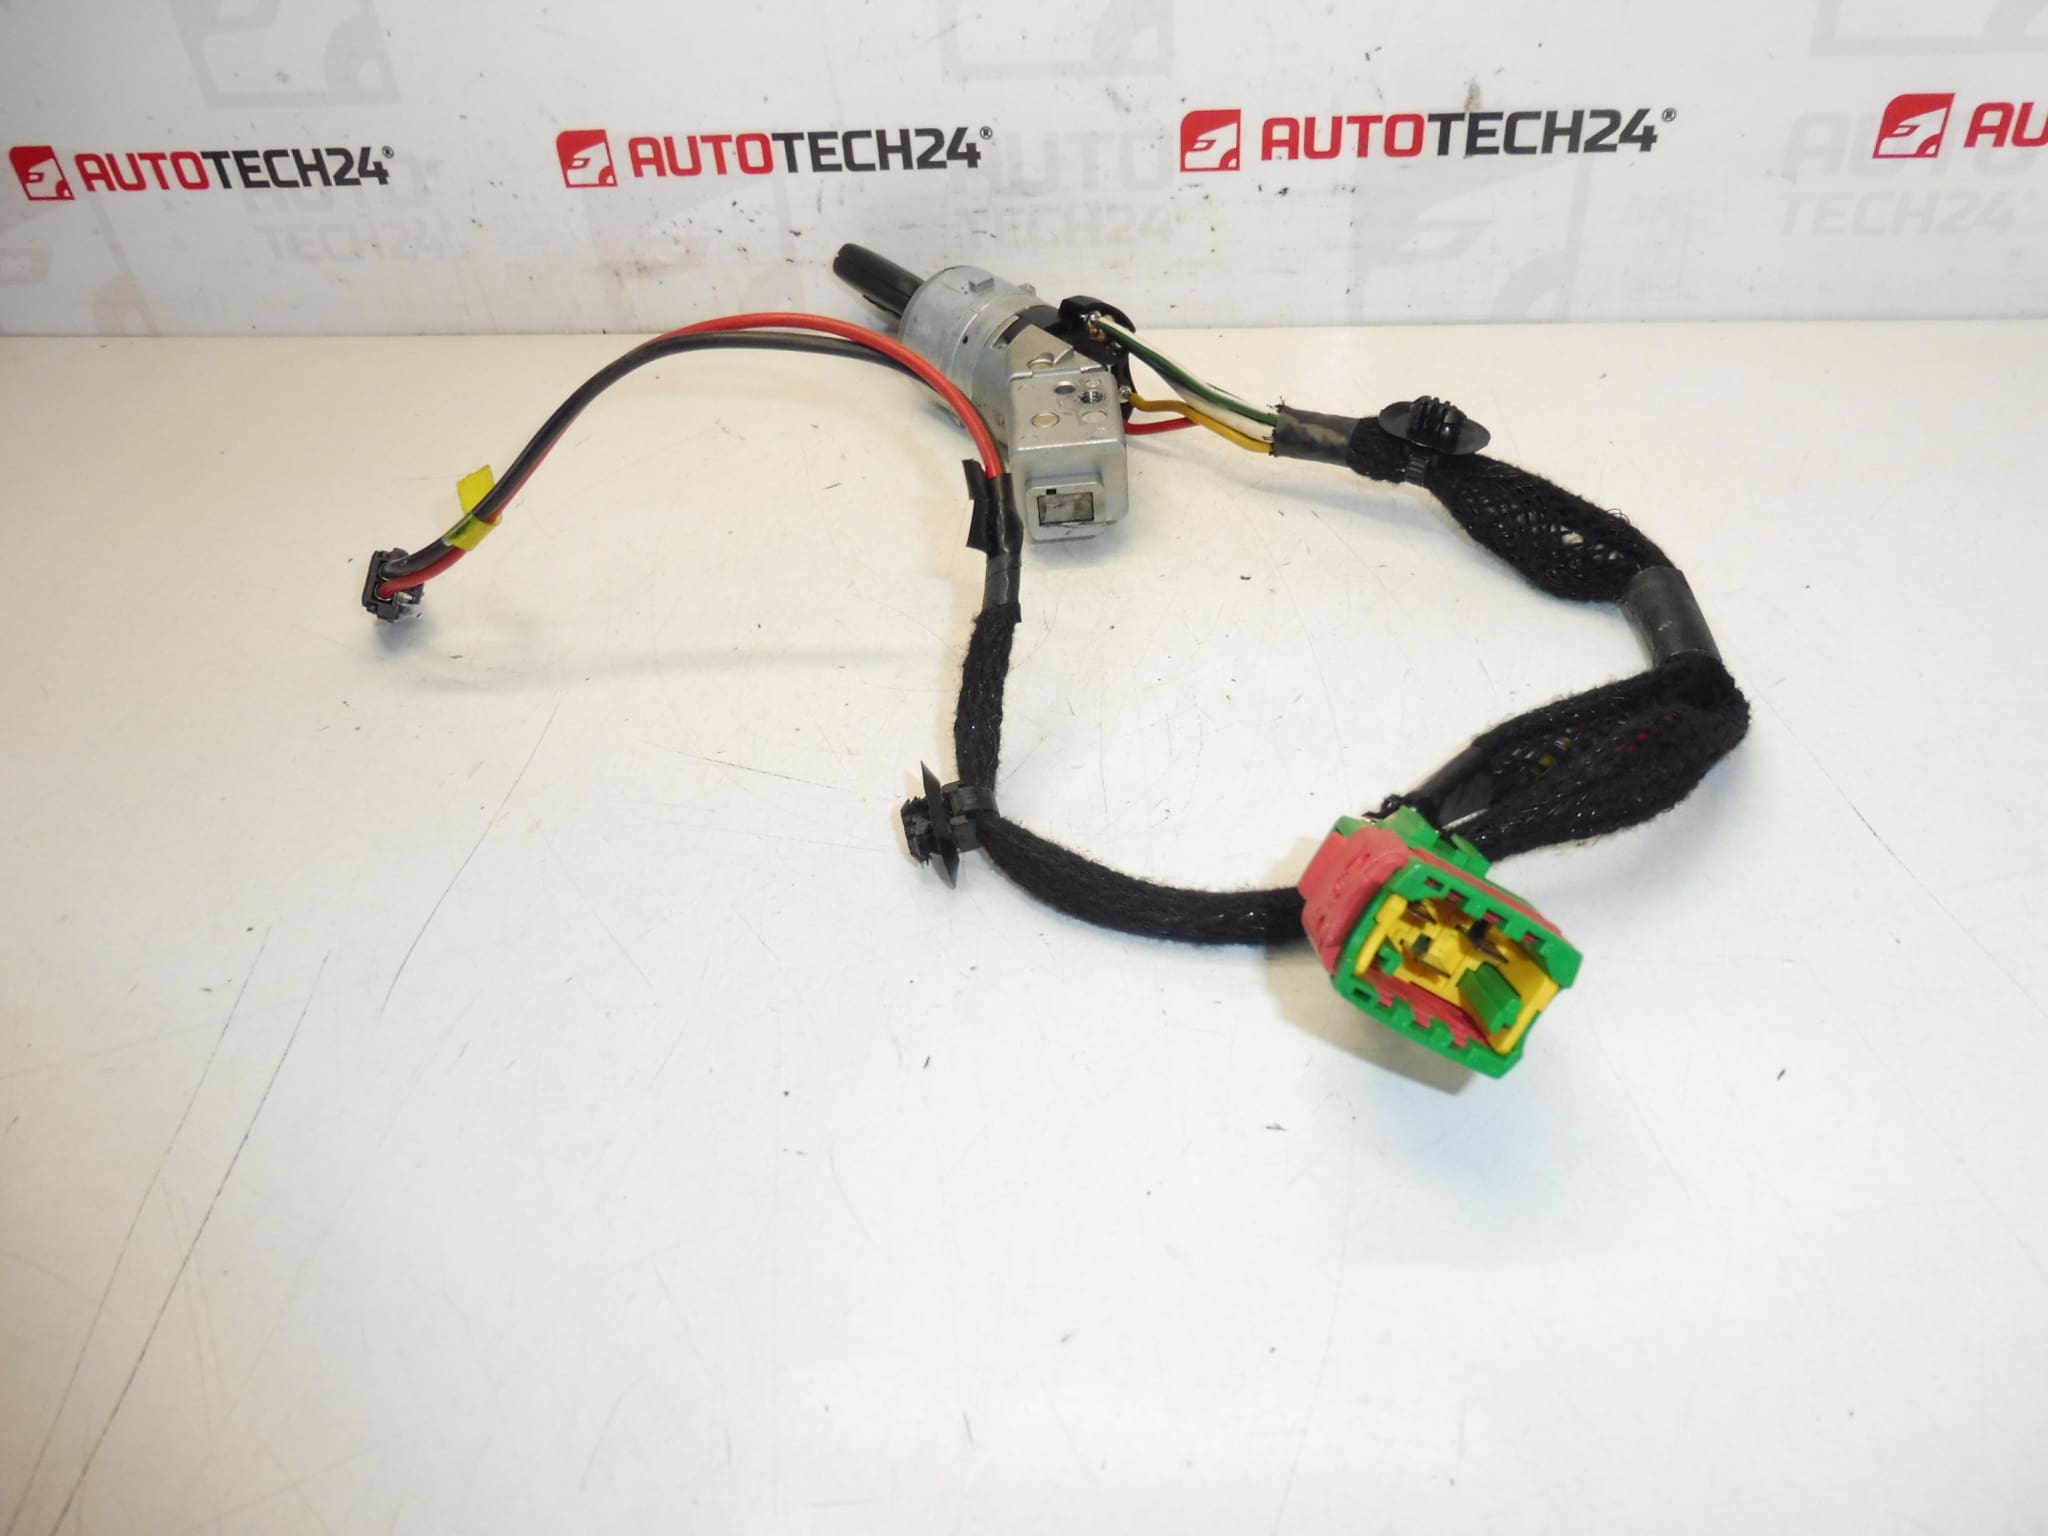
Ignition switch for Peugeot 307 first series. 1x key.
Product Overview
Replacement ignition switch / ignition barrel for Peugeot 307 First Series. Supplied with one key. Commonly referenced under part code 4162AS, this unit restores mechanical ignition operation, steering lock function and the electrical contact for starting the engine. Ideal for professional workshops and experienced DIY mechanics who service Peugeot and Citroën vehicles.
Technical Information
- Manufacturer: Stellantis / Citroën / Peugeot
- Model: Peugeot 307 (First Series)
- Product Codes: 4162AS
- Additional Numbers: No Additional Numbers Listed
Intended Use And Compatibility
Designed for fitment in Peugeot 307 First Series vehicles. Often searched by the product code 4162AS. Check physical match with the original unit (shape, connector and mounting points) before installation. This part replaces the mechanical and electrical ignition module in the steering column and is suitable where the original barrel is worn, damaged or the key is broken.
Function And Common Failure Causes
The ignition switch/ignition barrel performs several key functions: it provides the mechanical interface for the ignition key, engages and releases the steering lock, and completes the electrical circuit to power the ignition and starter. Common causes of failure include:
- Mechanical wear of tumblers and pins from long-term use or damaged/worn keys.
- Broken or bent key ends that prevent proper tumblers engagement.
- Plastic housing damage from forceful handling or attempted theft.
- Corrosion or contamination of electrical contacts causing intermittent electrical faults.
- Failure of the immobilizer detection ring or transponder interface (leading to starting issues).
Replacement Procedure (Overview)
Suitable for professional mechanics and competent DIYers. Typical replacement steps:
- Disconnect the vehicle battery before any work to avoid electrical shorts and to protect safety systems.
- Remove steering column trim panels to access the ignition barrel (careful with clips and fasteners).
- Retract the key to the correct position, remove retaining screws or clip securing the barrel, and slide out the old unit.
- Install the new barrel, secure fasteners, reconnect electrical connector and reassemble the trim.
- Test mechanically (key turns smoothly, steering lock engages/releases) and electrically (vehicle powers on, starter operates).
Installation Recommendations
- Always Disconnect The Battery Before Starting Work And Follow Manufacturer Procedures To Avoid Damage To Electrical Modules.
- Inspect The Supplied Key And Original Transponder: If Reusing The Original Key/Transponder, No Additional Programming Is Usually Required. If The Supplied Key Does Not Contain The Correct Transponder, Key Programming May Be Necessary To Match The Vehicle Immobilizer.
- Handle Plastic Components Carefully To Avoid Cracking Trims And Covers. Keep Work Area Clean To Prevent Debris Entering The Barrel.
- If You Are Not Confident With Immobilizer Or Electrical Tasks, Have The Replacement Performed By A Qualified Technician.
Why This Part Often Fails
Ignition barrels are subject to frequent mechanical use and exposure to dirt, moisture and wear. Over time the internal tumblers and springs wear down, keys can deform or snap, and plastic housings may become brittle. Electrical contact surfaces can corrode, causing intermittent starting or accessory power faults. Attempted theft or forced key removal are also common causes of sudden failure.