Description
Lock Cable For The Central Locking Of Left And Right Rear Doors For PEUGEOT 307 Vehicles
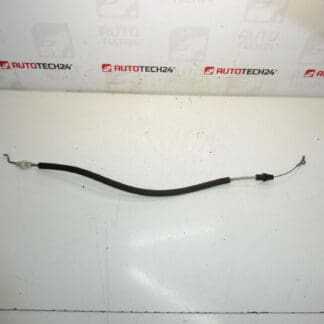
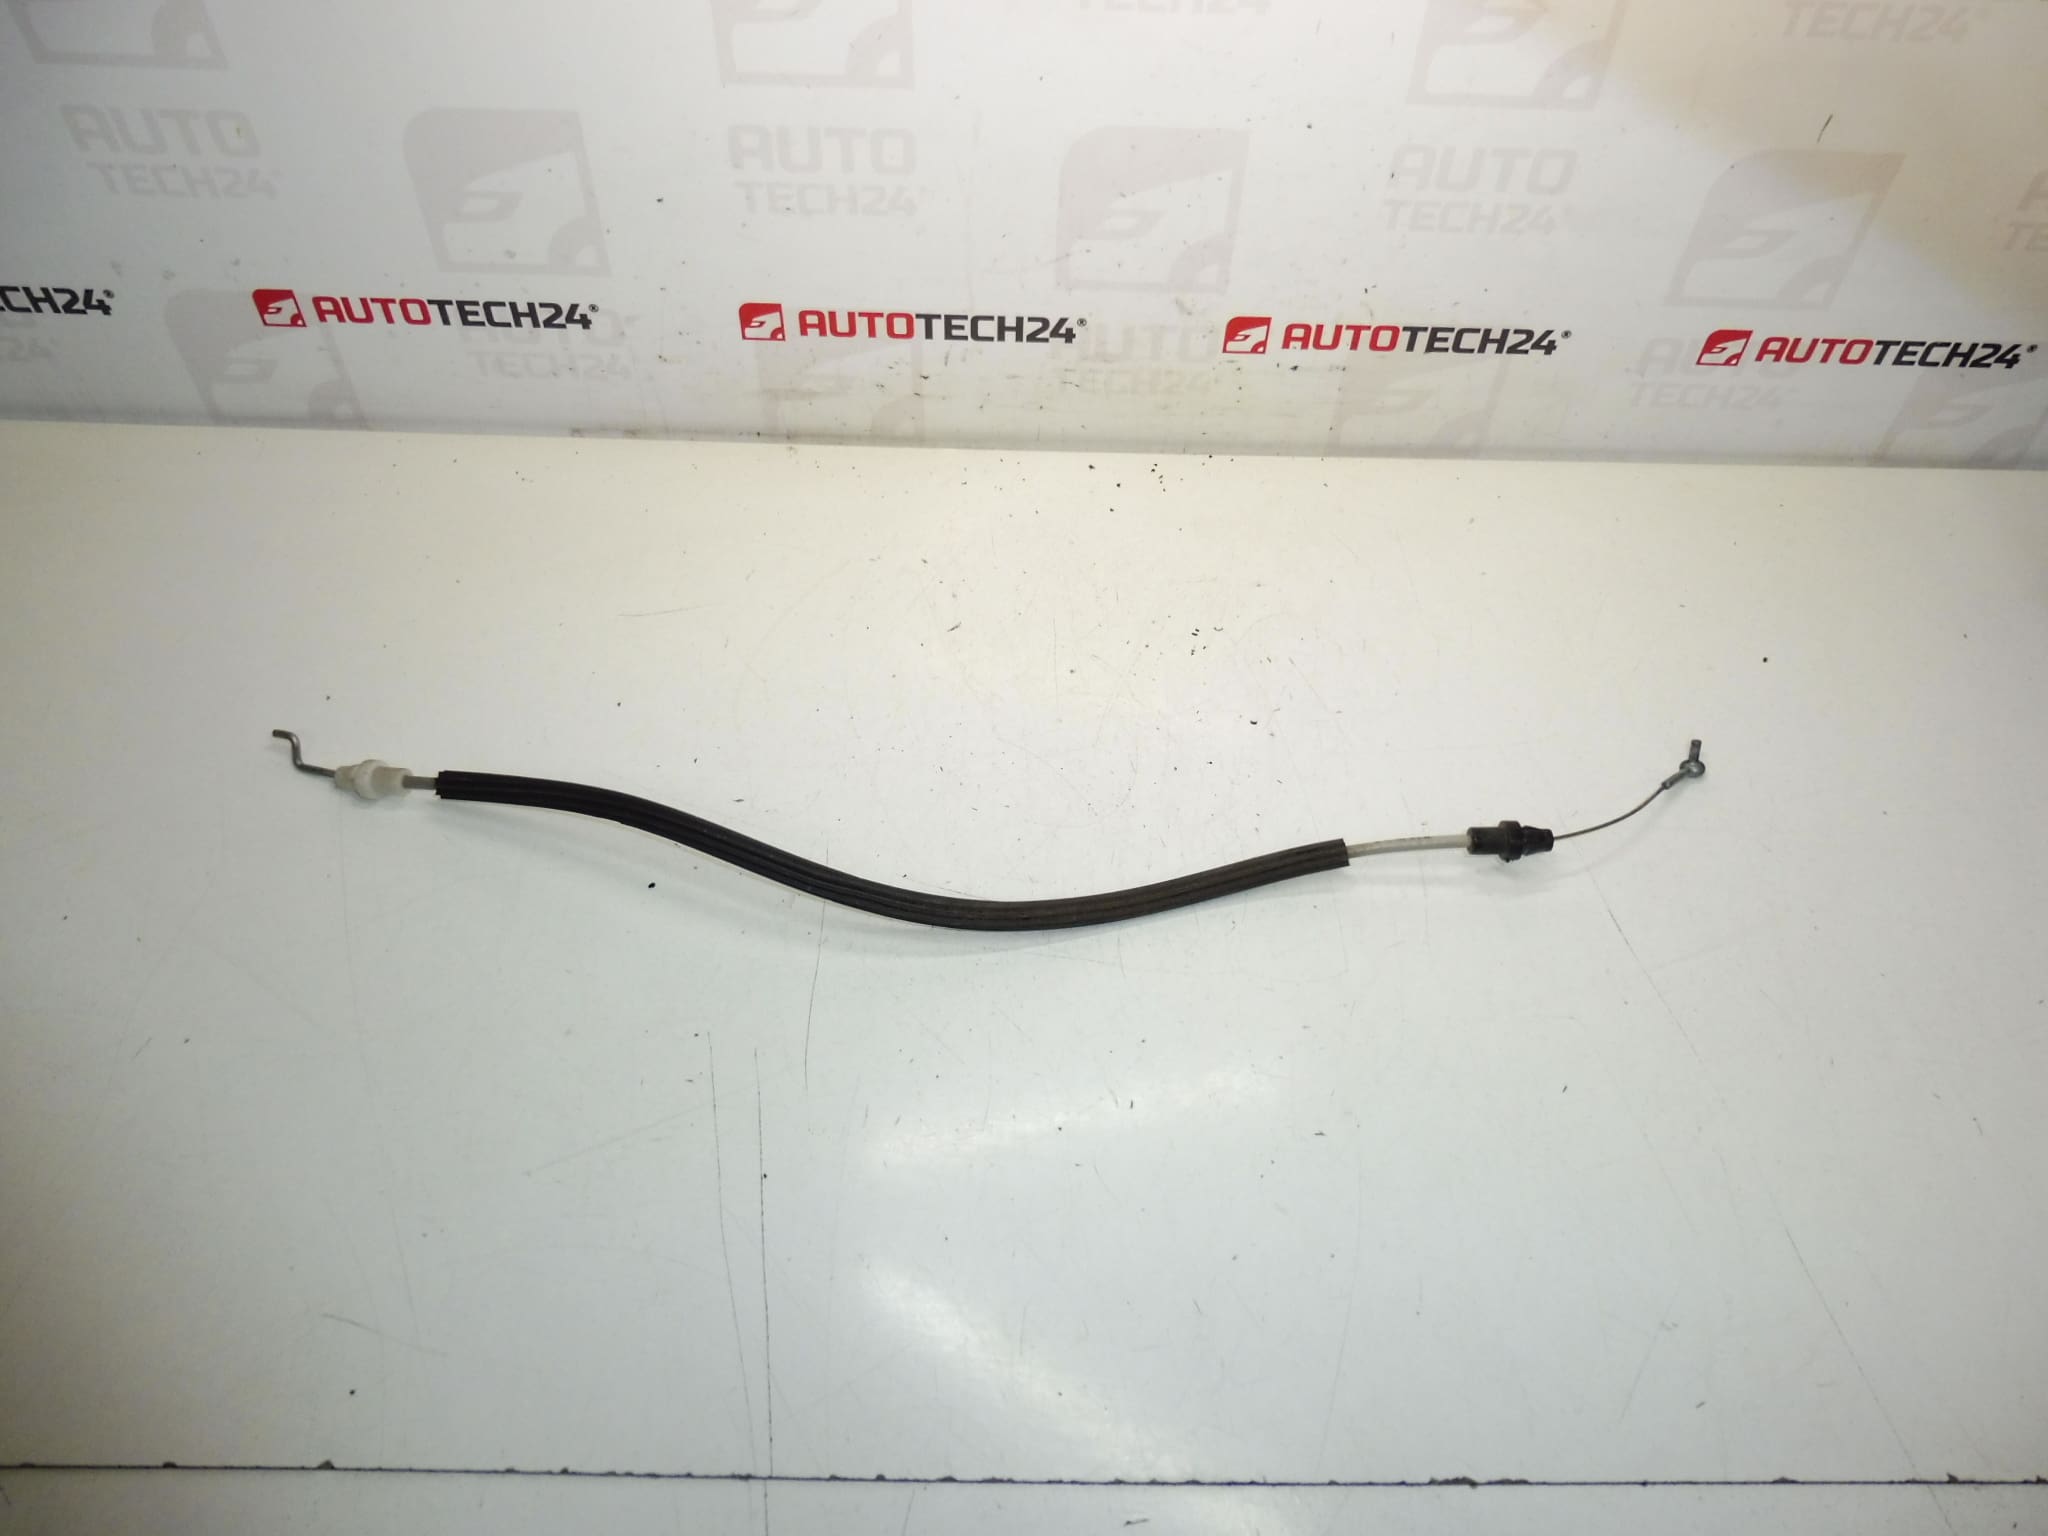
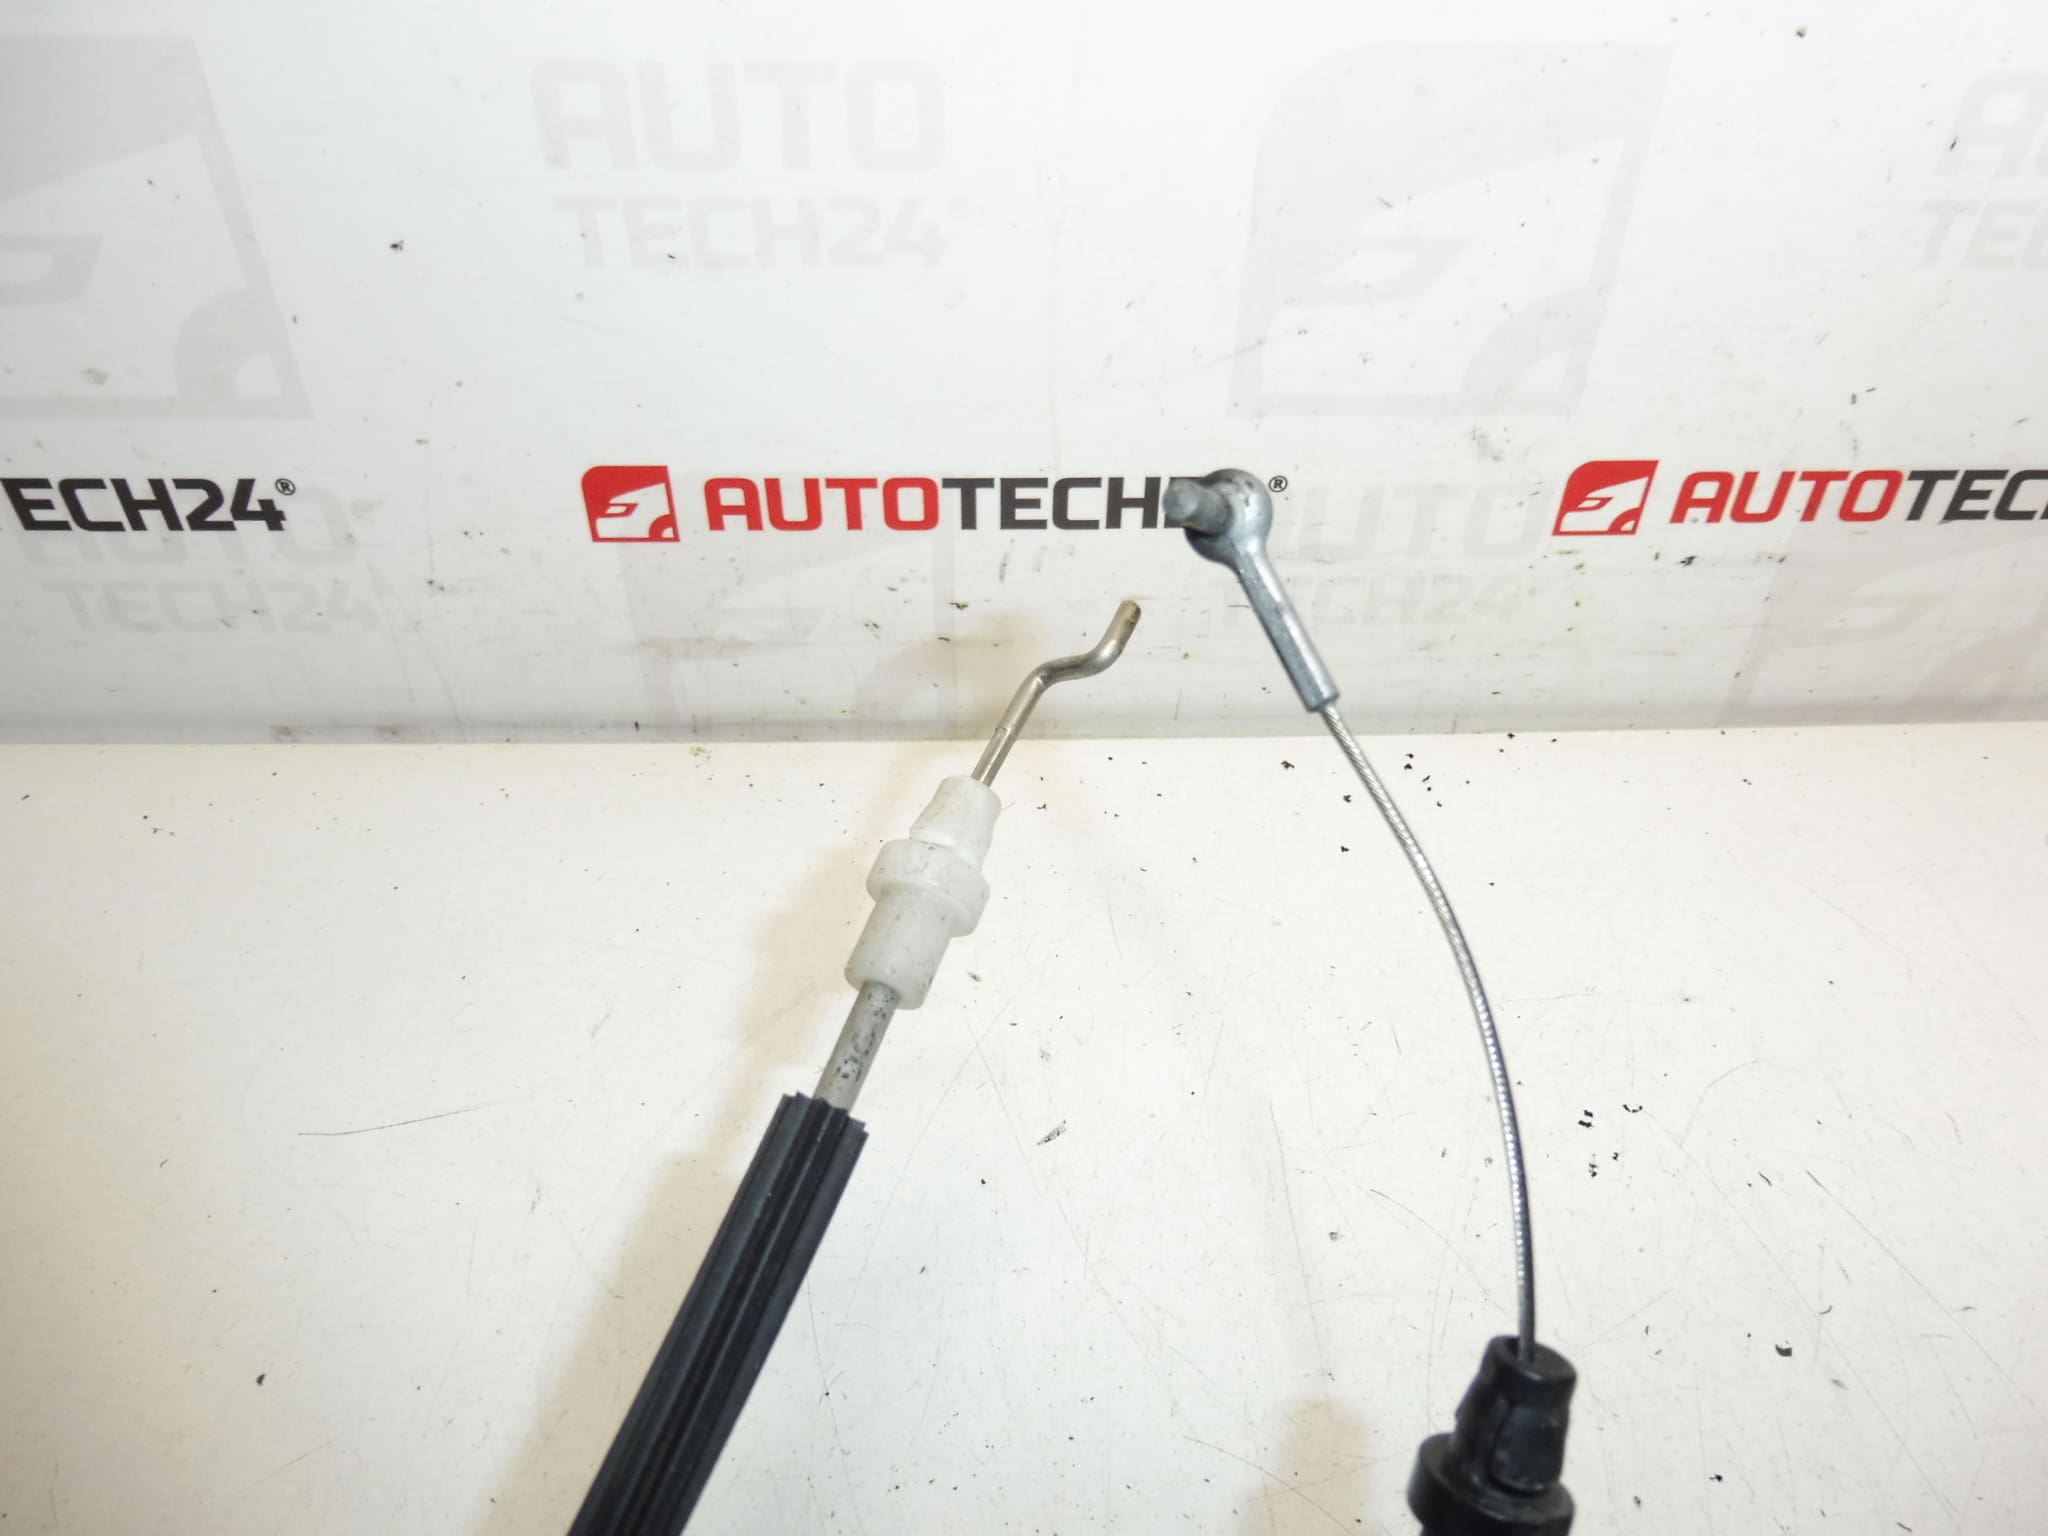
This door lock control cable is designed for the central locking mechanism of the Peugeot 307. It transmits the mechanical movement from the interior and exterior door handles to the latch assembly, ensuring reliable door opening and locking. Commonly referenced under part code 9151V7, this cable is suitable for left and right rear door applications on the Peugeot 307 and is an essential spare for workshops and DIY mechanics addressing door latch or handle faults.
Key Features
– Direct replacement for the original door lock cable on compatible Peugeot 307 models.
– Transfers pull/push motion from handle to latch with minimal friction.
– Includes end fittings and mounting points compatible with factory locating clips (verify fit before final assembly).
Technical Information
- Manufacturer: Stellantis (Peugeot/Citroën)
- Model: Peugeot 307
- Product Codes: 9151V7
- Additional Numbers: NFP
Function And Application
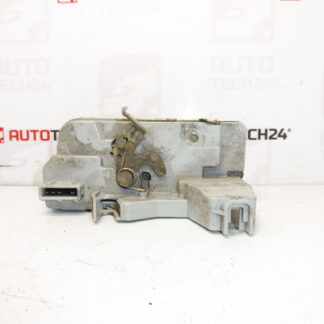
The cable links the door handle levers to the latch mechanism, converting the user’s manual input into latch movement that releases or secures the door. If the cable is worn, detached or broken, the door handle may feel loose, not return properly, or fail to open the door. This part is used on Peugeot 307 rear doors (left and right), and is intended for vehicles that use a mechanical linkage between handle and latch.
Replacement Procedure
- Prepare Tools: trim tools, Torx/Phillips screwdrivers, pliers, lubricant, replacement clips if required.
- Remove Door Trim: Pry off trim panel carefully, disconnect any electrical connectors (speakers, switches) and remove the vapour/moisture barrier as needed.
- Access Latch And Handle Linkages: Detach the old cable from the interior and exterior handle levers and from the latch assembly. Note routing and clip positions.
- Install New Cable: Route the new cable along the same path, secure in all clips and attach to handle levers and latch. Ensure ends are fully seated and retaining clips engage.
- Test Operation: Before reassembling the trim, operate the handle and central locking to confirm smooth function and correct engagement.
- Final Assembly: Refit moisture barrier and door trim panel, reconnect electrical connectors, and perform a final function test.
Installation Recommendations
- Inspect All Mounting Clips: Replace any brittle or broken plastic clips to prevent cable movement and premature wear.
- Lubrication: Lightly lubricate pivot points on levers and latch (avoid excess grease on cable sheath ends) to reduce friction and extend life.
- Protect Wiring And Moisture Barrier: Ensure the moisture barrier is correctly re-sealed to prevent water ingress that accelerates corrosion.
- Test Before Final Fitment: Verify smooth manual operation and central locking cycles before refitting the trim panel.
Why It Fails Most Often
Door lock cables typically fail due to mechanical wear, stretching or fraying of the inner wire, corrosion from moisture ingress, and breakage of plastic end fittings or retaining clips. Repeated stress from misaligned door components or a stiff latch increases load on the cable. Lack of lubrication and frozen/icy conditions can also cause the cable to snap or the sheath to split.
Notes For Mechanics And DIYers
Keep the original cable routing and clip positions as reference during installation. Replacing worn clips and checking latch alignment while the door trim is off reduces the chance of repeat failures. Use the part code 9151V7 when searching for compatible replacements to improve match accuracy.