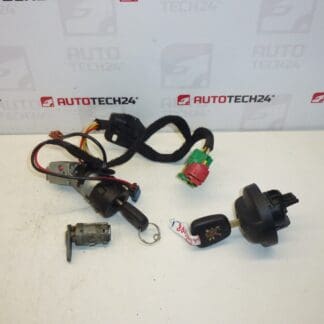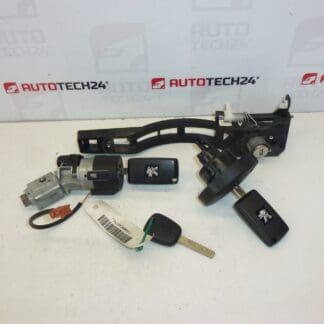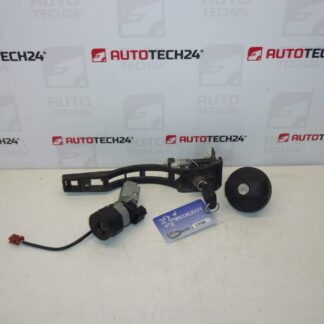
Description
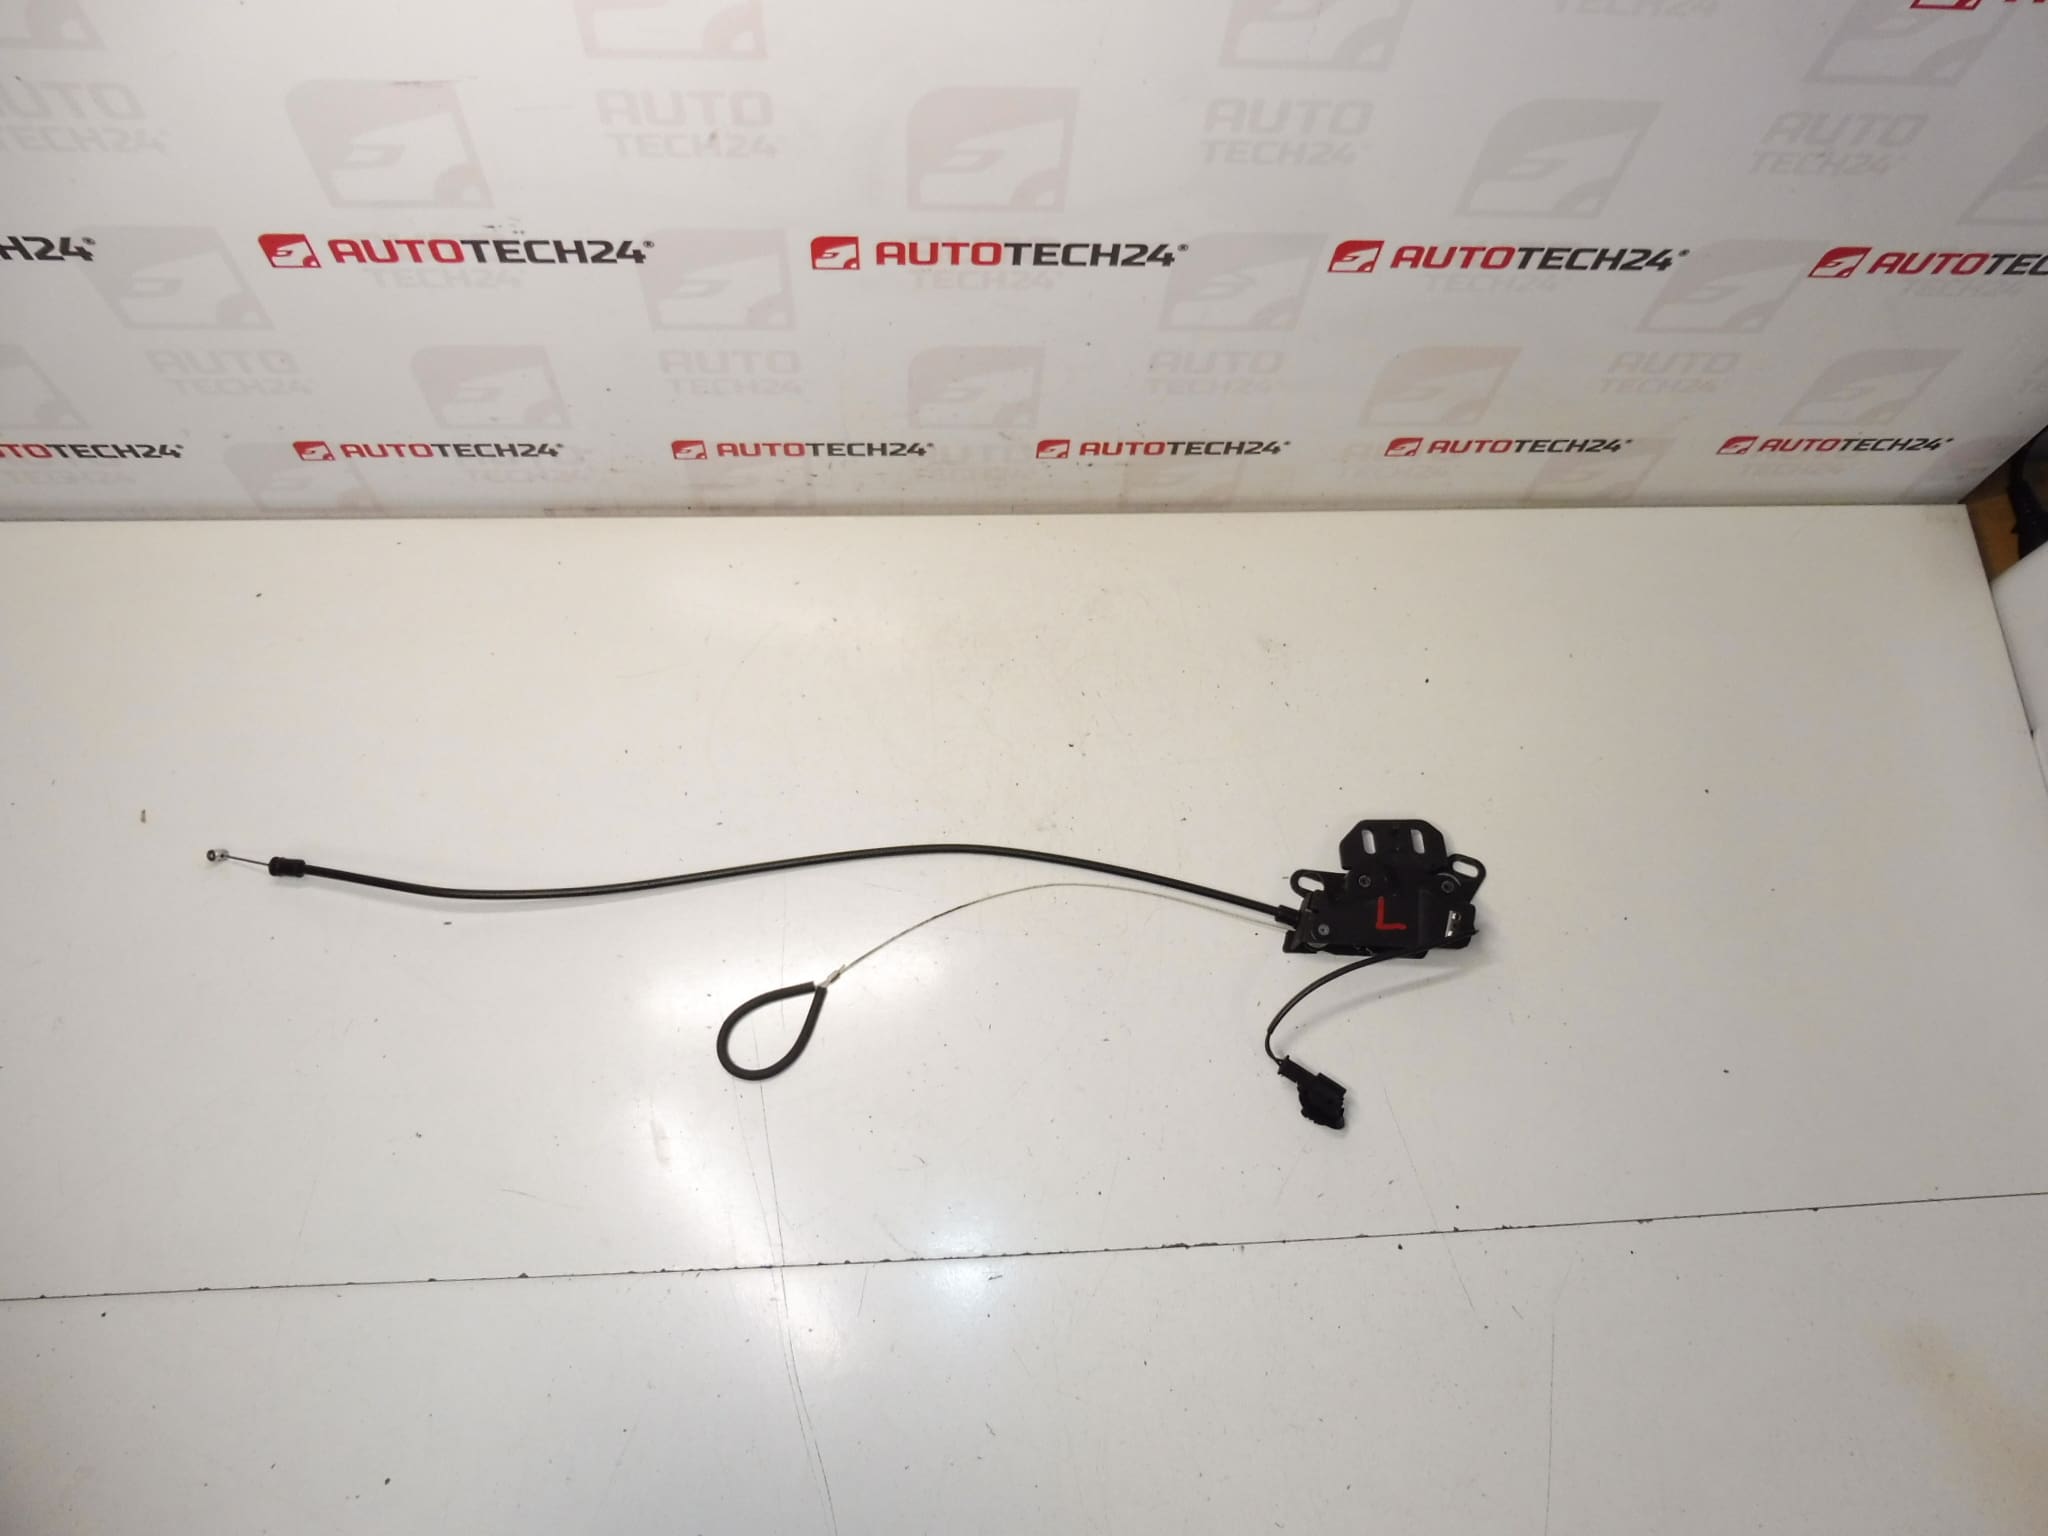
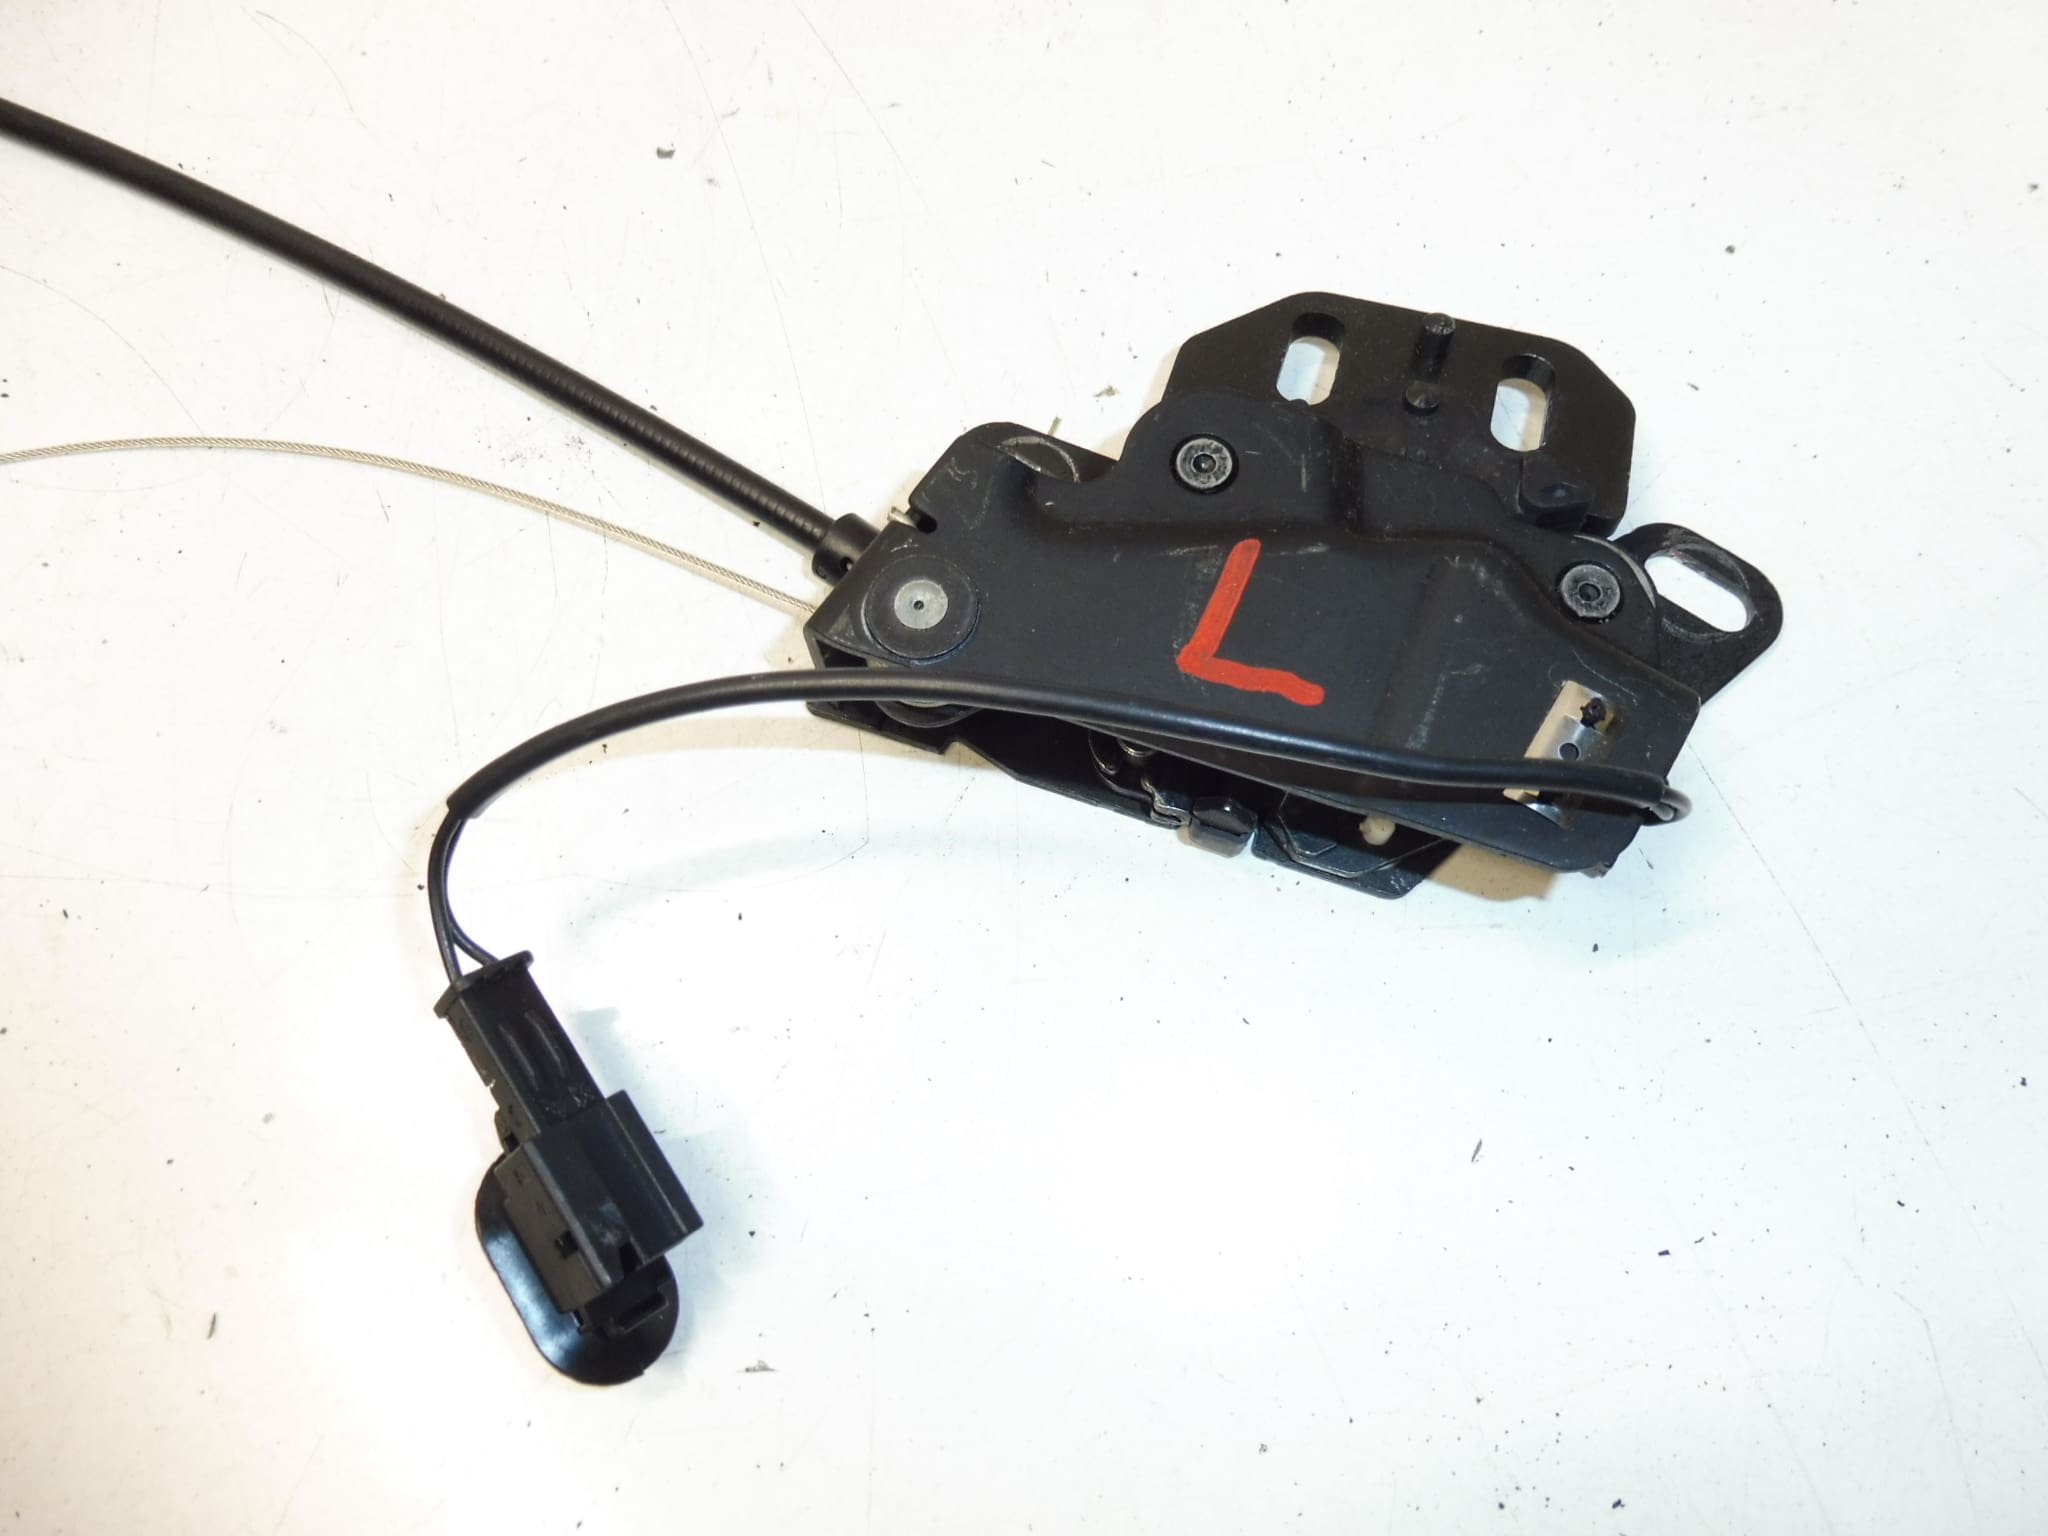
Luggage compartment lock left for PEUGEOT 307 CC cars
With functional microswitch 8484L3
Part description
Used left luggage compartment lock for Peugeot 307 CC, supplied with functional micro switch. This type of part is key for the correct mechanical securing of the lid and at the same time for transmitting information about the condition of the luggage compartment to the car’s electrical installation (depending on the specific equipment).
A suitable solution for malfunctions such as non-functioning or unreliable closing/opening, poor response to controls or a problem with signaling the condition of the luggage compartment.
Technical information
Product codes
- Product codes: 9651004680, 8484Z2, 8484L3
Installation recommendations
Generally/typically for luggage compartment locks with a microswitch, the exact procedure may vary depending on the car design and the type of lock attachment and connectors. Below is a practical one-size-fits-all procedure.
1) Before assembly (checks of the used part, what to compare with the old part)
- Compare the part codes (9651004680, 8484Z2, 8484L3) with the old lock or part tag in the car.
- Check the shape, fit, tie rod/control lever position and electrical connector type match.
- Test the operation of the latch by hand – it must lock and release smoothly without jamming.
- Visually inspect the microswitch and wiring/connector (no cracks, corrosion, stripped pins).
2) Necessary tools and materials (in general, without specific extra parts)
- Basic set of screwdrivers and bits (Torx/hex depending on design)
- Ratchet with extensions
- Plastic crowbar for removing upholstery
- Pliers for clips/upholstery clips (as needed)
- Contact cleaner and cloth (recommended)
3) Step-by-step assembly procedure
- Secure the vehicle against movement and open the trunk.
- Disconnect the battery (recommended for working with wiring and microswitch).
- Remove the inner lid trim/upholstery or access cover so that the lock is accessible.
- Disconnect the electrical connector of the lock/microswitch (do not grab the cables, just the body of the connector).
- Release and disconnect the mechanical connection (rod/cable guide) according to the design.
- Mark the position of the lock (for easier adjustment) and loosen the fixing screws.
- Remove the old lock and compare it with the new piece before fitting.
- Install the lock in place, seating it lightly first and just pre-tighten the screws (for possible adjustment).
- Attach the tie rod/cable guide and check that nothing rubs and the mechanism has full range of motion.
- Connect the electrical connector; if necessary, clean the contacts with a contact cleaner and let them air out.
- Perform a basic function check (click/unlock the latch manually, check the response of the microswitch according to the symptoms in the car).
- Tighten the lock fastening and refit the trim/upholstery.
- Connect the battery.
-
4) Post-assembly checks and test drive/function verification
- Check that the luggage compartment can be securely closed and that the lock holds without excessive play.
- Try opening/closing repeatedly and see if operation is still smooth.
- If there is lid status signaling in the car, verify that the microswitch responds consistently (without dropouts).
5) The most common assembly mistakes + how to avoid them
- Swapping or bad engagement of the tie rod/cable → test the function of the mechanism manually before final tightening.
- Damage to the connector by pulling on the cables → always disconnect by the connector or loosen the fuse, if necessary.
- Incorrect adjustment of the lock position → tighten the screws only slightly at first, fine-tune the fit and only then tighten them firmly.
- Forgotten trim clips → check all clips and proper seating to avoid underarm noises.
Reasons why the part is damaged
- Mechanical wear of the latch and internal mechanism due to frequent use.
- Dirt and moisture in the lock area leading to hardening or corrosion.
- Blow when closing (sudden slamming of the lid) – gradually deforms/stresses the mechanism.
- Problems in the electrical installation (oxidation of contacts, damaged connector/cable) causing microswitch failures.
- Incorrect adjustment of the lid seating – the lock is under constant stress and may fail prematurely.