Description
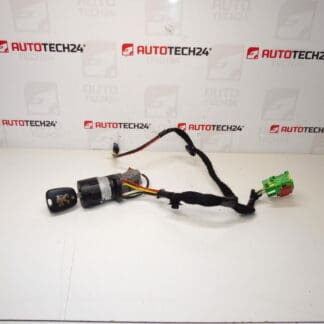
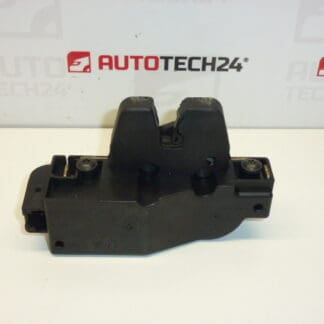
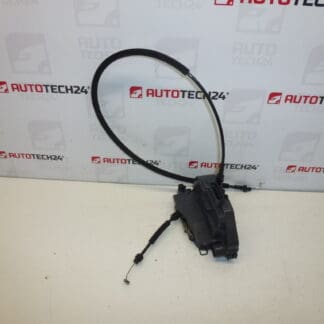
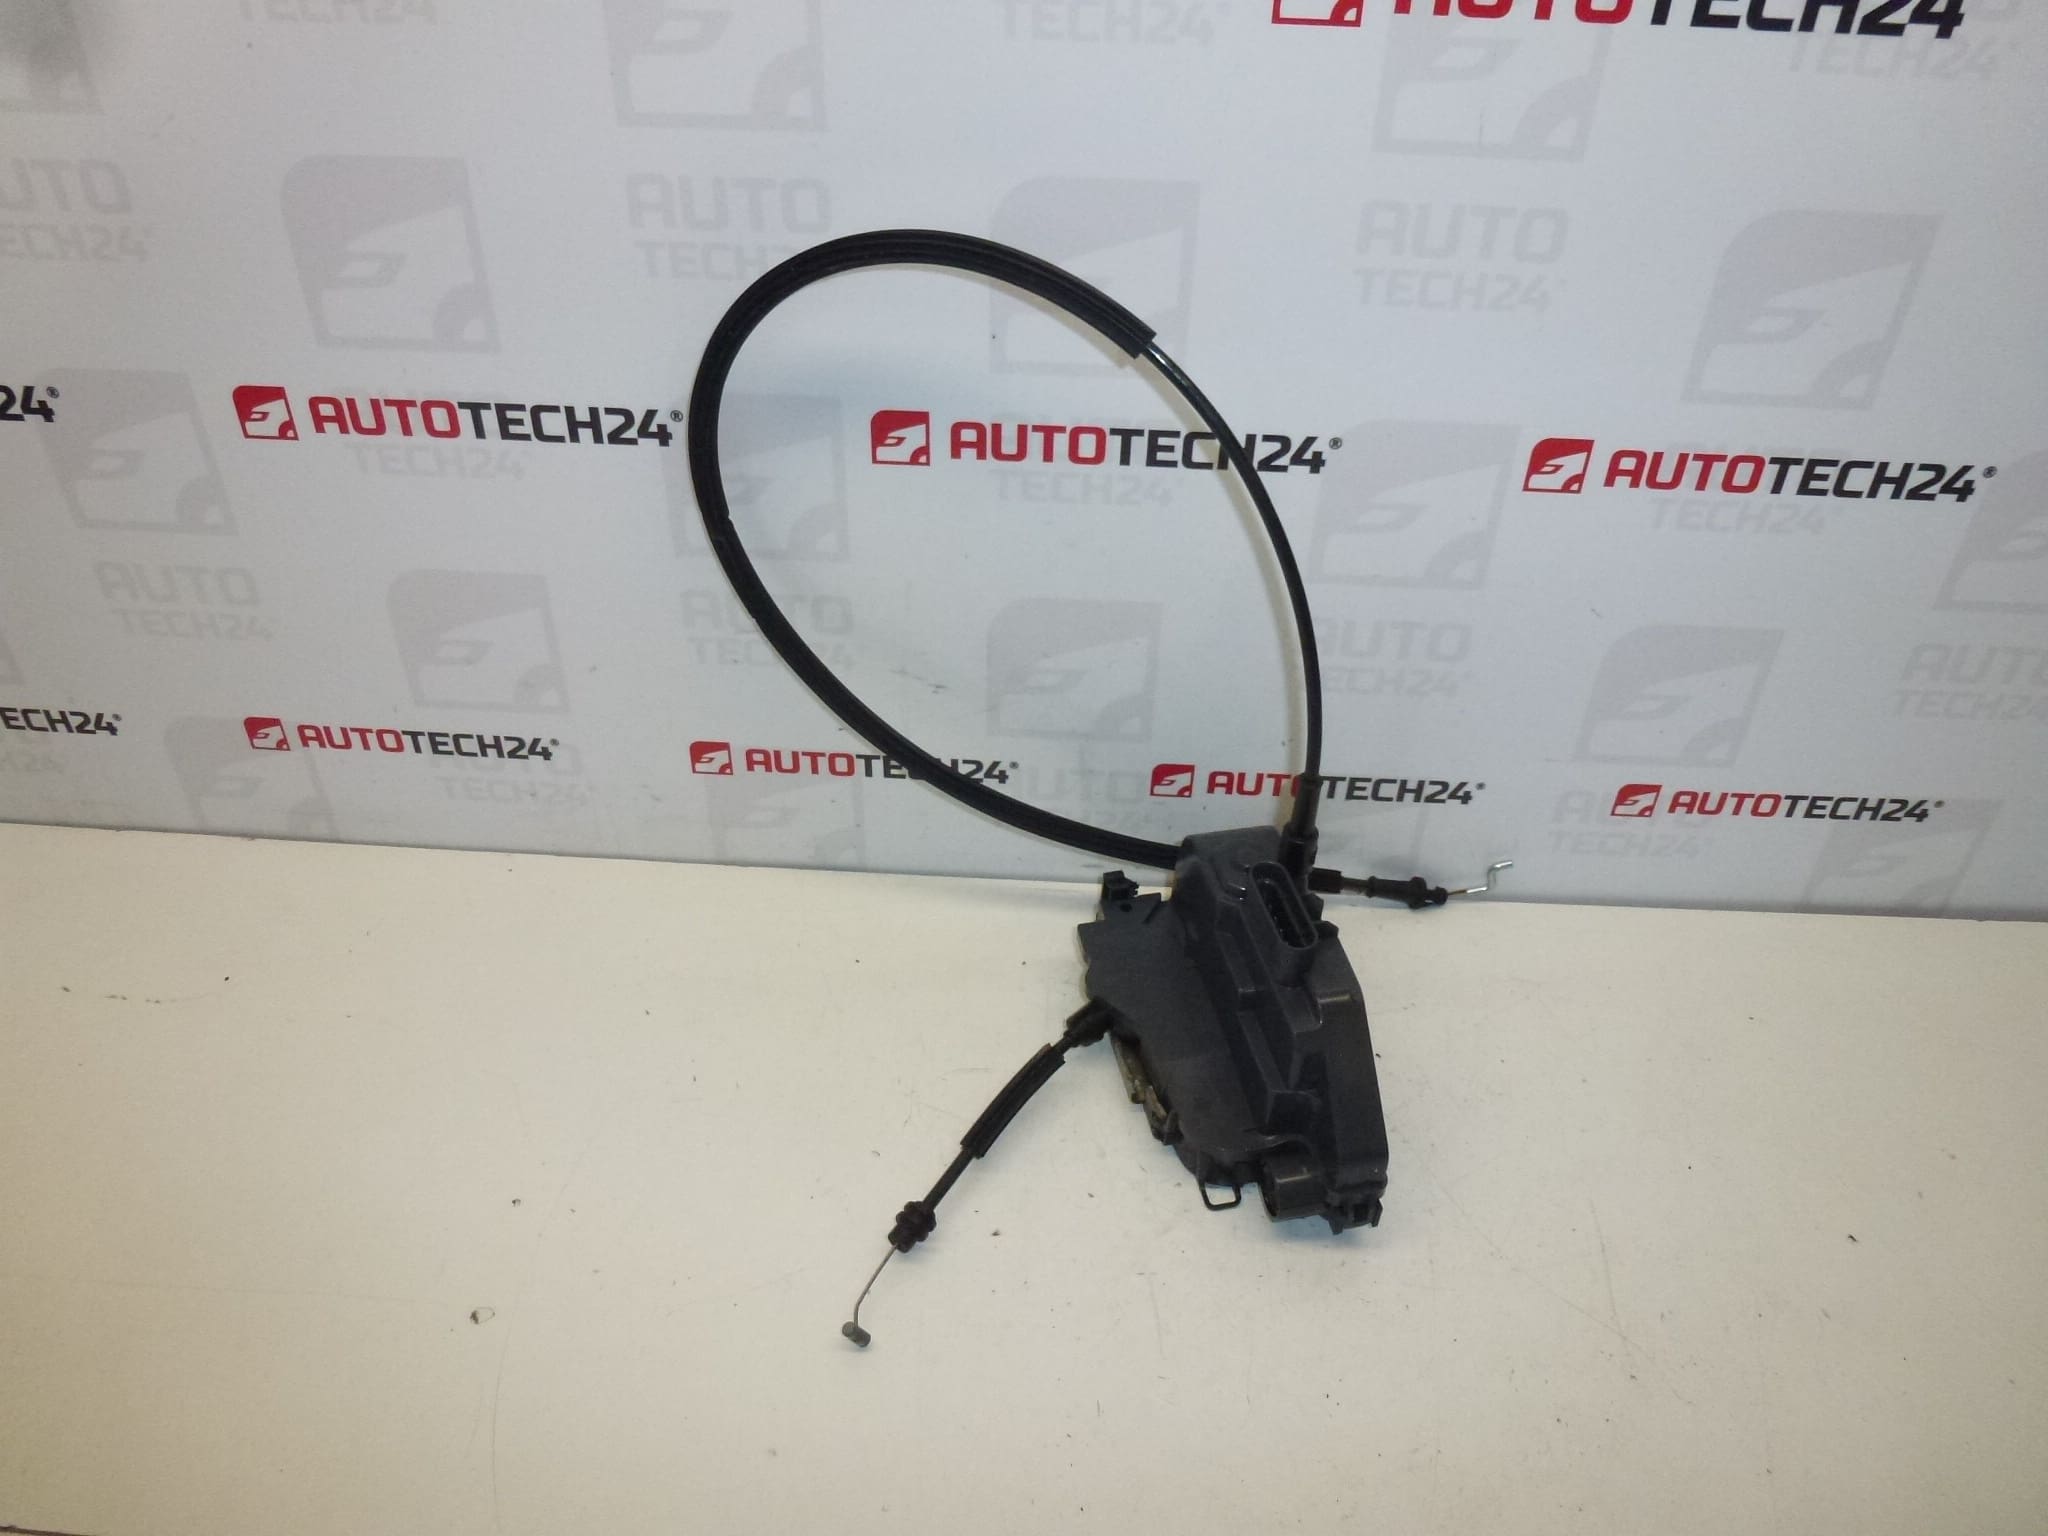
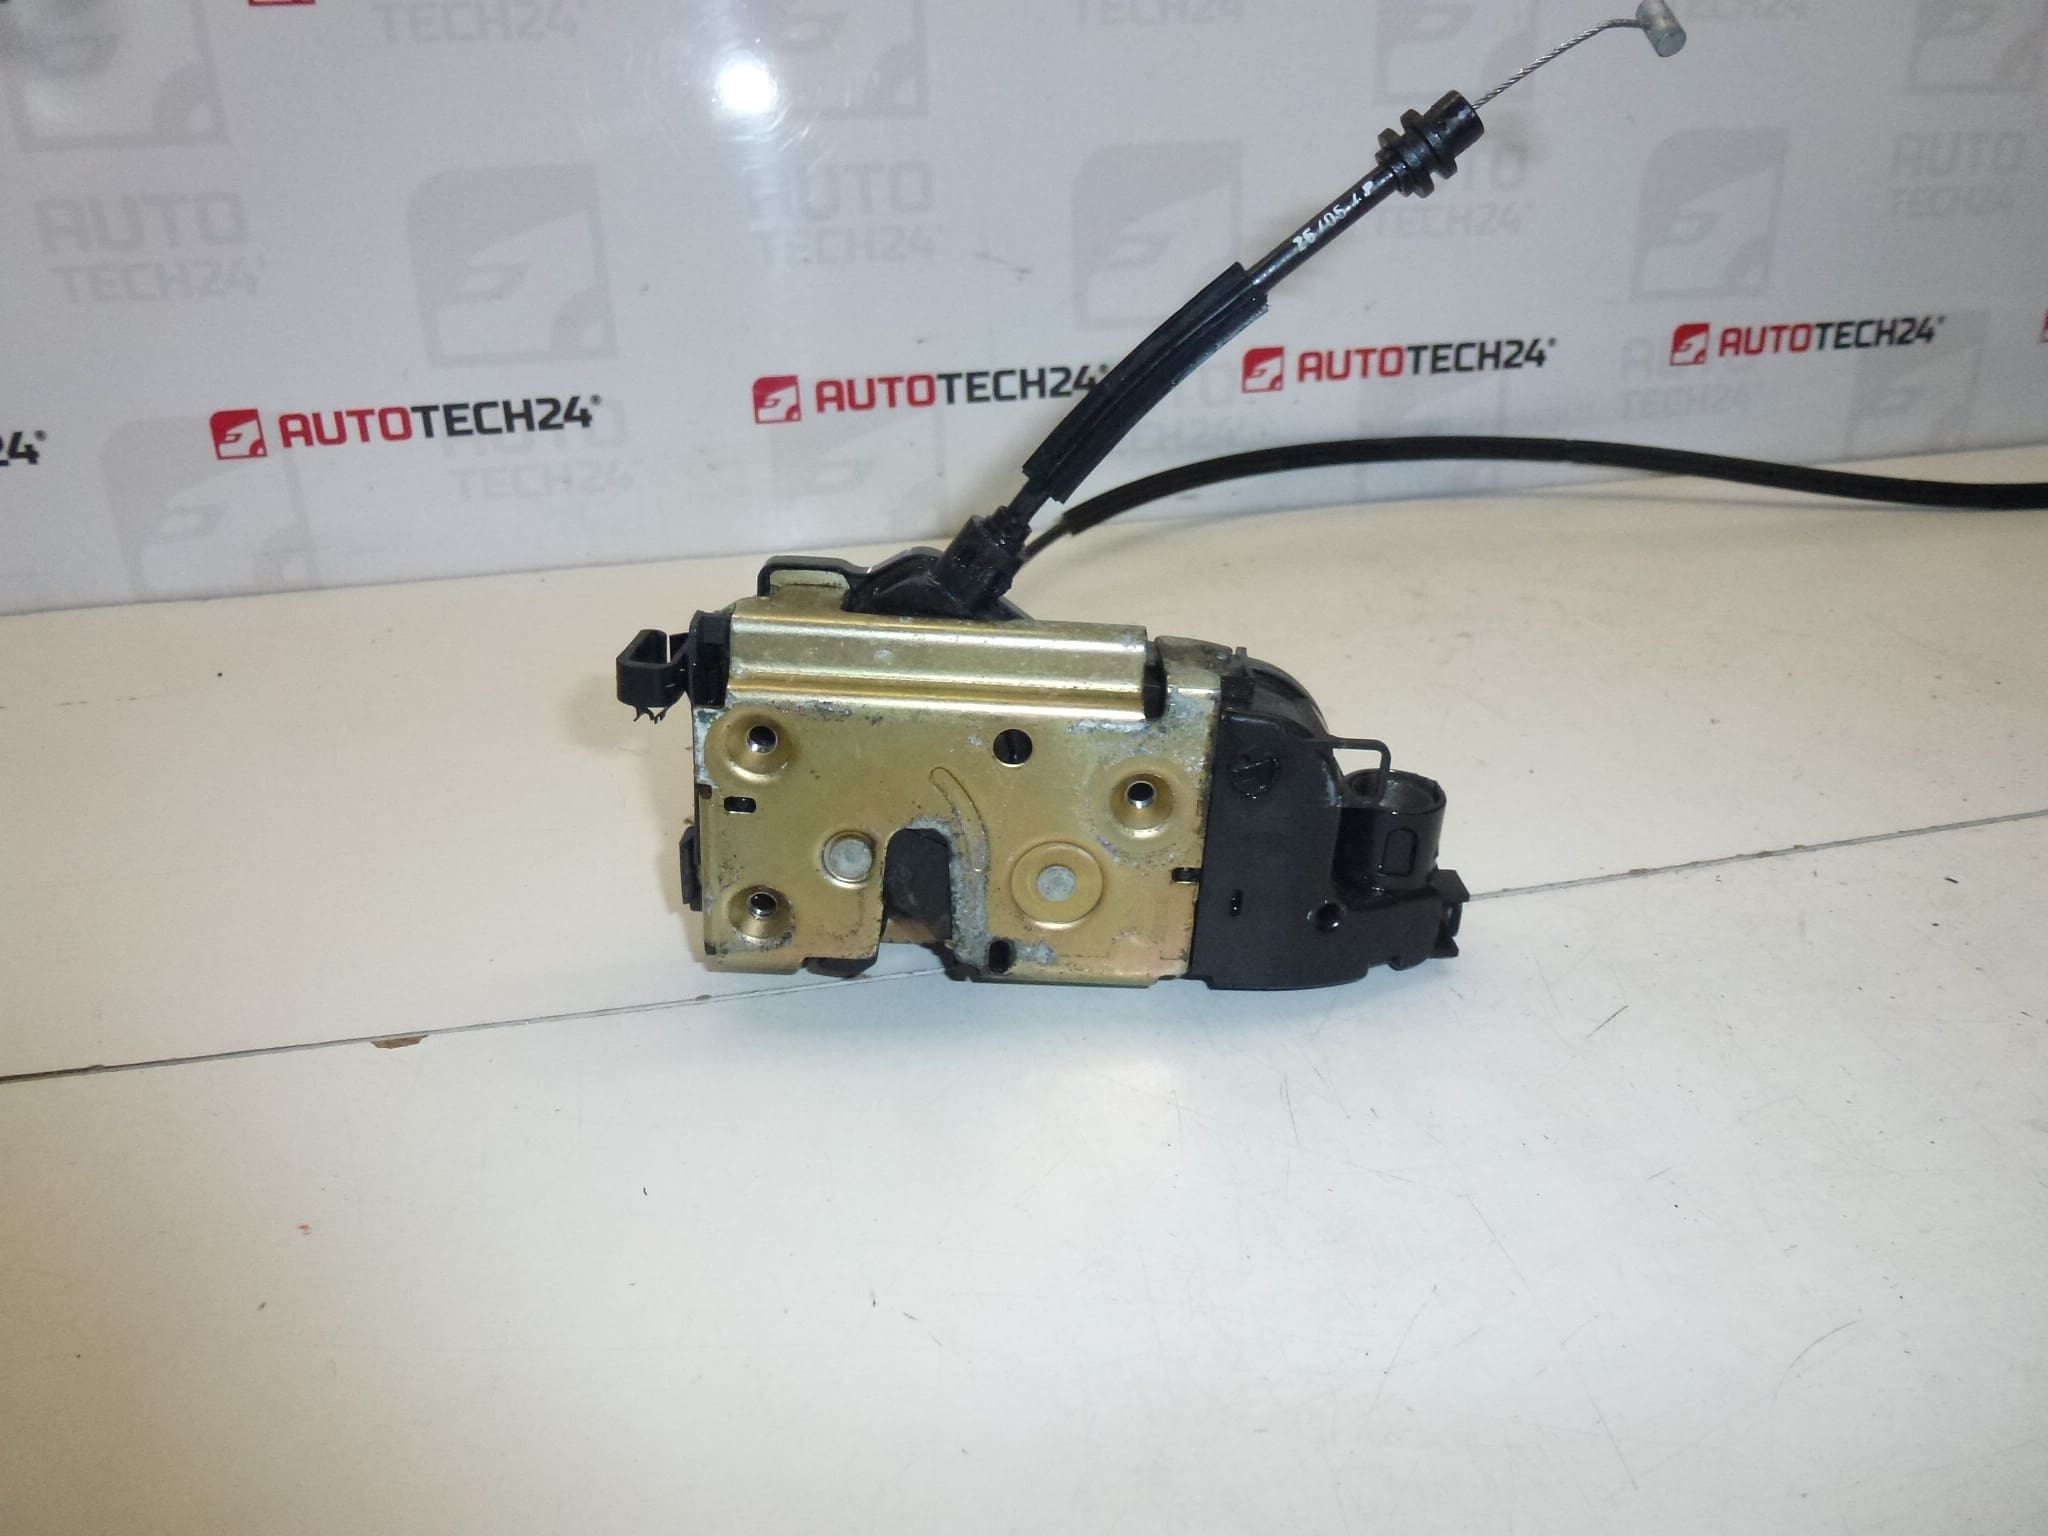
Electric central locking actuator for left door Peugeot 307 CC. Driver side. 6 pins.
Product Overview
This electric central locking actuator is a direct-fit replacement for the left (driver) door on the Peugeot 307 CC. It operates the central locking mechanism to lock and unlock the door via the vehicle’s remote or central locking system. Designed for workshop use and DIY repairs, the unit restores reliable locking function and eliminates common faults such as intermittent locking, grinding noises, or complete loss of actuation.
Technical Information
- Manufacturer: Stellantis / Peugeot
- Model: Peugeot 307 CC
- Product Codes: 52229880, 9135P5
- Other Numbers: NFP
- Connector: 6-Pin
- Position: Left Door (Driver Side)
- Type: Electric Central Locking Actuator
Compatibility And Identification
Commonly searched by part numbers 52229880 and 9135P5. Ensure the part is fitted to the left/driver door and uses a 6-pin connector as shown in the vehicle wiring. This actuator is intended for Peugeot 307 CC applications; verify physical match with the existing unit before installation.
Installation Recommendations
- Prepare Tools: Trim removal tools, Torx/Phillips screwdrivers, pliers and a multimeter for basic checks.
- Safety: Disconnect the vehicle battery before starting to avoid short circuits and unwanted airbag deployment.
- Removal: Carefully remove the door trim and moisture barrier to access the actuator. Note and mark the positions of linkage rods and clips before disassembly.
- Disconnect: Unplug the 6-pin electrical connector and detach any linkage rods (note clip orientation for reassembly).
- Replace: Remove the actuator mounting fasteners, fit the replacement unit, reconnect linkages and the electrical connector.
- Test: Reconnect the battery temporarily and test central locking operation and key/remote function before reassembling the door trim.
- Final Steps: Refit the moisture barrier and door card, ensure all clips and screws are secure and the window operates freely.
- Electrical Care: Apply a small amount of dielectric grease to the connector pins if corroded or exposed to moisture.
Why This Part Fails Most Often
Actuators commonly fail due to mechanical wear of internal gears, motor burnout, and water ingress leading to corrosion. Plastic gear teeth can break from repeated use or stress, connectors may corrode in damp environments, and linkages/clips can shear or become detached. Symptoms include no response from the door when locking/unlocking, loud grinding or buzzing noises, intermittent operation, or the need to lock/unlock manually.
Practical Tips For Diagnosis
- Listen For Noise: A buzzing or grinding sound behind the door trim often indicates gear or motor failure.
- Electrical Check: Use a multimeter to verify power at the connector during a lock/unlock command to confirm whether the issue is electrical or mechanical.
- Linkage Inspection: If the actuator moves but the lock does not, inspect linkage rods and plastic clips for breaks or disconnection.
- Moisture Prevention: Check door drainage and the condition of the moisture barrier to reduce the chance of water reaching the actuator.
Notes For Mechanics And DIYers
This unit is suitable for professional garages and experienced DIY enthusiasts. Replacing the actuator is a common repair that typically restores full central locking function when the fault is limited to the actuator itself. Keep replacement clips and trim fasteners on hand, and always test the mechanism before finishing reassembly.