Description
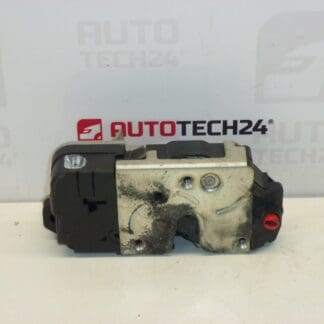
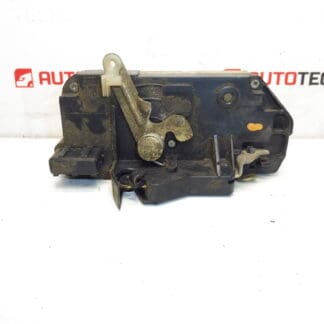
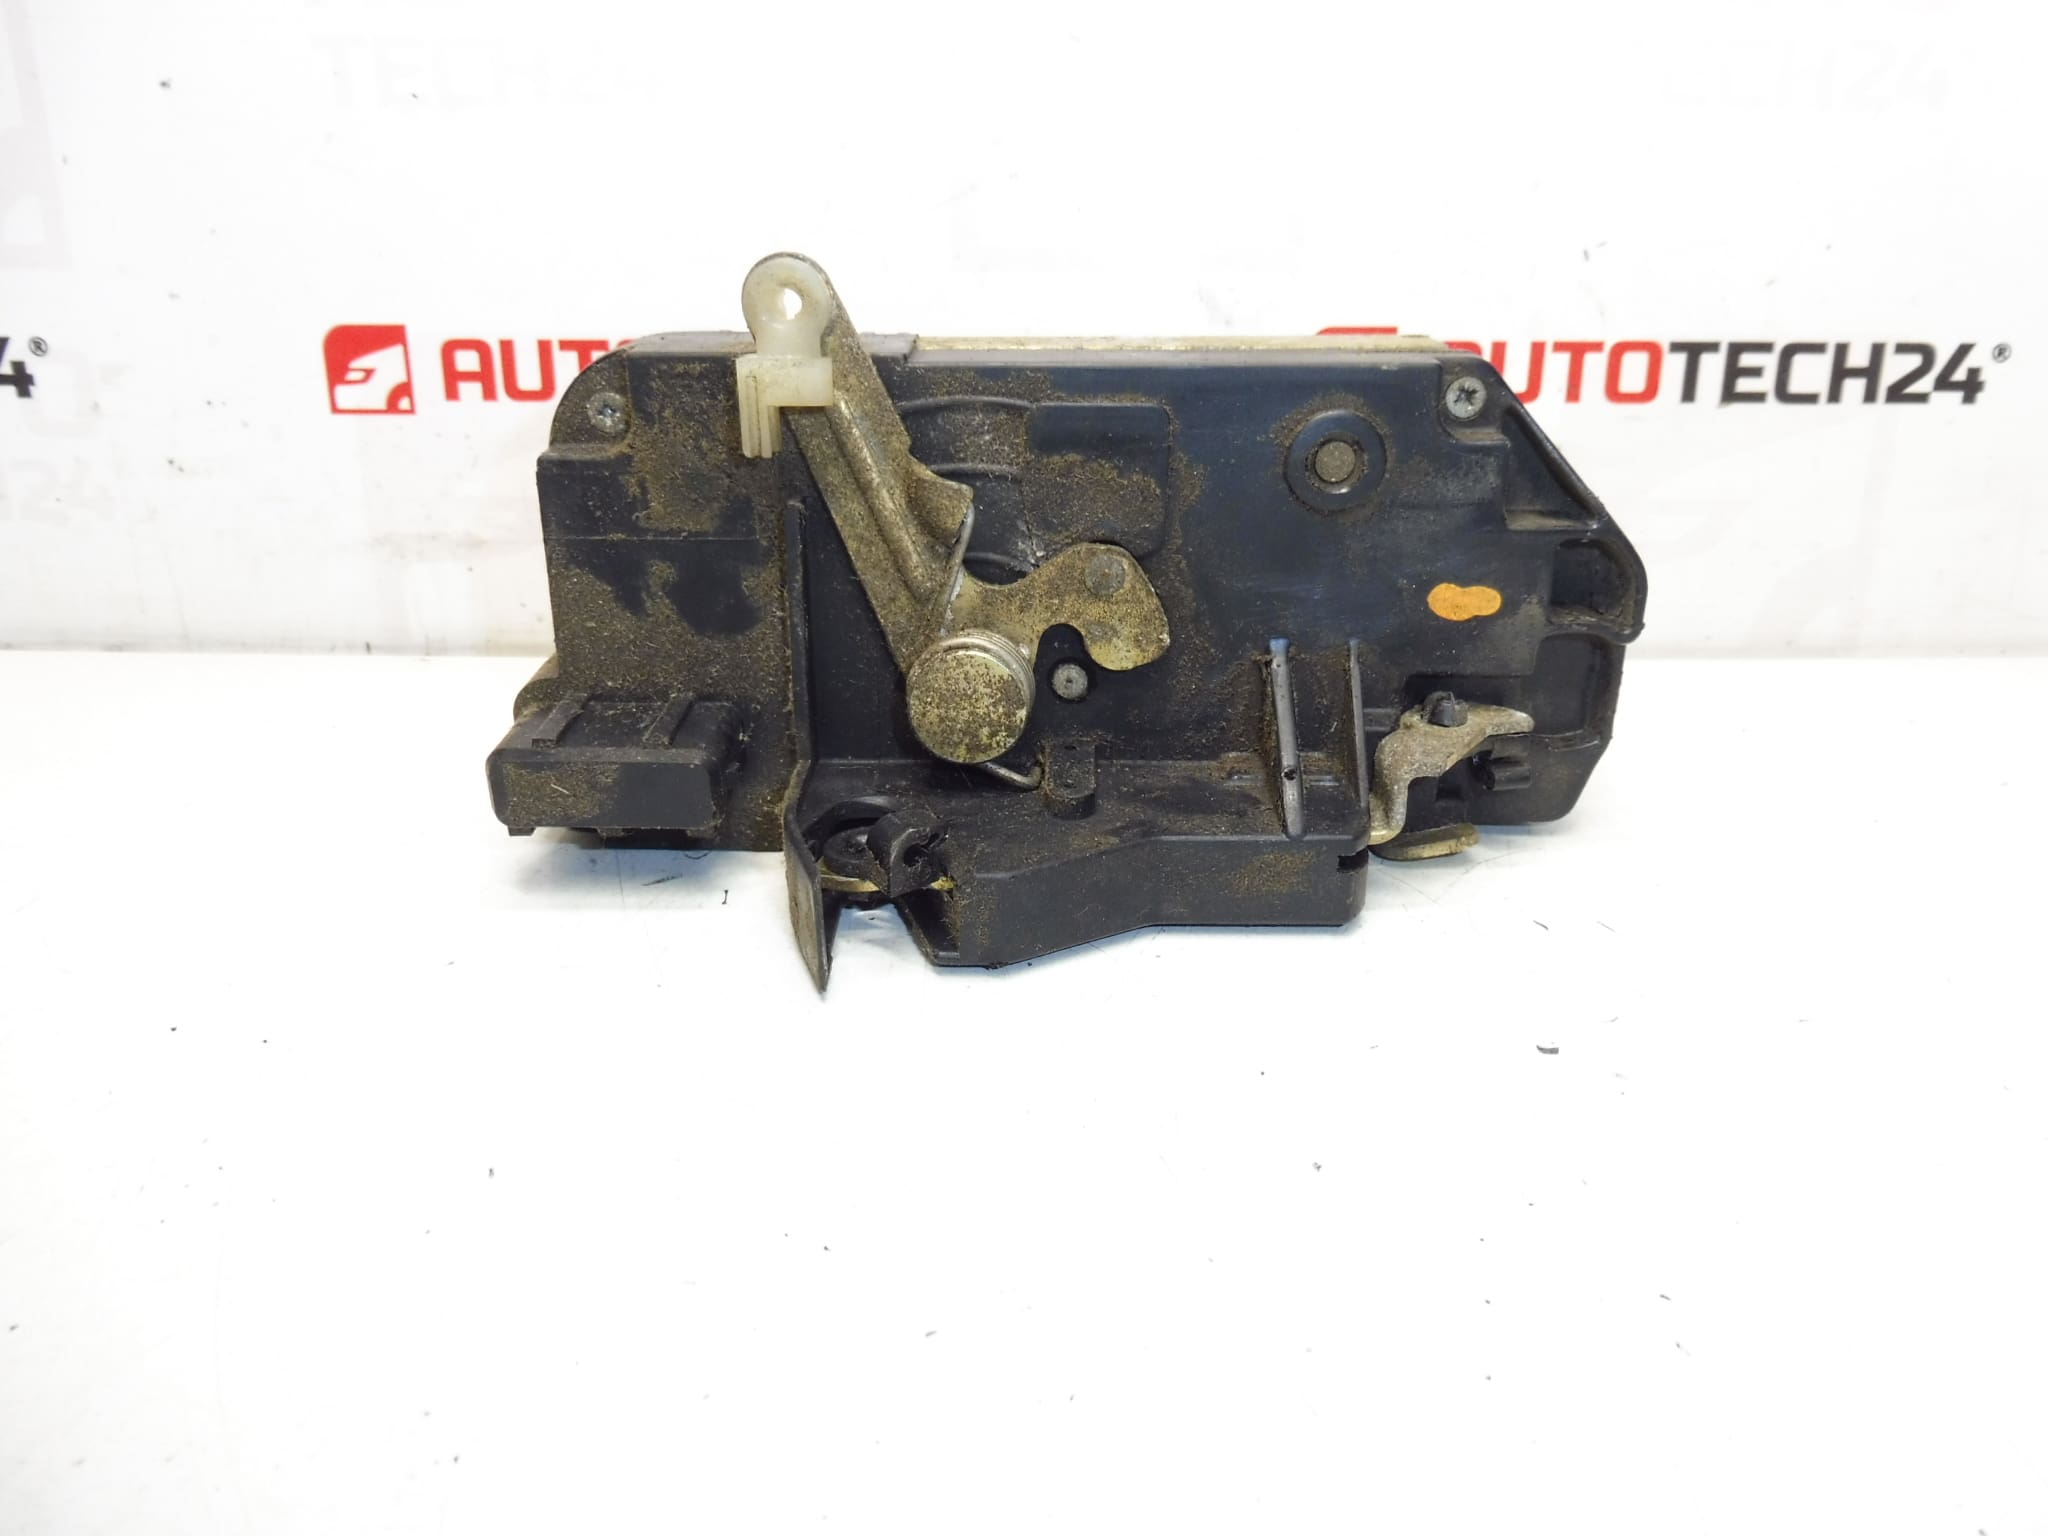
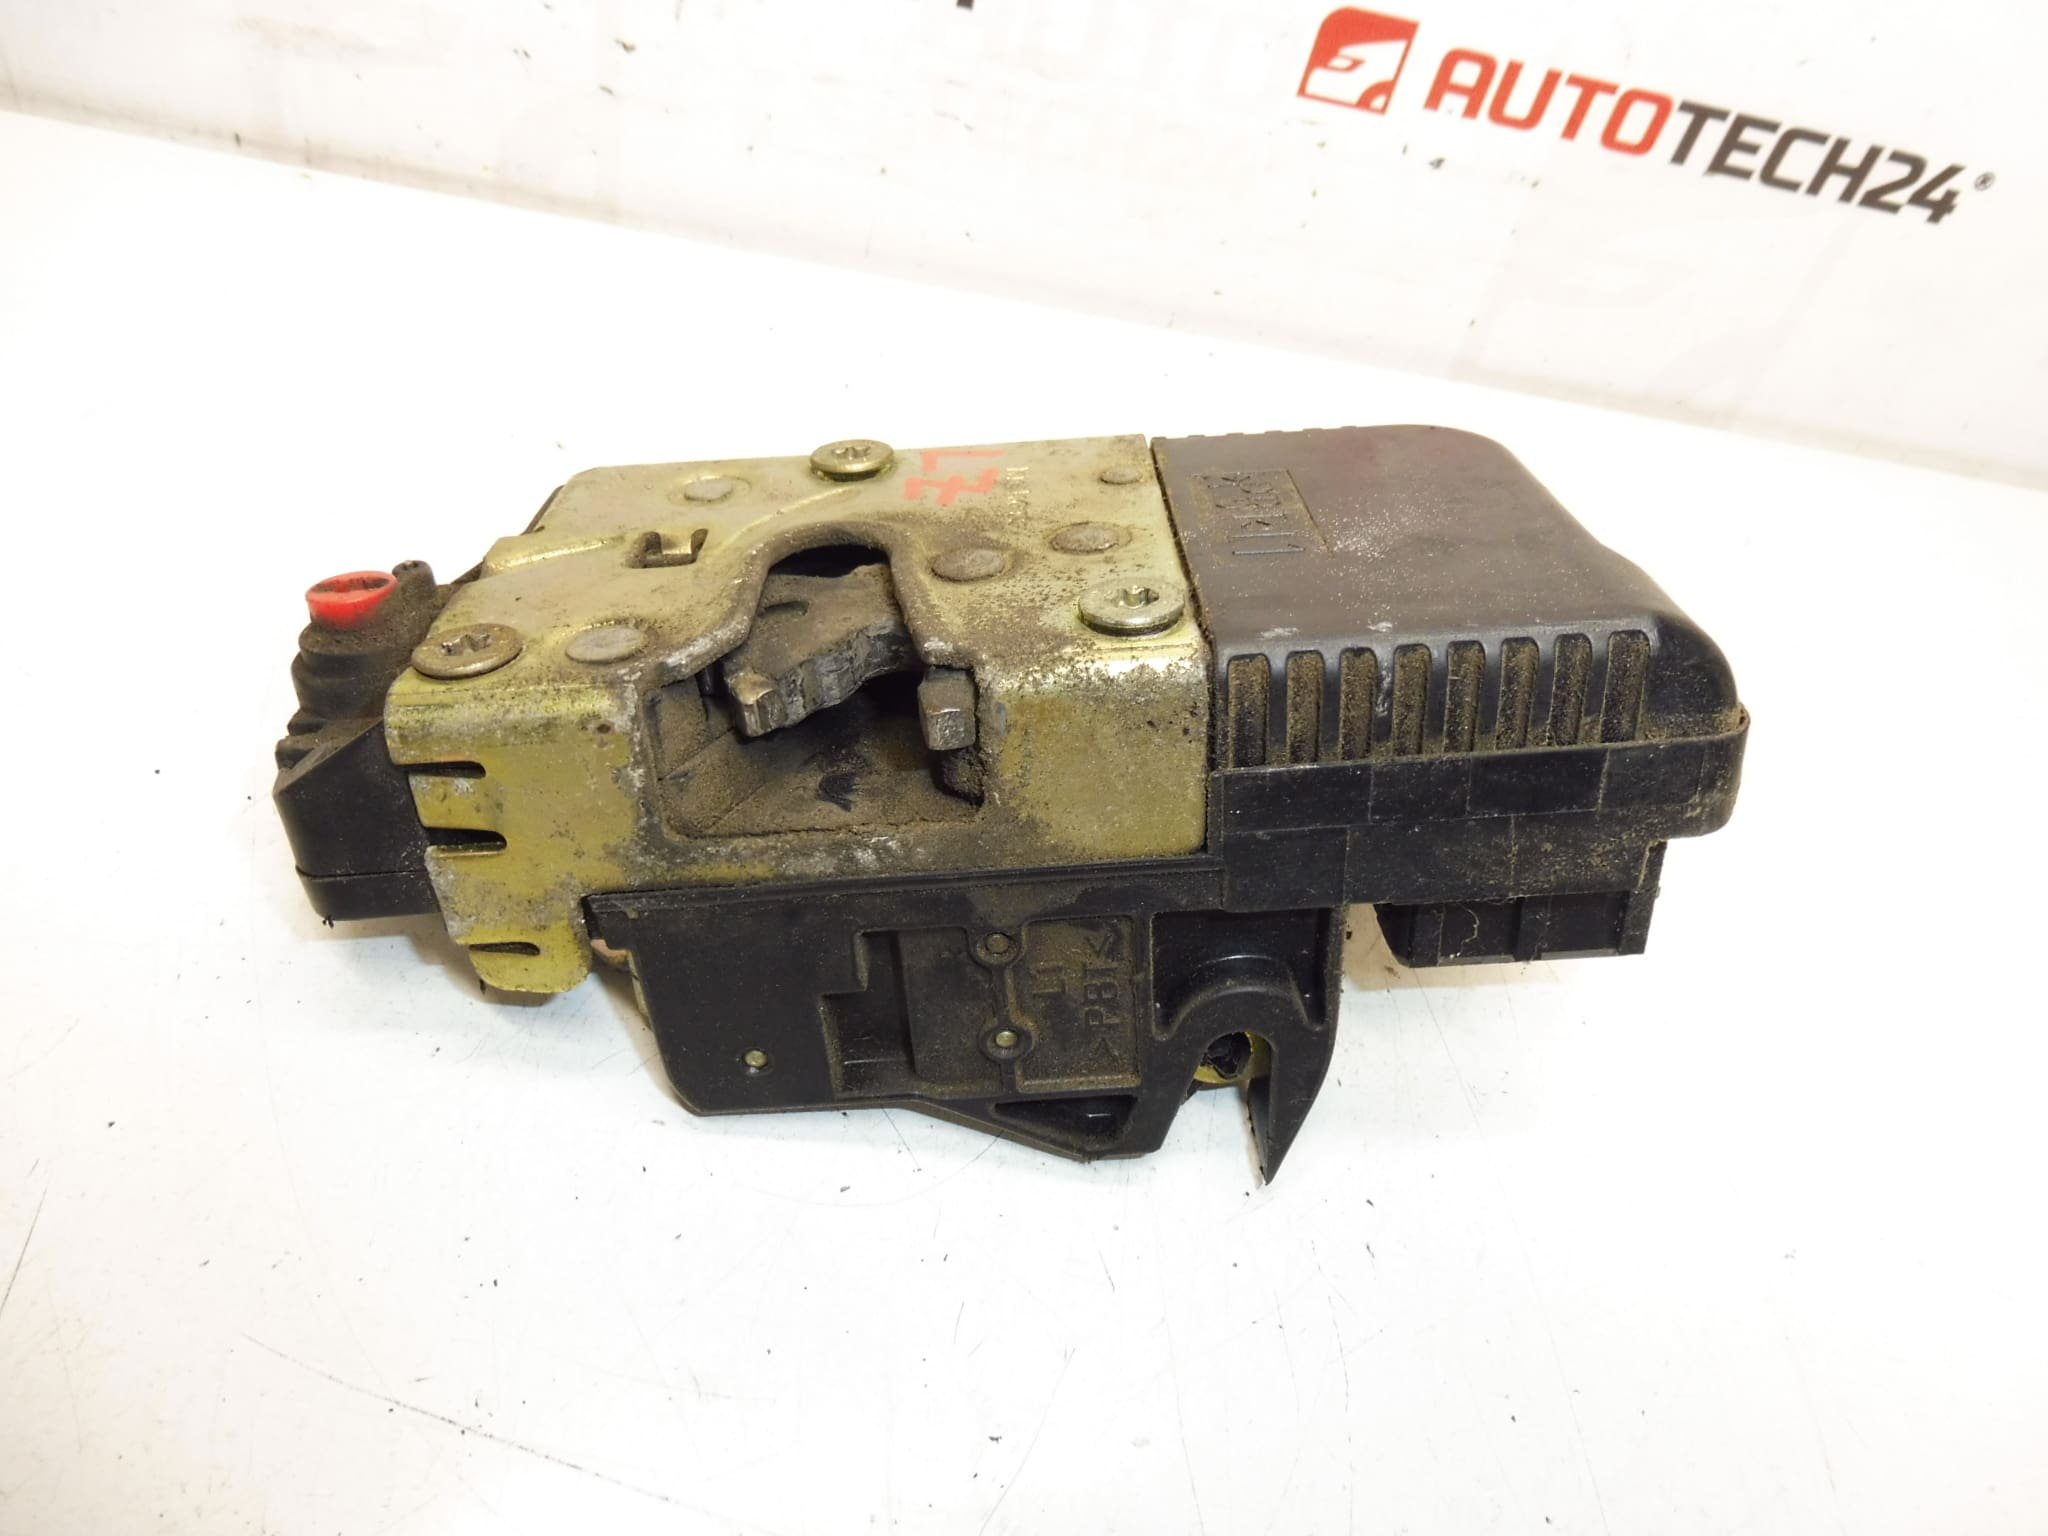
Lock for left rear door for PEUGEOT 206. Version without central locking. Driver’s side.
High-quality replacement left rear door lock designed for Peugeot 206 vehicles. This mechanical lock (part number 913756) is intended for models without central locking and provides a direct swap for worn or damaged latches. Ideal for professional garages and DIY mechanics who need a reliable OEM-fit component to restore proper door closing and security.
Features And Function
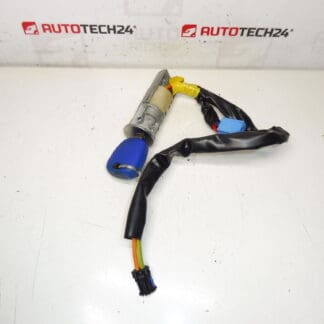
The door lock secures the rear left door by engaging with the striker on the body shell. It transfers the motion from the interior and exterior door handles via metal linkages and lock rods. In non-central-locking versions the mechanism is purely mechanical, without an electric actuator, which simplifies installation and reduces electronic failure points.
Fitment / Compatible Models
- Peugeot 206 – Left Rear Door (Driver’s Side)
- Suitable For Vehicles Without Central Locking
Technical Information
- Manufacturer: Peugeot (Stellantis)
- Model: Peugeot 206
- Product Codes: 913756, NFP
- Additional Numbers: No Further Numbers Available
Installation Recommendations
Installation Is Straightforward For Experienced Technicians: remove the interior door trim panel to access the lock body, detach the mechanical linkages (handle and latch rods), unplug any retaining clips and remove the mounting bolts. Fit the new lock, reconnect rods and clips, and reinstall the door trim. After installation, check door alignment and full operation of interior and exterior handles. Always work with the door open and supported, and keep fasteners and clips organized to avoid rattles.
Why The Part Most Commonly Fails
Mechanical Wear And Corrosion Are The Usual Causes Of Failure. Over Time, metal parts and plastic clips can wear, bend or fracture; moisture and dirt ingress accelerate corrosion and seizing of the latch. Frequent use, impact from improperly closed doors, or broken linkage rods also lead to malfunction. In non-central-locking versions, the absence of an actuator reduces electrical faults but mechanical deterioration remains the primary failure mode.
Additional Notes
When replacing the lock, inspect related components: striker plate, linkage rods, handle assemblies and door seals. Lubricate moving parts with an appropriate grease after installation to extend service life. For consistent results, compare the part number (913756) with the existing unit before fitting.