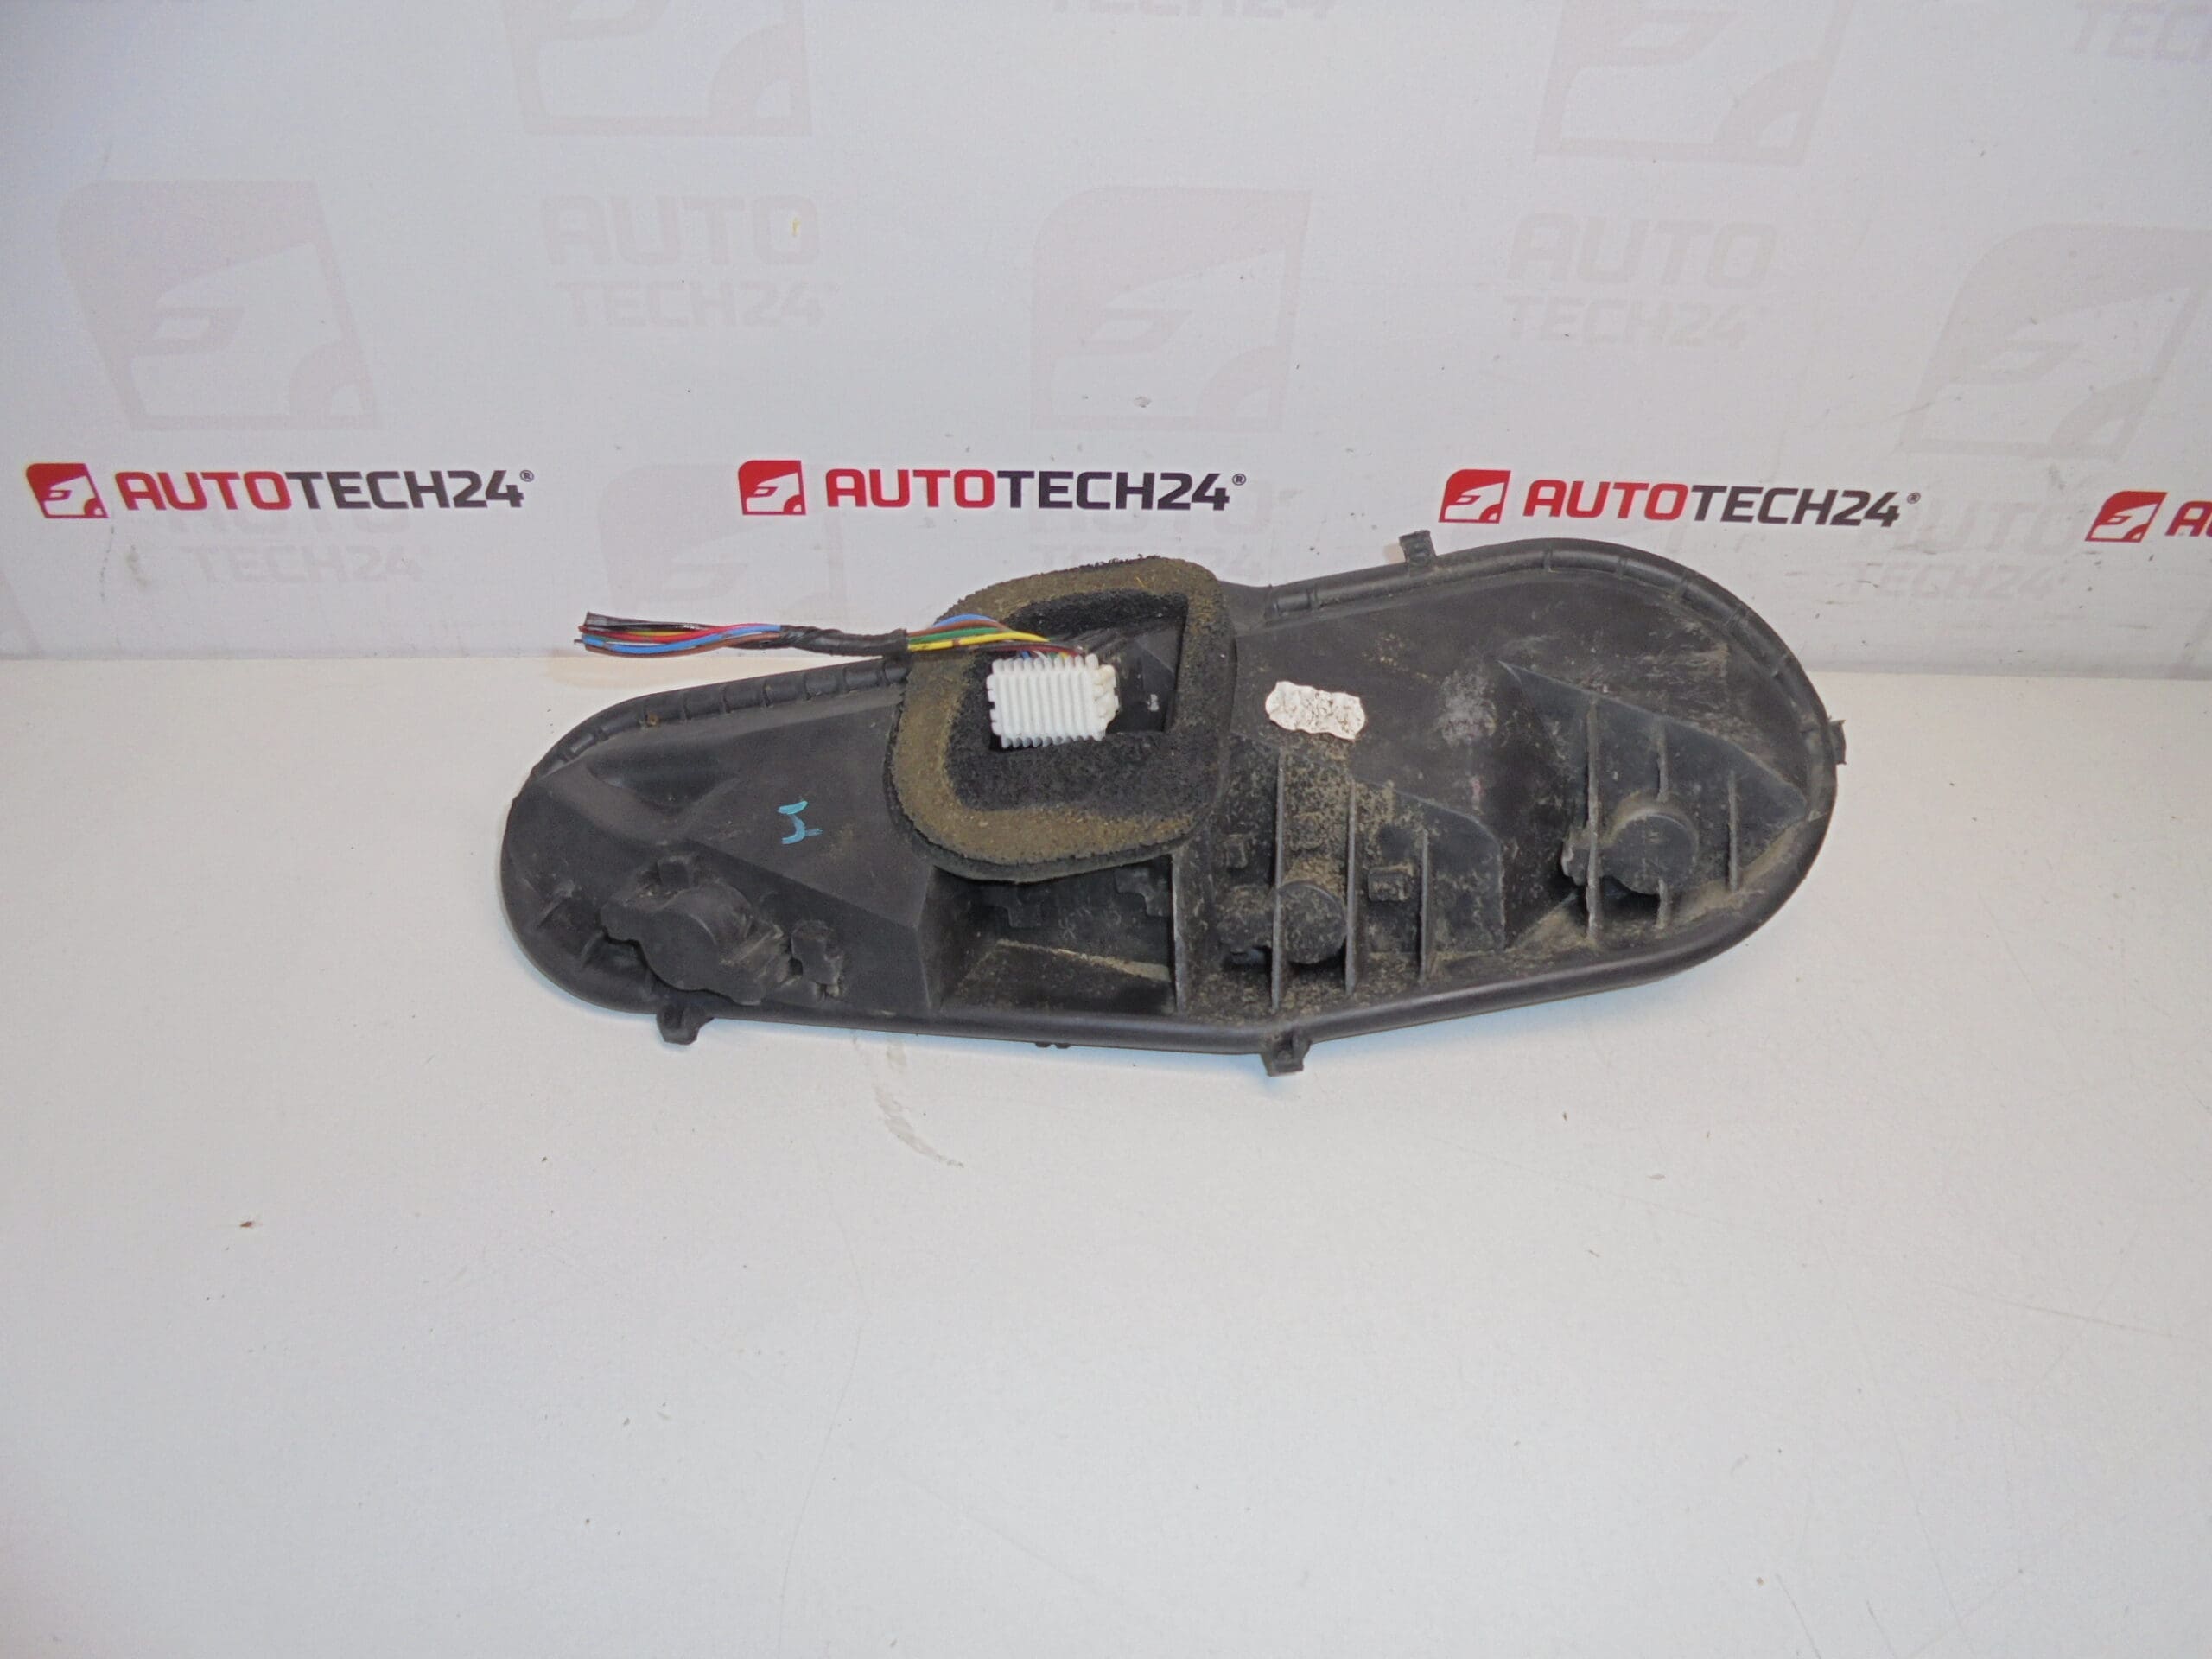
Description
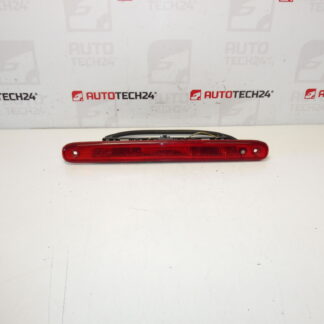
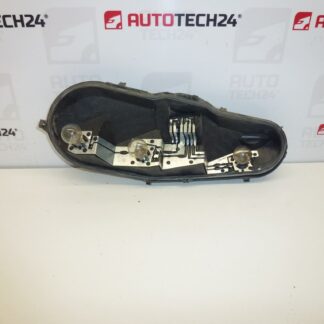
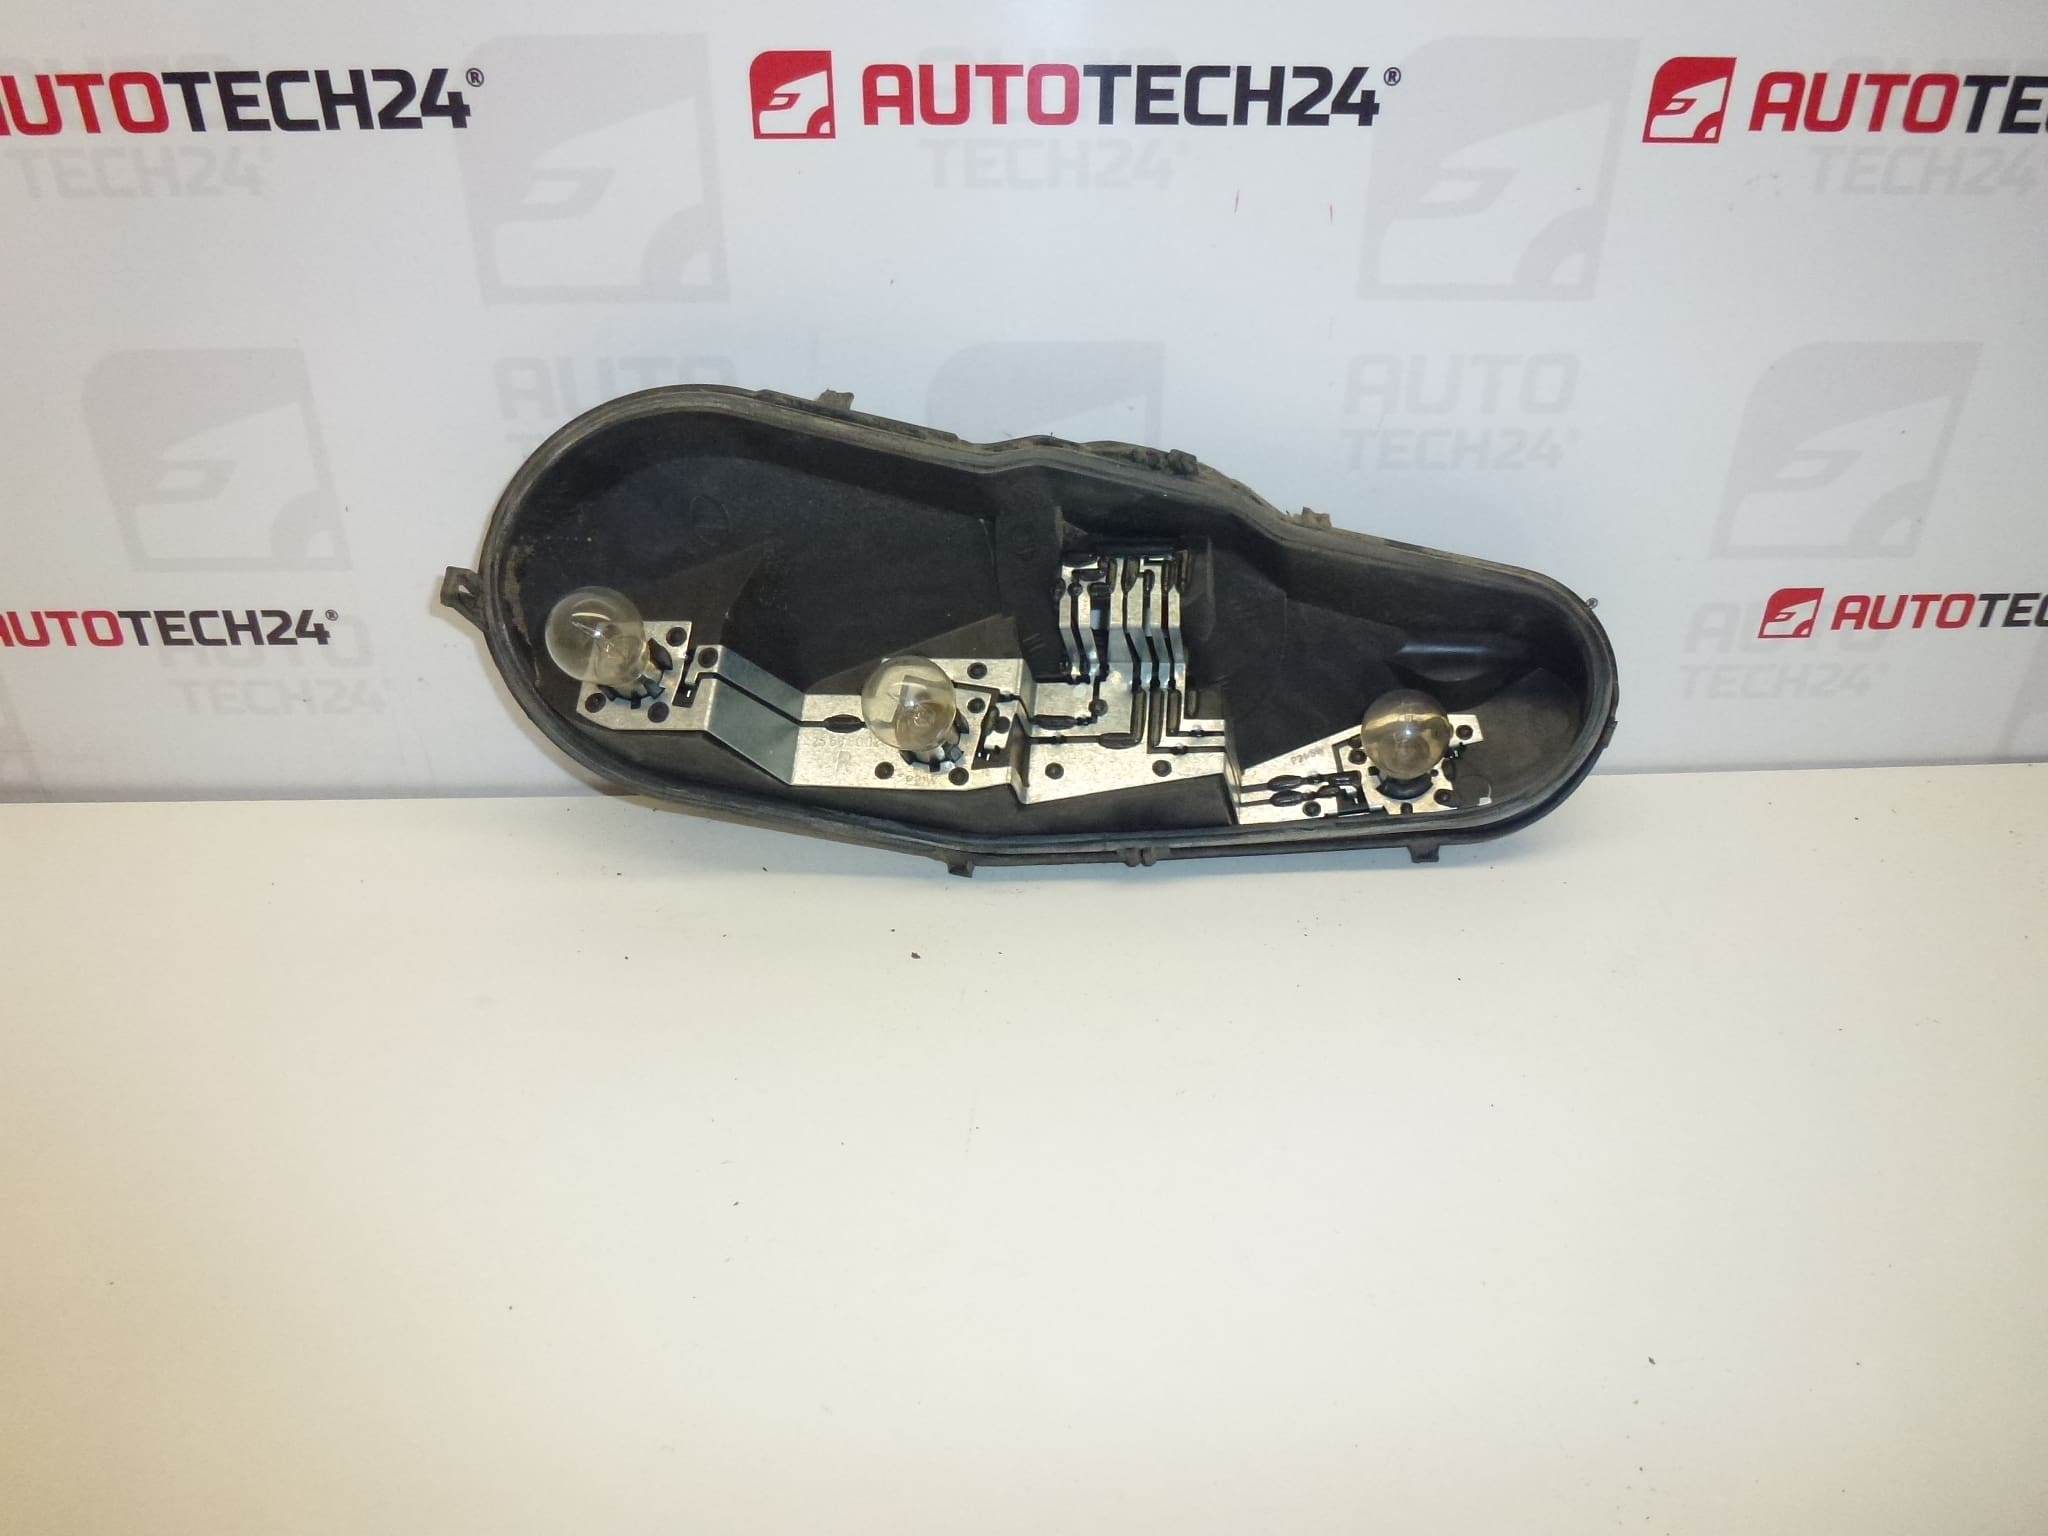
Right rear lamp bulb holder with a piece of wiring harness for Citroën C1 and Peugeot 107 vehicles. Functionality of the bulbs themselves is not guaranteed.
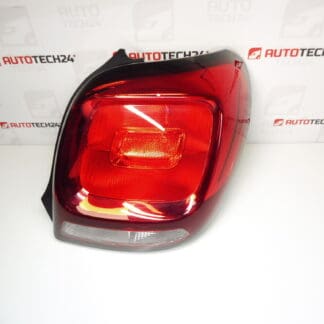
This replacement bulb socket with a short pigtail is intended for the right-hand rear light cluster of first-generation Citroën C1 and Peugeot 107 models. It provides a direct-fit alternative to a damaged or corroded original socket and restores reliable electrical contact for the rear lamp circuit. The part is ideal for mechanics and DIY enthusiasts who need a quick, cost-effective fix for intermittent lighting, melted sockets or wiring damage caused by moisture and age.
Technical Information
- Manufacturer: Stellantis (Citroën / Peugeot)
- Model: Citroën C1 (I), Peugeot 107
- Product Codes: 634681, 81550-0H060
- Other Numbers: 6351X8, 6351X6
Installation Recommendation
Replace the socket following these general steps: open the tailgate and remove any trim or access panel to reach the rear lamp assembly; remove the lamp retaining screws or clips and withdraw the lamp cluster; twist and pull out the faulty bulb holder from the lamp housing or unplug the connector; disconnect the old socket from the wiring harness and fit the new socket, ensuring correct pin alignment and a secure connector lock; reassemble the lamp cluster and test all rear light functions (tail, brake, indicator, reverse where applicable). Use dielectric grease on terminals to reduce future corrosion and ensure the lamp housing sealing gasket sits correctly to prevent water ingress.
Why This Part Commonly Fails
- Moisture Ingress And Corrosion: Water or condensation entering the lamp housing causes terminal corrosion and loss of contact.
- Heat And Thermal Cycling: Repeated heating of bulbs leads to plastic deformation or melting of the socket over years of use.
- Vibration And Mechanical Stress: Road vibration or impact can crack the plastic socket or damage wiring at the crimp points.
- Electrical Overload Or Poor Grounding: High resistance connections cause local heating and accelerate socket failure.
Typical symptoms of failure include flickering or non-functioning rear lights, intermittent contact when the lamp is tapped, visible corrosion on terminals or discolored/melted plastic at the socket entry. Many failures occur after long-term exposure to road salt and moisture; vehicles over several years of service are more likely to need this replacement.
Commonly Searched Codes: 634681, 81550-0H060, 6351X8, 6351X6. Fits Citroën C1 (I) and Peugeot 107 rear right lamp applications. Bulbs Are Not Included.