Description
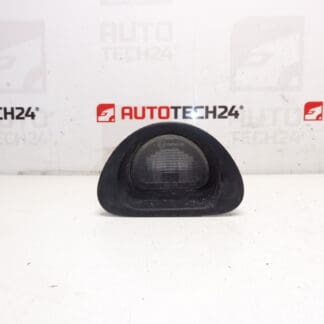
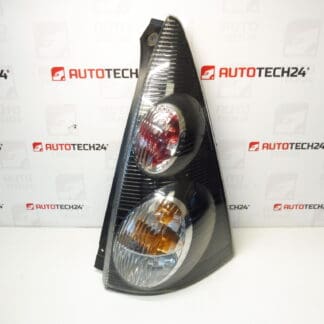
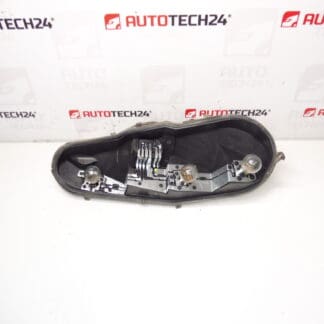
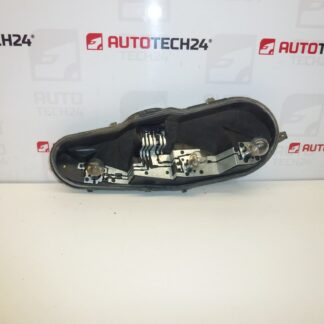
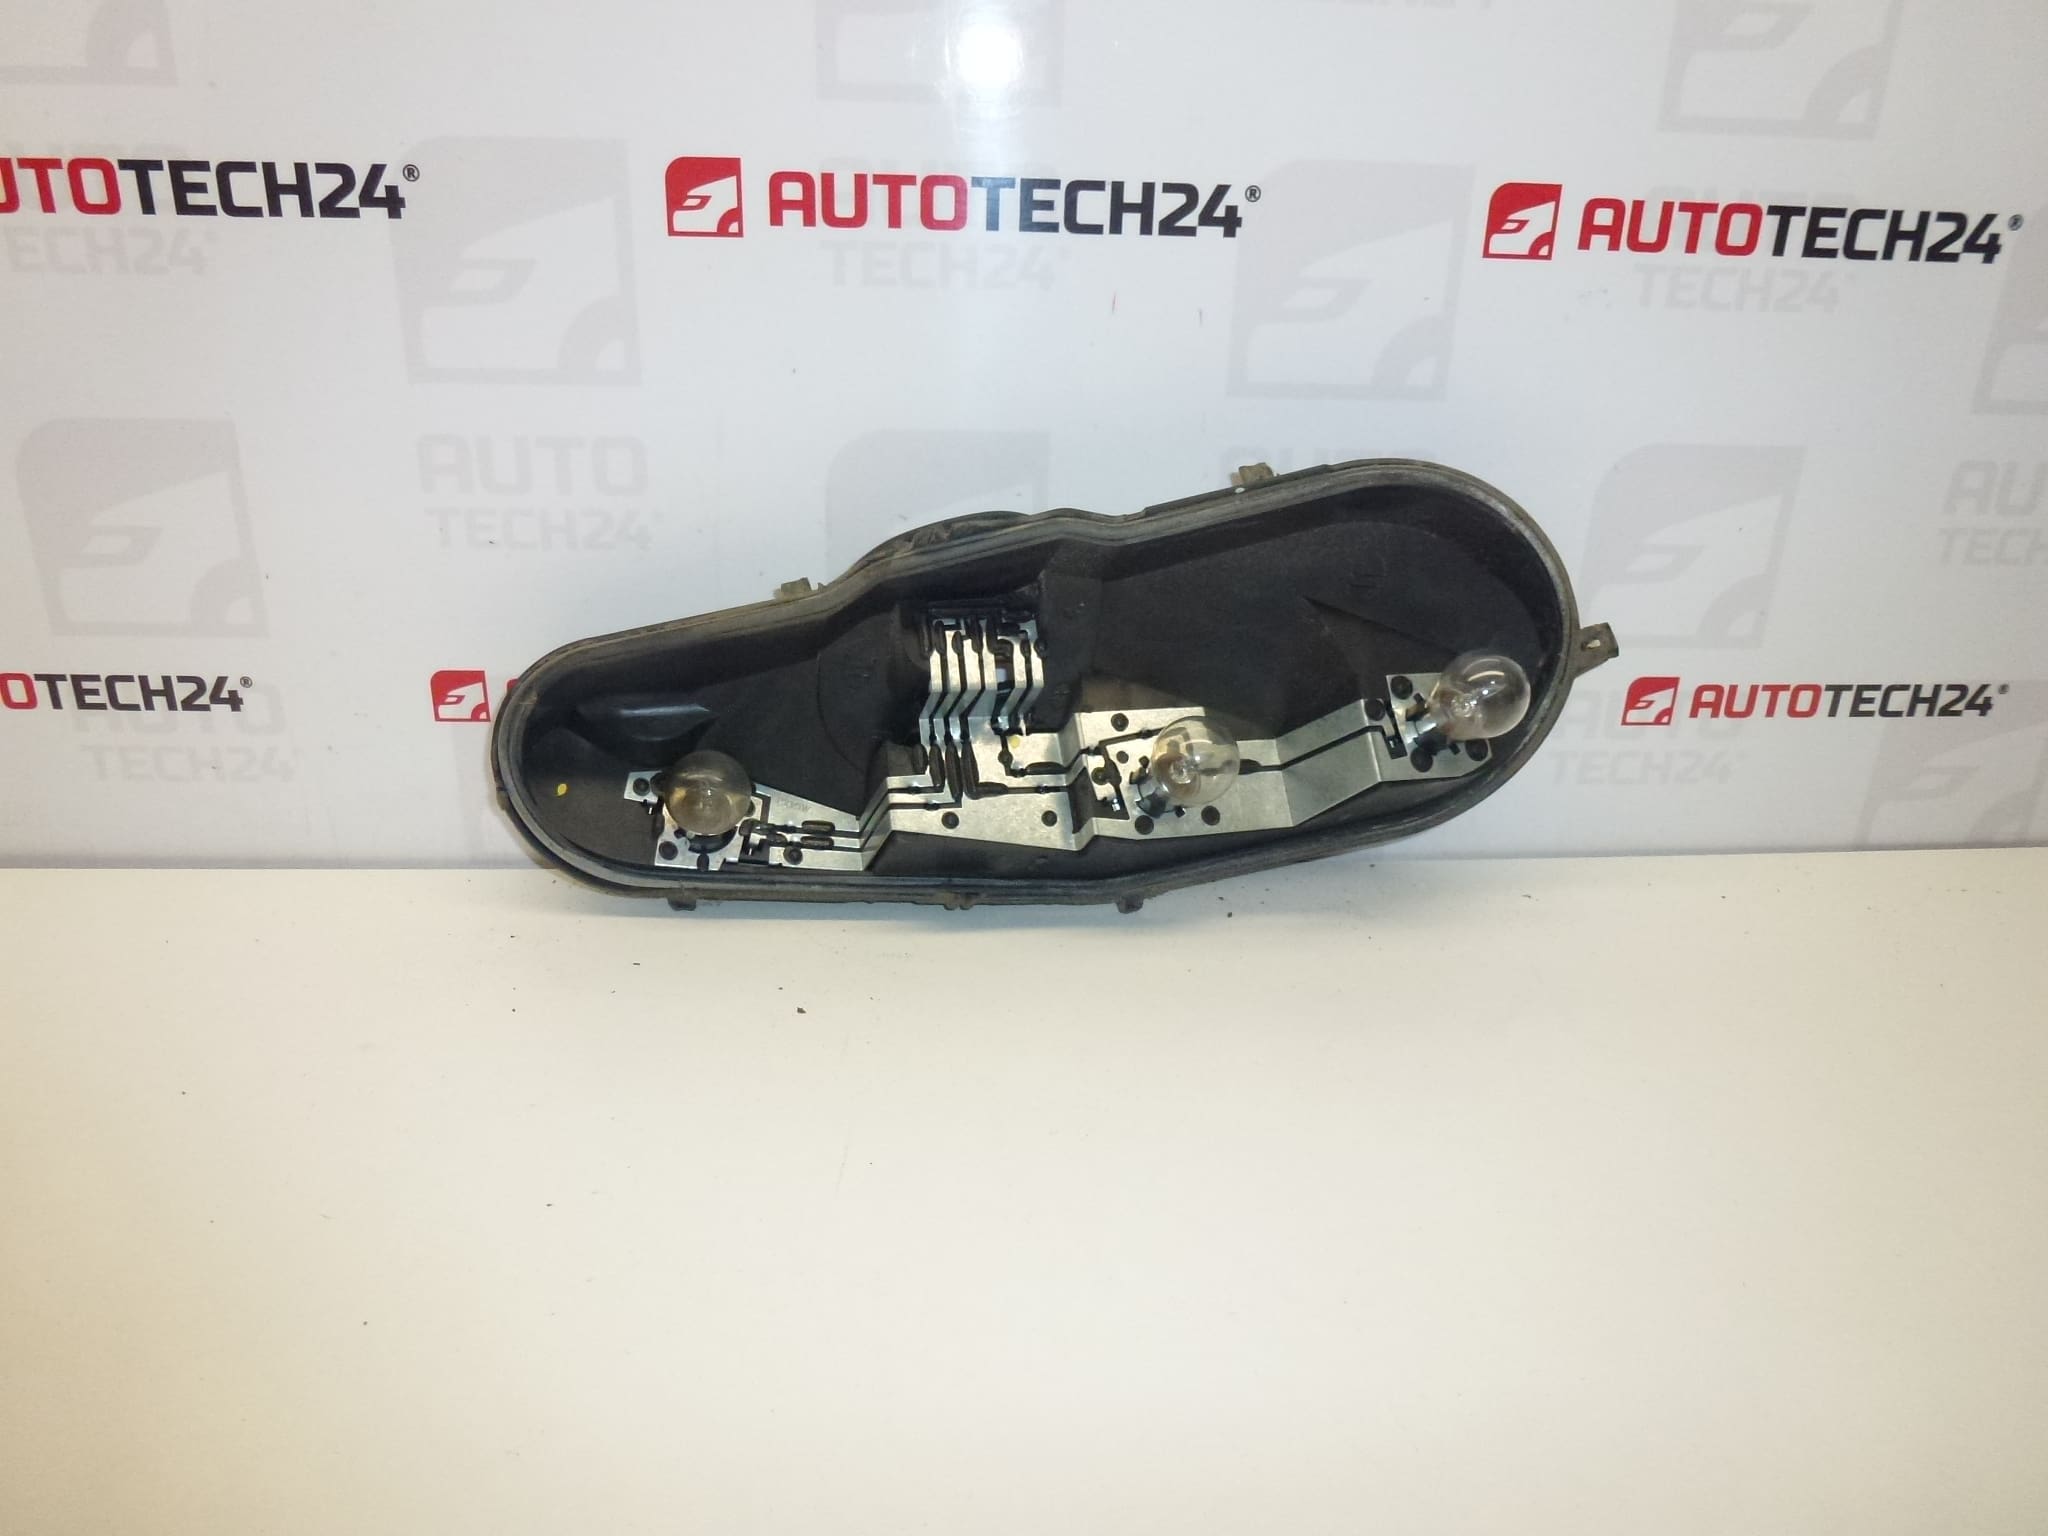
Bulb holder for the right rear lamp for first-series Citroën C1 and Peugeot 107. Functionality of the bulbs themselves is not guaranteed.
This replacement tail lamp bulb socket is designed for technicians and DIY motorists who maintain Citroën C1 and Peugeot 107 vehicles. The part restores a reliable electrical connection in the rear light cluster, eliminating flicker, intermittent contact and poor grounding caused by worn or damaged sockets. Frequently searched by OE and reference numbers, this item is suitable when the original holder has cracked, corroded or melted around the terminals.
Technical Information
- Manufacturer: Stellantis / Citroën / Peugeot
- Model: Citroën C1 (First Series), Peugeot 107 (First Series)
- Product Codes: 81560-0H060, 6350X8, 6350X6
- Other Numbers: 634686
Fitment
Compatible With: Citroën C1 First Generation (2005–2014), Peugeot 107 First Generation (2005–2014). Intended For Use In Rear Light Assemblies As The Bulb Socket/Holder.
Installation Recommendations
- Prepare: Park on a level surface, switch off ignition and remove the negative terminal of the battery for added electrical safety.
- Access: Open the boot and remove the interior trim or access panel behind the tail light cluster. Unscrew or unclip the tail lamp to reach the socket.
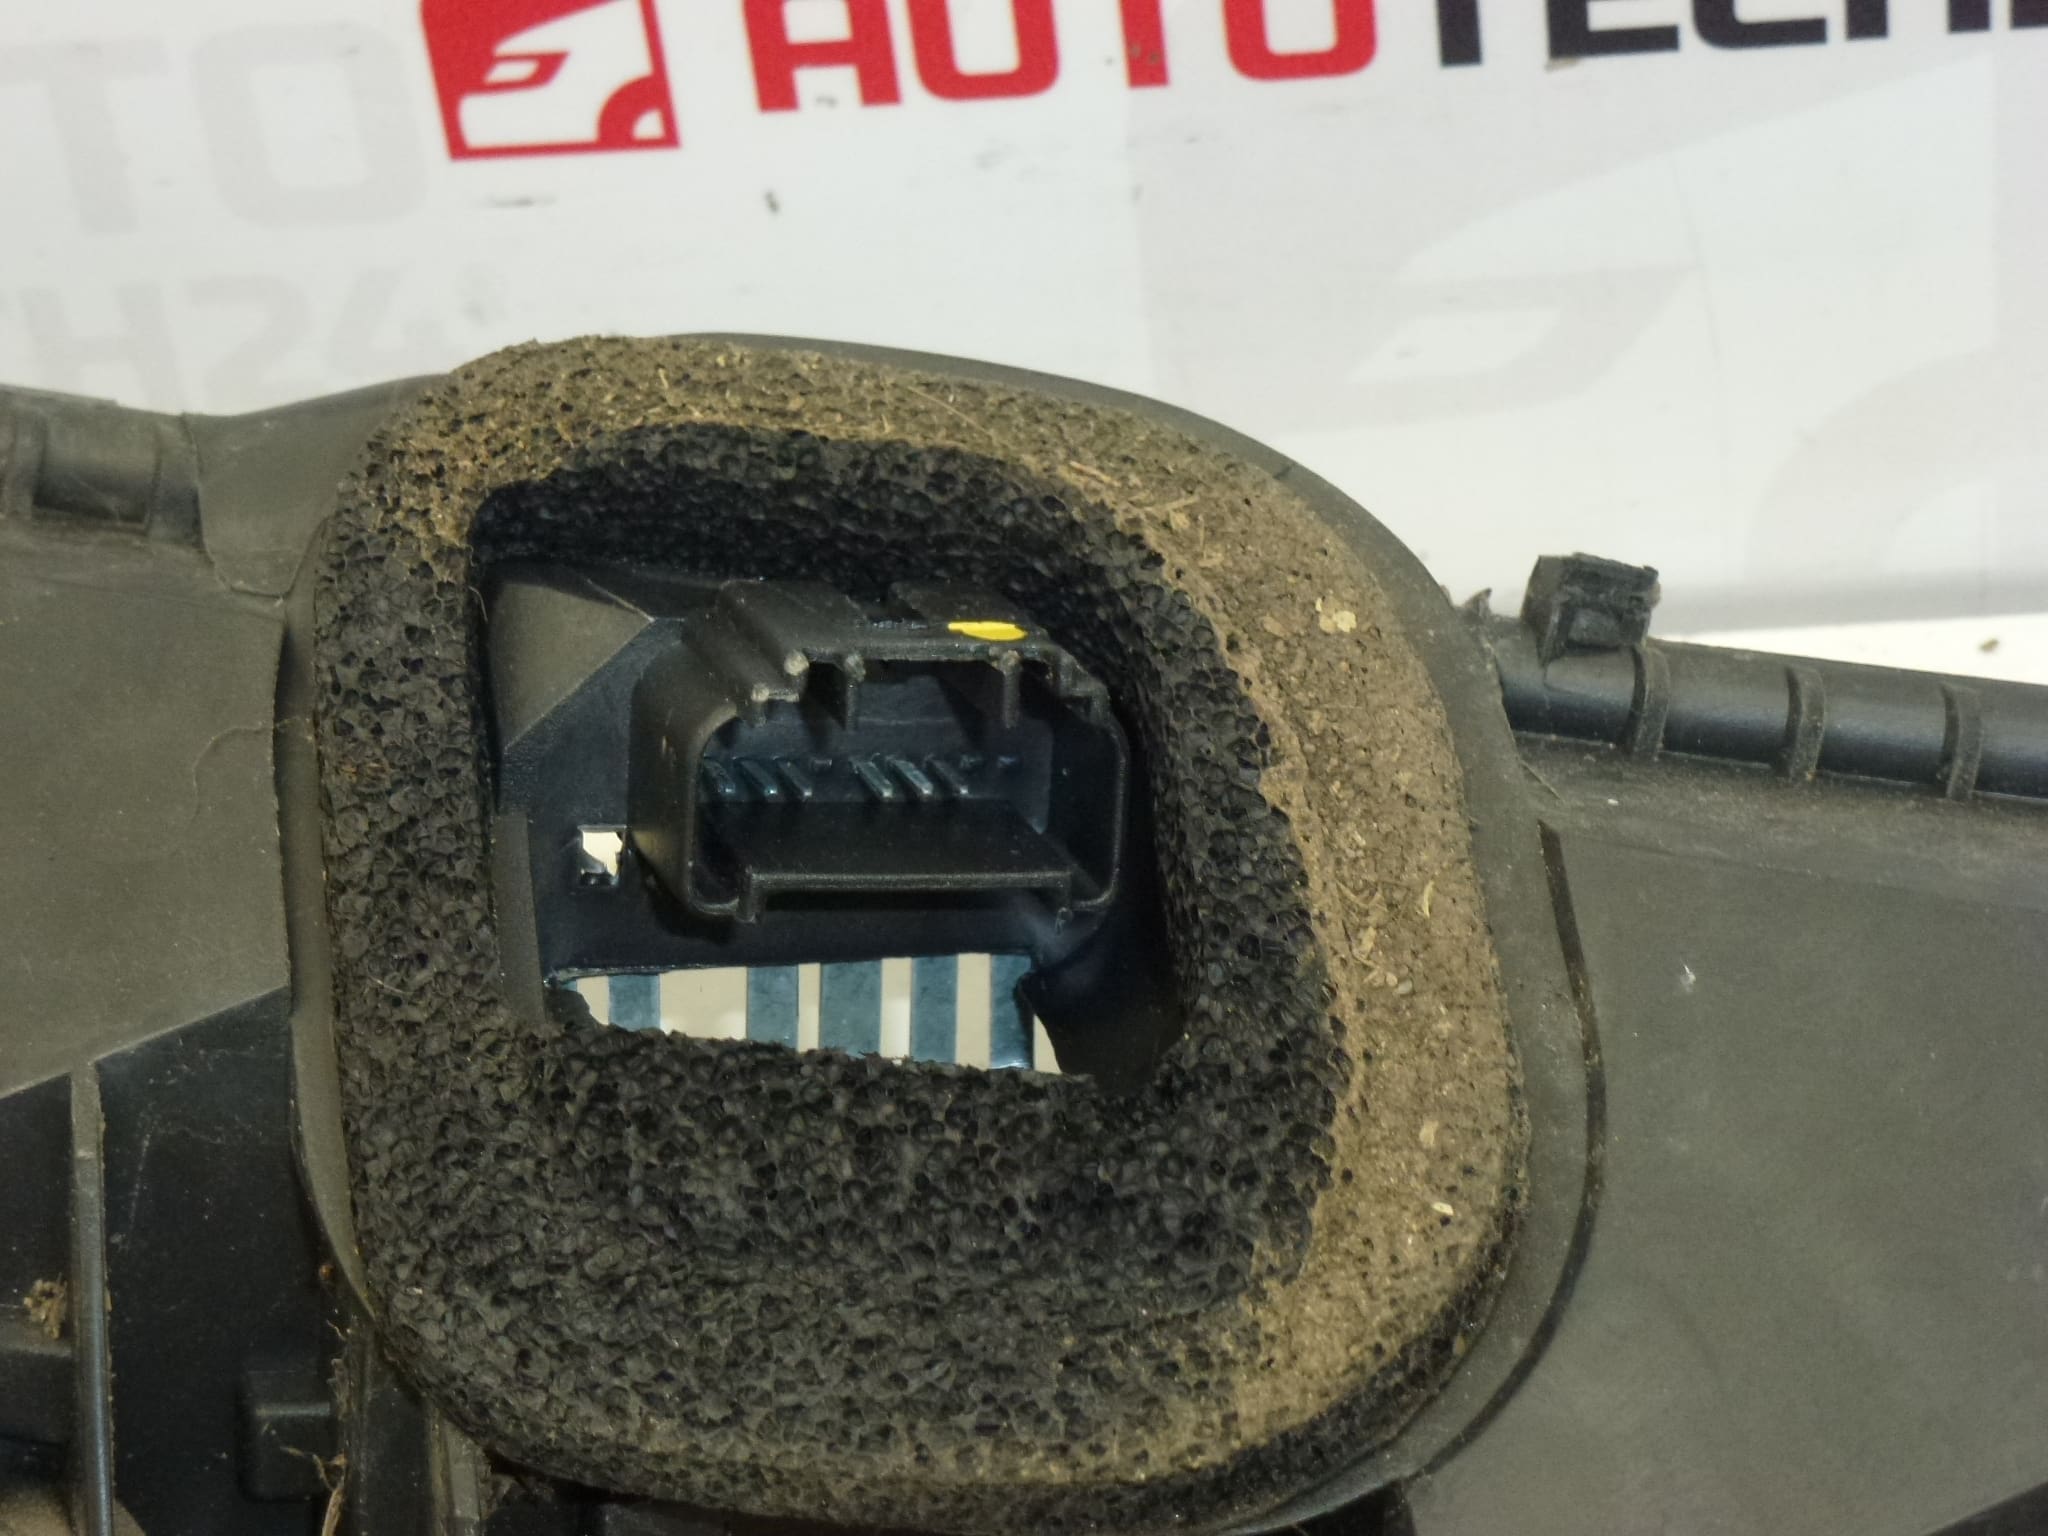
- Remove Old Socket: Twist or unclip the old holder from the lamp housing, disconnect the wiring plug and carefully extract any retained bulb(s). Inspect wiring for heat or corrosion damage.
- Install New Socket: Insert the new holder into the lamp housing until it locks, reconnect the wiring plug and install correct bulbs. Use a dielectric grease sparingly on contacts to reduce future corrosion.
- Test: Reconnect the battery, test all rear light functions (tail, brake, indicator, reverse if applicable) before reassembling trim and securing the lamp.
- Tip: Replace compromised bulbs and clean contact surfaces to ensure long-term reliability. Avoid using higher-wattage bulbs than specified, as they accelerate socket deterioration.
Most Common Failure Causes
Bulb holders in rear lamps typically fail due to moisture ingress and corrosion, heat damage from over-wattage bulbs or poor ventilation, mechanical fatigue and cracking of the plastic after years of vibration, and loosening or burning of electrical contacts that create intermittent connection or total failure. Road salt and contaminated water accelerate corrosion, especially in vehicles used in cold climates or with frequent short trips.
Note: This listing refers to the bulb holder only. The functionality of bulbs themselves is not guaranteed and should be checked separately. Many customers search using OE numbers like 81560-0H060, 6350X8, 6350X6 or reference 634686 to find the correct replacement quickly.