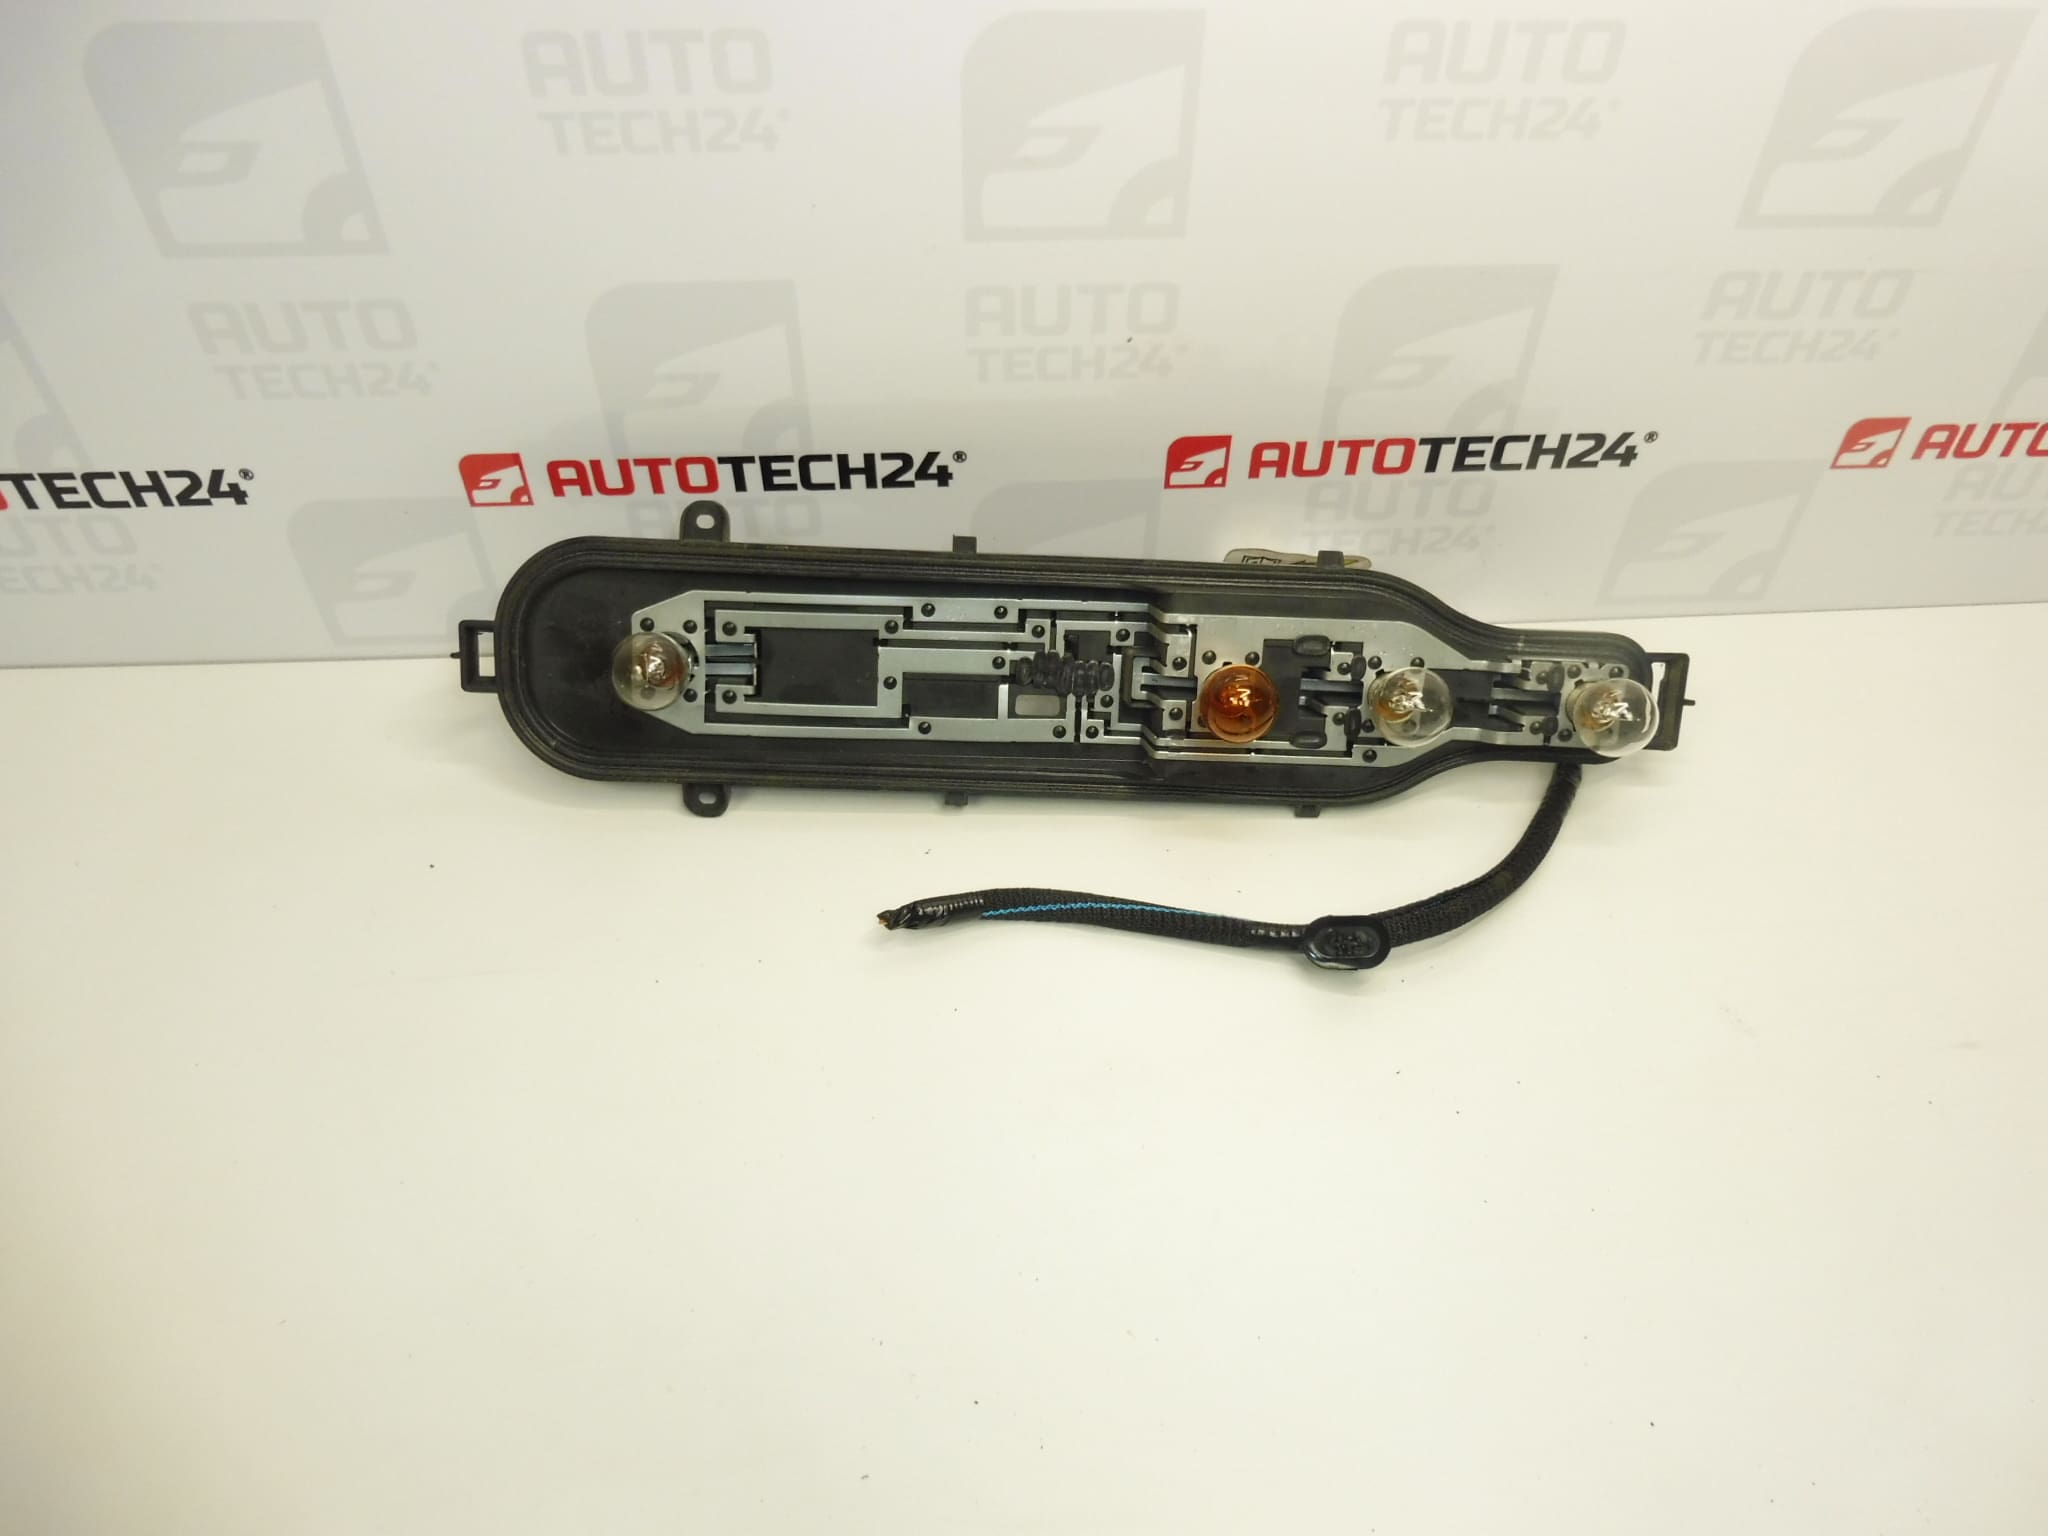
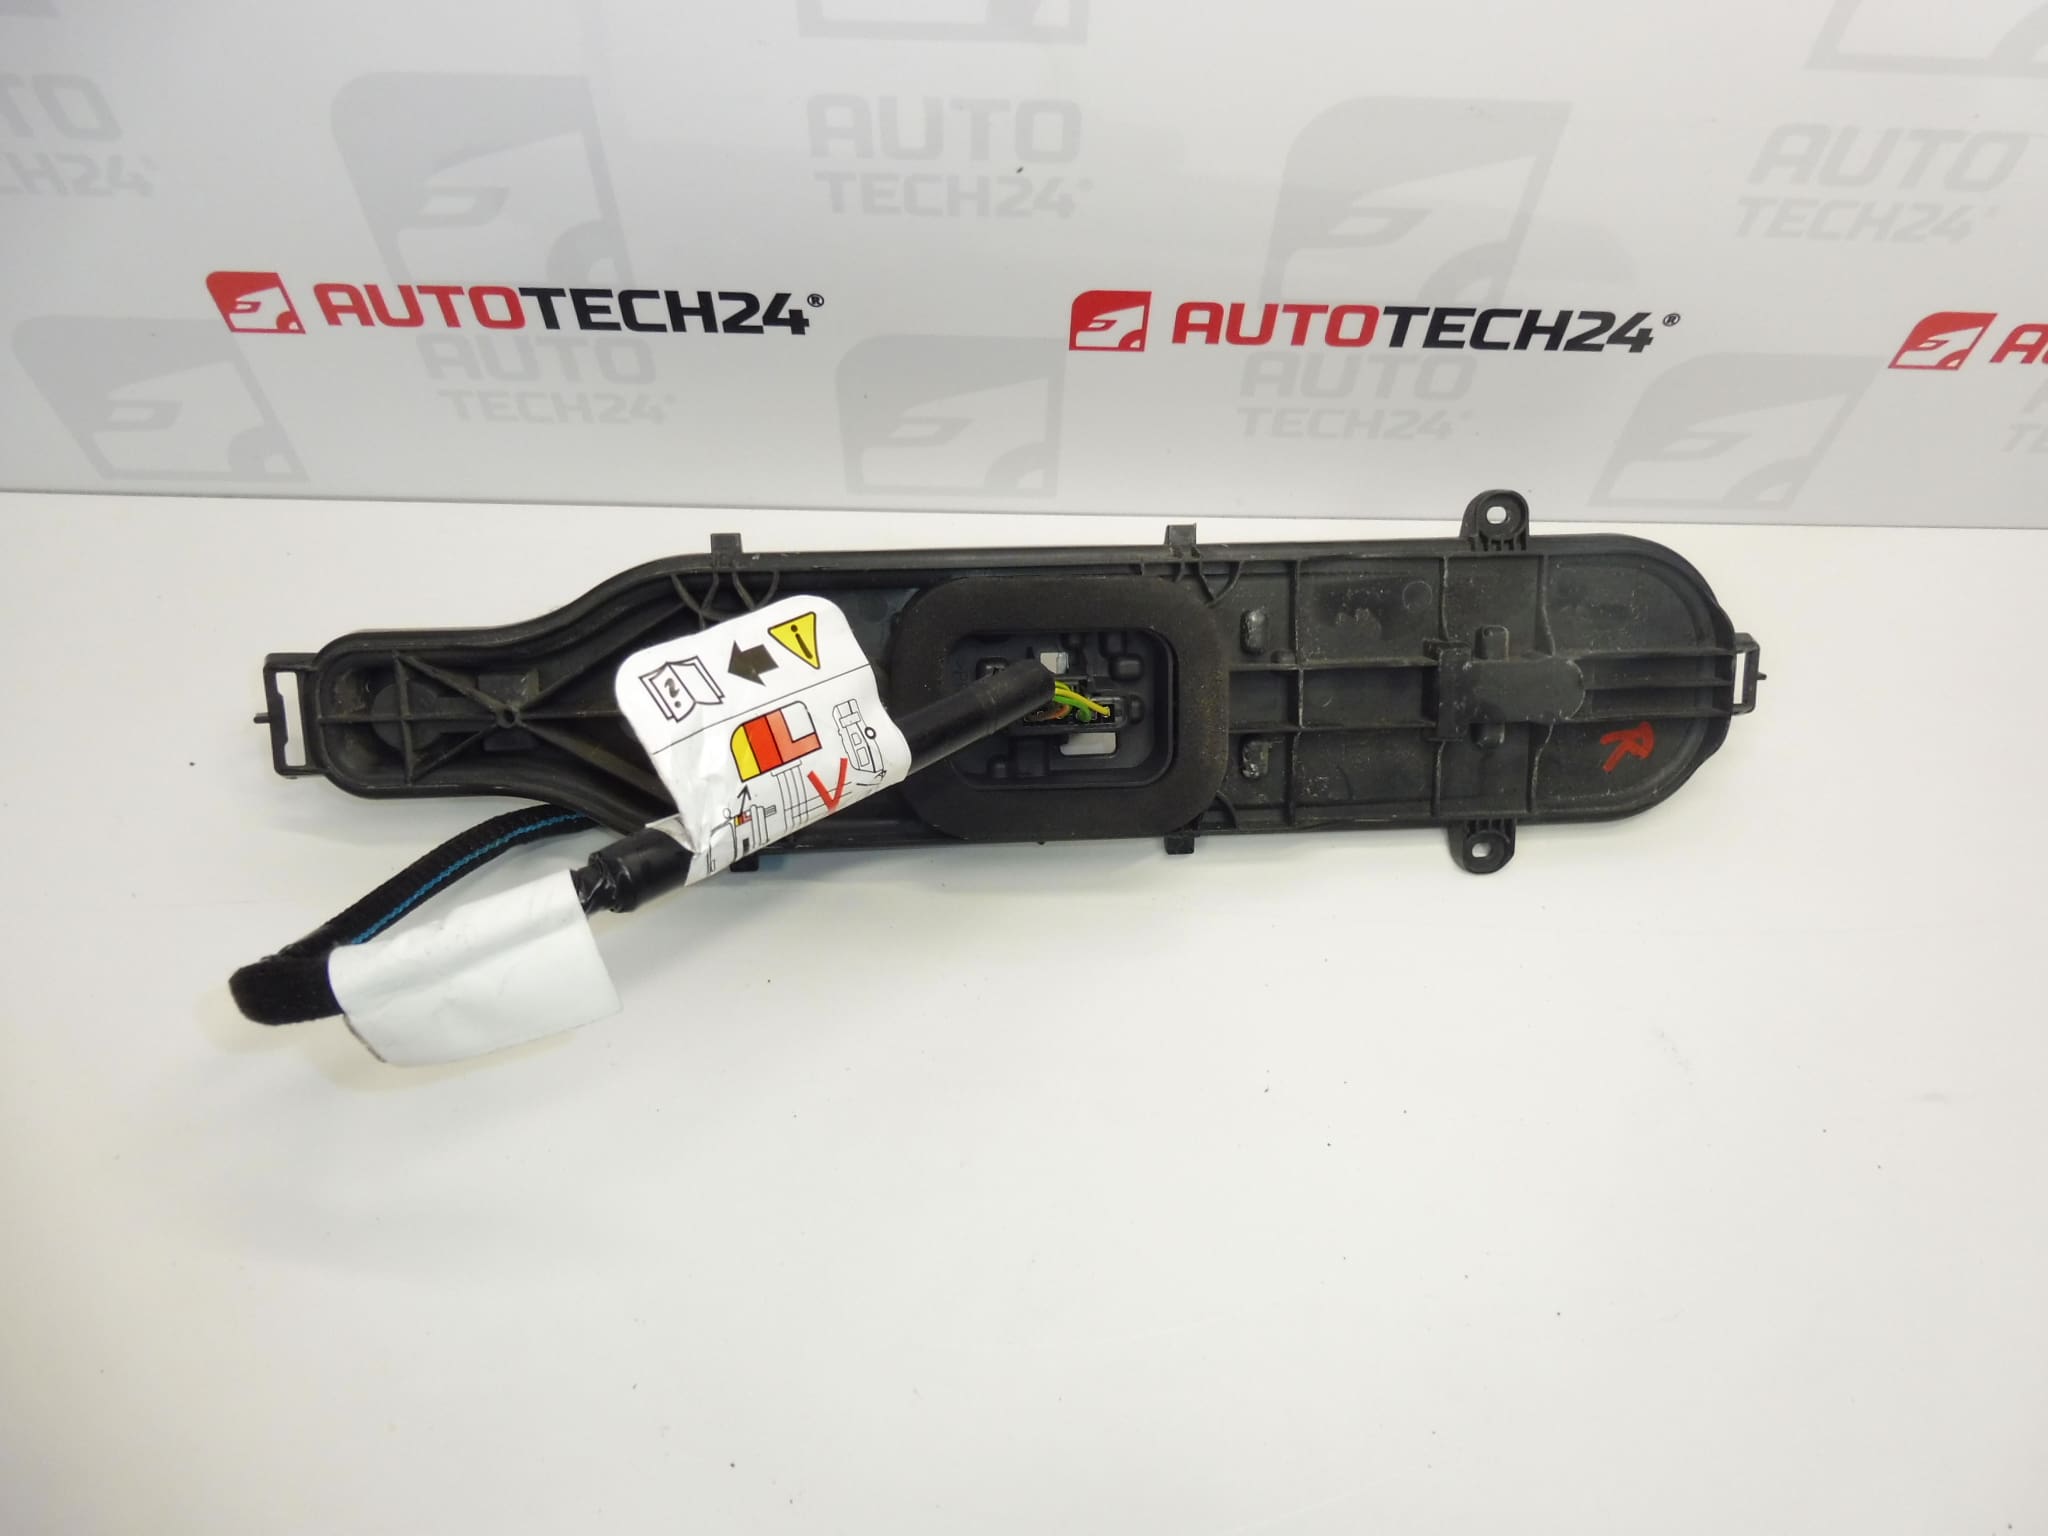
Description
Bulb holders for the right and left rear lamps for Peugeot RIFTER and Citroën Berlingo K9 vehicles and other Stellantis models
Driver’s side and passenger’s side
With a section of wiring
Part description
The used rear light bulb holder with a section of wiring holds the bulbs in place and electrically connects them to the vehicle’s wiring system. It is a suitable solution if the bulb holder, contacts, or rear lamp connection is damaged, provided the lamp housing itself is still usable.
The supplied information lists the part for the right and left rear lamps. When selecting a part, compare the markings 9820555080 and 9819649280, the shape of the holder, the contact layout, and the connector with the original part. The included section of wiring may help repair a damaged connection; whether it can be used depends on the condition of the wiring and the specific vehicle configuration.
Technical information
- Manufacturer: Stellantis – according to the supplied marking.
- Model: Citroën Berlingo K9; FIAT DOBLO III; OPEL COMBO E K9; PEUGEOT RIFTER; Toyota ProAce City – models listed in the supplied information and on labels, not confirmation of compatibility with every version.
- Part type: rear lamp bulb holder.
- Location: right and left rear lamp, driver’s side and passenger’s side.
- Condition: used part.
- Included in the delivery according to the description: a section of wiring.
- Additional numbers: not specified.
Product codes
- Product codes: 9820555080, 9819649280.
Product numbers are important when searching for a replacement holder. Also compare the mechanical design and electrical connection with the original part.
Installation recommendations
The following procedure applies in general to this type of part. The exact method for accessing the rear lamp, releasing the holder, and connecting the wiring depends on the specific model and vehicle configuration. Follow the manufacturer’s service procedure.
1) Before installation
- Compare the product numbers, holder outline, fasteners, bulb positions, and connector design with the old part.
- Inspect the used part: the plastic must not be cracked or melted, the contacts must not be significantly corroded, and the wire insulation must be intact.
- Check the included section of wiring, especially the wire ends, their connections, and any signs of overheating.
- Also check the condition of the lamp and its seal. If water is getting in, replacing the holder alone will not resolve the cause of the fault.
- The supplied information does not confirm that bulbs are included. If transferring bulbs, check their condition and use only the type specified for the lamp in question.
2) Required tools and materials
- Standard hand tools suitable for the lamp fasteners and, if necessary, a plastic trim removal tool for releasing covers.
- Gloves, a clean cloth, and a product suitable for cleaning electrical contacts and surrounding plastic parts.
- A multimeter for basic checks of the electrical connection.
- If the wiring needs repair, suitable tools and materials for professional, insulated connections protected against moisture.
3) Step-by-step installation procedure
- Park the vehicle safely, secure it against movement, switch off the ignition and lights, and allow the bulbs to cool.
- Before disconnecting the electrical system, follow the manufacturer’s instructions for safely isolating it; if disconnecting the battery, follow the vehicle’s prescribed procedure.
- Access the rear lamp according to the service procedure. Release covers and fasteners without using force.
- Note the wiring route and original connections. Release the connector and pull it out by its housing, not by the wires.
- Depending on the lamp design, release its fasteners or the holder’s retaining mechanism. Remove the old holder without damaging the surrounding plastic or any seals.
- Inspect the inside of the lamp, the contact surfaces, and the vehicle connector. Before proceeding, address the cause of any moisture, contamination, or overheating.
- Compare the two holders again. If transferring bulbs, check their condition and fit them into the corresponding positions without using excessive force.
- Based on the condition of the wiring, decide whether the original connection can be retained or whether the supplied section of wiring needs to be used. Do not connect wires based on color alone; the wiring must match the diagram for the specific vehicle. Have a professional repair the wiring if you do not have the appropriate equipment and experience.
- Fit the replacement holder into the lamp, check that any seal is seated correctly, and secure all fasteners.
- Connect the connector, check that it is secured, and route the wiring so that it is not stretched, pinched, or in contact with sharp edges. Reinstall any removed parts.
- Restore the power supply according to the manufacturer’s procedure and check all lighting functions of the relevant rear lamp.
4) Checks after installation and function verification
- With the vehicle stationary and secured, test all functions provided by the lamp, including their normal combinations. Ask another person to help when checking the brake lights.
- Watch for flickering, dim lighting, or other bulbs lighting up unintentionally, as this may indicate a connection problem.
- Check that the lamp is securely fitted, the connector is locked, and the wiring is routed freely without being pinched.
- If you smell overheating or the lights operate irregularly, switch them off immediately and resolve the fault. A test drive does not replace checking all lighting functions before driving.
5) Common installation mistakes and how to avoid them
- Leaving a damaged connector in place: an overheated or loose mating connector can also damage the replacement holder. Check both sides of the connection.
- Mixing up the wires: when using the included wiring, follow the diagram rather than relying on insulation colors alone.
- Using the wrong bulbs: follow the specification for the particular lamp to avoid incorrect operation or excessive heating.
- Insufficient sealing: check the contact surfaces and the condition of any seal before closing the lamp.
- Forcing the holder or connector into place: if you encounter resistance, check the orientation and compatibility; do not force it past the retaining features.
Reasons why the part gets damaged
The following are common causes of damage to rear light bulb holders. They do not describe the known condition of this specific part.
- Moisture and water ingress into the lamp, which cause contact corrosion and deteriorate the electrical connection.
- Loose or oxidized contacts, which create electrical resistance and subsequent localized overheating.
- Incorrect bulbs, which may expose the holder to more heat than it is designed to withstand.
- Mechanical stress when replacing bulbs, forcibly releasing the connector, or pulling on the wiring.
- Aging plastic and wire insulation due to temperature changes and long-term use.
- Improper electrical repairs, especially loose connections or inadequate protection against moisture.