Description
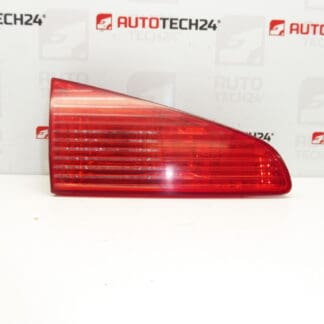
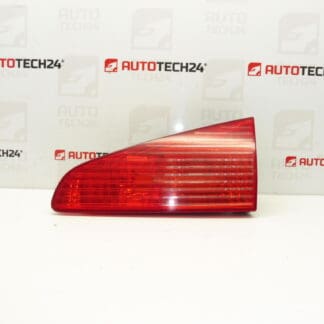
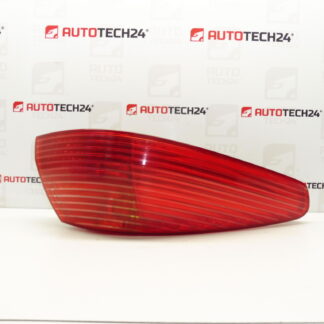
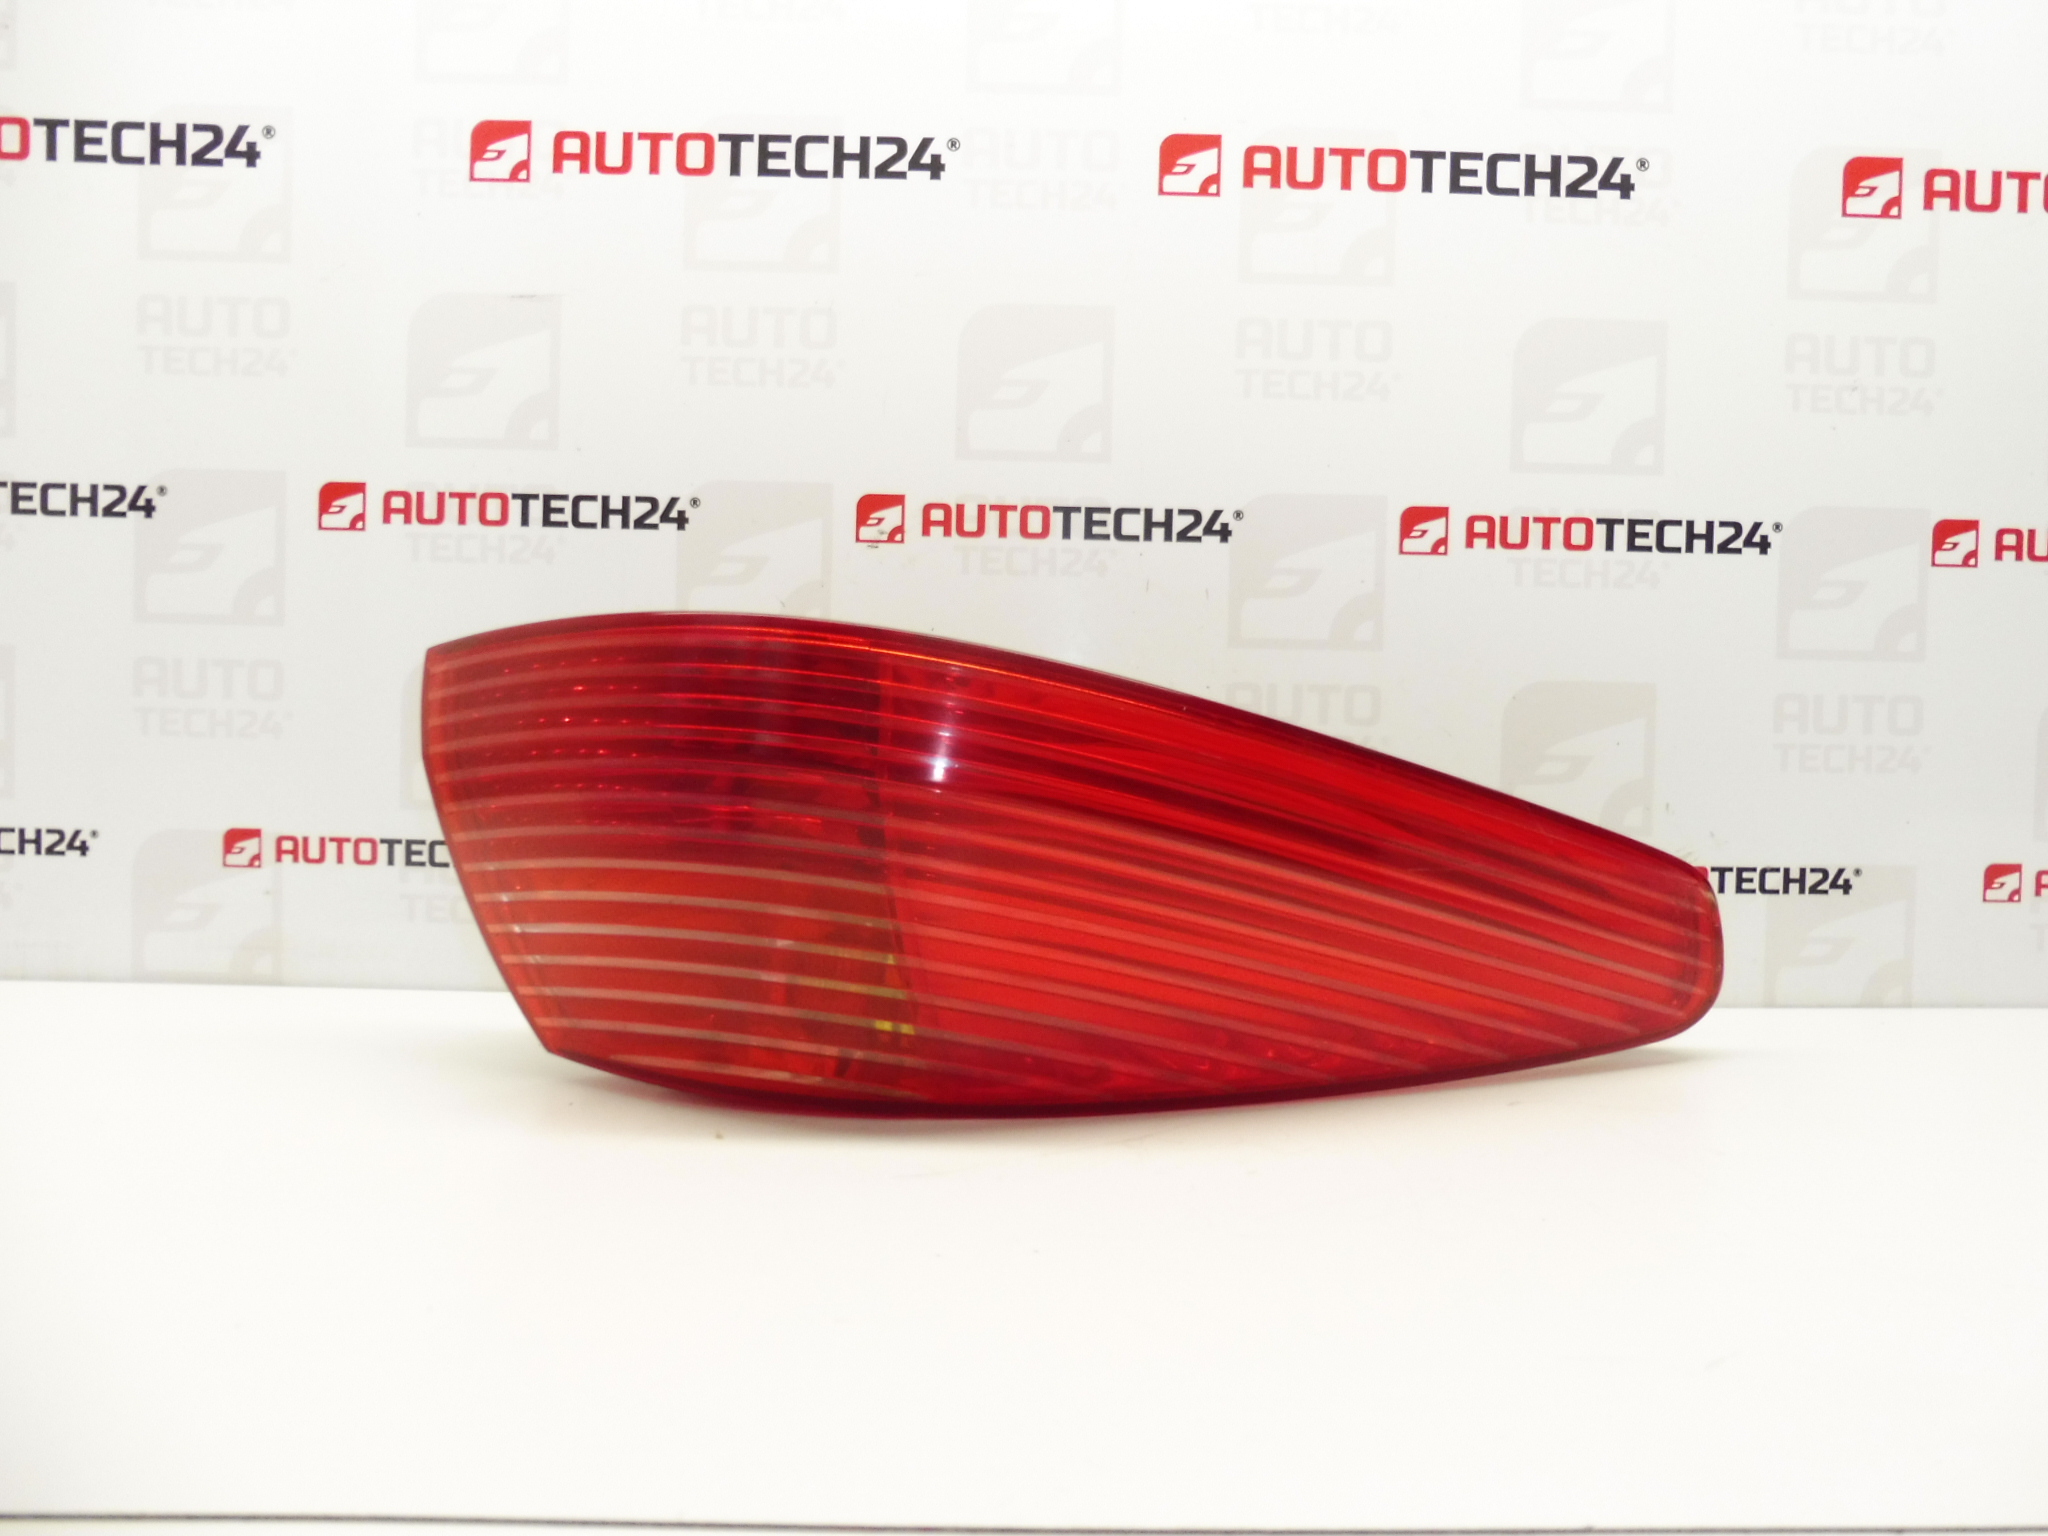
Left Rear Wing Taillight For Peugeot 607 – Original
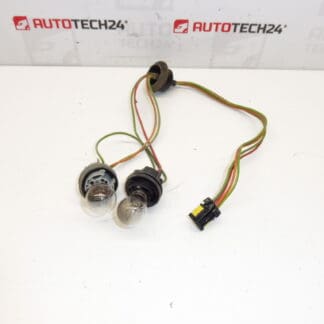
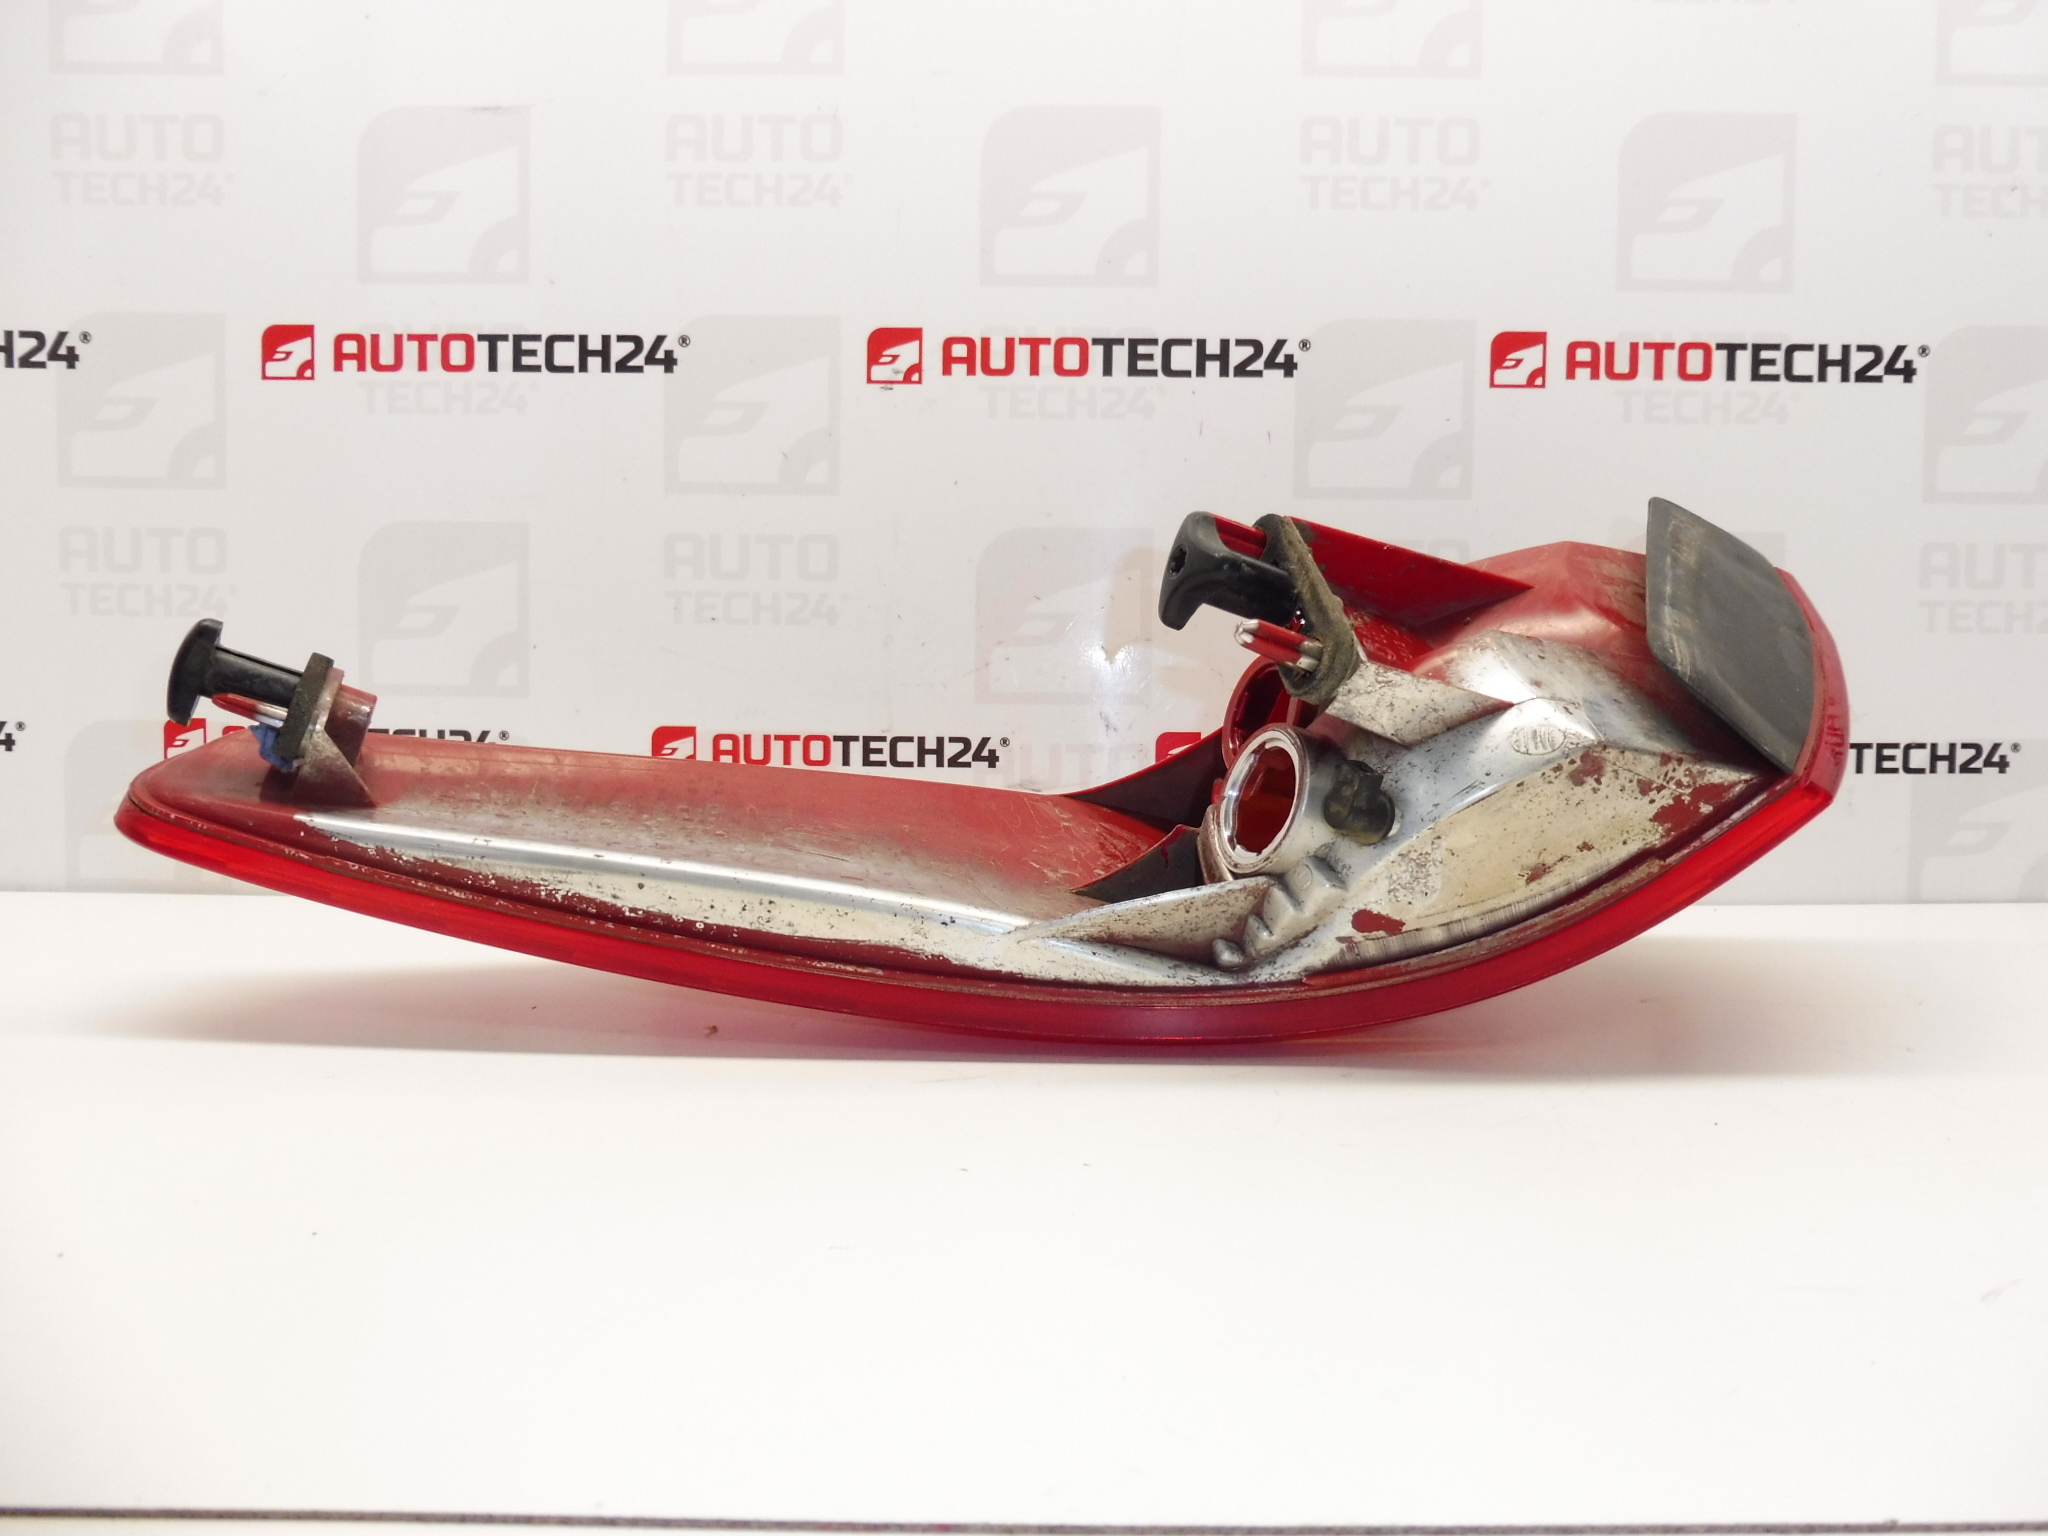
Without Bulb Sockets, These Can Be Ordered Under Code 6534GS
Driver Side
This Original Equipment Taillight Is A Direct Replacement For The Left Rear Wing Of The Peugeot 607. Designed For Professional Workshops And Competent DIY Technicians, The Unit Restores Exterior Lighting Function And Appearance While Retaining OEM Fitment And Mounting Points. Commonly Searched By Part Number 6350N1, This Taillight Is A Practical Choice When Replacing A Damaged Or Waterlogged Rear Light Assembly.
Technical Information
- Manufacturer: Stellantis / Peugeot
- Model: Peugeot 607
- Product Codes: 6350N1
- Additional Numbers: 6534GS (Bulb Holder Not Included)
- Side: Left Rear (Driver Side)
- Notes: Original Genuine Part, Bulb Sockets Not Supplied
Fitment And Compatibility
Fits Peugeot 607. Check Visual Match With Existing Unit Before Installation. This Assembly Replaces The Exterior Taillight On The Left Rear Wing And Uses The Same Mounting Points As The Original Factory Part. Because This Item Is Frequently Located By Its Part Number, Searches For 6350N1 Or 6534GS Will Help Locate The Correct Component Quickly.
Installation Recommendations
Turn Off Ignition Before Work And Park The Vehicle On Level Ground. Access The Taillight From The Rear Cargo Area Or Inner Wheel Arch Depending On Body Style: Remove Interior Trim Or Wheel Arch Liner To Reach Fasteners, Unscrew Mounting Bolts, And Carefully Disconnect The Electrical Connector. Remove The Old Unit, Clean Mounting Surface And Seal, Fit The New Taillight Ensuring Proper Alignment, Reinstall Fasteners To Manufacturer Torque Settings, Reconnect Electrical Connector, And Test All Light Functions (Brake, Indicator, Tail, Reverse Where Applicable). If The Bulb Holder Is Required, Order Under Code 6534GS And Install Bulbs Before Final Mounting. Protect Painted Surfaces During Removal And Refit Any Seals Or Gaskets To Prevent Water Ingress.
Most Common Failure Reasons
Taillight Failures On Peugeot 607 Are Typically Caused By Water Ingress Through Deteriorated Seals, Impact Damage From Minor Collisions, Cracked Or Clouded Lenses From Age And UV Exposure, And Corroded Electrical Contacts Or Bulb Holders. Condensation Inside The Lens Often Indicates A Compromised Seal; If Left Unchecked, Corrosion Can Damage The Connector And Bulb Sockets. Regular Inspection After Bodywork Or Minor Impacts Helps Prevent Unexpected Failures.
Practical Tips
- Always Compare The New Unit With The Old One For Mounting Hole Positions And Connector Type Before Final Fitment.
- Replace Seals Or Gaskets When Installing To Ensure Long-Term Water Tightness.
- Use Quality Replacement Bulbs And Clean Electrical Contacts To Avoid Flicker Or Poor Contact.
- If The Lens Is Scratched But The Housing Is Intact, Consider Lens Polishing Only As A Temporary Measure; Full Replacement Gives Best Long-Term Results.
Warranty And Quality
This Is An Original Equipment Component Intended To Meet Factory Specifications For Fit And Finish. For Professional Results, Follow Standard Workshop Procedures And Torque Recommendations During Installation.