Description
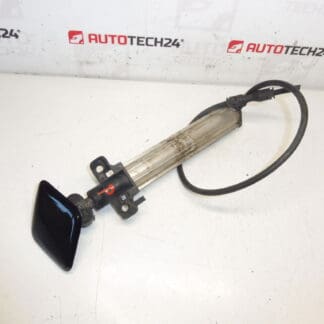
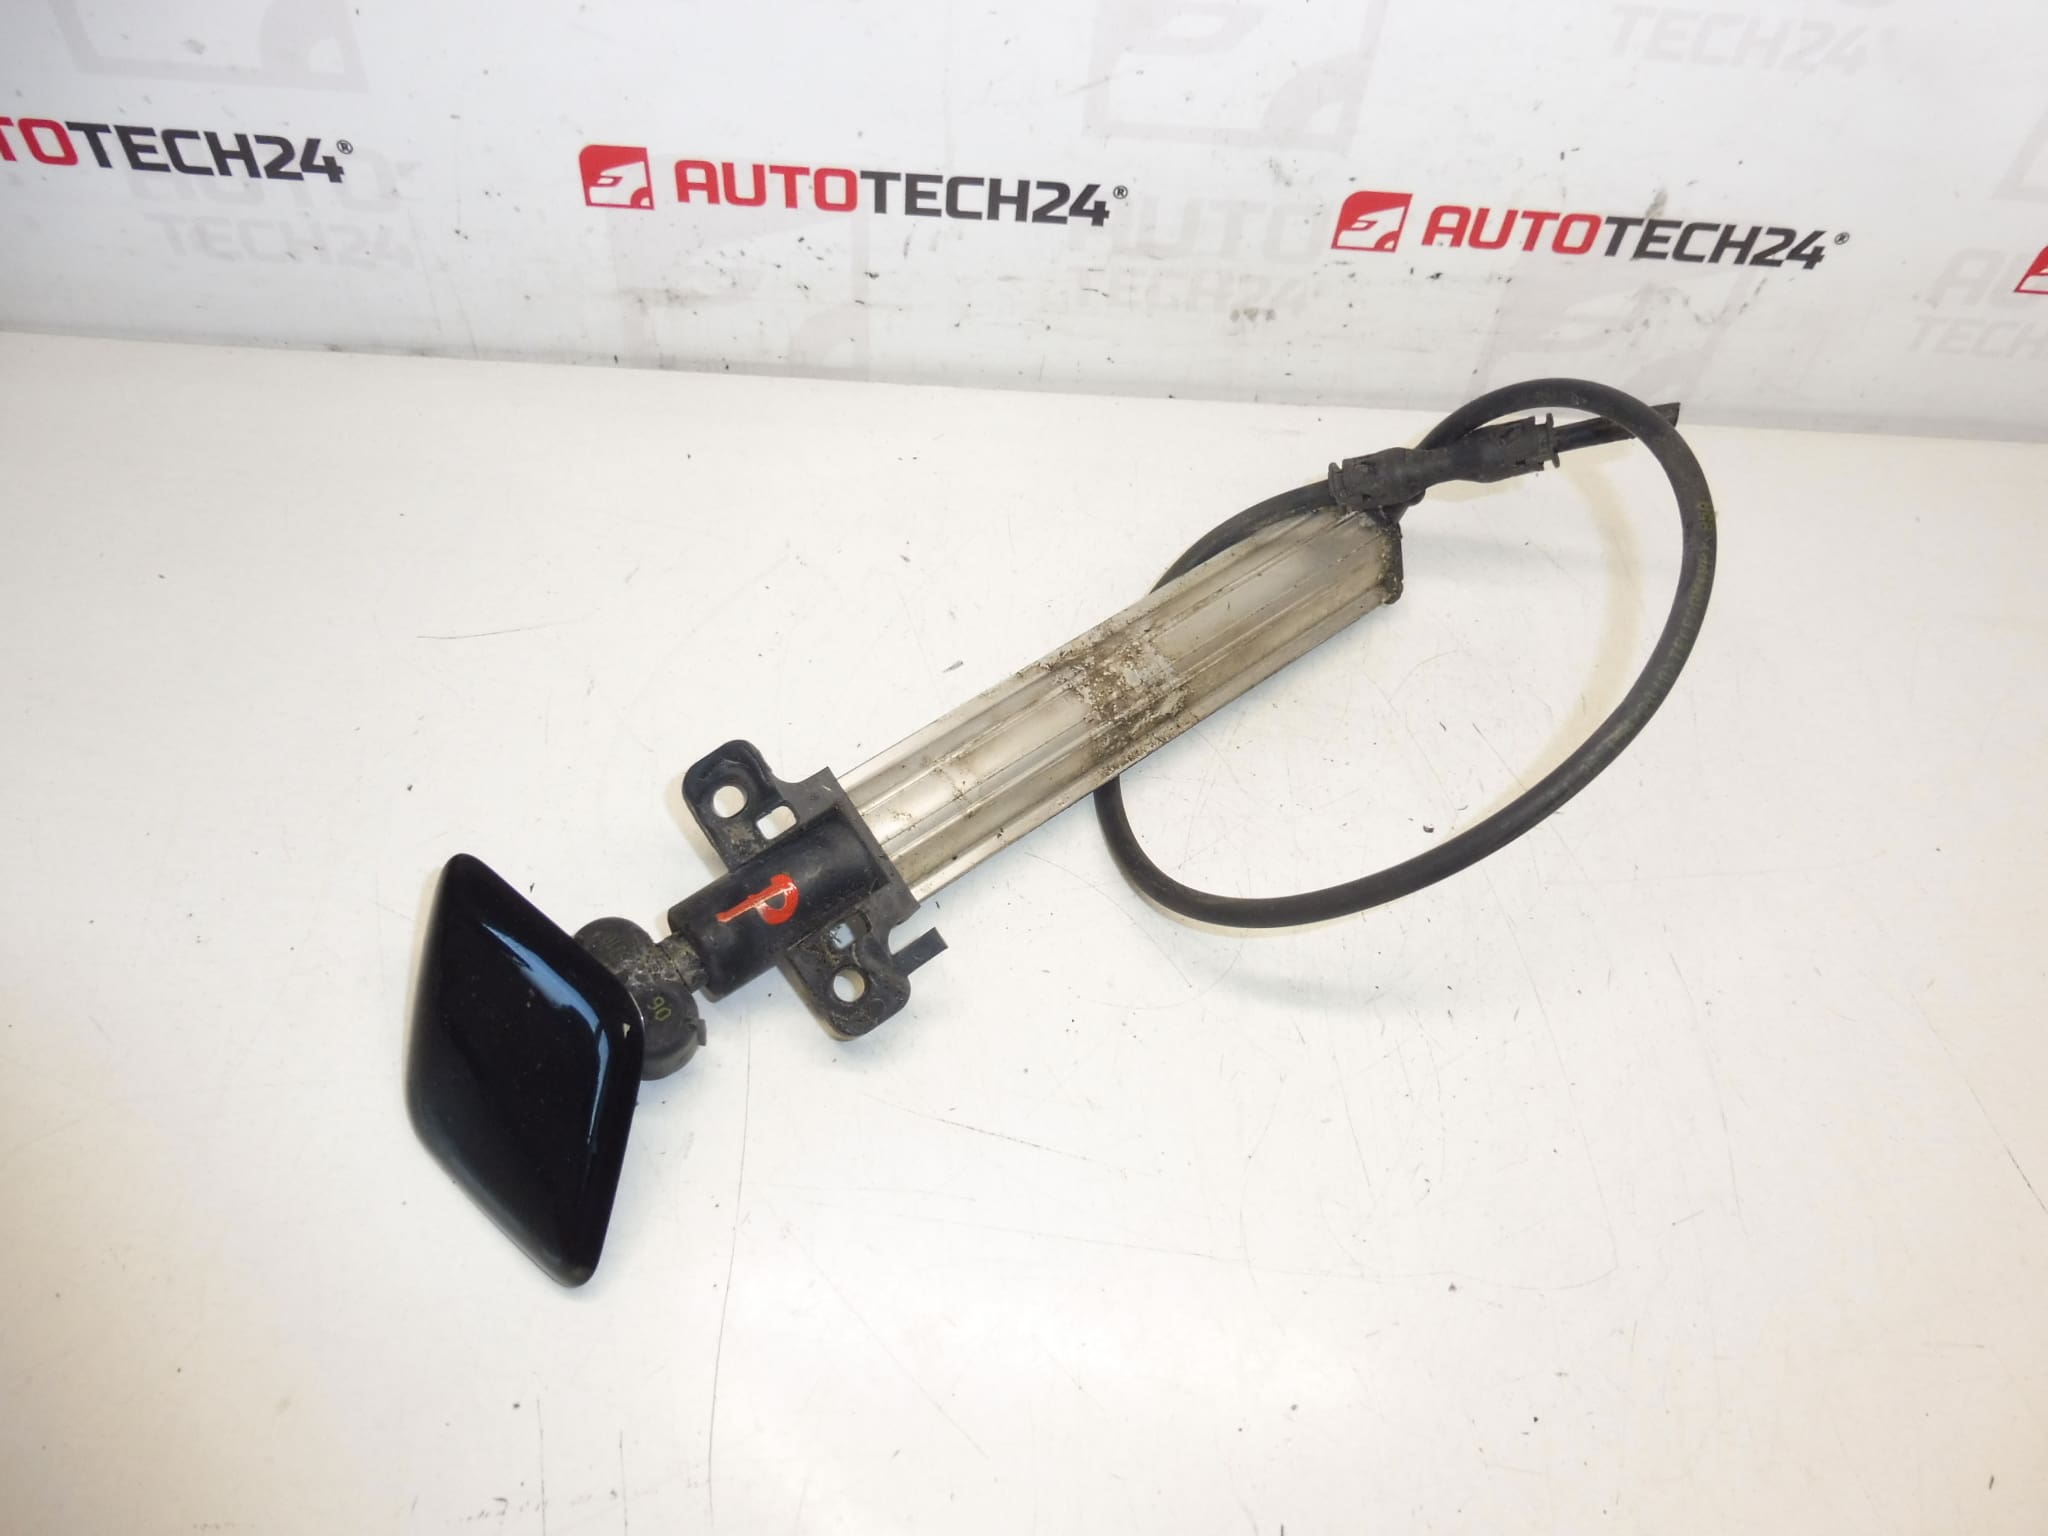
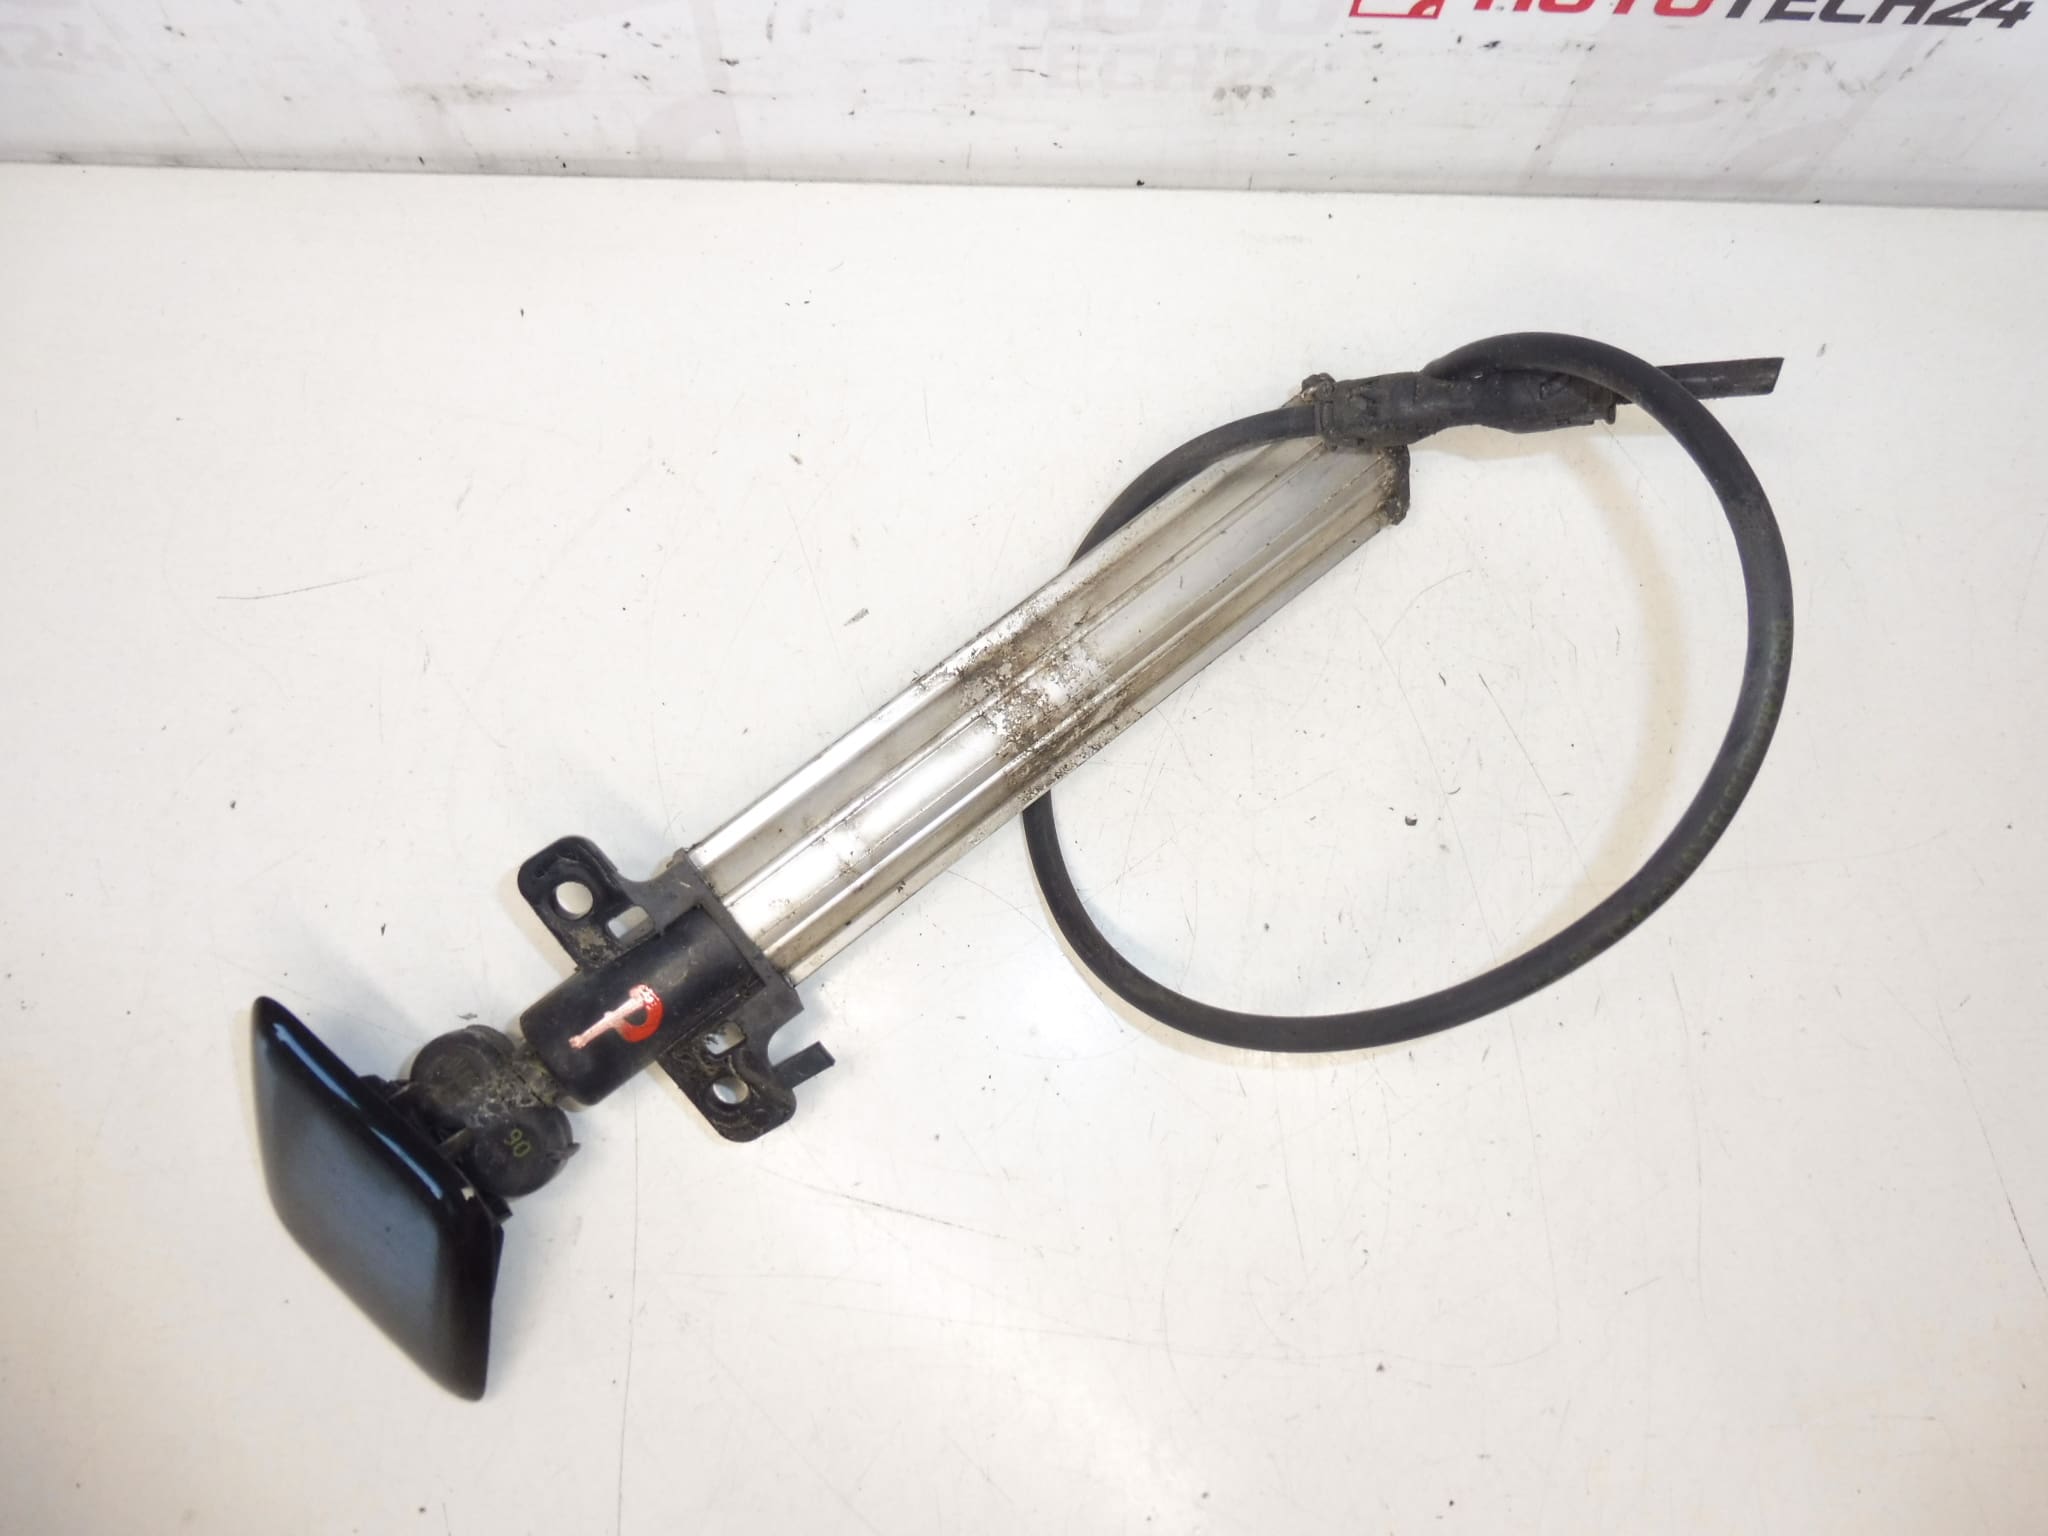
Right headlight washer nozzle with cap and hose for Peugeot 308 T7 cars
KTV cap color – BLACK PEARL NERA LACQUER
Part description
This used part is intended for Peugeot 308 T7 cars and is a right headlight washer nozzle including cap and hose. Due to the delivery as a set, replacement can be easier and more practical, especially if the original part is damaged, leaking or has broken parts.
The part includes a cover in the design of KTV – Perla Nera black lacquer, which is especially important when replacing the original visible element of the bodywork. The part is suitable for repairs in which the emphasis is placed both on the functionality of the headlight spray and on preserving the appearance of the car.
Technical information
Product codes
- Product codes: 6438Y8, 6438Z0
- Models: Peugeot 308
Installation recommendations
Generally/typically for this type of part, the exact method of replacement may vary depending on the specific car design and mounting approach. It is advisable to proceed carefully with the headlight washer nozzle so as not to damage the cap, tube or surrounding parts of the bodywork.
1) Before assembly
- Check the used part for cracks, deformations or damaged handles.
- Compare the new and original part by shape, fit, tube routing and cap appearance.
- Check the condition of the tubing and connecting parts, whether they are swollen or mechanically damaged.
- Check that the color of the cap matches the desired KTV shade.
2) Necessary tools and materials
- Common hand tools
- Plastic crowbar or trim removal tool
- Detergent for removing dirt
- Clean rag or cloth
- Protective gloves
3) Step-by-step assembly procedure
- Secure the vehicle against movement and prepare a work area.
- According to access to the part, remove obstructing cover or access parts if necessary.
- Carefully disconnect the hose from the original washer nozzle.
- Release the original nozzle from its attachment so as not to damage the surrounding plastic parts or painted surfaces.
- Clean the area where the part is placed and check that there are no broken parts of the old mounting.
- Compare the used part with the old one, especially the orientation of the nozzle, cap and hose connection.
- Place the nozzle in the correct position and lightly secure it in the holder.
- Connect the tube and check that the connection is tight and without unnecessary tension.
- Finish fitting the cap and verify that it matches the surrounding parts.
- Reinstall any removed cover or access parts.
-
4) Post-assembly checks and function verification
- Check the correct seating of the part and the strength of the attachment.
- After starting the spray, check that the system is not leaking and that the tube is in place.
- Check that the cap fits correctly and does not interfere with normal operation.
- After a short period of use, check again for loose or leaking liquid.
5) The most common assembly mistakes + how to avoid them
- Exchanging a part – always compare codes and design before assembly.
- Damage to handles – use adequate force and appropriate tools during disassembly and assembly.
- Incorrect seat of the cover – before completing the assembly, check the fit with the surrounding part of the car.
- Assembly without cleaning the surroundings – dirt can worsen the seating of the part and the tightness of the connection.
- Mechanical damage during parking or minor contact of the front part of the car with an obstacle.
- Cracking or breakage of the cap due to impact or careless handling.
- Wear of plastic handles due to age and normal use.
- Damage to the hose, which may cause the sprayer to leak or malfunction.
- Clogging or flow restriction, which can be manifested by impaired headlight washer function.