Description
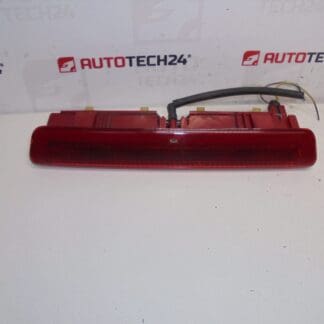
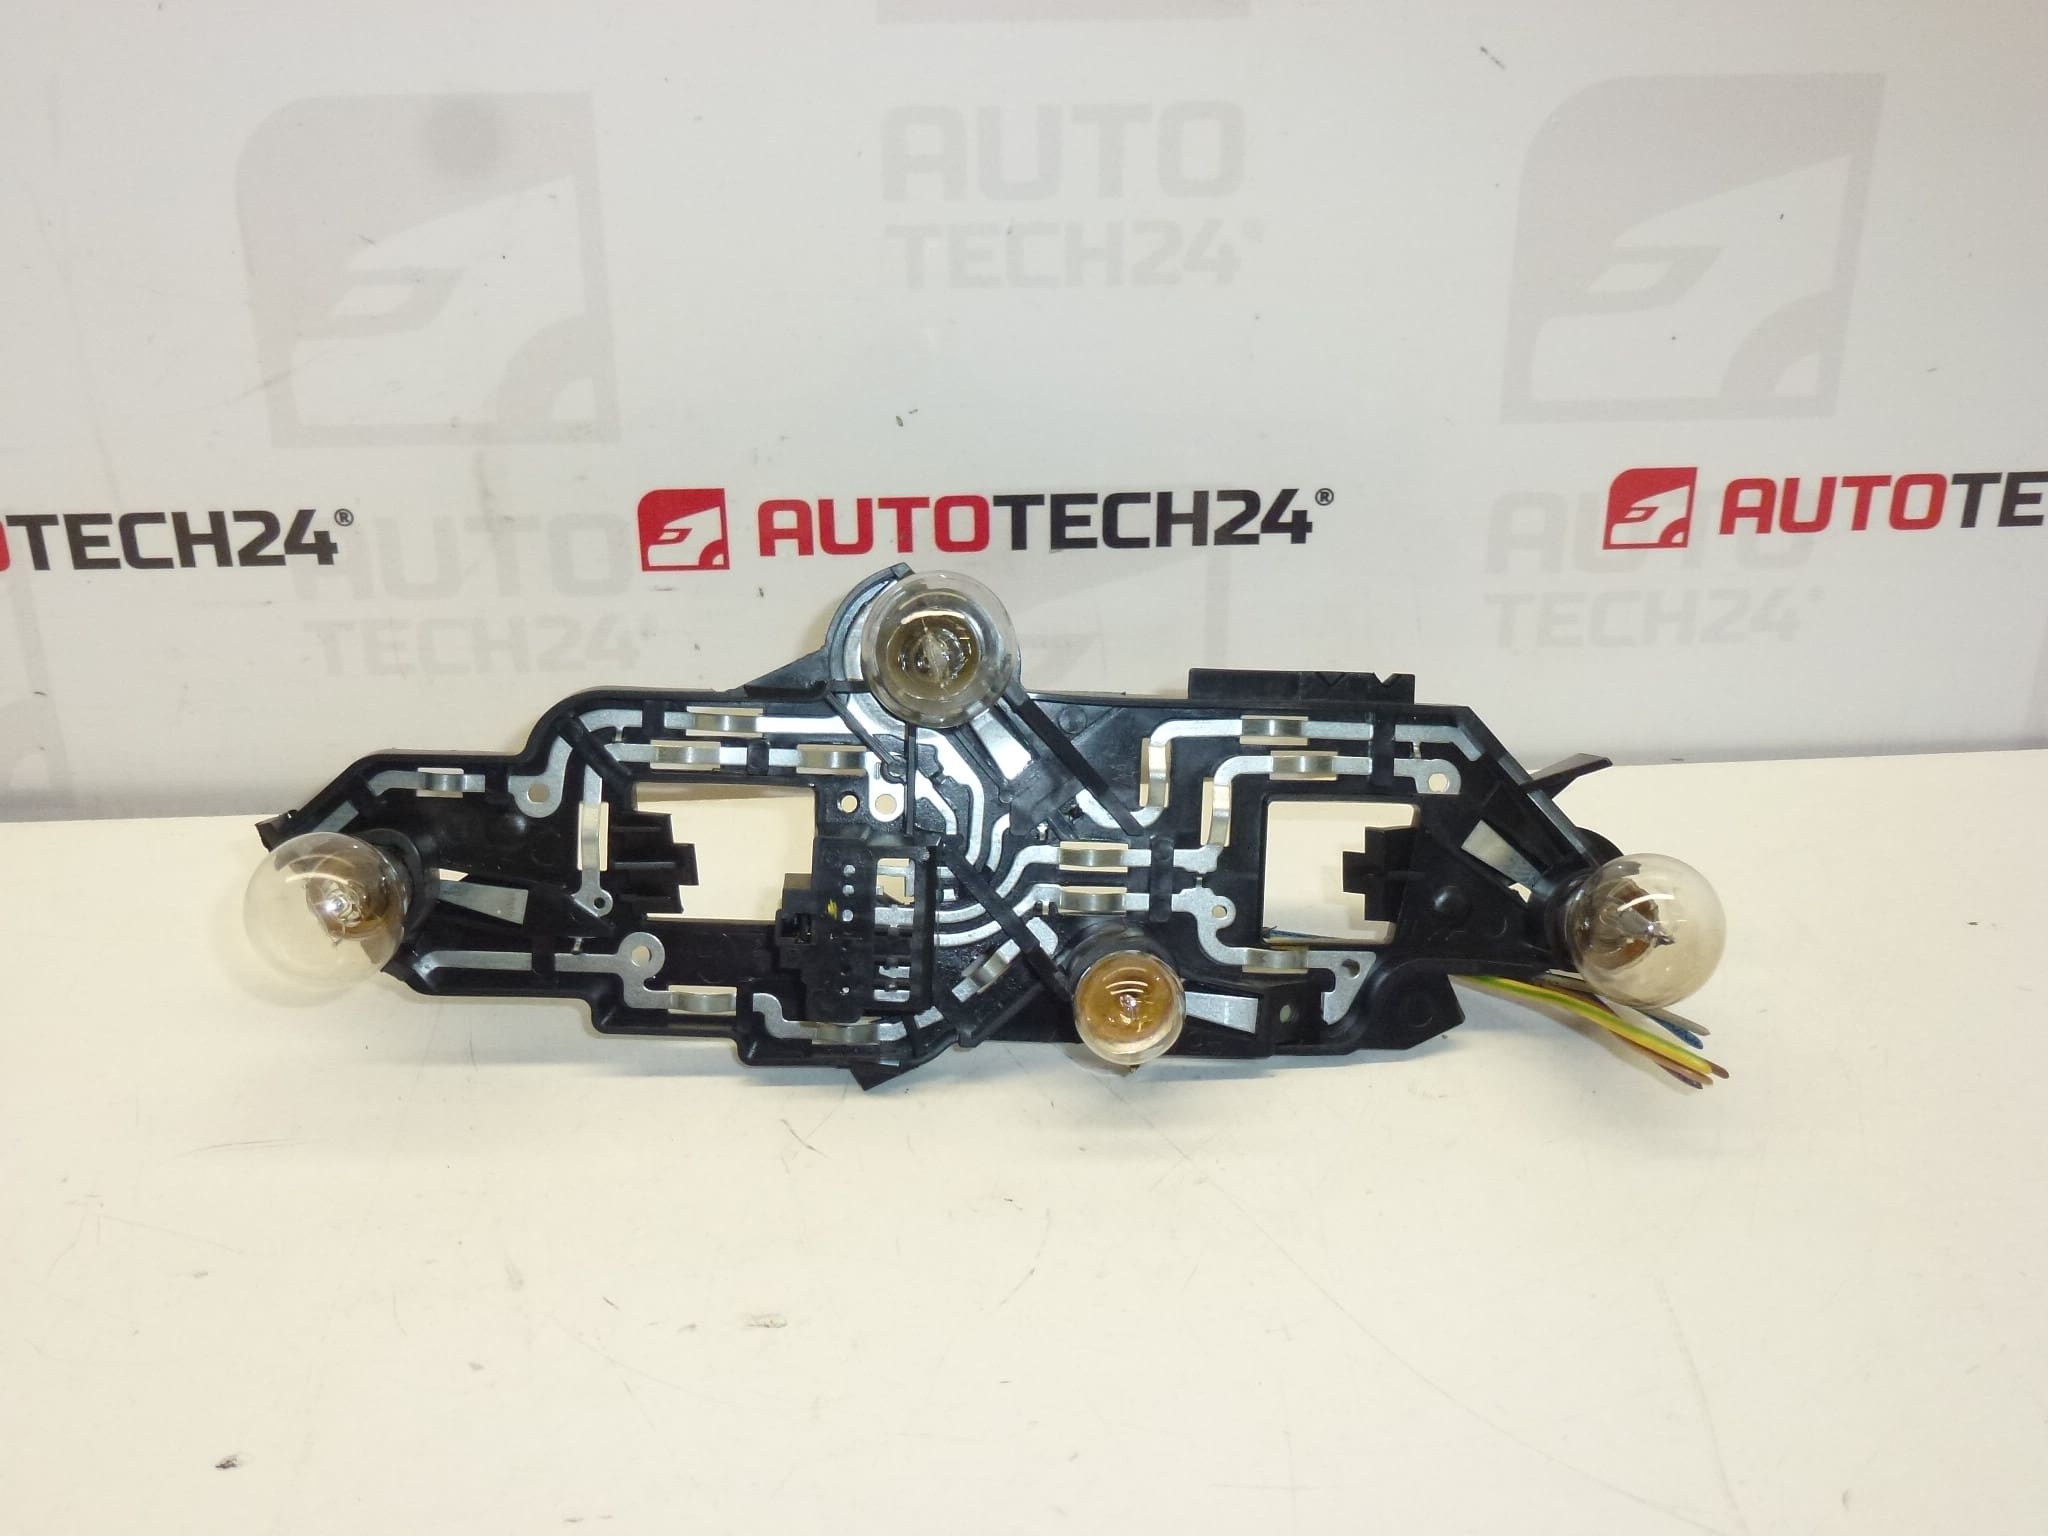
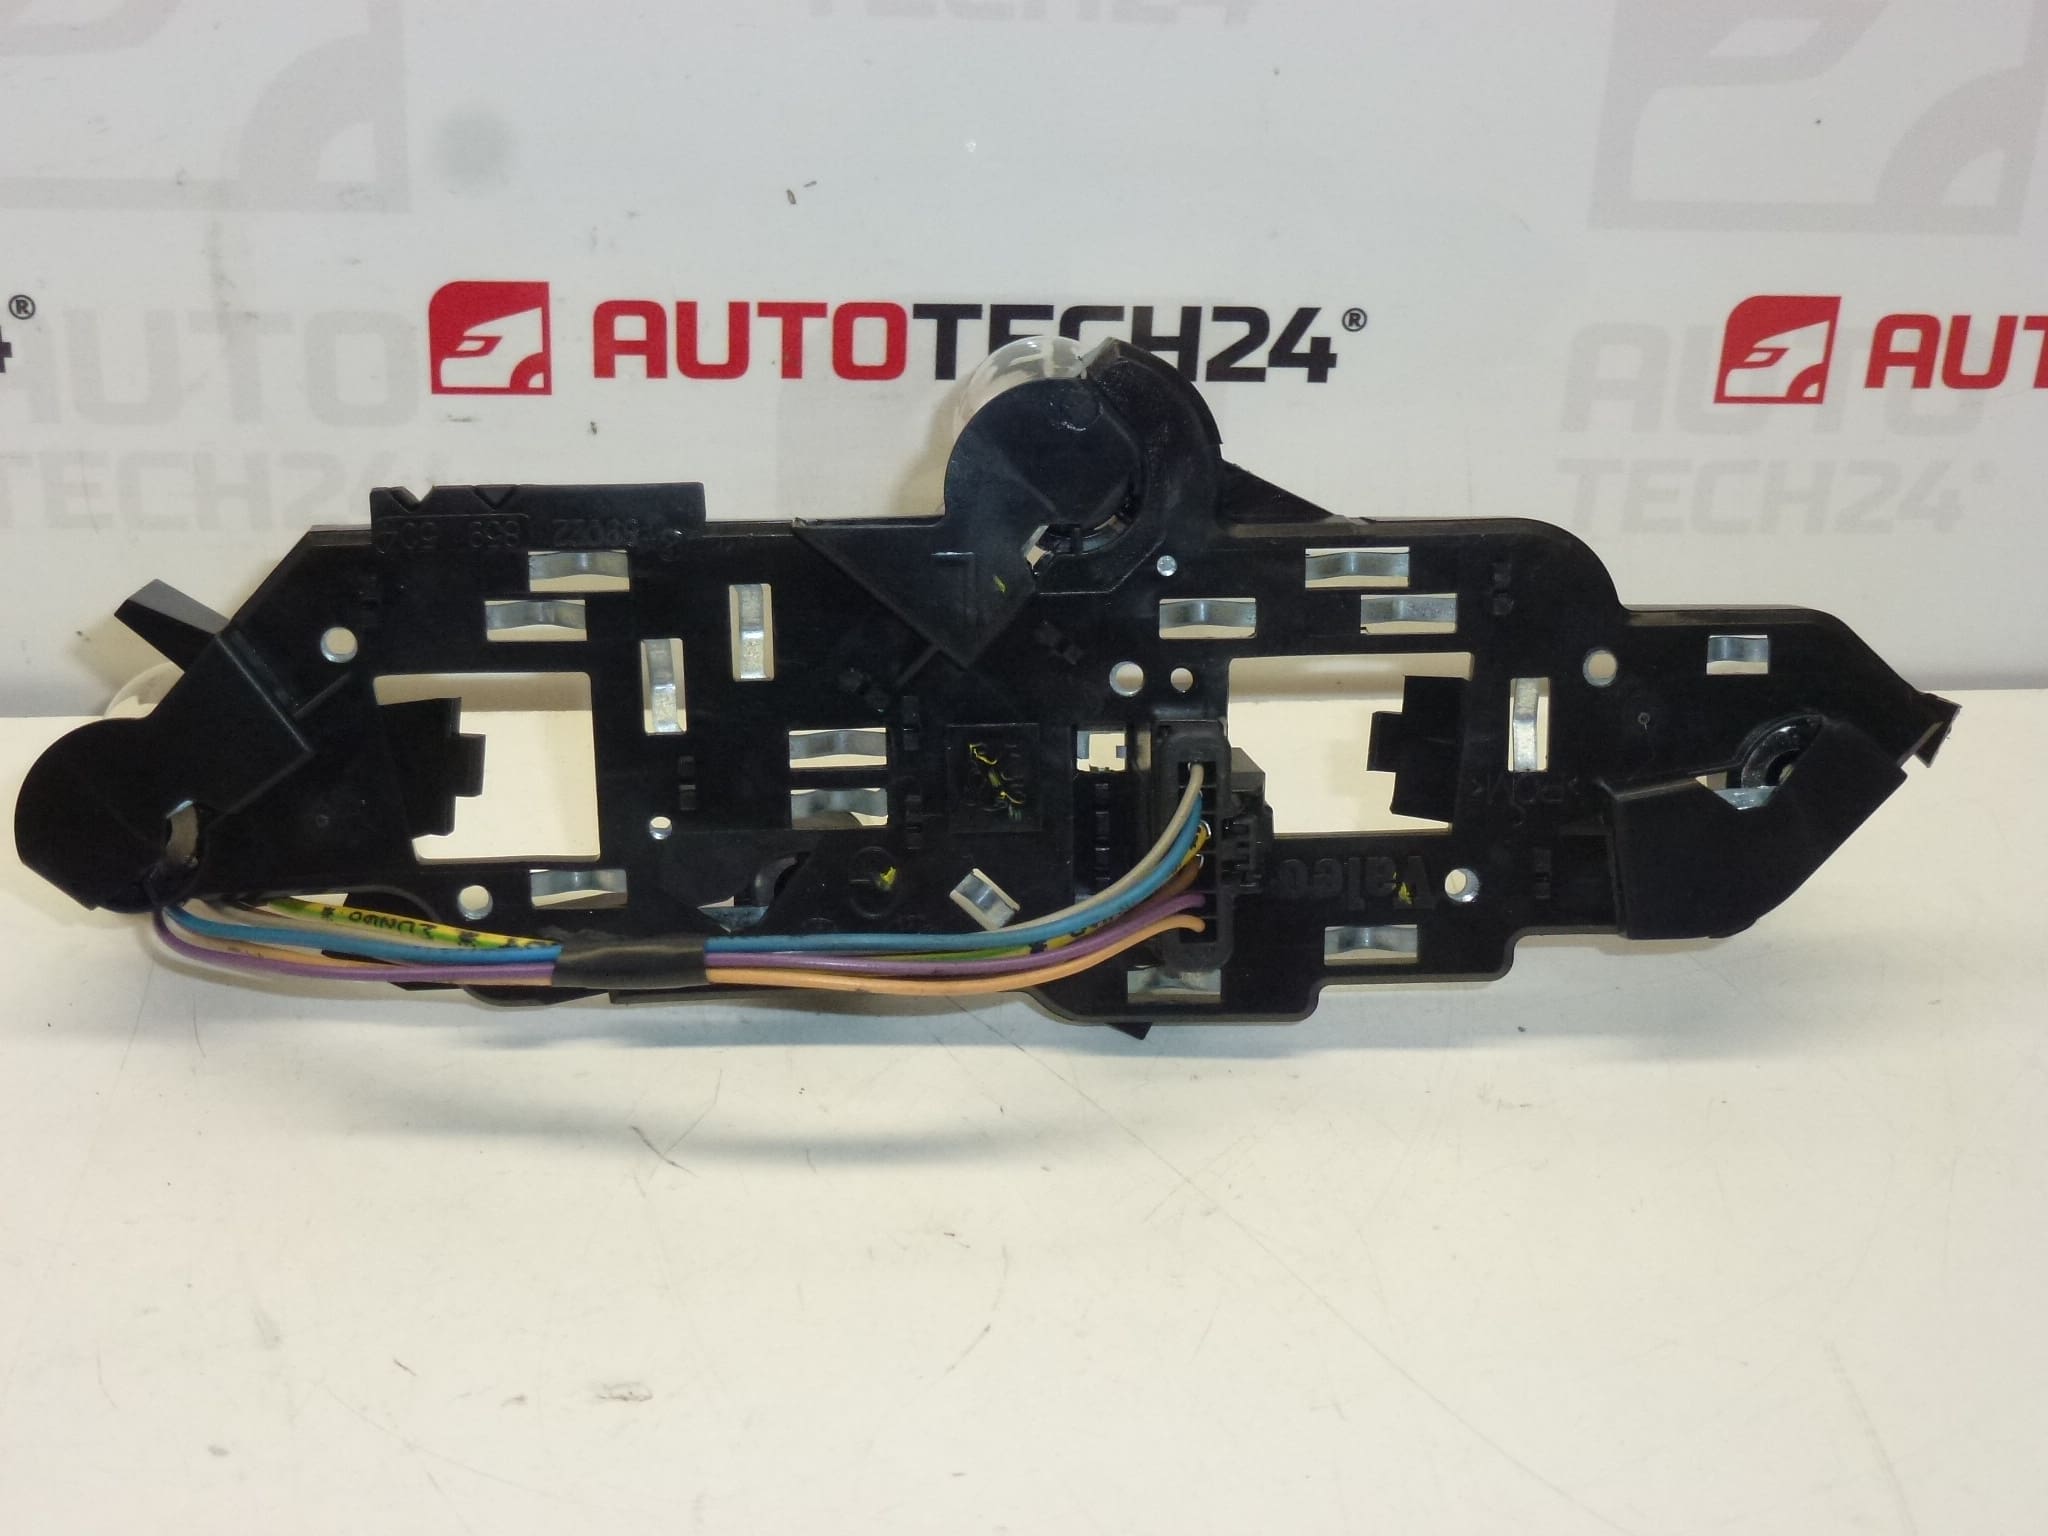
Socket with bulb for left rear lamp Peugeot 307 3-door and 5-door. Functionality of bulbs and their supply not guaranteed. Comes with a piece of wiring.
Overview
Replacement bulb socket designed for the left rear lamp of the Peugeot 307 (3-door and 5-door). Ideal for automechanics and DIY enthusiasts who need a reliable lamp holder/pigtail when repairing or restoring tail light assemblies. Supplied with a short length of wiring to ease installation and avoid cutting the vehicle loom. Commonly referenced under code 6350P3, this socket is a straightforward spare part to restore electrical contact for tail lamps, brake lights, or indicators depending on bulb type installed.
Technical Information
- Manufacturer: Peugeot (Stellantis)
- Model: Peugeot 307 (3-Door, 5-Door)
- Product Codes: 6350P3
- Additional Numbers: Not Available
Function And Features
The part functions as a bulb holder and electrical connector inside the left rear lamp cluster. It secures the bulb, provides the required electrical contacts and a short wiring lead to connect to the vehicle harness. Materials are typical automotive-grade plastics and metal contacts designed to withstand vibration and moderate heat from the bulb. Note: Bulb condition and presence are not guaranteed with this part.
Installation Recommendations
- Park vehicle on level ground, switch off ignition and, as a precaution, disconnect the negative battery terminal to avoid short circuits when handling wiring.
- Access the left rear lamp assembly from the trunk or by removing the interior trim panel—remove retaining screws or clips holding the lamp unit.
- Withdraw the lamp assembly, twist out the old bulb holder/socket and unplug any connectors from the vehicle harness.
- Compare the new socket with the old one (pin layout and bulb type), connect the pigtail to the vehicle harness (use proper connectors or solder and heat-shrink for a durable joint).
- Fit the new socket into the lamp housing, install the bulb (not guaranteed supplied), re-seat the lamp assembly and secure fasteners. Reconnect the battery and test all lamp functions (tail, brake, indicator, reverse where applicable).
- Finish by sealing any gaskets or ensuring the lamp housing sits correctly to avoid moisture ingress.
Recommended tools: Phillips/flat screwdrivers, trim removal tools, multimeter, pliers, electrical crimping tool or soldering iron, heat-shrink tubing and dielectric grease for contacts.
Why This Part Commonly Fails
- Corrosion On Contacts: Moisture ingress into the lamp housing can corrode metal contacts, causing intermittent or complete loss of electrical connection.
- Thermal Degradation: Heat from bulbs (especially halogen types) and repeated thermal cycling can deform plastic holders or weaken contacts.
- Mechanical Fatigue: Vibration, repeated bulb changes or impact can fracture the socket or break wiring near the crimp point.
- Poor Electrical Contact: Loose or oxidized contacts increase resistance, which can lead to overheating and contact failure.
Practical Tips
When replacing the socket, inspect the lamp housing for cracks and the wiring for chafing. Clean mating contacts and apply a small amount of dielectric grease to help prevent future corrosion. If bulb failure recurs, check the vehicle ground and the relevant fuse/relay to rule out wiring or power supply issues.