Description
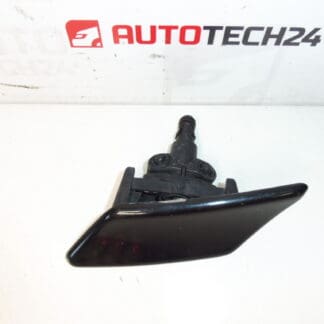
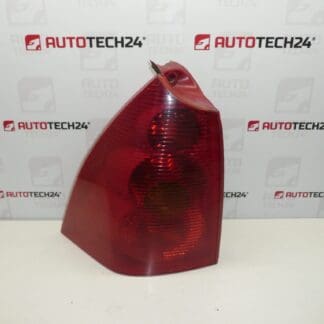
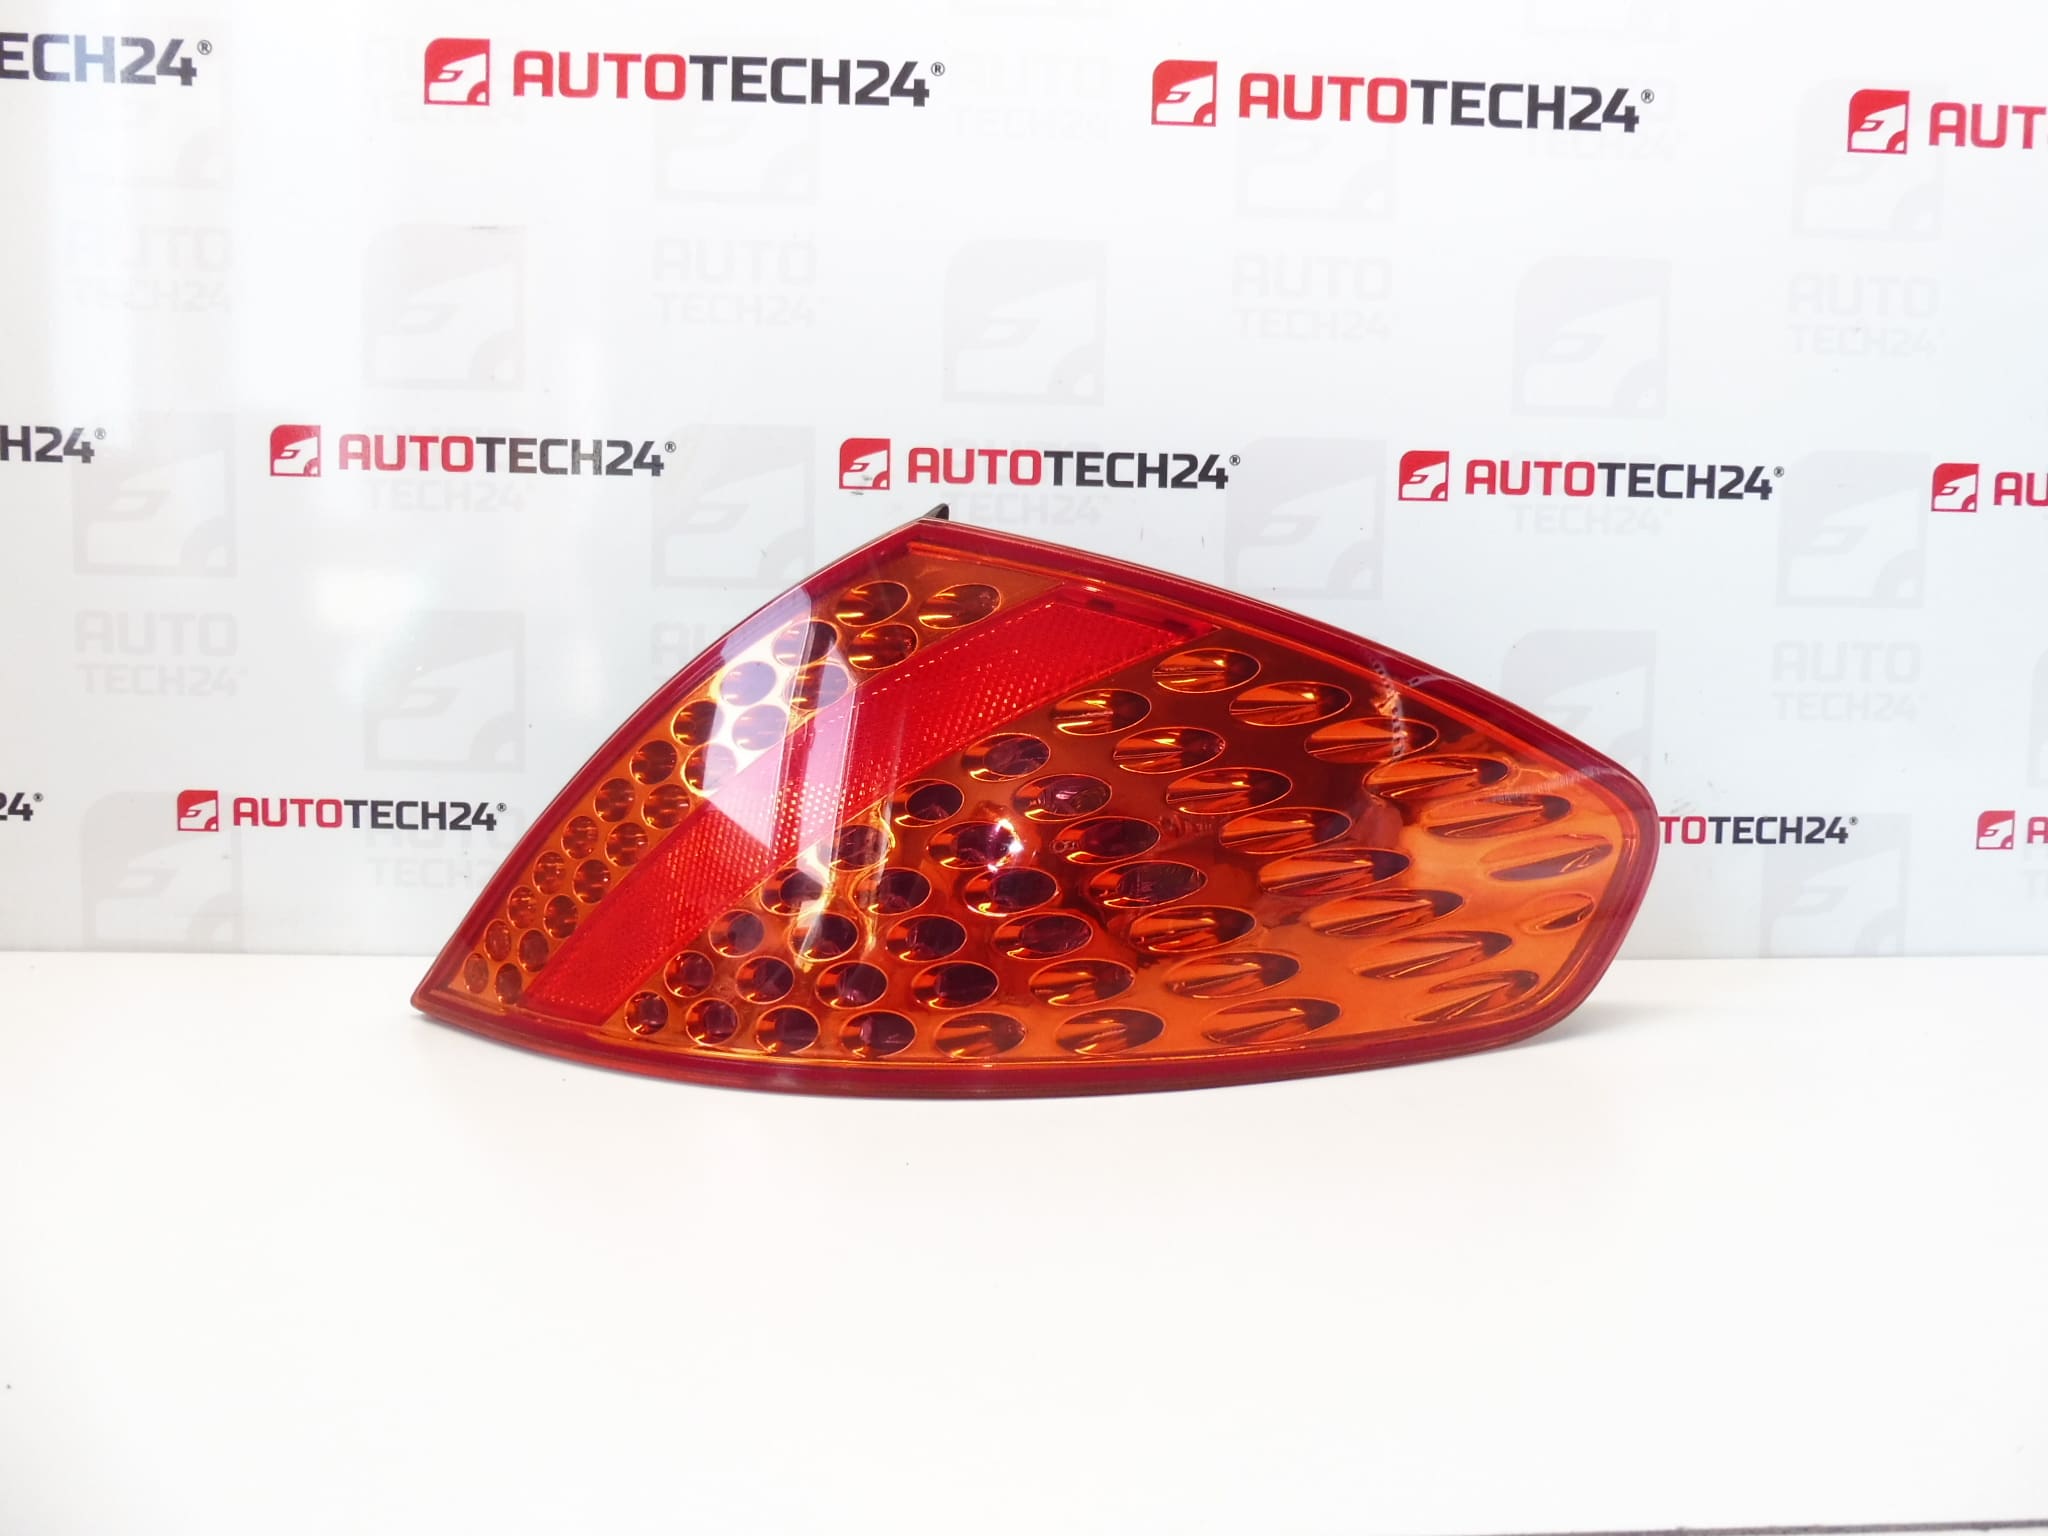
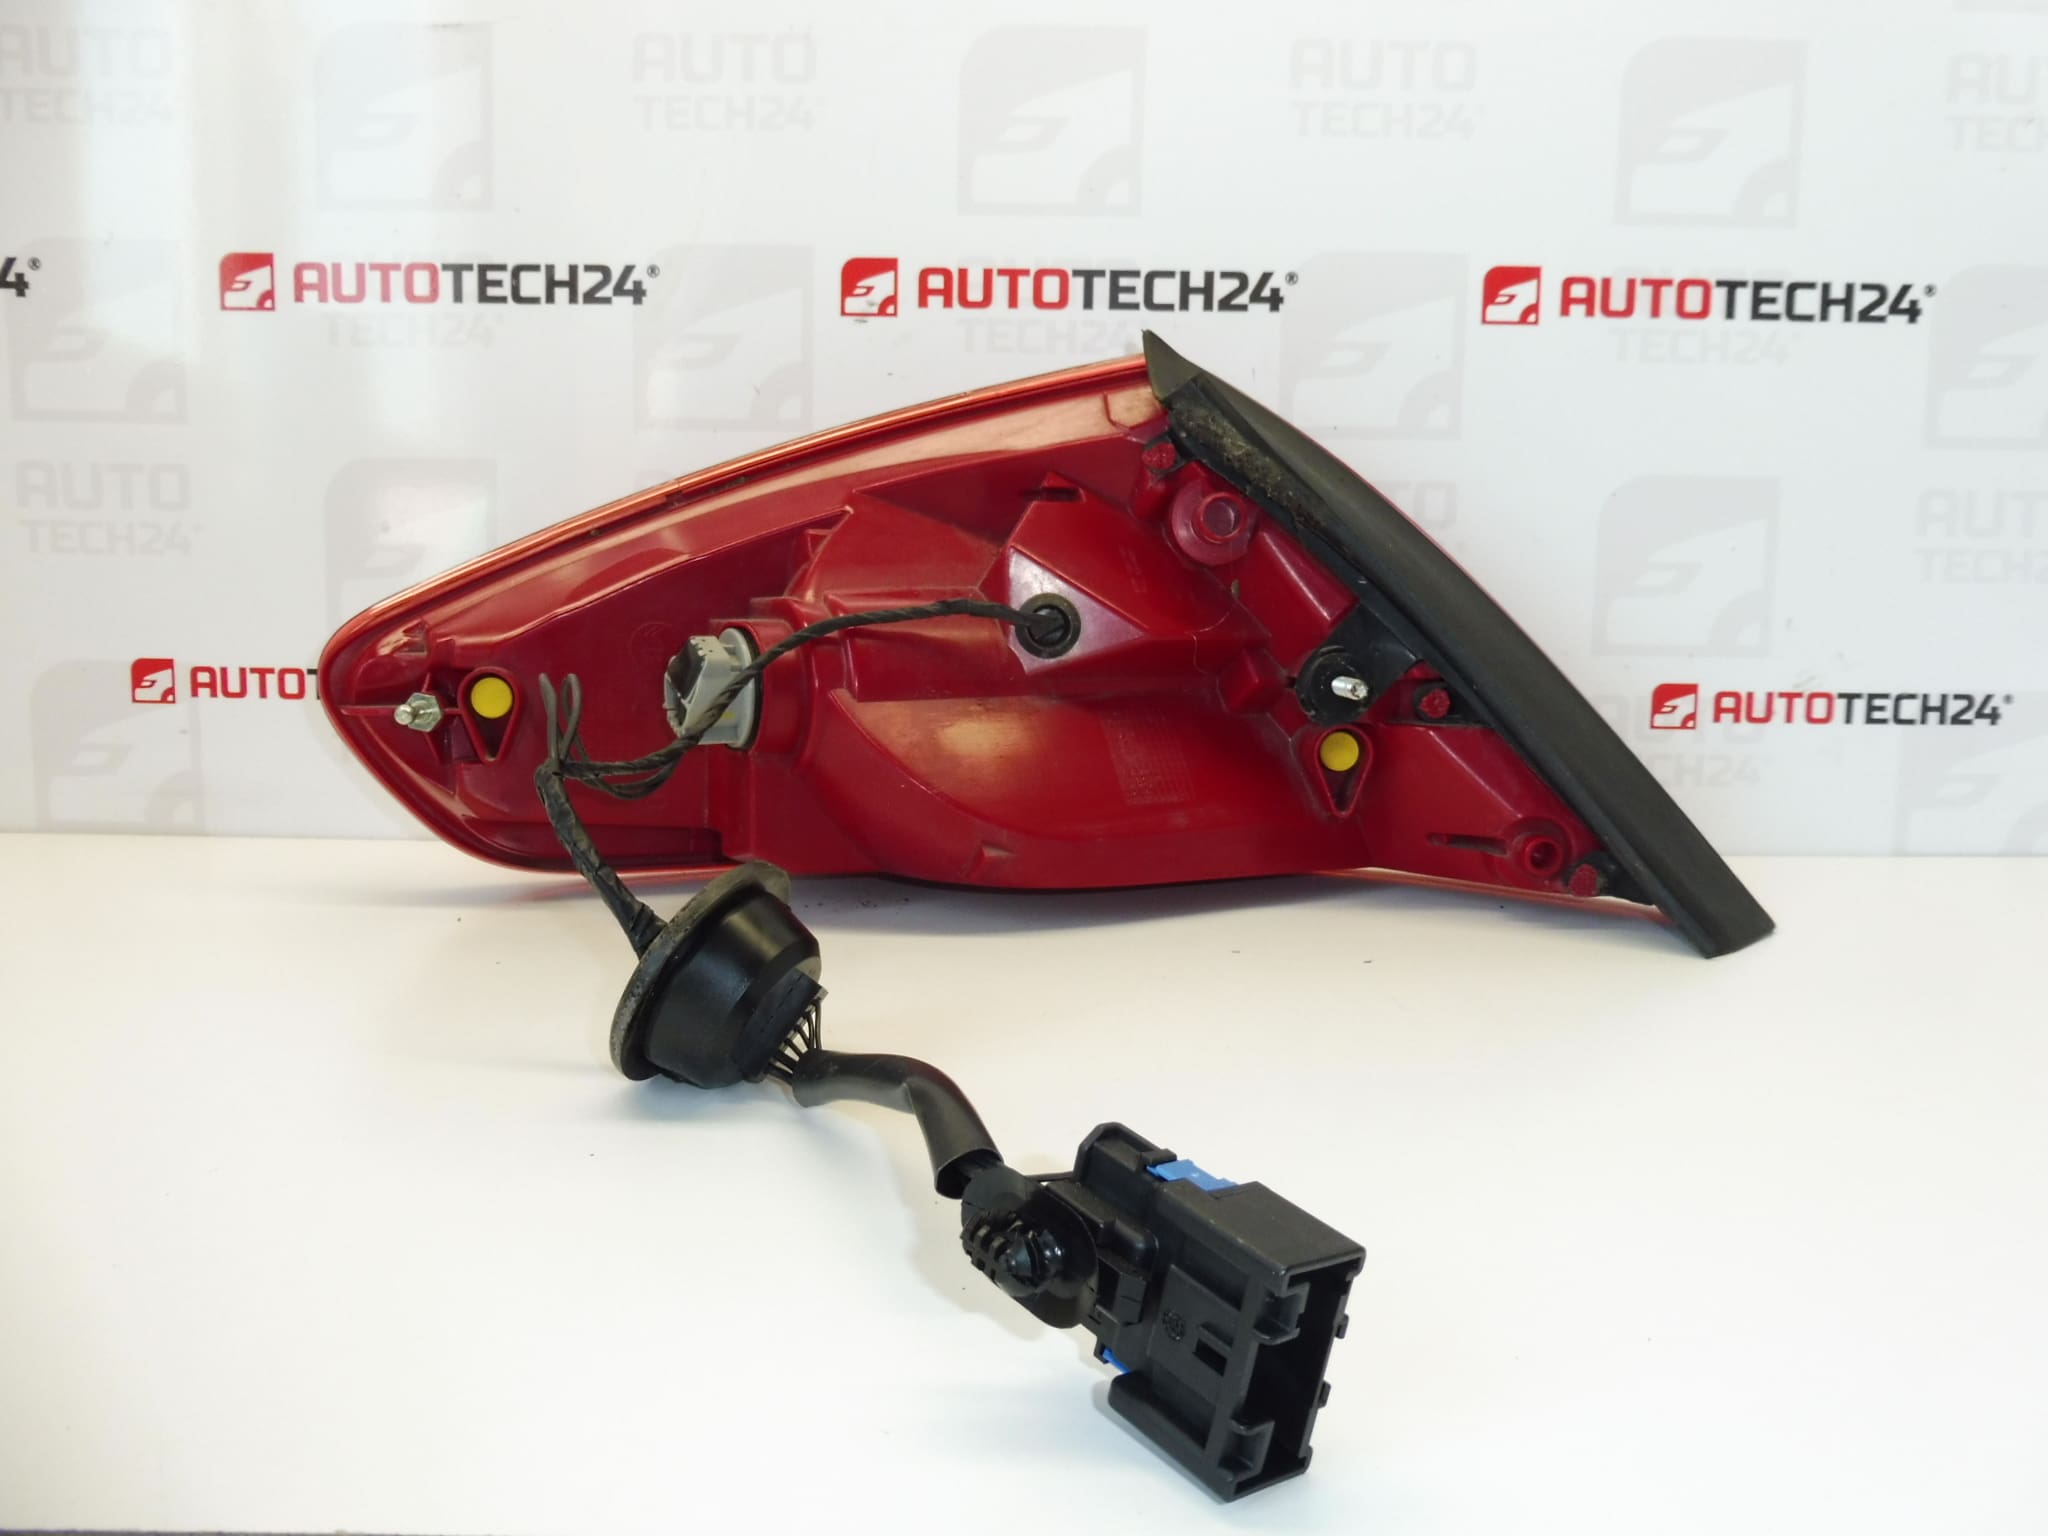
Rear right taillight located behind the passenger-side wing for PEUGEOT 307 CC. The lamp has been resealed with silicone, does not fog up, and the plexiglass is not at risk of detaching.
This rear right tail lamp is a direct replacement option for the Peugeot 307 CC passenger side. It is an ideal choice for professional workshops and DIY mechanics looking for a reliable, ready-to-fit unit. The assembly is resealed to prevent moisture ingress, reducing the chance of internal fogging and loosening of the outer lens. Customers often find this part by entering product codes such as 714025600861, 6351X4 or 6351S3 in search engines or parts catalogs, so these references are included for quick identification.
Technical Information
- Manufacturer: Stellantis / Peugeot
- Model: Peugeot 307 CC
- Product Codes: 714025600861, 6351X4, 6351S3
- Additional Numbers: 714025600861 | 6351X4 | 6351S3
Compatibility
Designed for the rear right (passenger side) of the Peugeot 307 CC (Coupe-Cabriolet) models. Verify visual fitment and connector type before installation if the vehicle has been modified or fitted with non-standard equipment.
Installation Recommendations
- Park the vehicle on a level surface and disconnect the negative battery terminal before work to avoid electrical shorting.
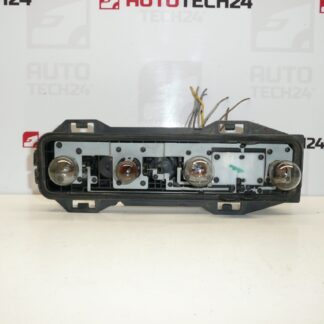
- Access the lamp from the trunk/boot side by removing interior trim panels to reach the mounting screws and electrical connector.
- Unscrew the mounting fasteners, unplug the wiring harness, and remove the old lamp assembly. Inspect the wiring and socket for corrosion and repair if needed.
- Fit the replacement lamp, reconnect the harness, and secure the mounting screws evenly to ensure correct alignment and sealing.
- Test All Light Functions (tail, brake, indicator and reverse where applicable) before refitting trim. If necessary, replace bulbs or clean contacts for reliable operation.
- Ensure the external sealing surface is clean and free of grease. Although this unit is resealed, check the gasket and apply an approved automotive sealant only if a gap or damage is visible.
Most Common Failure Reasons
- Moisture Ingress: Failed seals or damaged lens allow water to enter, causing fogging, corrosion of bulb sockets and electrical faults.
- Impact Damage: Bumps or minor collisions can crack the plexiglass or deform mounting points, compromising seal and alignment.
- Electrical Issues: Corroded connectors, worn bulb contacts or wiring damage can lead to intermittent or complete failure of light functions.
- Aging Materials: UV exposure and temperature cycling over time can weaken plastics and gaskets, increasing the risk of leaks and lens clouding.
Searchable by part numbers 714025600861, 6351X4 and 6351S3 — this taillight is supplied resealed to minimize moisture problems and provide a long-lasting fit for Peugeot 307 CC rear-right replacements. Ideal for professional fitters and skilled DIY mechanics who require a straightforward, reliable replacement part.