Description
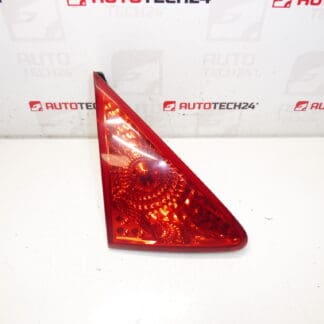
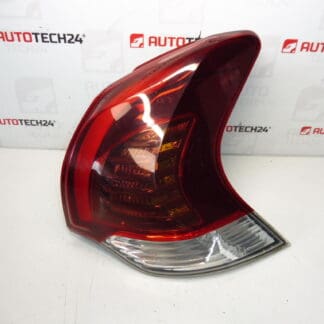
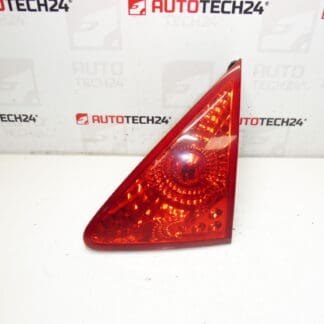
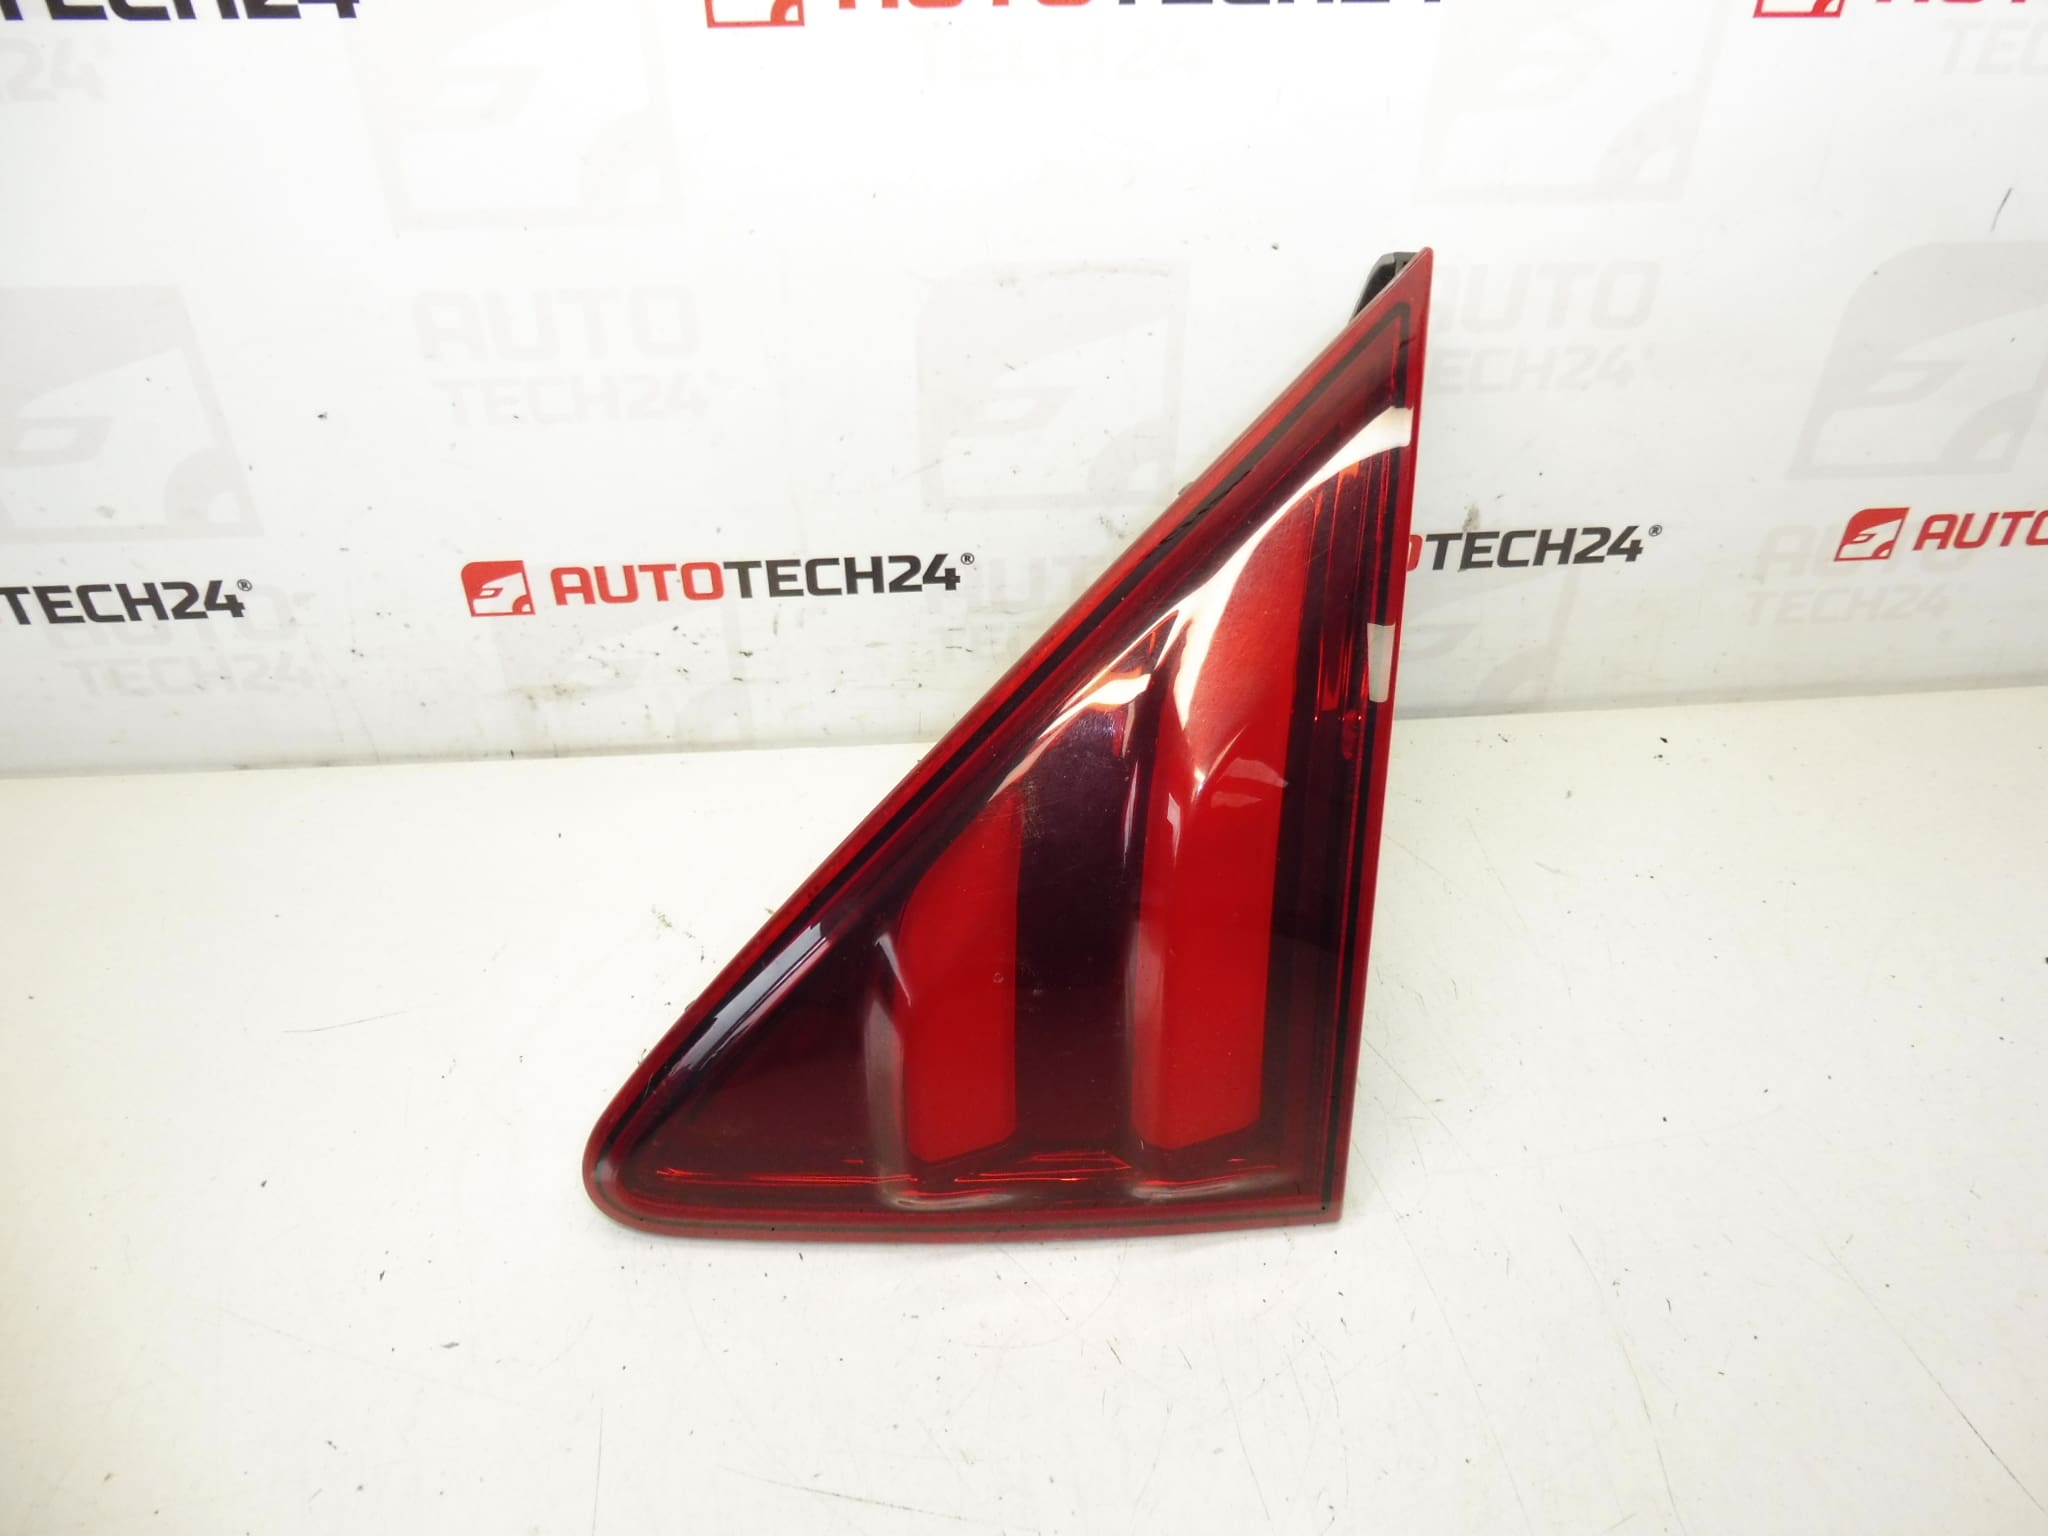
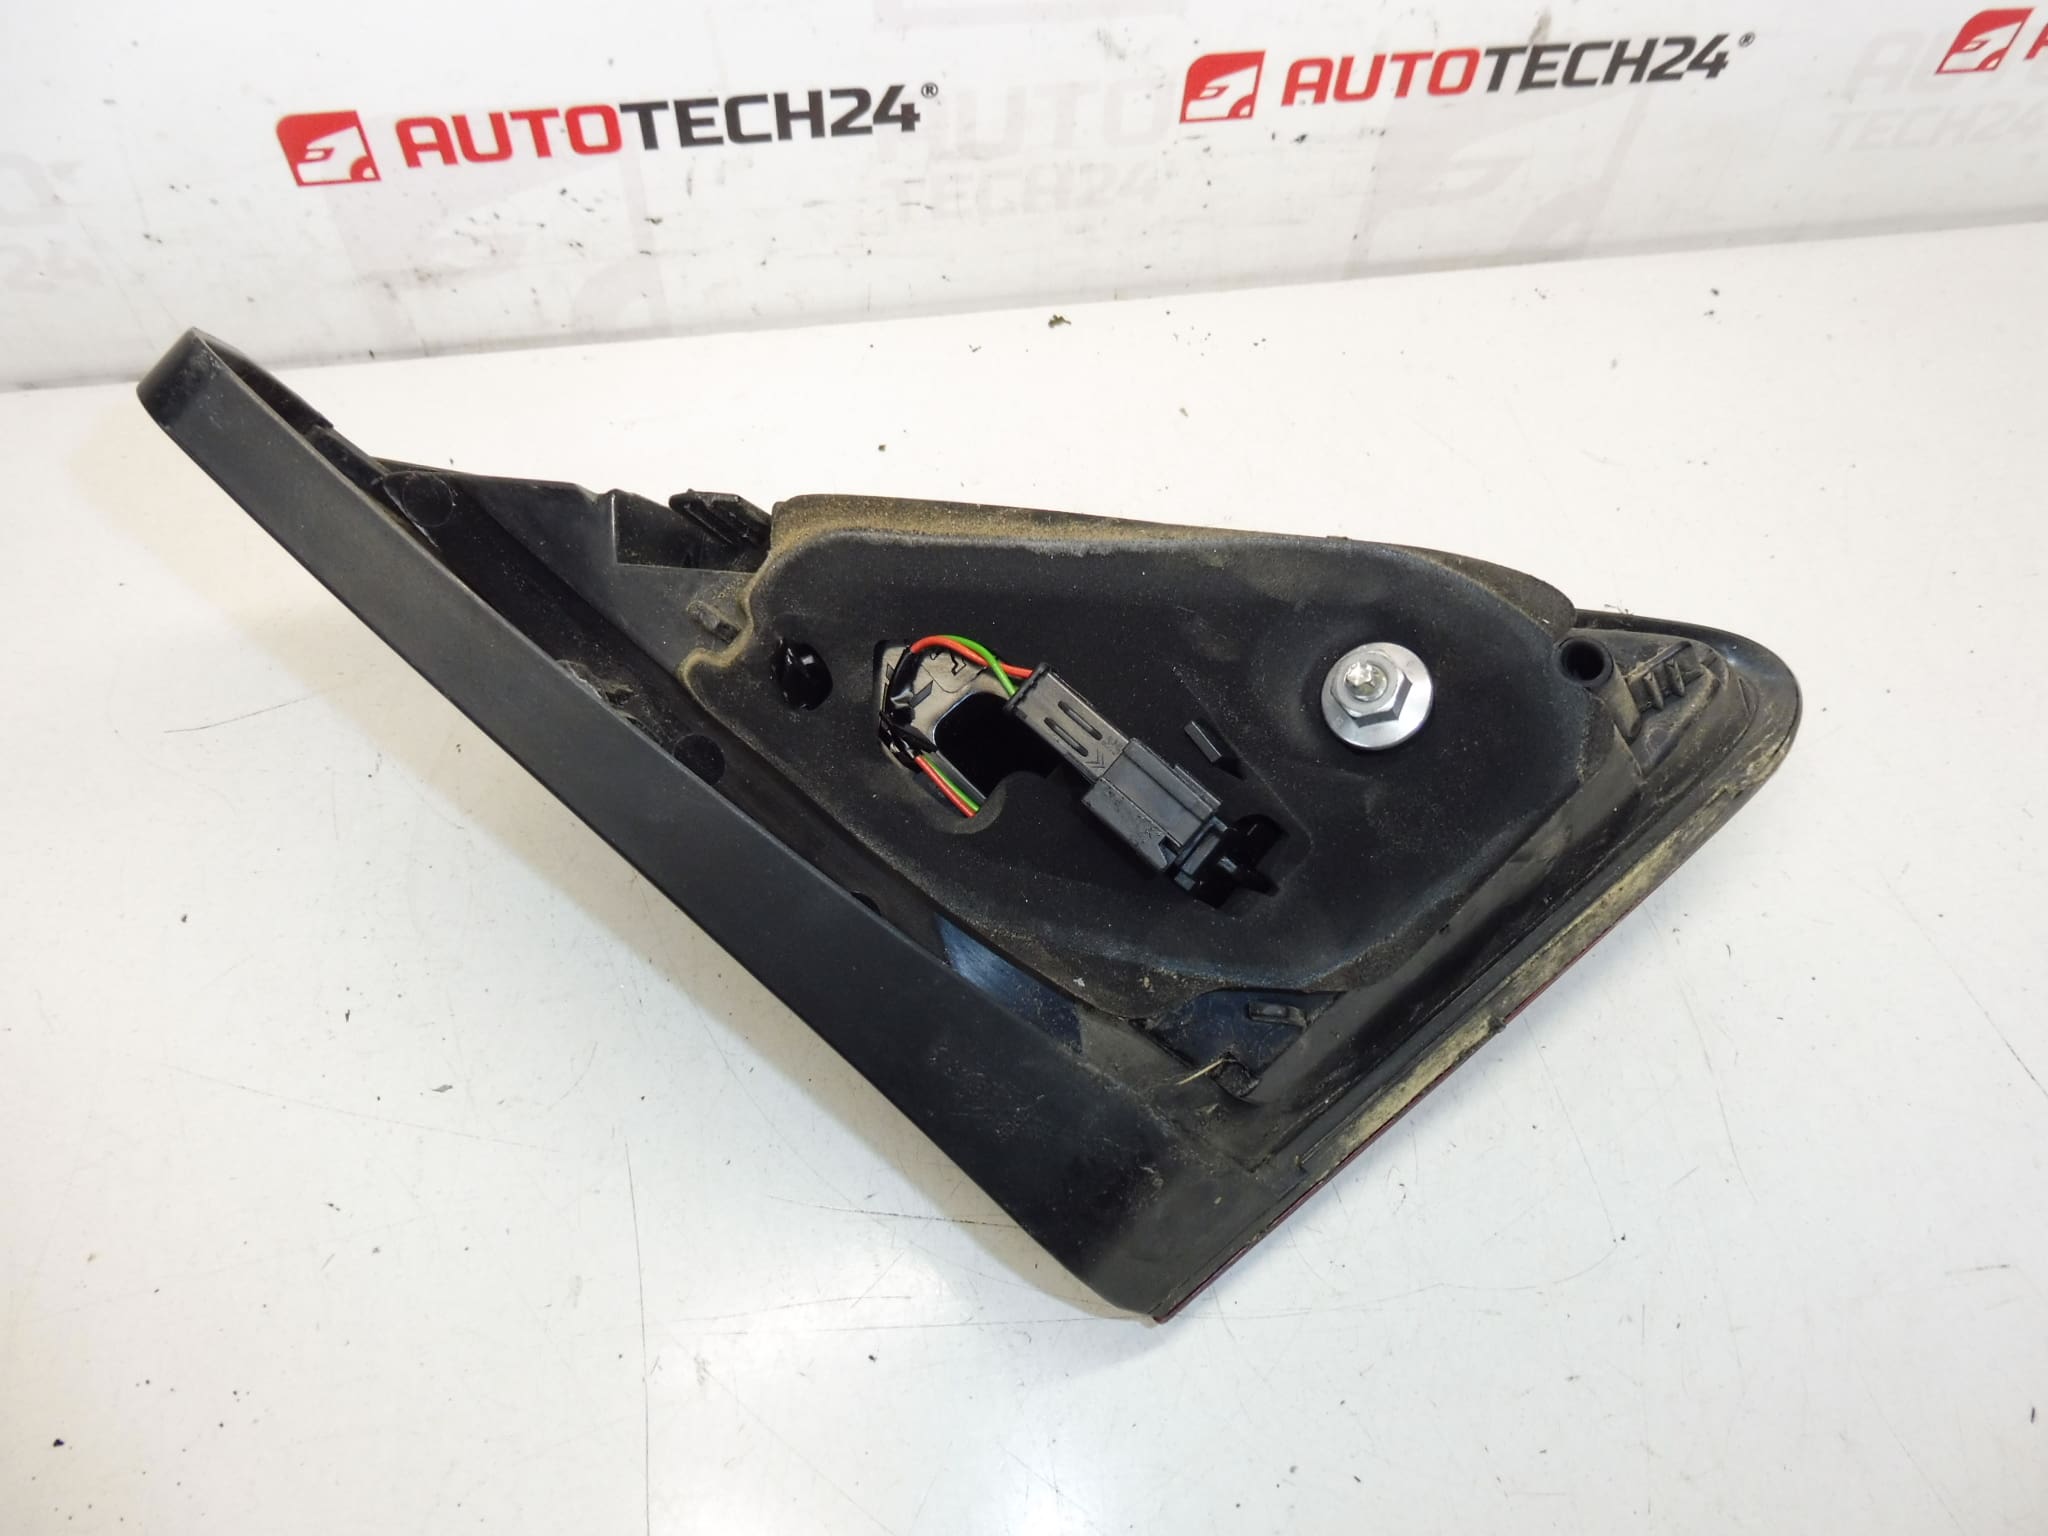
Right Rear Lamp For The Tailgate For PEUGEOT 3008 First Generation Facelift. Passenger Side.
Product Description
This genuine-style right rear tailgate lamp (passenger side) is designed for the Peugeot 3008 first generation facelift. Supplied as a direct replacement for the original unit with part number 9805511280, the lamp restores rear signalling, brake light and tail light functions and maintains the OEM appearance of the vehicle’s tailgate. Ideal for professional workshops and DIY mechanics searching by part number.
Key Benefits
- Direct Fit For Peugeot 3008 I (Facelift) Tailgate — Easy Replacement
- Original Part Number Reference: 9805511280 — Frequently Used In Parts Searches
- Restores Full Rear Lighting Functionality: Brake, Tail, Indicator (depending on vehicle specification)
- Robust Housing Designed To Match Factory Fit And Finish
Technical Information
- Manufacturer: Stellantis / Peugeot
- Model: Peugeot 3008 I (First Generation, Facelift)
- Product Codes: 9805511280
- Other Numbers: Not Available
Installation Recommendations
Replacement of the tailgate lamp is straightforward for an experienced mechanic. Typical steps:
- Disconnect The Battery Before Working On Electrical Components.
- Open The Tailgate And Remove Inner Trim Panels To Access The Lamp Assembly Fasteners.
- Unscrew Mounting Bolts Or Remove Clips Holding The Lamp. Carefully Pull The Lamp Outwards.
- Disconnect The Electrical Connector And Remove The Old Unit. Inspect Connector Pins For Corrosion.
- Fit The New Lamp, Connect The Electrical Plug, And Secure With Fasteners. Refit Interior Trim.
- Verify All Functions (Tail, Brake, Indicator, Reverse If Applicable) Before Final Assembly.
Use Correct Tools And Replacement Gaskets/Seals If Required. Take Care With Plastic Trim Clips To Avoid Breakage.
Why This Part Fails Most Often
Common causes of failure include water Ingress Causing Corrosion, Damaged Or Cracked Lens From Impacts, Connector Corrosion, And Electrical Faults Due To Cable Wear At The Tailgate Hinge. On Vehicles With Bulb-Type Lamps, Burnt Bulbs Are A Frequent And Simple Cause; On LED-Type Modules, Failure Usually Requires Full Assembly Replacement.
Fitment And Search Tips
When searching for a replacement, use part number 9805511280 and keywords such as “Peugeot 3008 tailgate lamp,” “right rear lamp,” or “passenger side rear light.” This part is intended for the tailgate (liftgate) of the Peugeot 3008 first generation facelift models.