Description
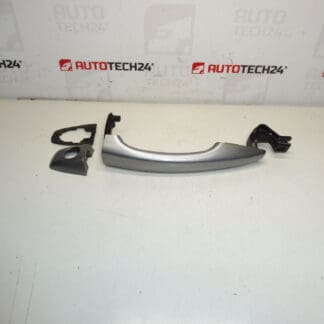
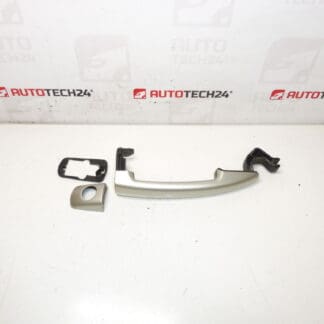
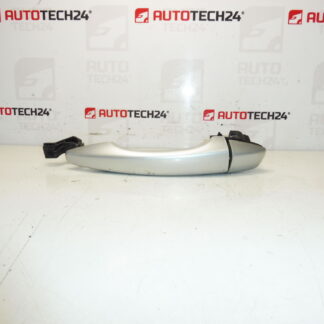
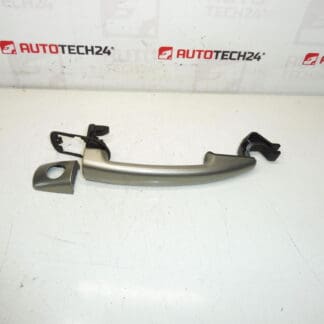
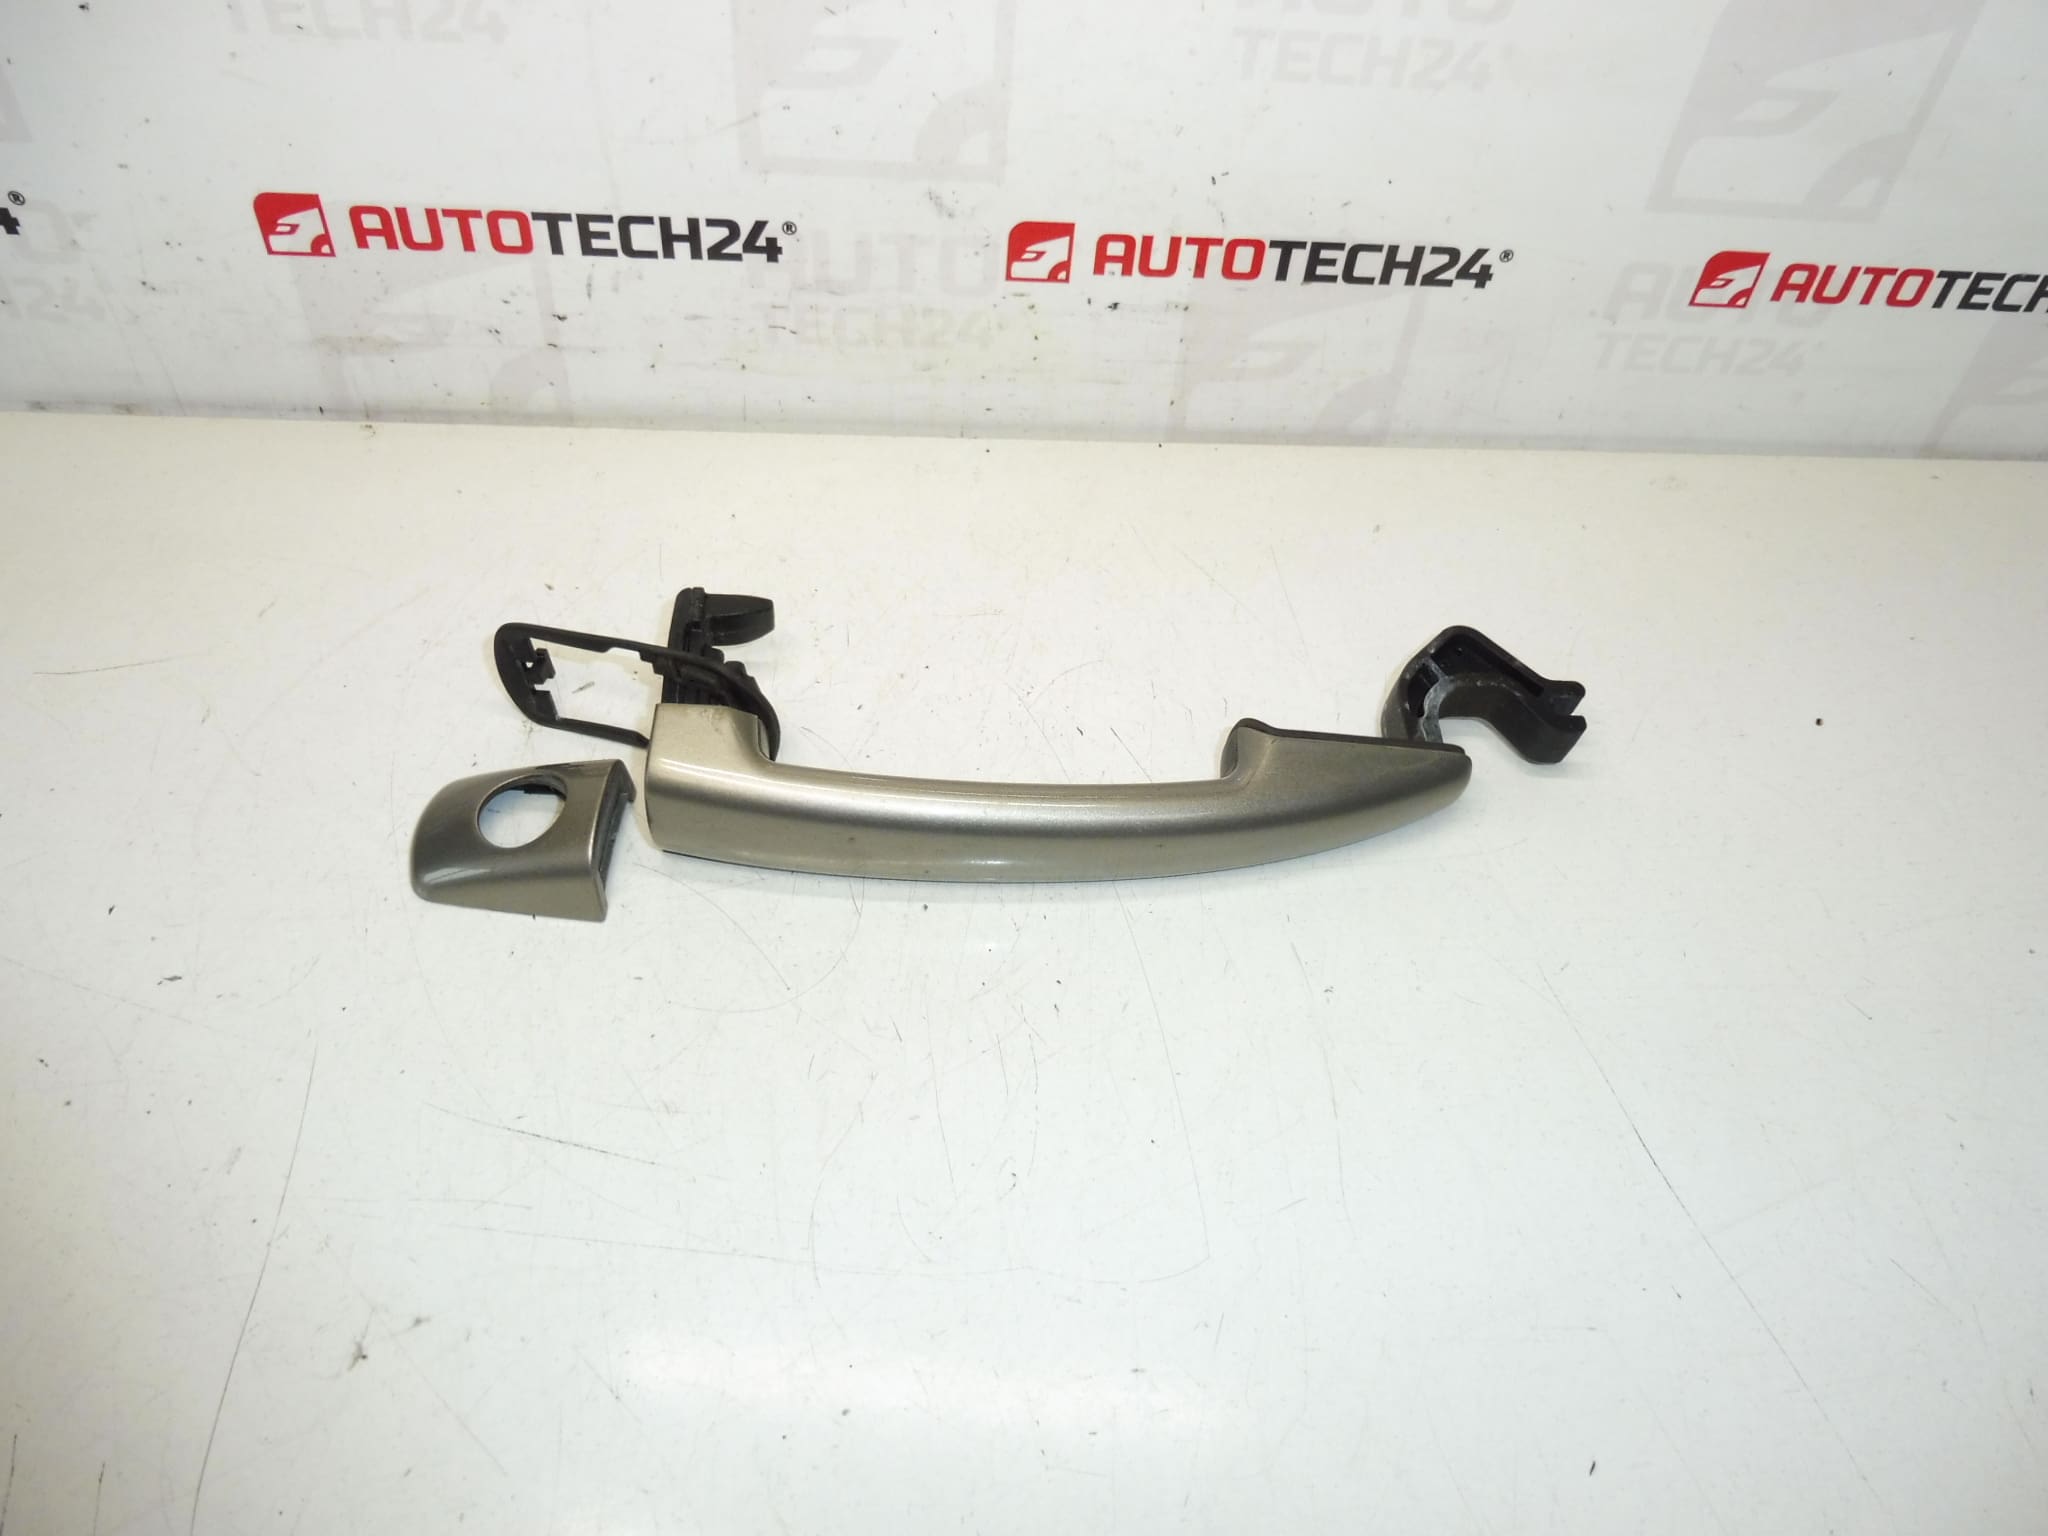
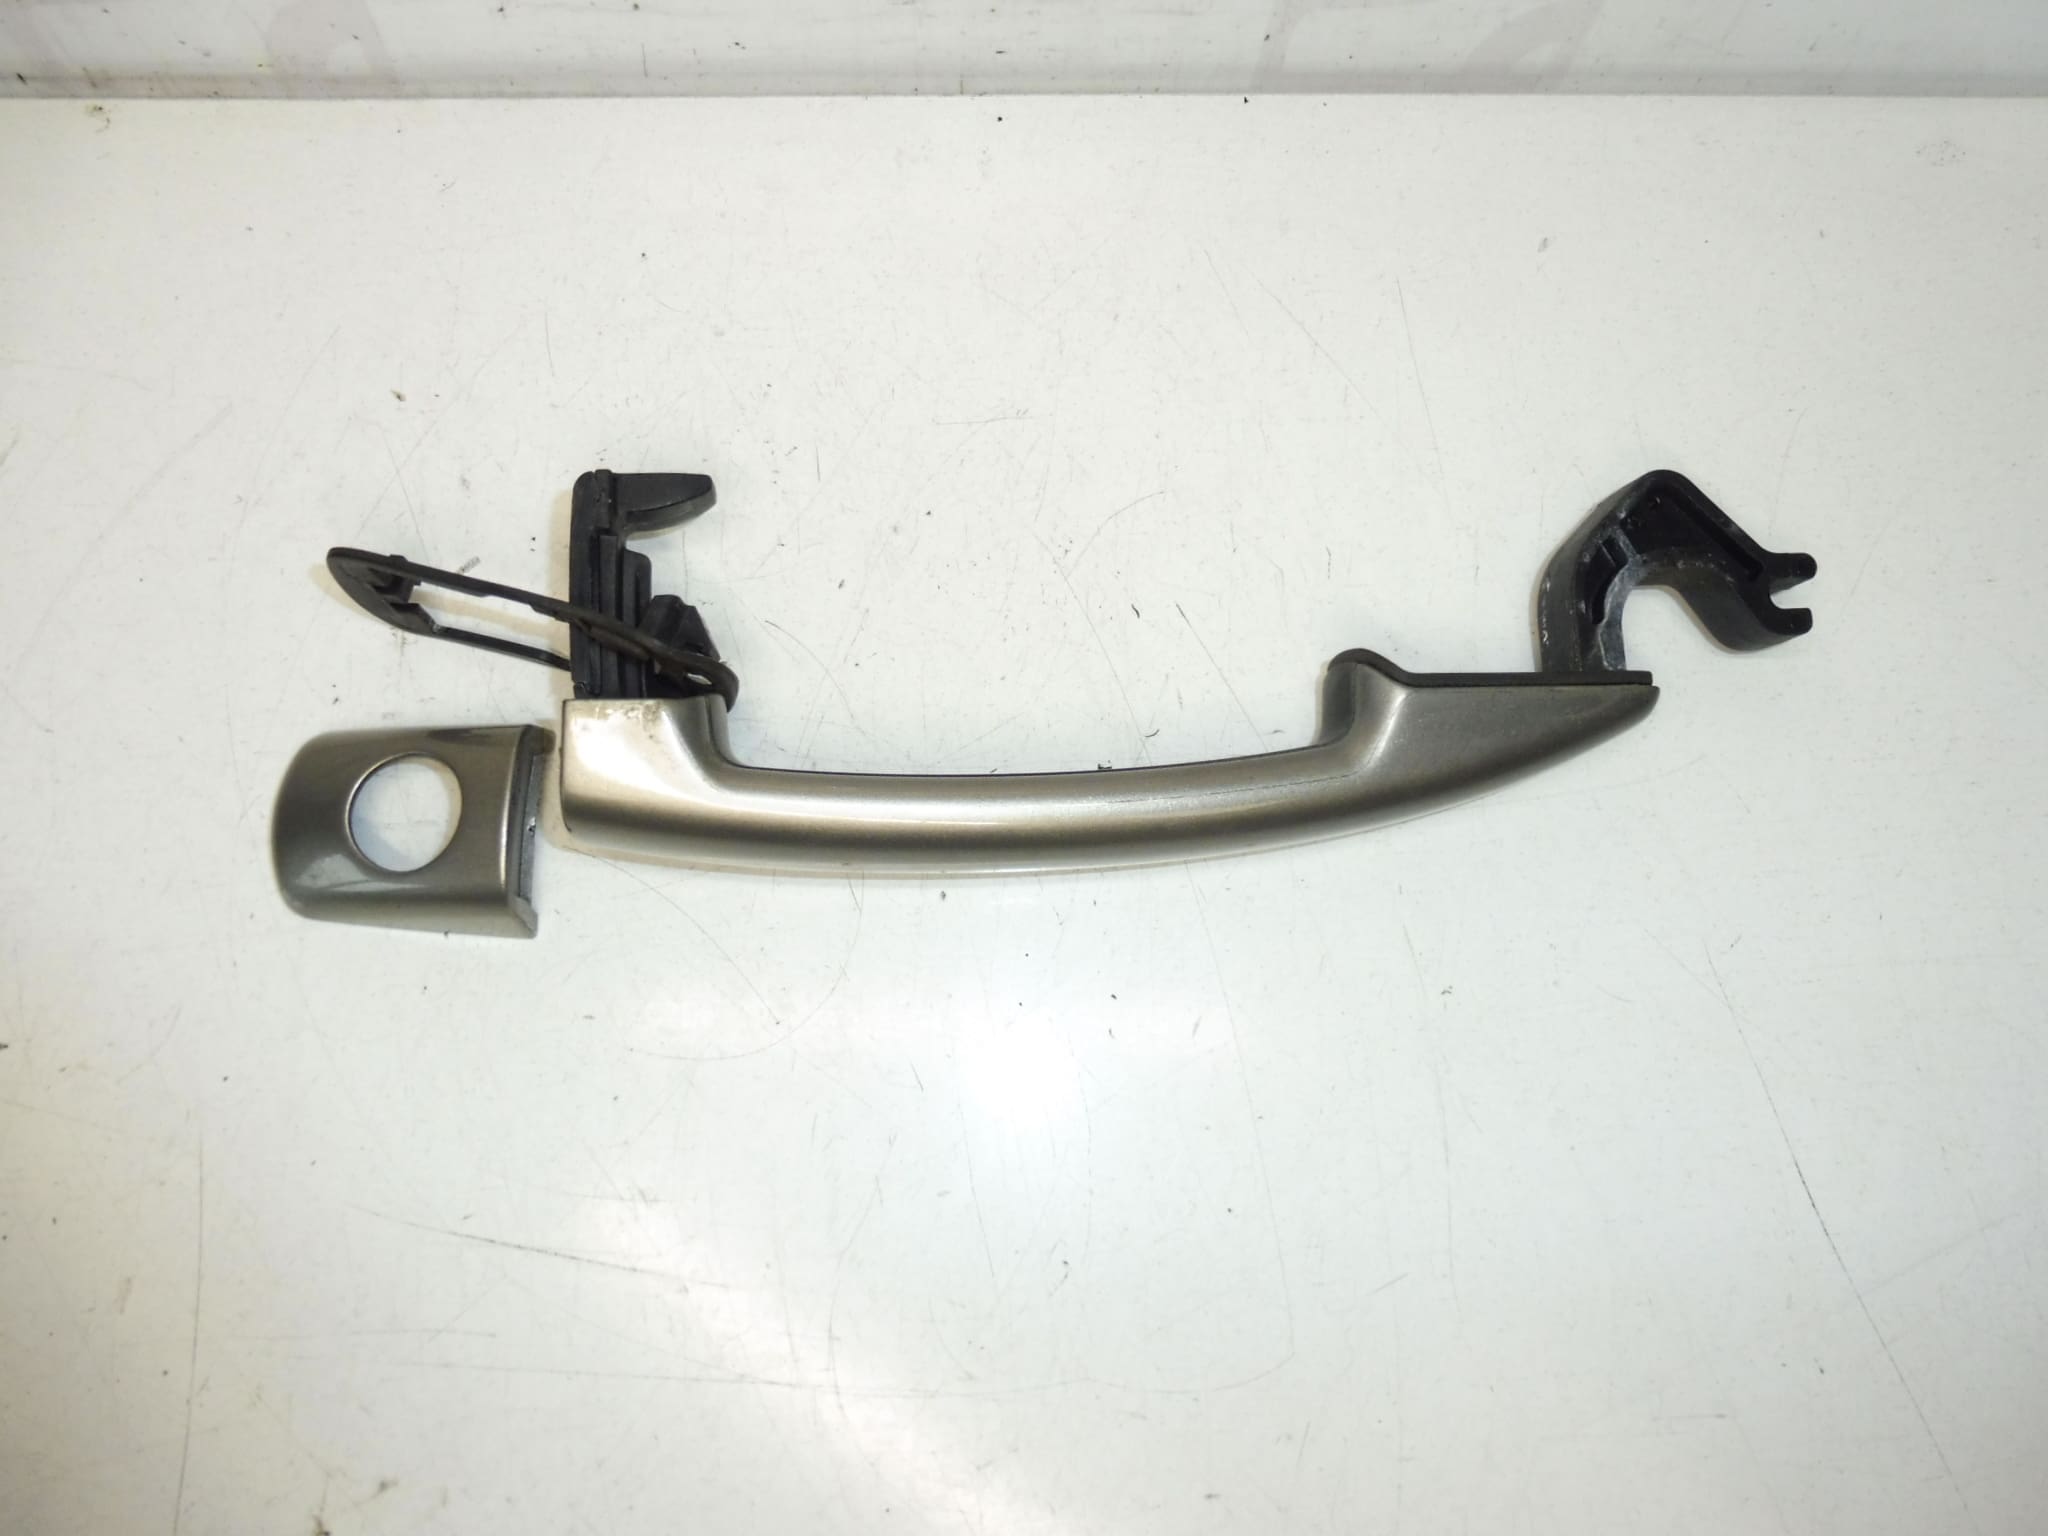
Left front door handle for Citroën Berlingo III, C4 II, C4 Picasso and Grand C4 Picasso, Jumpy III and Peugeot 207, 308, Partner III, Expert III. Color EVG – VAPOR GREY PAINT.
This exterior left front door handle is a direct-fit replacement designed for workshop use and DIY repairs on Citroën and Peugeot models. Painted in Vapor Grey (EVG), it retains the original appearance and mounting points, making it suitable for bodywork repairs, collision replacement or wear-related renewal. Frequently searched under product code 9101GF, the part is aimed at professional mechanics and experienced home mechanics who need a reliable visual and mechanical match for the listed models.
Key Features
- Direct replacement for left front exterior door handle on listed Citroën and Peugeot models.
- Factory-matching Vapor Grey (EVG) painted finish for minimal visible difference after installation.
- Made to fit original mounting points and linkages for straightforward installation.
- Suitable for collision repair and routine replacement when the original handle is damaged or worn.
Technical Information
- Manufacturer: Stellantis (Citroën / Peugeot)
- Model: Citroën Berlingo III, C4 II, C4 Picasso, Grand C4 Picasso, Jumpy III; Peugeot 207, 308, Partner III, Expert III
- Product Codes: 9101GF
- Additional Numbers: EVG (Vapor Grey)
Installation Recommendations
- Work With The Door In A Stable Position And Protect Interior Trim.
- Remove Interior Door Trim And Moisture Barrier To Access Handle Fasteners And Linkages.
- Carefully Unclip And Label Linkage Rods And Fasteners Before Removal To Ensure Correct Reassembly.
- If The Original Handle Contains A Lock Cylinder Or Electrical Components, Transfer Them To The New Handle As Required.
- Refit Fasteners To Original Torque And Check Smooth Operation Of The Latch And Central Locking After Assembly.
- If Alignment Issues Appear, Adjust Door Catch Or Hinge Settings To Prevent Premature Wear.
Why The Part Most Commonly Fails
- Mechanical Wear And Degraded Plastic Clips Or Springs From Years Of Use.
- Impact Damage Or Deformation From Collisions Or Forced Entry Attempts.
- Corrosion Of Internal Metal Components Or Accumulated Dirt And Moisture Affecting Movement.
- Freezing And Thermal Stress Can Make Plastic Components Brittle And Prone To Breaking.
Fitment Notes
Verify That You Need The Left Front Exterior Handle (Driver Side On Left-Hand Drive Vehicles). Depending On Vehicle Variant, The Lock Cylinder Or Additional Trim May Need To Be Transferred From The Old Handle.
Order Using The Product Code 9101GF To Improve Searchability And Ensure You Receive The Correct Color Variant (EVG – Vapor Grey).