Description
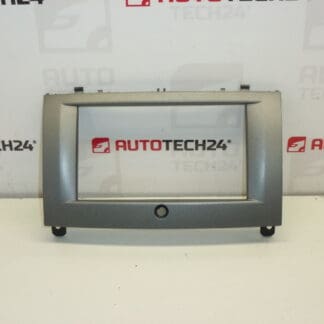
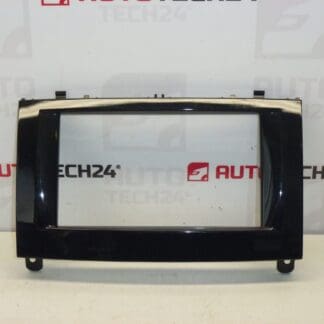
Frame for the dashboard display and navigation PEUGEOT 407
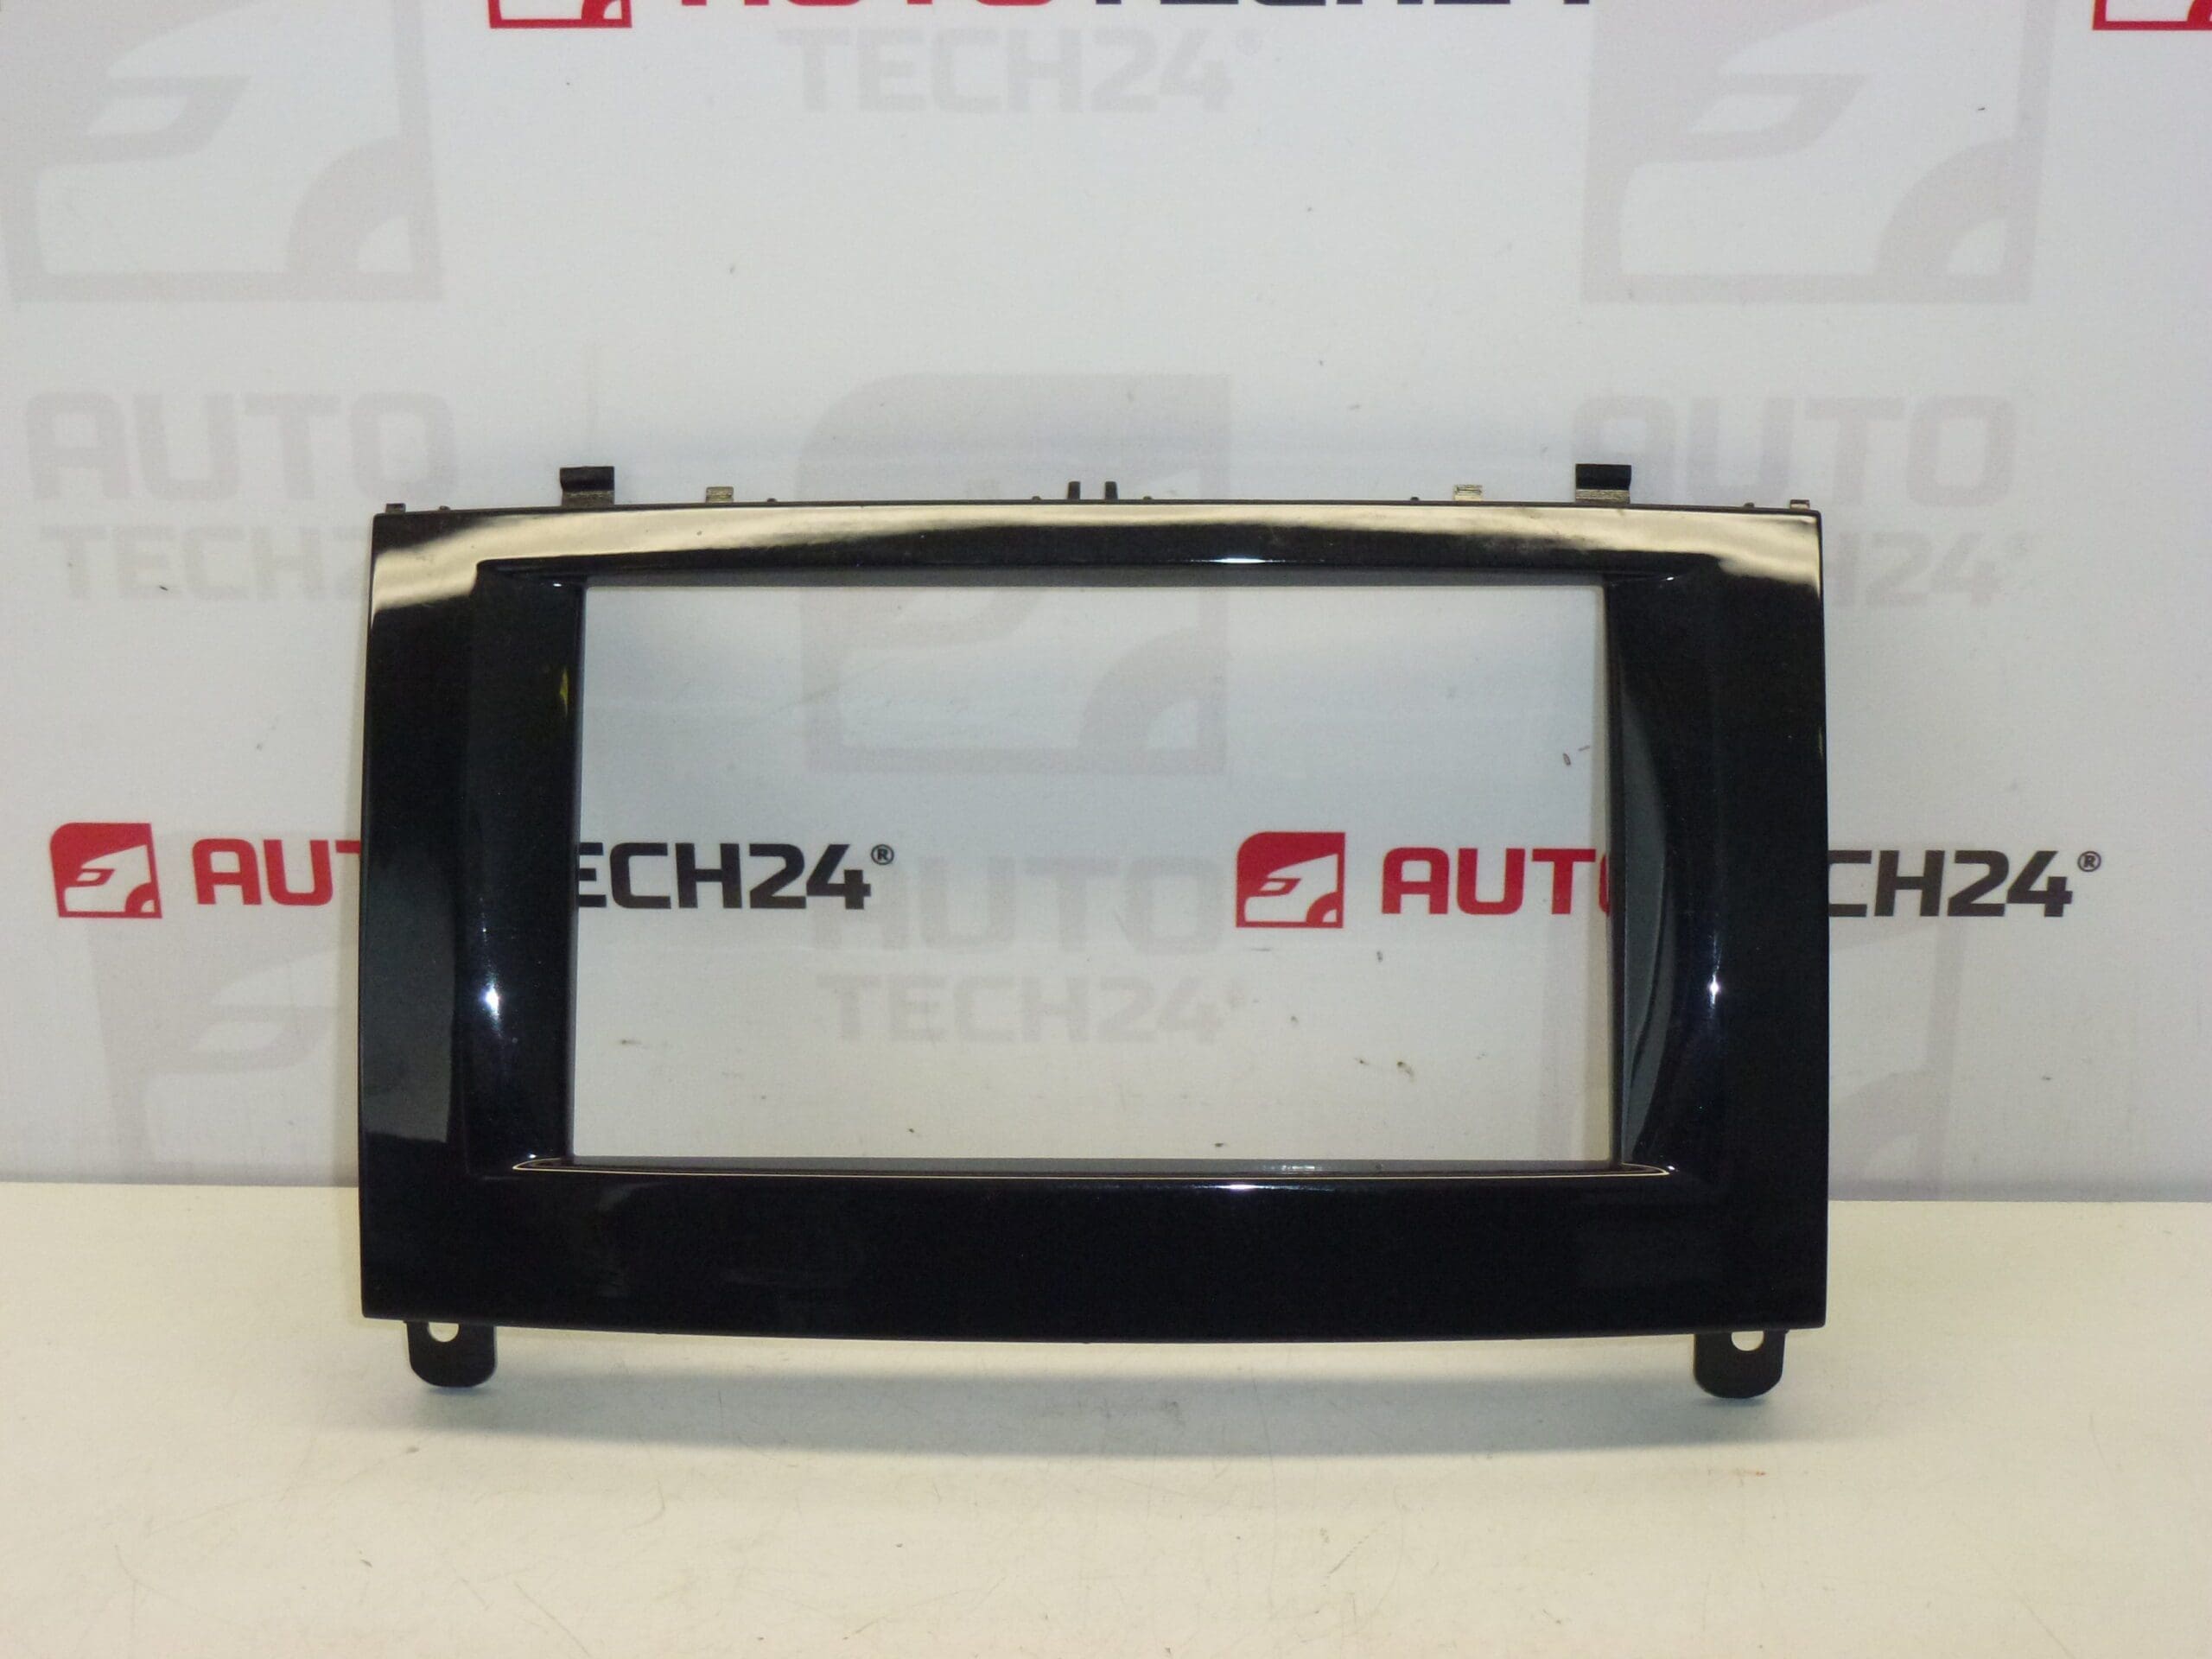
Color HXN- – Pearl Black
Replacement display frame designed for the Peugeot 407 dashboard and navigation unit. This trim frame provides a factory-fit appearance, secures the navigation/display module and covers mounting hardware to keep the interior visually consistent. Supplied to fit original Stellantis equipment, the part is commonly referenced by product codes 96838140XN, 96846404XA and internal code 8265GH — useful search terms for mechanics and DIY enthusiasts looking for an exact match.
Ideal for professional workshops and home mechanics who need a direct-fit trim piece when refurbishing the center console or replacing the navigation/display assembly. The frame is finished in Pearl Black (HXN-) to match the original interior trim and restore the OEM look after removal or damage. Keywords: Peugeot 407 display frame, dashboard display trim, NAVI frame, 96838140XN, 96846404XA, 8265GH.
Technical Information
- Manufacturer: Stellantis / Peugeot
- Model: Peugeot 407
- Product Codes: 96838140XN, 96846404XA
- Other Numbers: 8265GH
Function And Fitment
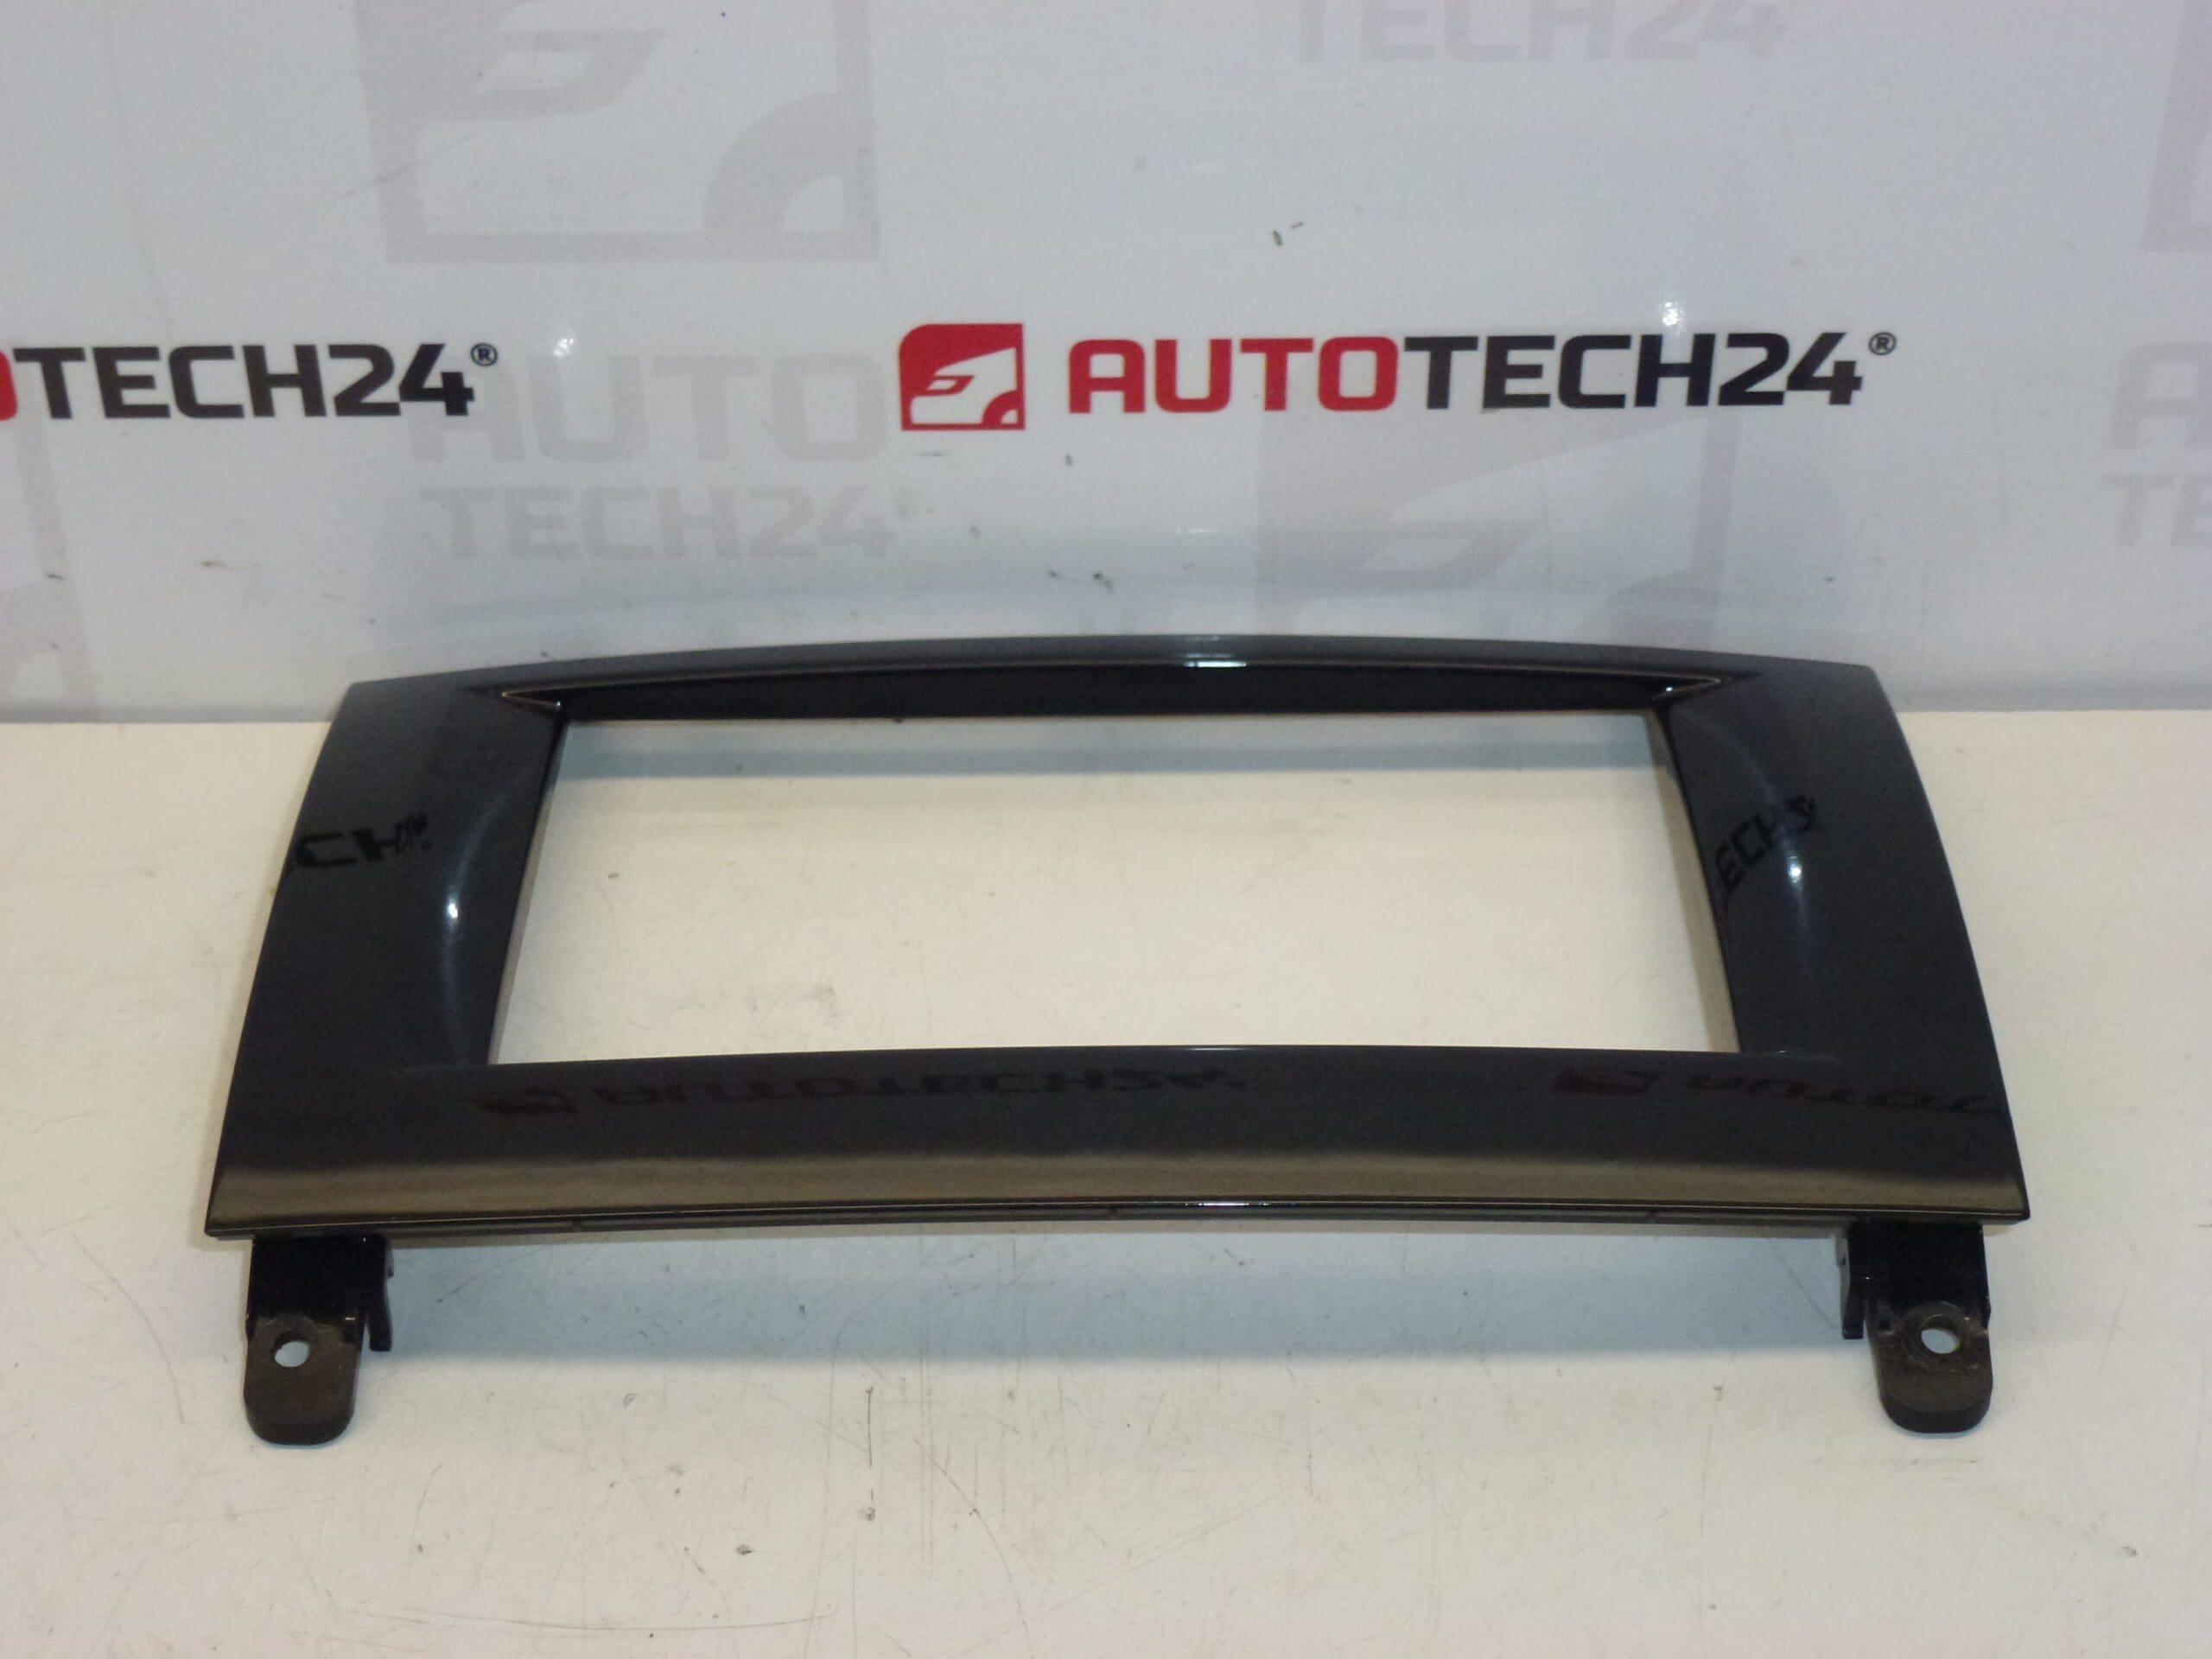
The frame acts as the visible bezel for the dashboard display and navigation system, aligning and retaining the display unit while covering fasteners and wiring edges. It is intended for vehicles equipped with the factory navigation/display assembly used on Peugeot 407 models.
Installation Recommendations
- Work On A Cool Interior: Avoid installing in direct sunlight or extreme heat to reduce the risk of plastic distortion.
- Use Trim Tools: Remove surrounding panels with plastic pry tools to prevent scuffs and broken clips.
- Disconnect Battery If Removing Electrical Components: If removal requires detaching the display or electrical connectors, briefly disconnect the battery to avoid shorts.
- Transfer Small Components If Needed: If the original frame has buttons or clips that must be reused, carefully transfer them to the new frame before final installation.
- Check Clip Engagement: Press evenly around the bezel until all clips click into place; do not force one side only, which can crack mounting points.
Most Common Cause Of Failure
Trim frames typically fail due to broken or worn mounting clips, accidental impacts, or plastic fatigue from repeated removals. Prolonged exposure to heat and UV can cause discoloration and embrittlement, making clips more likely to snap during servicing. Improper prying techniques during radio or navigation removal are a frequent cause of damage.
Practical Notes
When replacing the frame, inspect all mounting clips and surrounding trim for damage and replace any broken clips to ensure a secure fit. This simple cosmetic part restores the centre console appearance and can prevent rattles caused by loose trim around the display unit.