Description
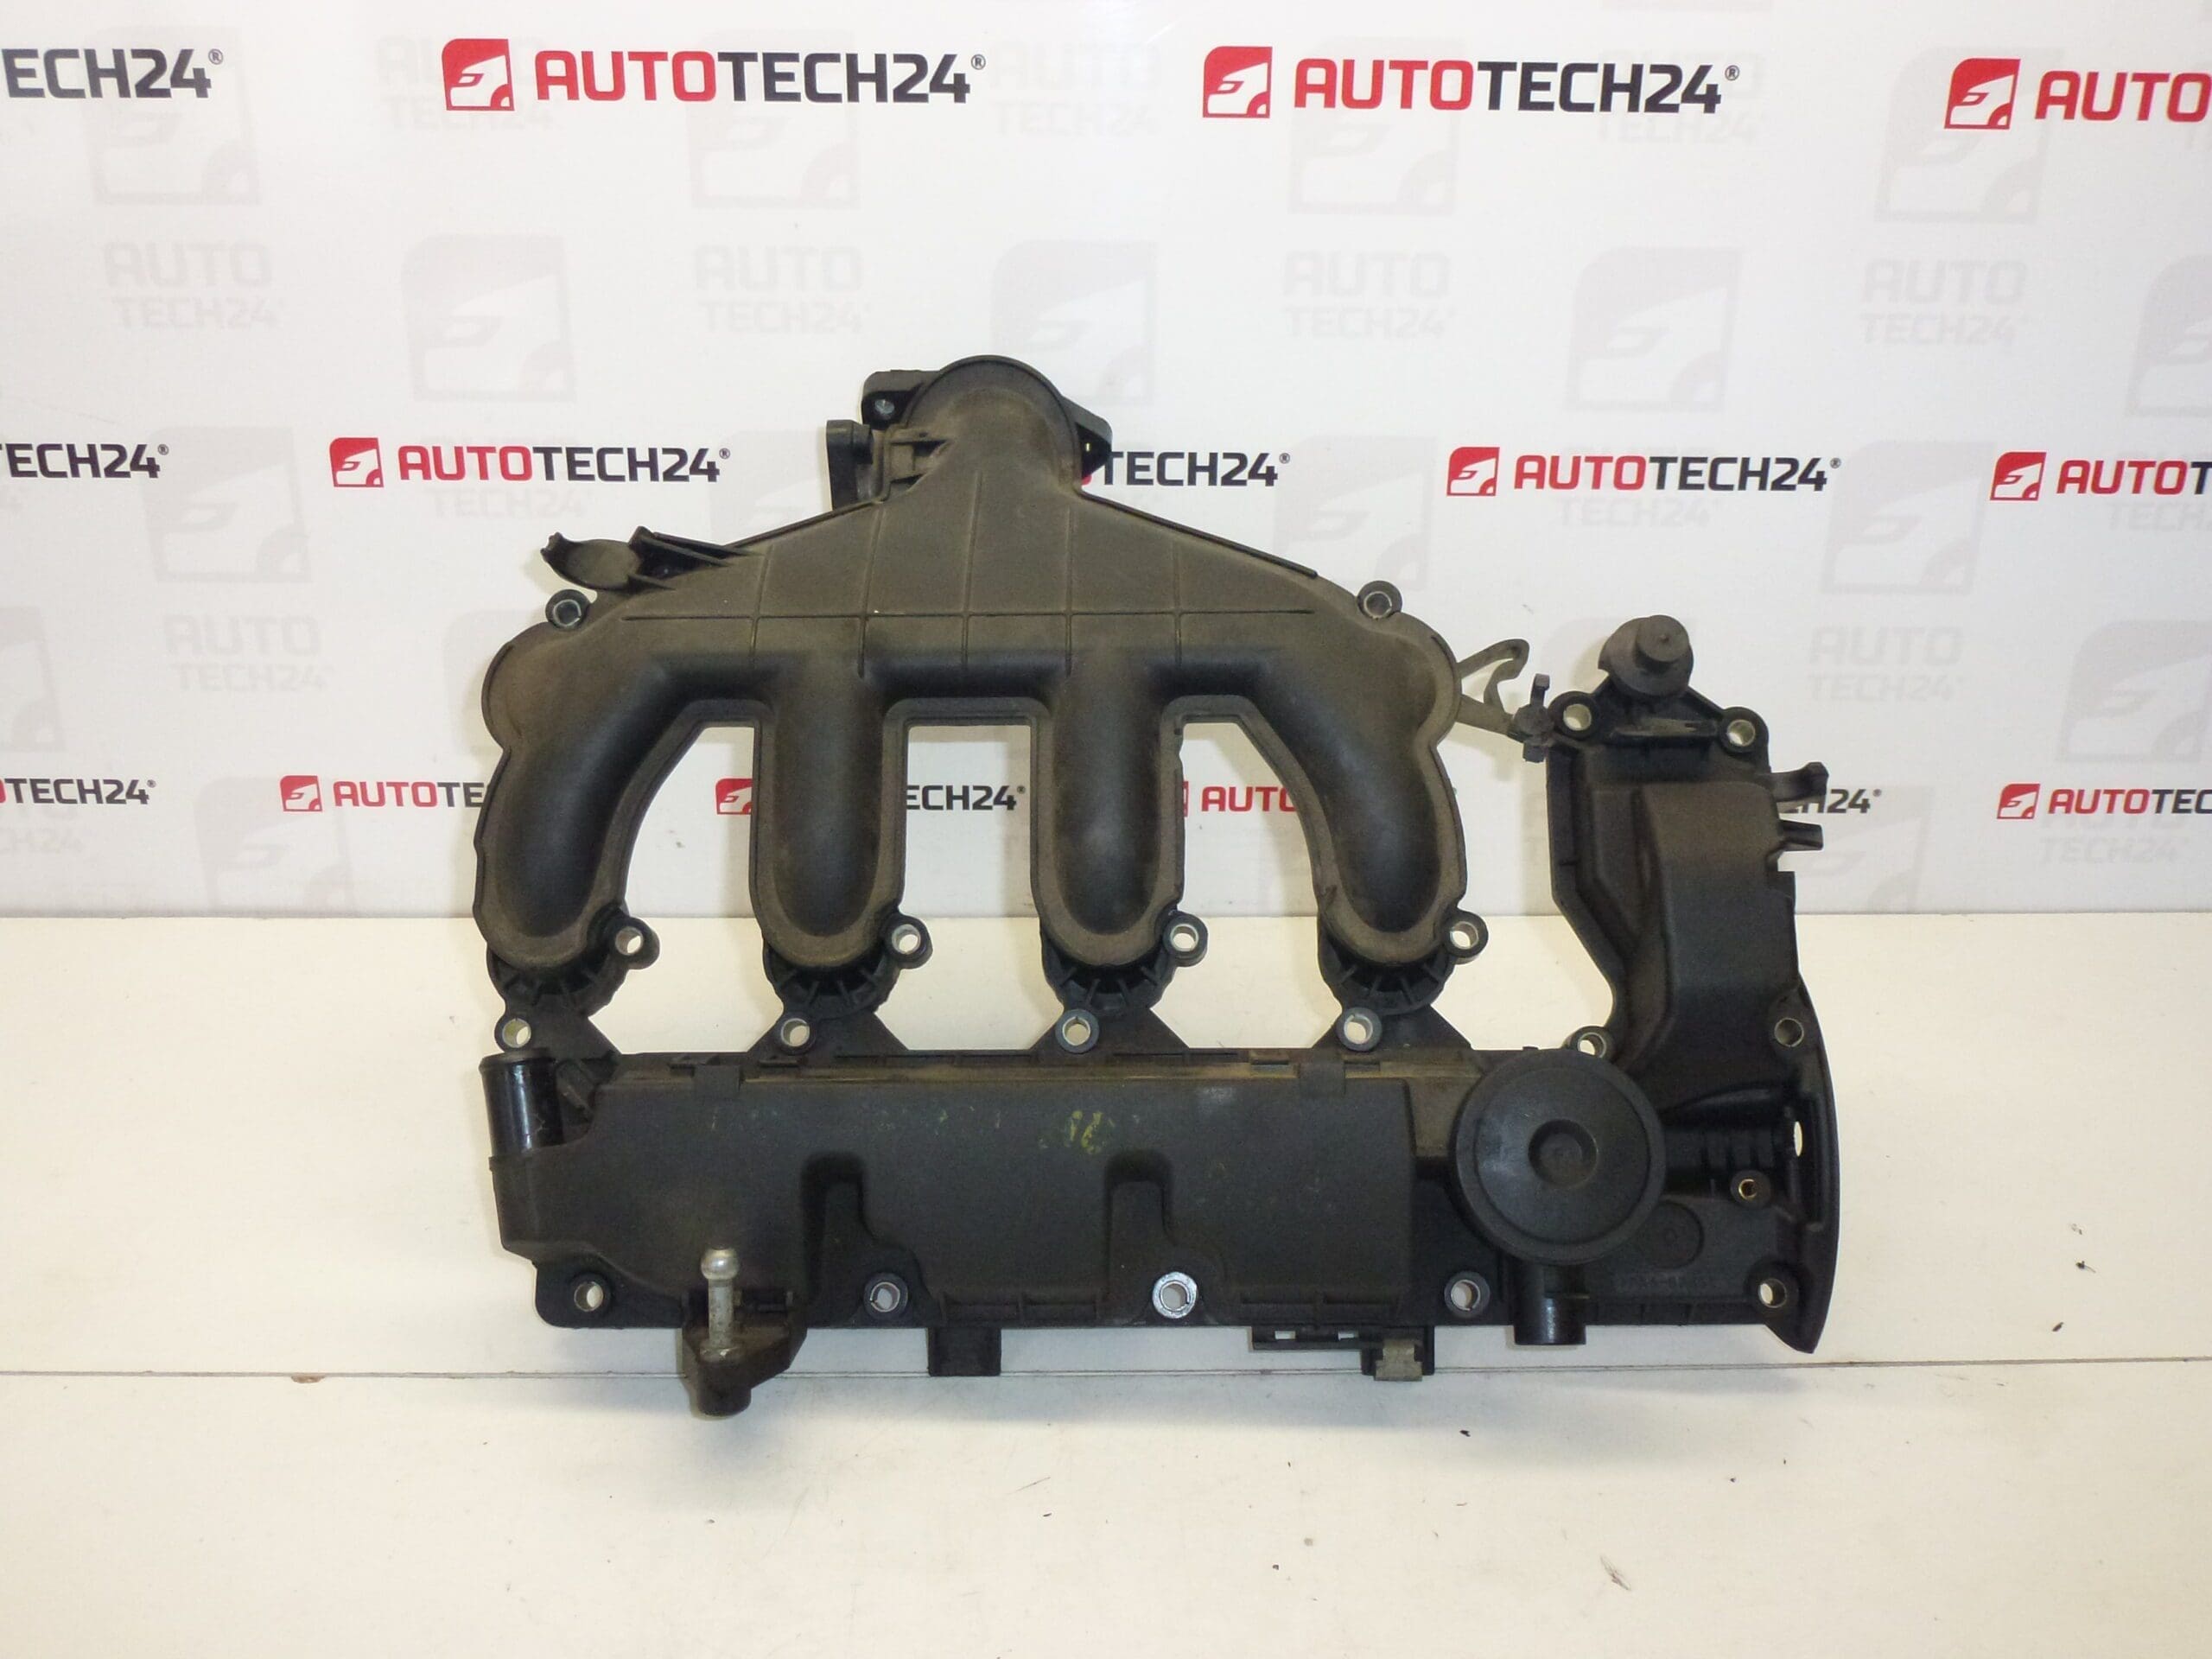
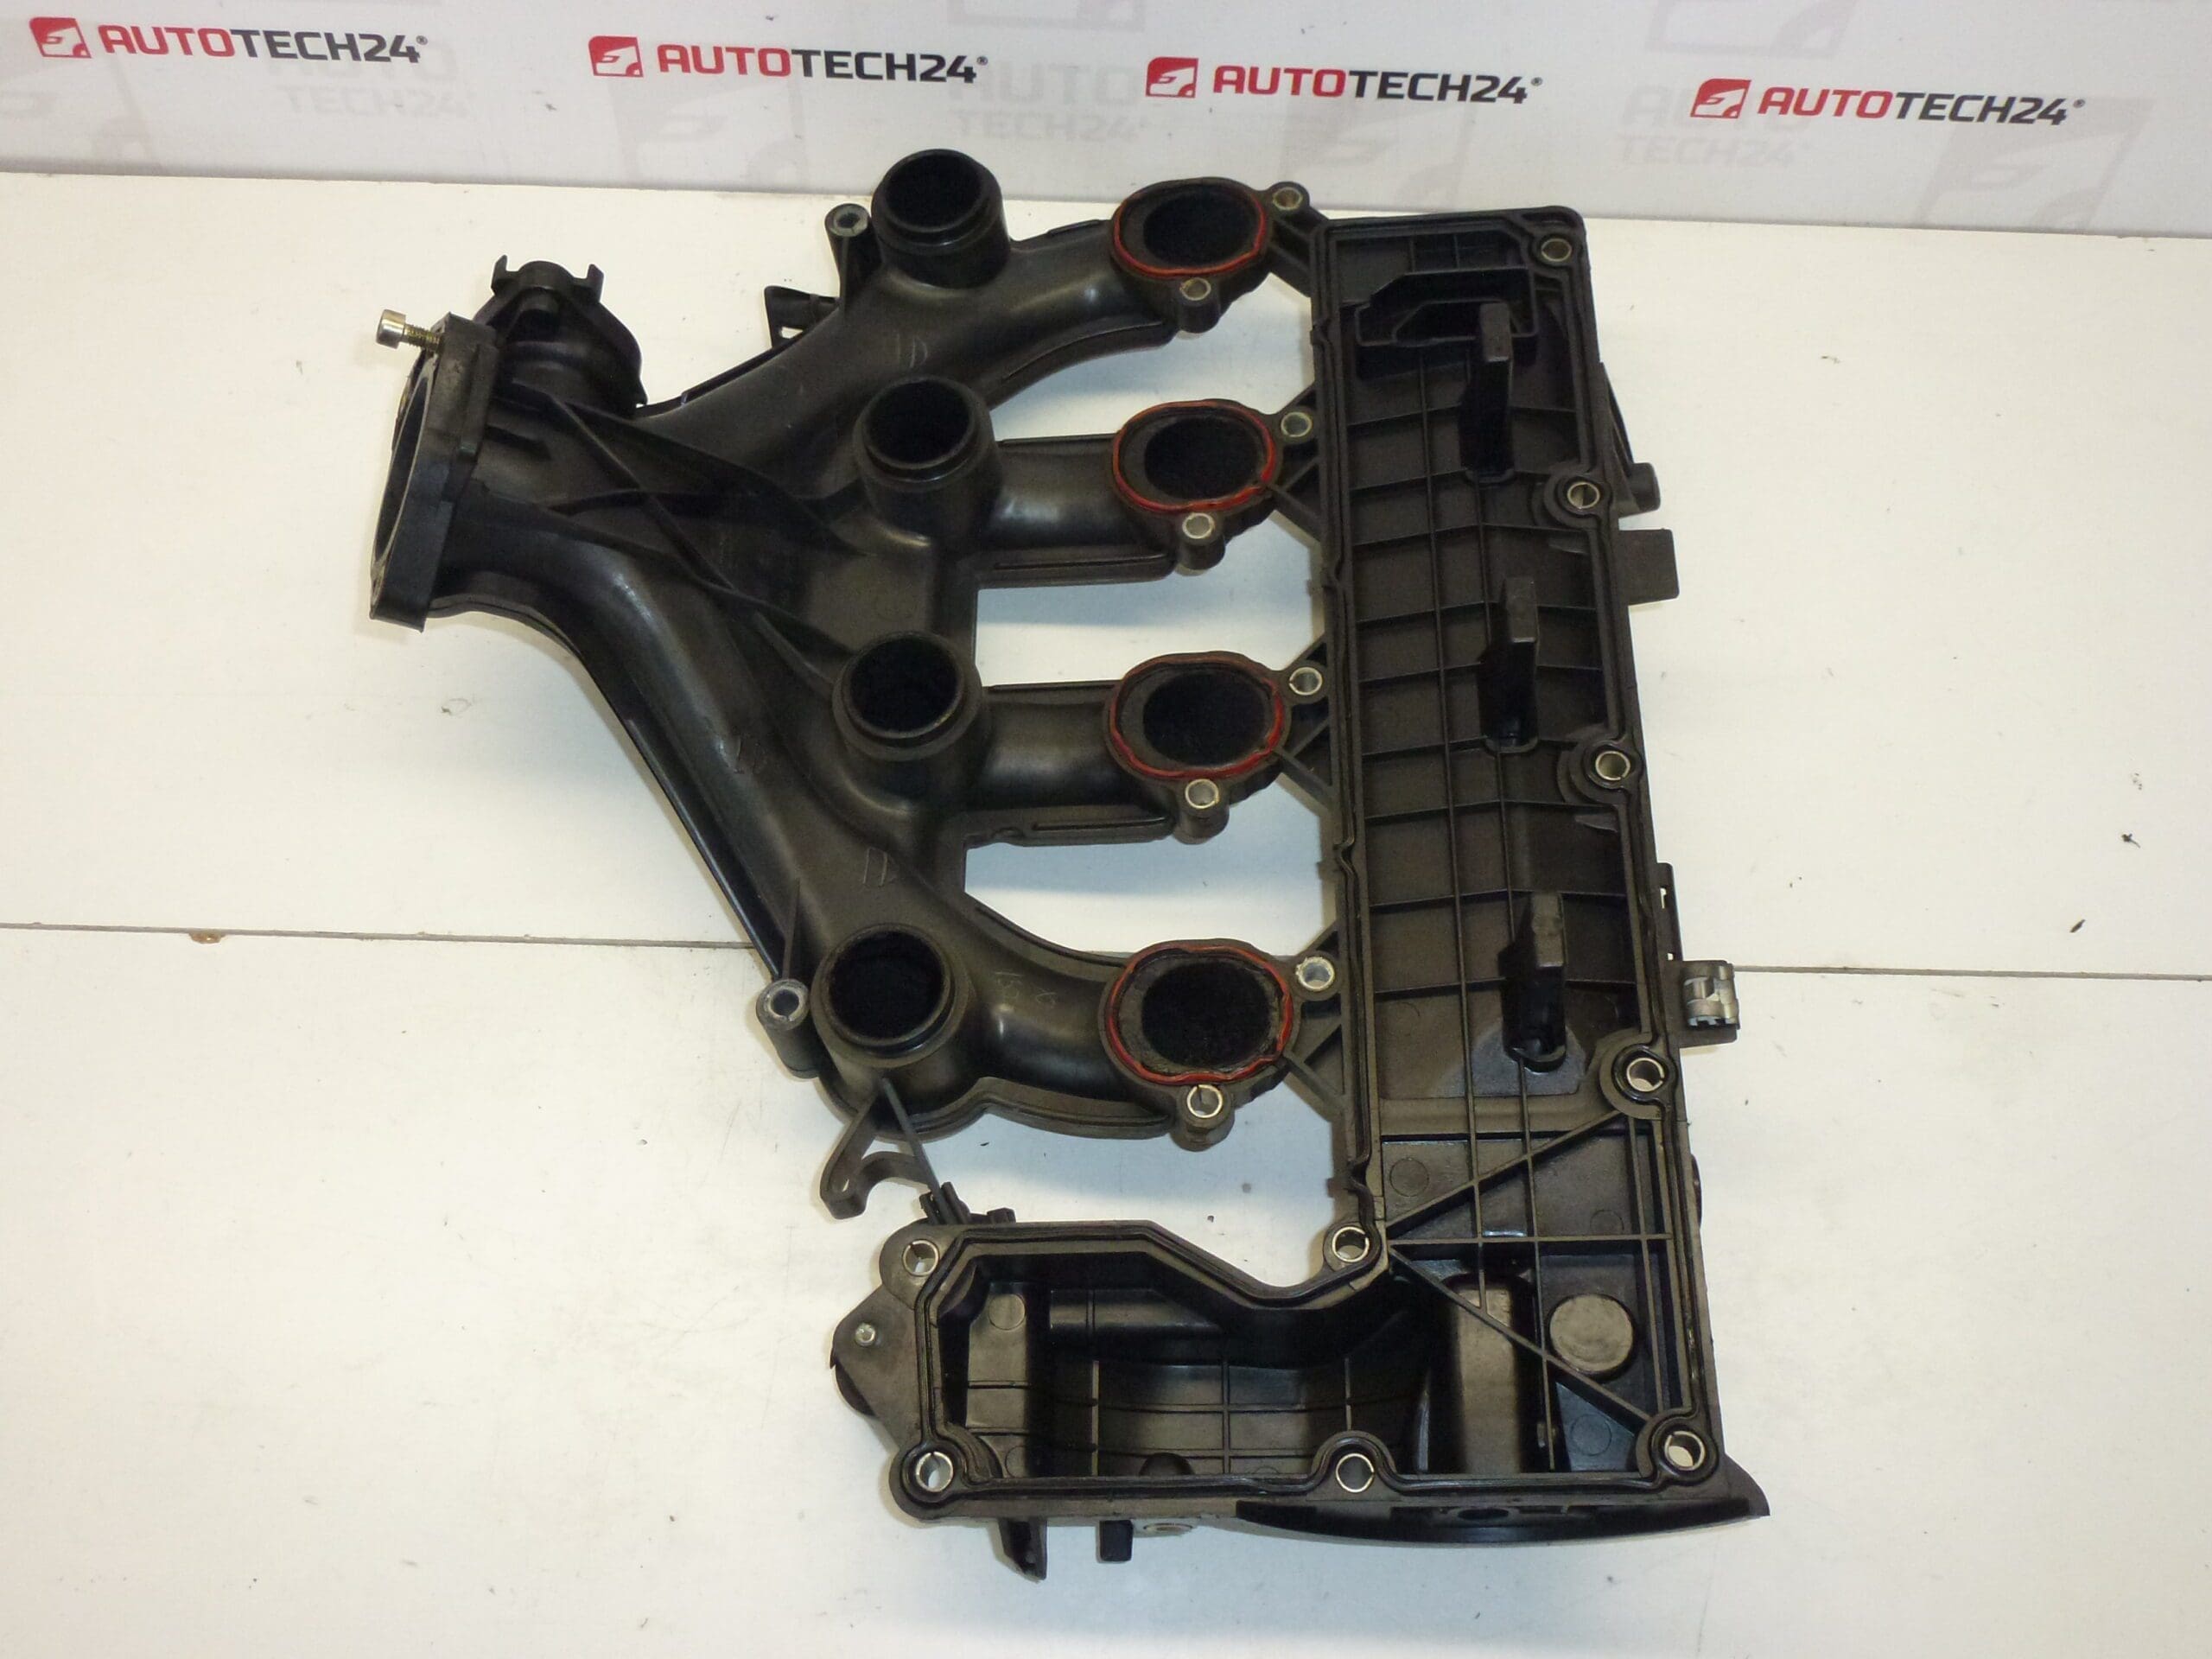
Cylinder head cover, valve cover, intake manifold 2.0 HDI RHR CITROEN PEUGEOT
Part description
This used valve cover / intake manifold for Citroën and Peugeot vehicles with a 2.0 HDI RHR engine is a suitable option when replacing a damaged part with the corresponding design. The reference materials list the numbers 9645977980, 9669688980 and 0248Q6, which make it easier to find the required part.
The valve cover generally closes off the top of the cylinder head and helps prevent oil leaks, while the intake manifold directs air to the engine. An undamaged body and properly sealed joints are important for keeping the engine compartment clean and ensuring the intake system functions correctly. Before selecting a part, compare its markings, shape and connection points with the original; matching the engine displacement alone is not sufficient.
Technical information
- Manufacturer: not specified; the reference materials list Stellantis CITROEN PEUGEOT.
- Model: not specified.
- Engine: 2.0 HDI RHR.
- Part type: cylinder head cover, valve cover, intake manifold.
- Condition: used part.
- Additional numbers: 0248Q6.
Product codes
- Product codes: 9645977980, 9669688980, 0248Q6.
When selecting a part, compare the codes with the markings on the original part and also check that the design is a match. The presence of multiple numbers does not in itself confirm that all variants are interchangeable.
Installation recommendations
The following general procedure applies to this type of part. The reference materials do not include exact installation instructions or details of the accessories supplied. Therefore, always follow the service procedure for the specific vehicle regarding access to the part, necessary disassembly, sealing method and tightening sequence.
1) Before installation
- Compare the part numbers, body shape, mounting holes, sealing surfaces and connection points with the old part.
- Inspect the used part: check for cracks, deformation, damaged mountings and any damage to threads or fittings.
- Check that the internal spaces and passages are clean. Loose debris must not enter the engine during installation.
- Identify the cause of the original fault to prevent it from recurring after replacement. Also check the condition of related hoses, joints and seals.
2) Required tools and materials
- A standard set of hand tools suitable for the fasteners used, and a torque wrench.
- Tools for carefully releasing hose connections and connectors, if included in the specific design.
- Lint-free cloths, a cleaning agent suitable for the part material, and clean caps for open passages.
- Seals and any sealing material as required by the manufacturer of the specific vehicle.
3) Step-by-step installation procedure
- Secure the vehicle safely, switch off the ignition and let the engine cool. If the battery needs to be disconnected, do so in accordance with the vehicle’s service procedure.
- Clean the area around the part being replaced so that debris does not fall into the engine or intake passages when the joints are opened.
- Record the routing of hoses and any cables, for example with a photograph. Mark any connections that could be mixed up.
- Following the service instructions, remove any components that obstruct access. Keep the fasteners organized by their location.
- Carefully disconnect any related hoses and connectors. Release their locking tabs; do not pull on cables or pry against fragile fittings.
- Gradually loosen the part’s fasteners in the sequence specified by the manufacturer and remove the part. Do not use the sealing surfaces as leverage when prying forcefully.
- Protect exposed passages from debris. Remove any remnants of the old seal without damaging the mating surfaces or allowing debris inside.
- Compare the removed part with the replacement again. Check that the mating surfaces are even and prepare the seal as required by the service instructions.
- Remove the protective caps, position the seal and fit the replacement part without forcing it. Use sealing compound only where specified by the manufacturer.
- First fit the mounting bolts by hand. Then tighten them in the specified sequence and to the specified torque, according to the documentation for the specific vehicle.
- Reconnect all disconnected connections, secure their locking tabs and reinstall the removed components. Check that no hose or cable is trapped.
- Check that installation is complete, remove tools and protective equipment from the engine compartment, and restore any disconnected electrical power as instructed by the manufacturer.
4) Post-installation checks and function verification
After starting the engine, monitor its operation, listen for unusual noises and check that the connections are sealed. Check for oil around the sealing surfaces or hissing from the intake. If everything is in order, take a short test drive and visually inspect the connections again after the engine has cooled. If there is an obvious leak or the engine runs very unevenly, switch it off and rectify the fault.
5) Common installation mistakes and how to avoid them
- Overtightening bolts: this can damage the body or mounting points. Follow the specified tightening sequence and torque.
- Dirty or scratched mating surfaces: these increase the risk of leaks. Clean them carefully and protect open passages.
- Incorrectly positioned or damaged seal: check its position and condition before tightening.
- Excessive use of sealing compound: it does not replace a proper seal, and excess compound can enter the interior. Use it only as specified in the service instructions.
- Loose hose connections or unsecured connectors: after installation, check every disconnected point against the original record.
Reasons why the part may become damaged
The following are general causes of damage or loss of sealing on valve covers and intake manifolds. They do not describe faults identified on this specific part.
- Thermal stress and material aging, which can lead to deformation, cracks or reduced sealing performance.
- Incorrect installation, especially uneven tightening, overtightening bolts or forcing the part into place.
- Mechanical damage during repairs, such as broken connections or damage to sealing surfaces caused by unsuitable tools.
- Seal wear, which can cause leaks even when the part body is undamaged.
- Deposits in the intake passages or a fault in the engine ventilation system, which may contribute to restricted flow or increased stress on sealing joints.